A huge thanks to Walmart for sponsoring today’s post.

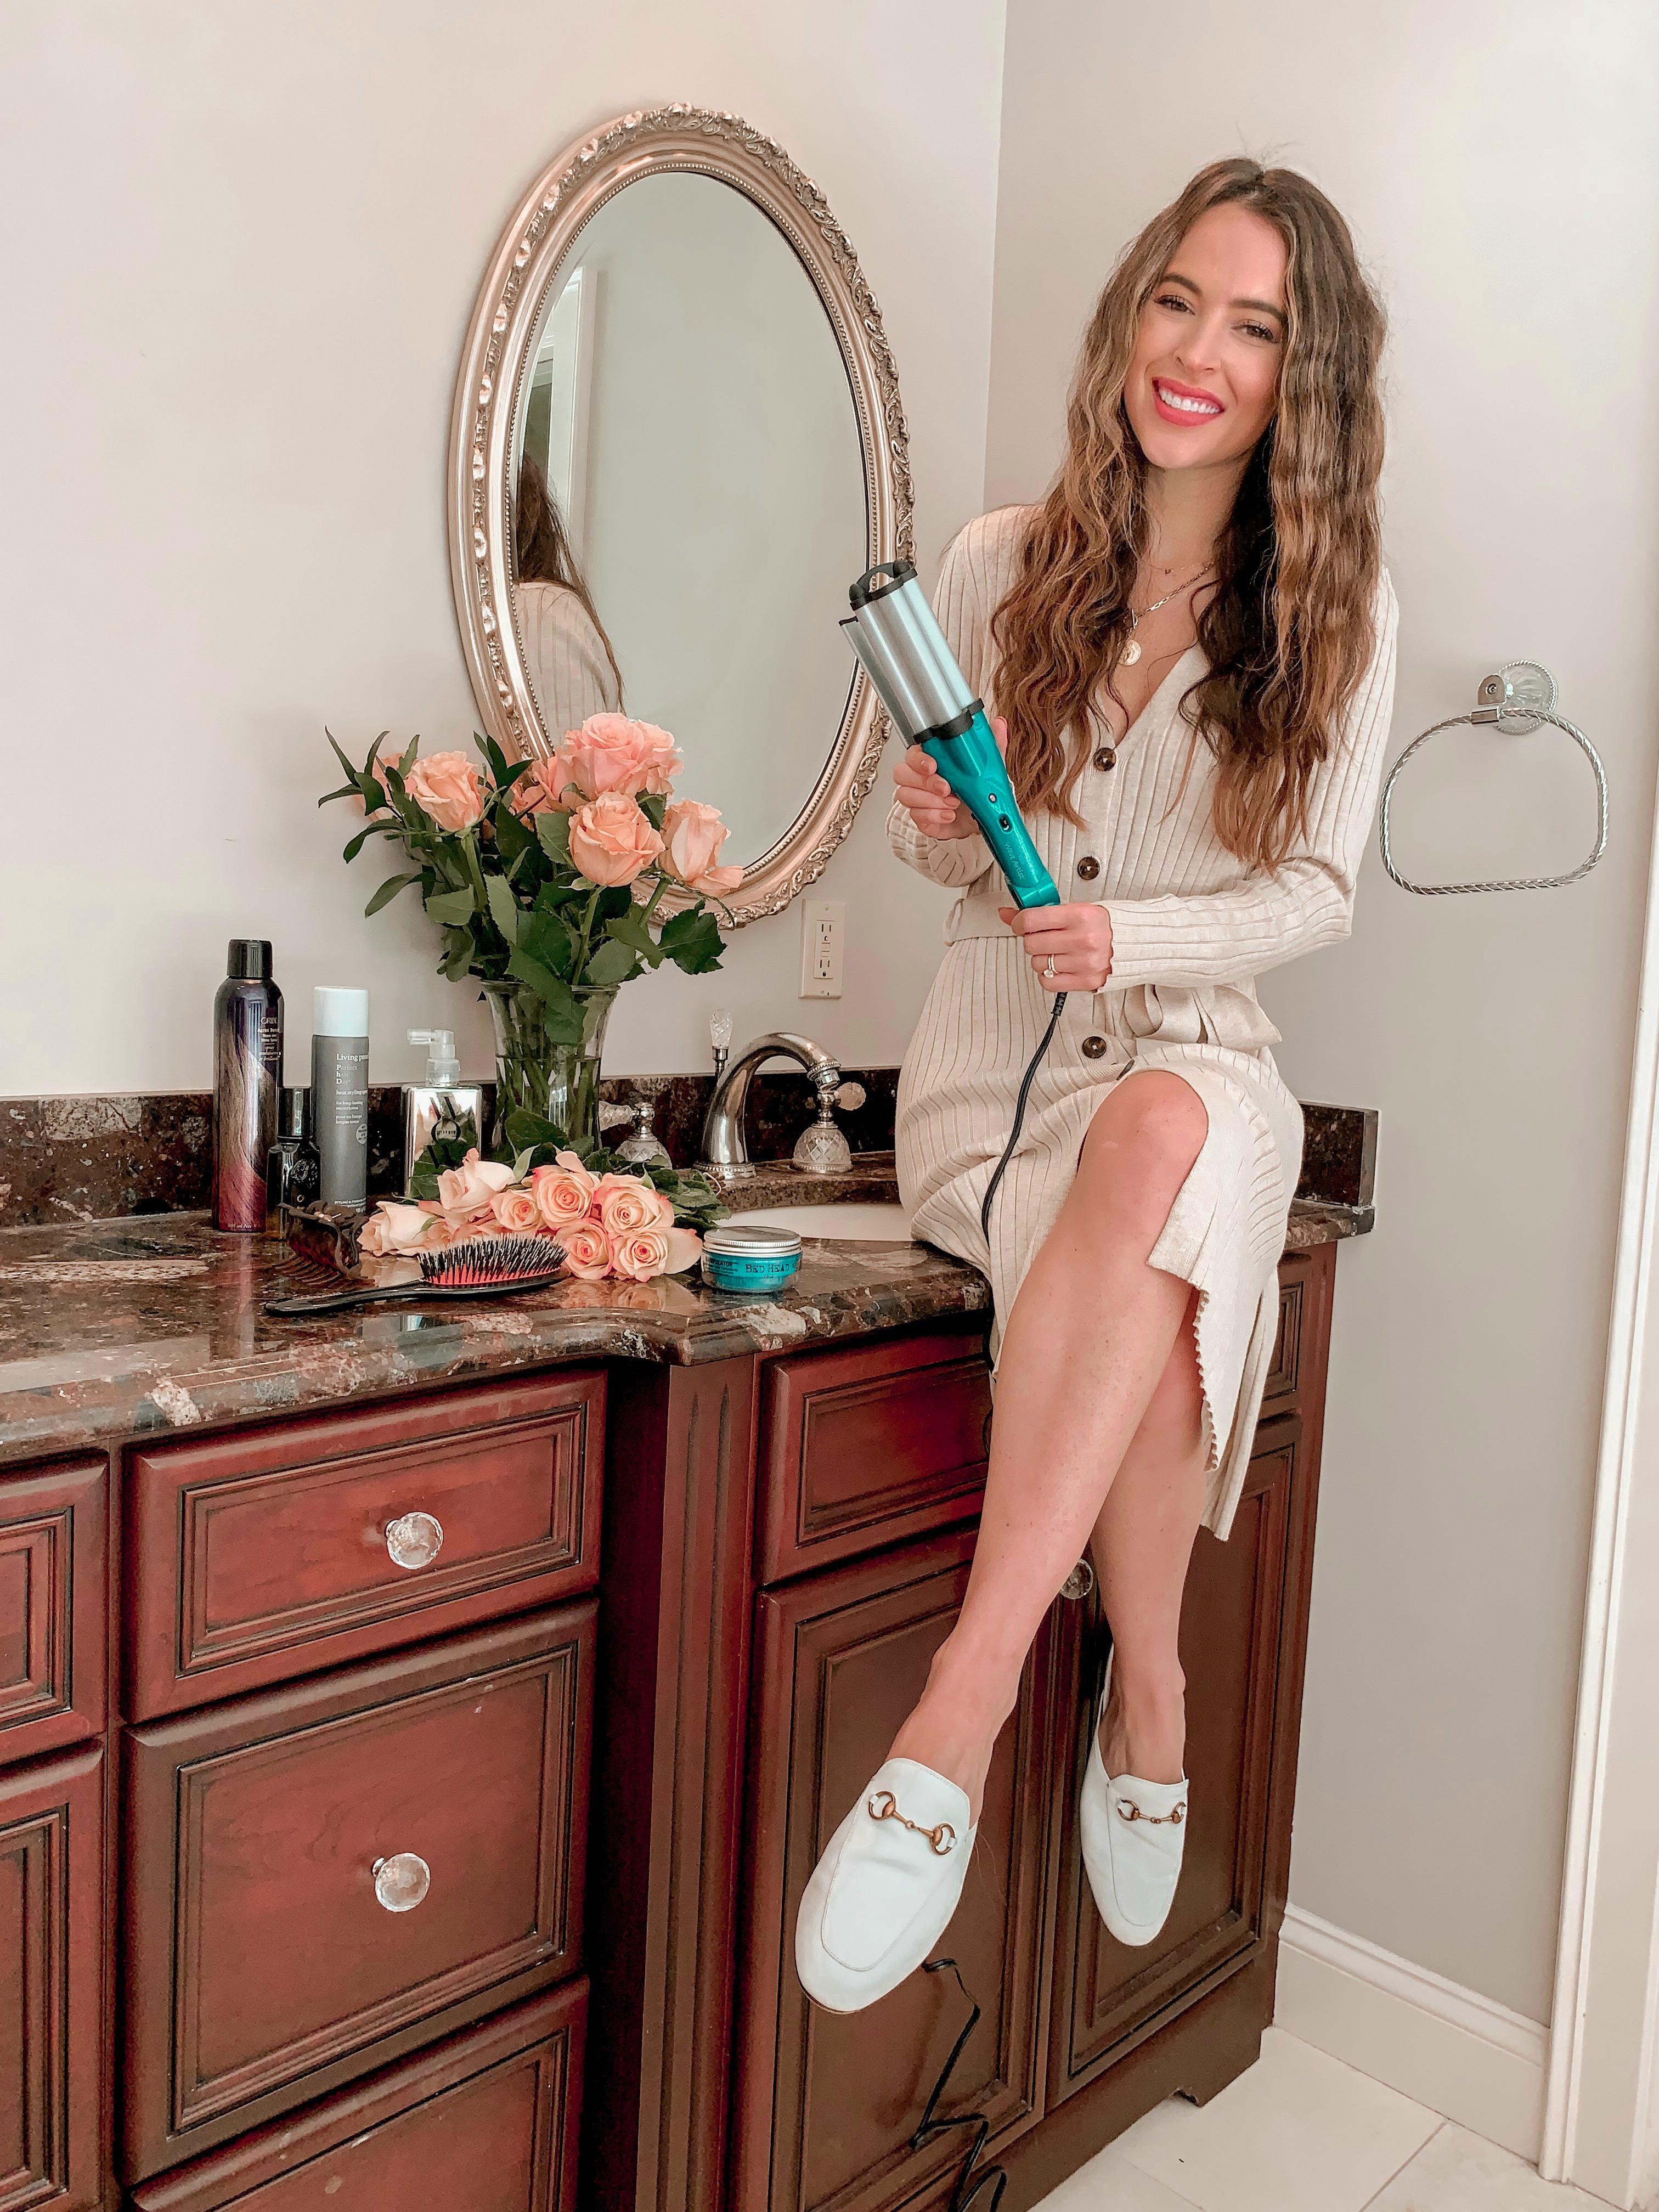
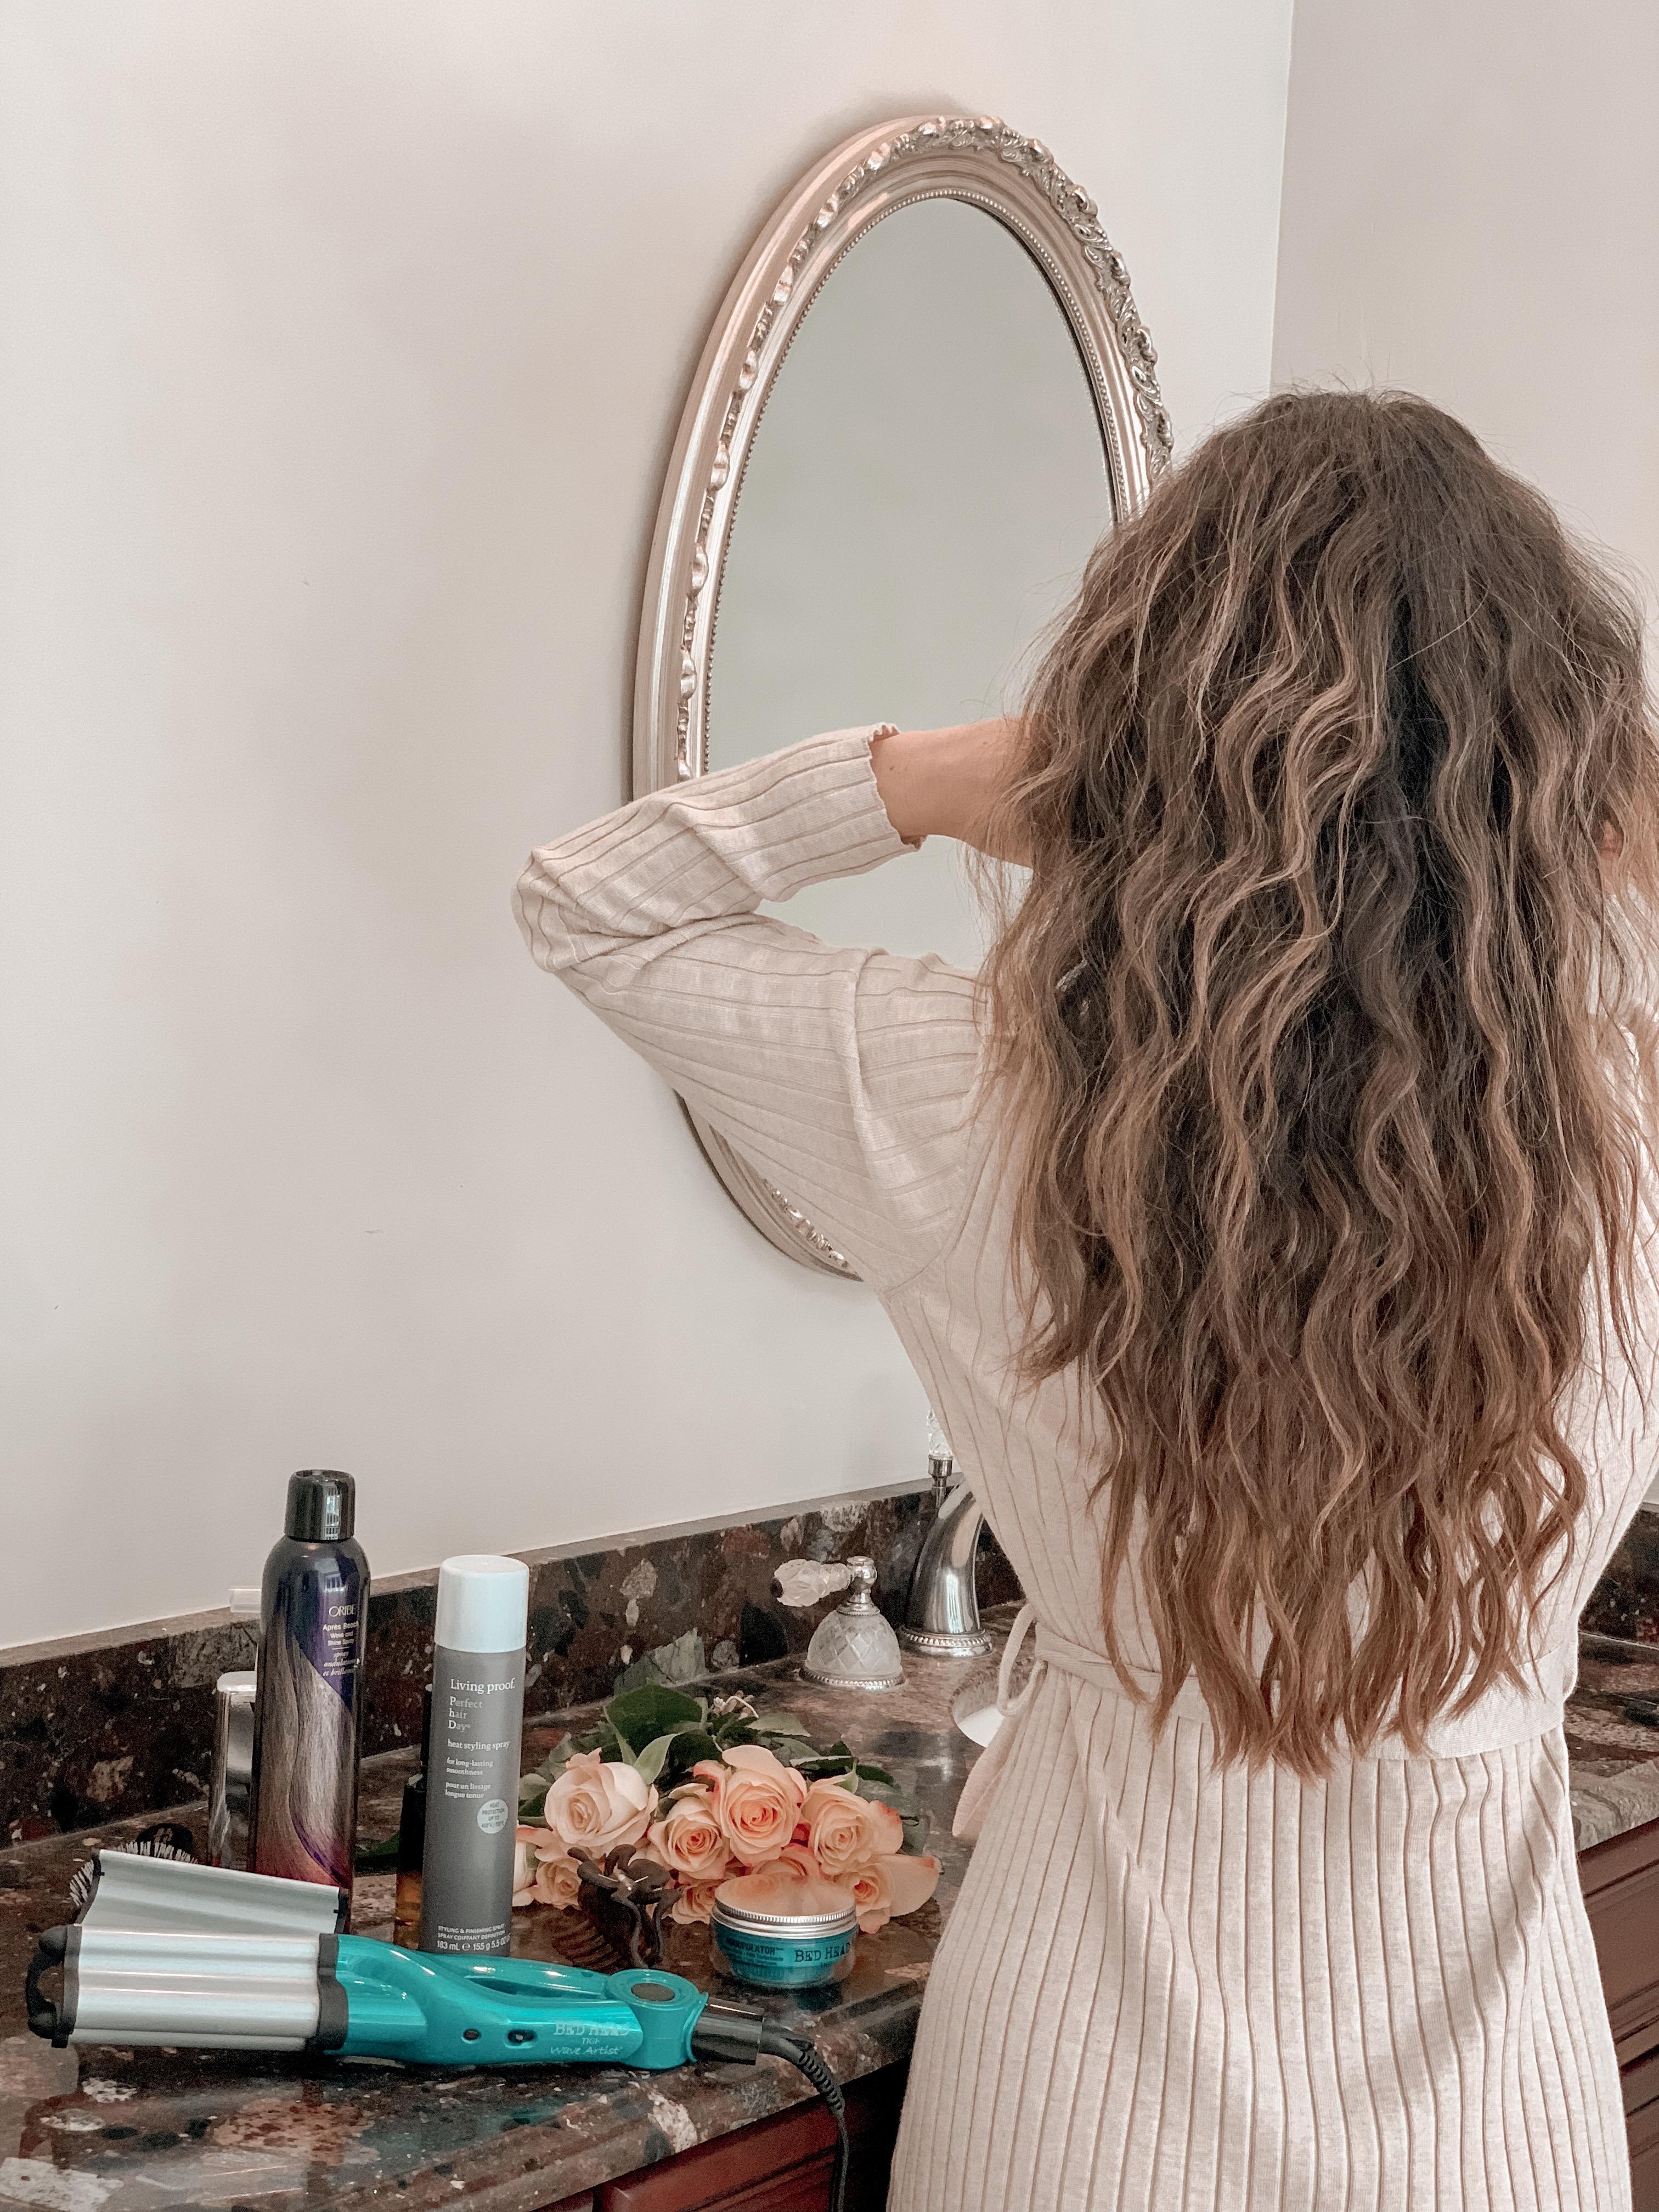
Chances are, you’ve probably seen the Bed Head Wave Artist all over Instagram over the last few months — and for good reason! It’s one of the easiest waves to get beachy waves and there’s literally ZERO technique required. I’m so excited to be teaming up with Walmart today to share this super simple tutorial and a few of my go-to products that help me achieve this look! Walmart has been one of my go-to retailers for all things beauty the last few months — they carry ALL of my favorite hair tools and styling products and make it so easy to shop! I love using the store locator tool — since I live about 5 minutes away from my local Walmart, I’ve been able to get items same day by ordering to go pick up in store, AND, I’ve taken advantage of Walmart’s 2 day shipping on a lot of beauty items!
STEP-BY-STEP
- While my hair is still damp, I mist in Color Wow Anti-Humidity Spray, which helps to fight frizz and make hair smooth and silky. I think the Bed Head Wave Artist looks best on sleek hair, rather than air dried hair, so this step in crucial before I blow out my hair with a round brush.
- Once my hair is dry, I section off my hair top and bottom and work side to side. I love using these hair clips — they are big enough to hold all of my hair without being too bulky.
- Using a heat protectant is a must when doing this hairstyle, since the heat from the waver will be pressed on all strands of hair. I spray in Living Proof’s Heat Protectant Spray onto each section and work through using my fingers to ensure all hair is coated.
- I then take the Bed Head Wave Artist Deep Waves and turn the heat setting to medium. It heats up FAST — in under 30 sections! I take 1 inch sections of hair (leaving out an inch or two of root), press and hold the clamp on the section of hair for about 5-6 seconds. Once I release the clamp, I try to line up the barrel to the end of where I just made a wave. The whole goal of this hairstyle is beachy/effortless waves, so I never worry if it’s not perfect… I honestly think it looks more natural! I just make sure to leave out the bottom 1-2 inches of hair!
- I repeat the process of spraying the Living Proof’s Heat Protectant Spray on each section and using the Bed Head Waver until all sections of hair are waved. *GLAM Beauty Tip: I do make sure to switch hands when doing the other side of my head, it makes it much easier!
- To blend the waves together, I very gently brush out the waves I just created after they are completely cool. I was so suprised to see that Walmart carries this amazing Mason Pearson brush — it allows me to brush out the curls without creating frizz.
- I then apply a tiny bit of Oribe Nourishing Hair Oil throughout my hair. I always find that when I use a straightener or a hair tool with heat directly on the strands, the hair can sometimes look a little fried and lose shine. The hair oil helps bring back the shine as well as blend the waves together!
- For a little more texture and hold, I love appying Oribe Beach Wave and Shine Spray. This is my go-to product, I am ALWAYS finding ways to use this stuff — there’s so many different uses, it’s seriously the best!
- To help keep the bottom of my hair nice and straight, I apply a little bit of Bead Head Molding Paste between my fingers and press it into the bottom 2 inches of my hair.
SHOP THE POST
What do you guys think of the final look? Have you tried a waver recently?!


