Recently Vikki who reads BNOTP, emailed me and shared a wonderful DIY project she had just finished. Vikki came across this blue and white porcelain vase in Goodwill for just $7. Vikki said, “When I saw the vase I knew immediately what I wanted to do with it.”
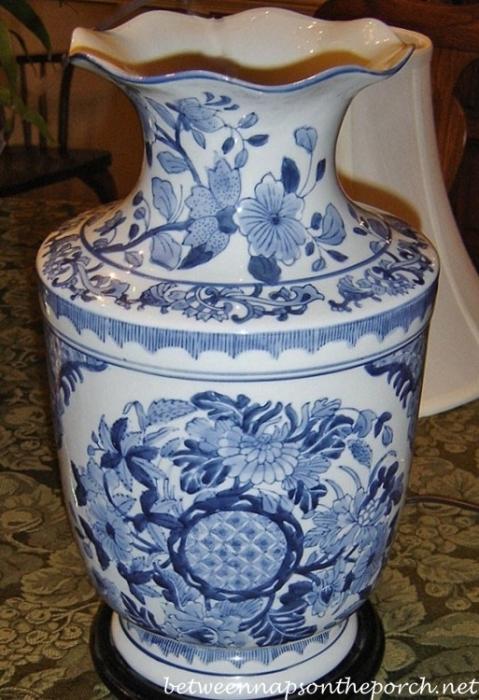
What Vikki decided to do was make it into a beautiful lamp!
Isn’t it wonderful?! It’s just perfect against the blue and white toile wallpaper in her master bedroom.
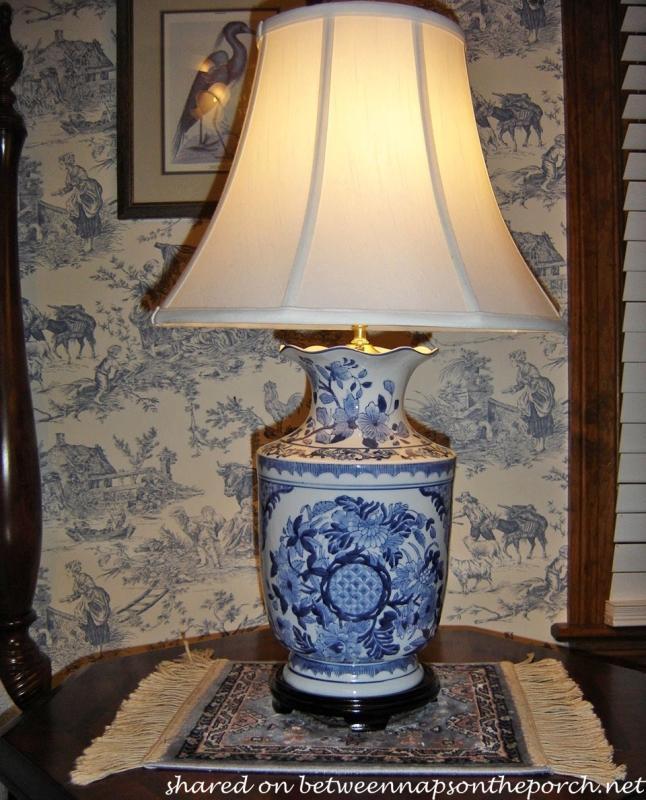
Vikki shared how she made her lamp in case you would like to turn a pretty vase into a one-of-a-kind lamp for your home, too.
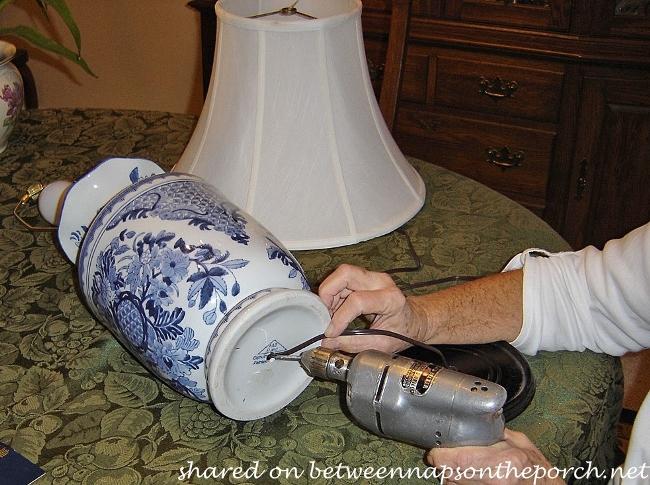
Vikki said, “I did some research online before I started working on the vase turned lamp. I learned I would need to use a “Glass & Tile” bit to drill the hole in the bottom of the vase to accommodate the lamp pipe and cord. I also found out that when drilling porcelain you must keep the area wet because the drilling generates lots of heat.
I found the center of the base of the vase, made an X over the spot I would drill with masking tape to retard the porcelain from cracking, brought the garden hose up to the deck and began drilling.”
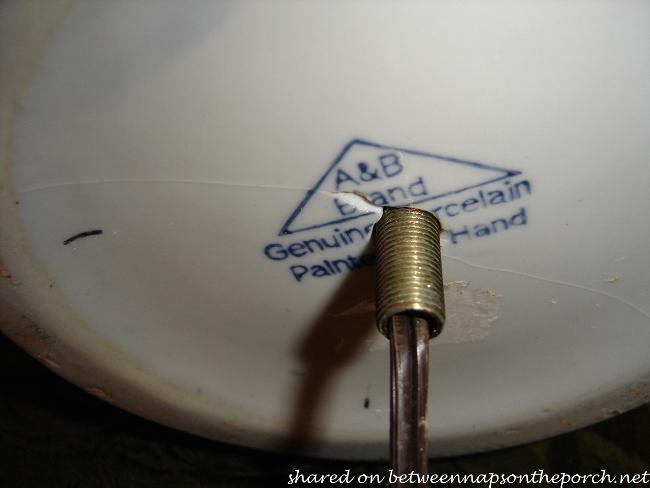
“As you can see in the close up of the vase bottom, it did crack but thankfully not enough to be a problem.”
I love that Vikki didn’t get discouraged and forged on with her lamp. We have all had our DIY setbacks haven’t we? Anyone out there have a suggestion for drilling through porcelain or ceramic pieces and avoiding having them crack?
Vikki wasn’t sure of the names for the various parts of a lamp but she knew she needed something to cover the opening of her vase. She Googled for “lamp parts” and found a site online that carried lots of parts. Vikki ordered something called a “vase cap” to cover the opening in her vase from www.grandbrassdotcom. She found a lamp pipe and a kit containing the harp, socket and wire from a local big box hardware store.
Vikki considered ordering a brass base for her lamp but the prices were pretty steep ($65) so she decided against that. While browsing in Tuesday Morning she found a wood base for just $7.99 that was a great fit.
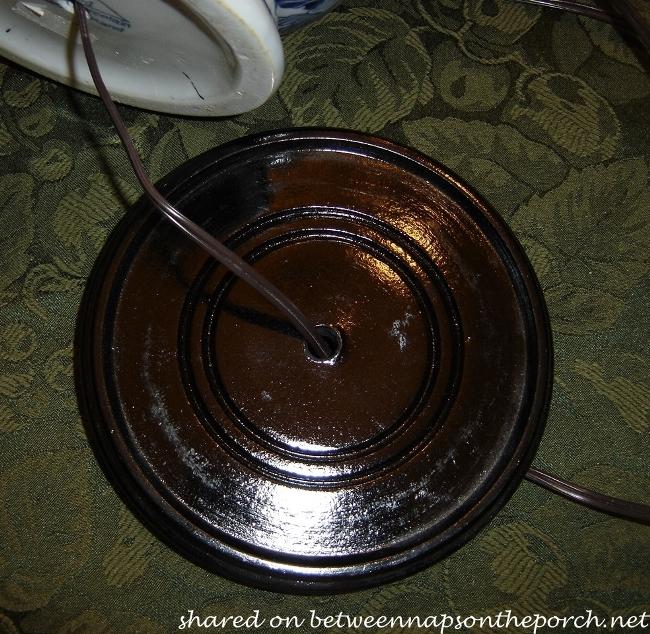
Here’s how the wiring and fittings look underneath the vase while it was being assembled.
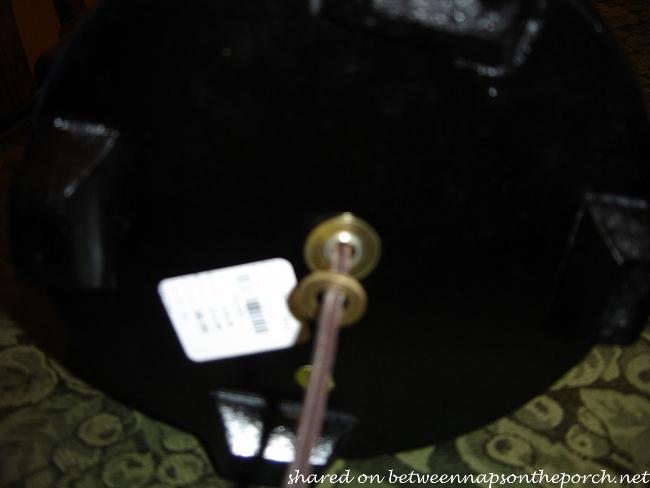
The base looks like a perfect fit for the vase, doesn’t it? Vikki said, “Hubby helped me with wiring the socket and the lamp went together with ease.”
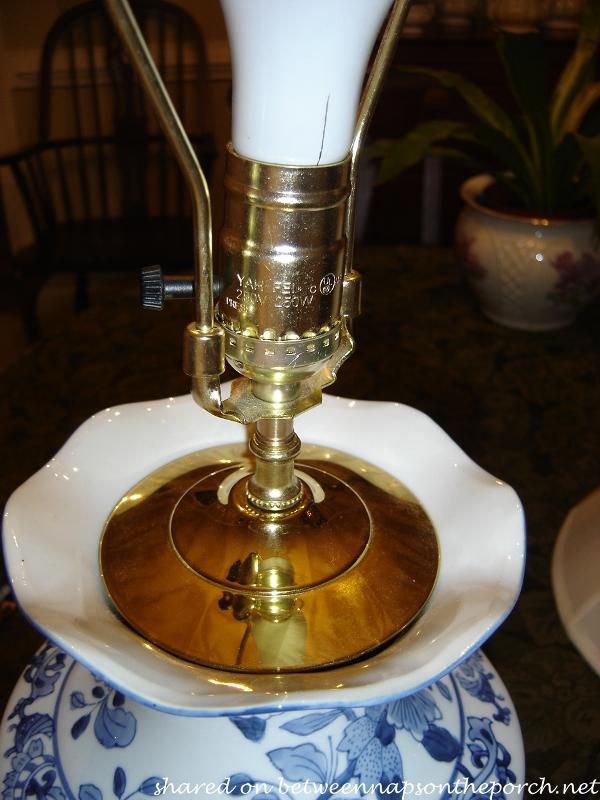
You can see the vase cap on the center rod in this pic below.
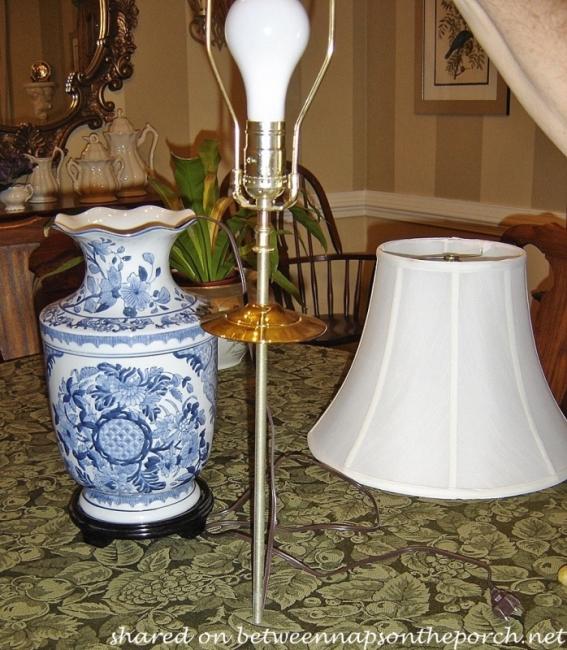
Almost finished, just a little more work before it’s done.
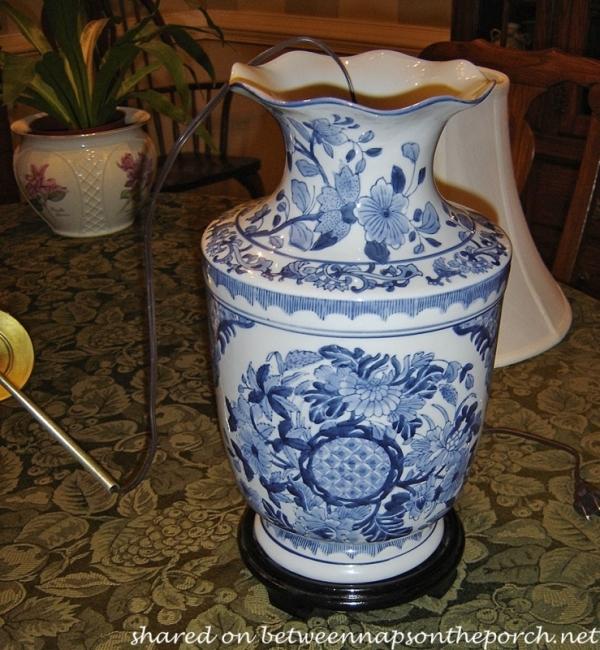
Assembling the lamp…
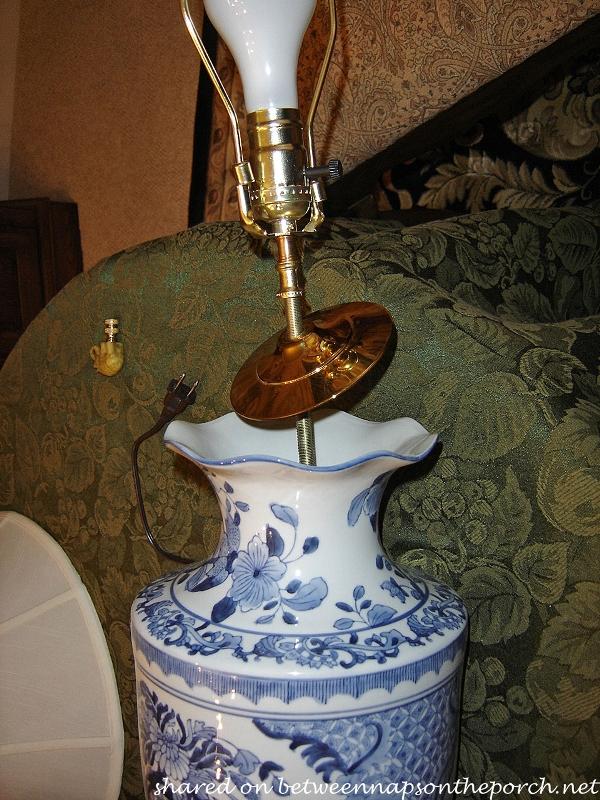
What a great fit!
Vikki said, “I already had the silk lamp shade. Total costs for this lamp came to approximately $35.00.”
Wow! Just think what a lamp like this would cost in any lamp store! It looks great on Vikki’s bedside table in her master bedroom.

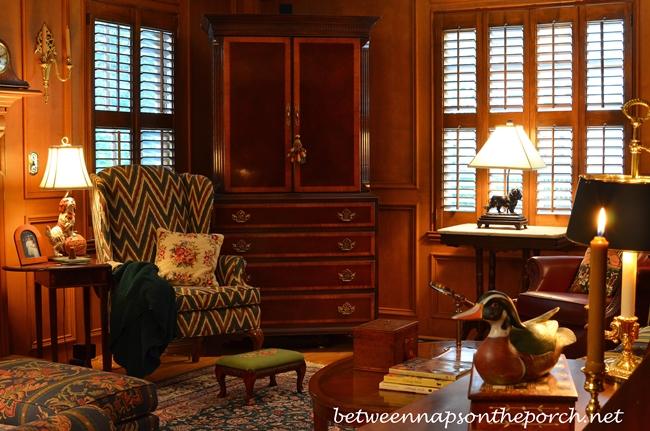
Remember the doggie lamp in my family room?
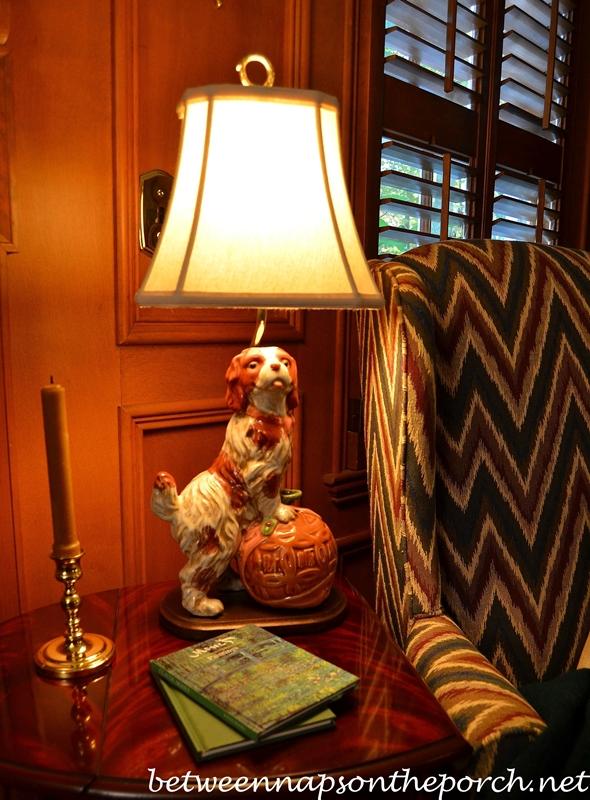
The one next to the flame-stitched wingback?
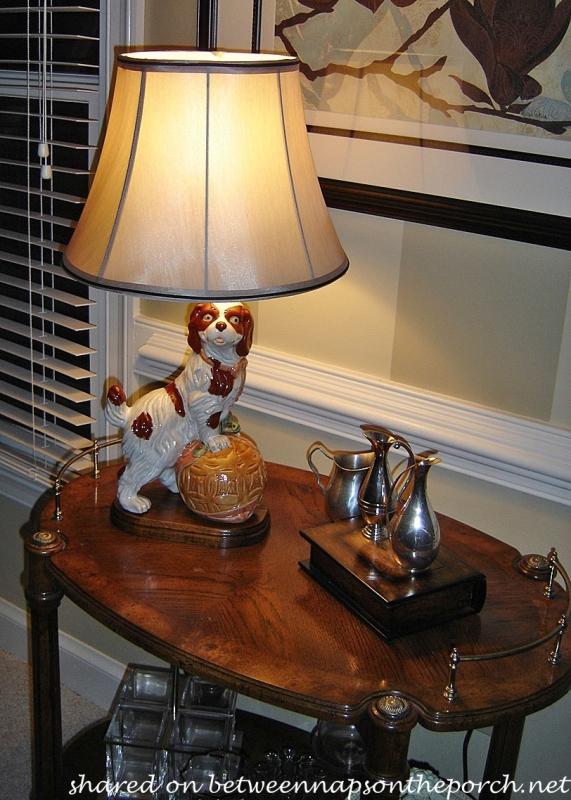
Vikki made one of those, too!
She said, ” I had long admired Susan’s adorable Doggie lamp so when I saw the exact figurine on E-bay I couldn’t resist.”
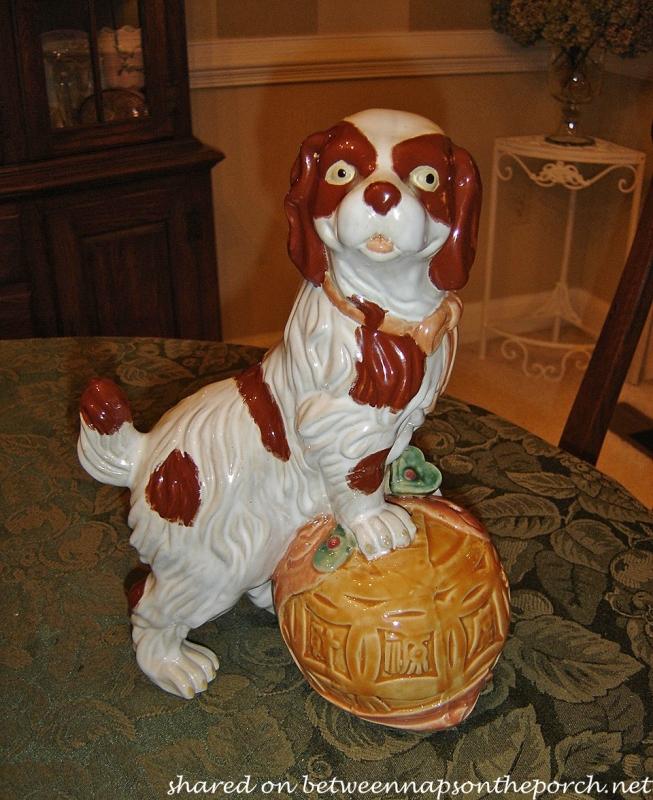
“I offered less than the asking price and got the piece for $45.00.” (Vikki did well because that’s about what I paid for mine in a local antique store.)
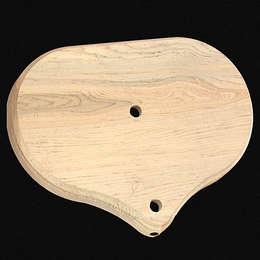
“Once again I searched Google and found a great site for figurine lamp-making kits at www.antiquelampsupplydotcom. ” Susan was so helpful and measured every part of her lamp so I would be sure to order the correct size base and figurine pipe. I called Antique Lamp Supply to make sure I could return items if they did not work for me.”
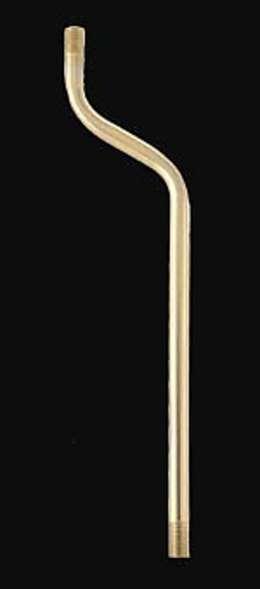
“The man who I spoke to told me the rule of thumb for figurine lamps is to order the “bent” lamp pipe 2 inches taller than the figurine you are using.”
Good information to know. So if you’re thinking of making a lamp using this type construction, keep that in mind so your shade won’t end up too low.
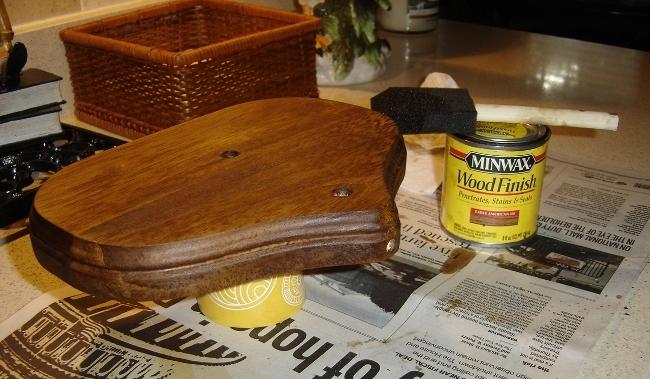
Vikki said, “I stained, sanded, stained, sanded and stained the wooden base using Minwax “Early American” stain. When I was happy with the color and after the piece was completely dry I gave it one coat of Minwax Fast-Drying Polyurethane. I had the stain and poly on hand so no added costs.”
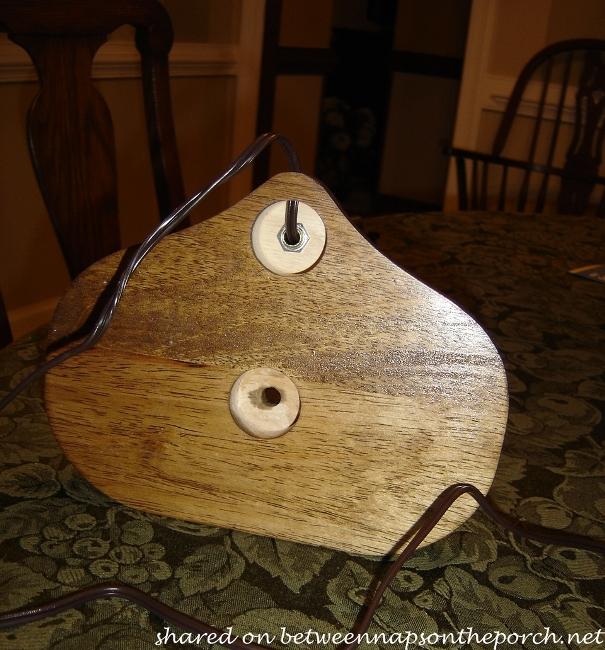
“I purchased a kit containing the harp, socket, wire, etc., from Home Depot just as I had done for the vase lamp.”
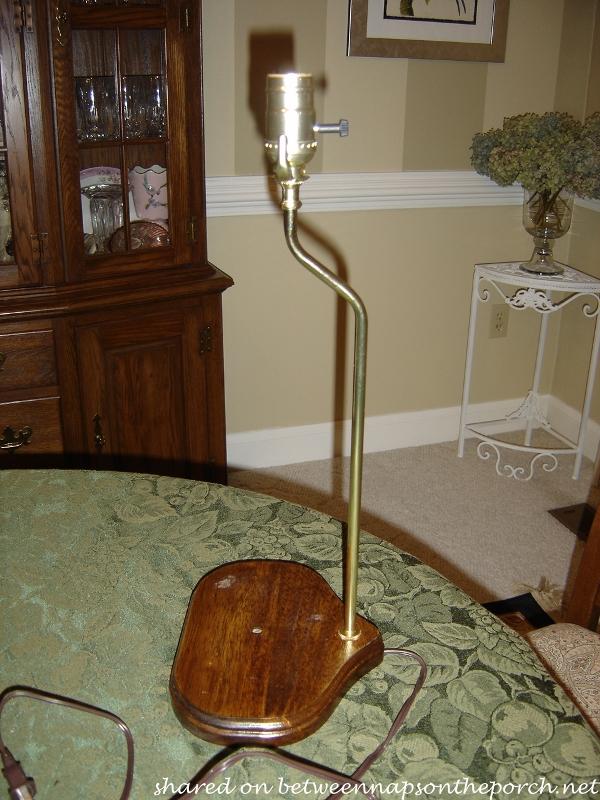
“Once again hubby wired the socket for me (but you really don’t need a hubby to do this) and we put the pieces together like we knew what we were doing.”
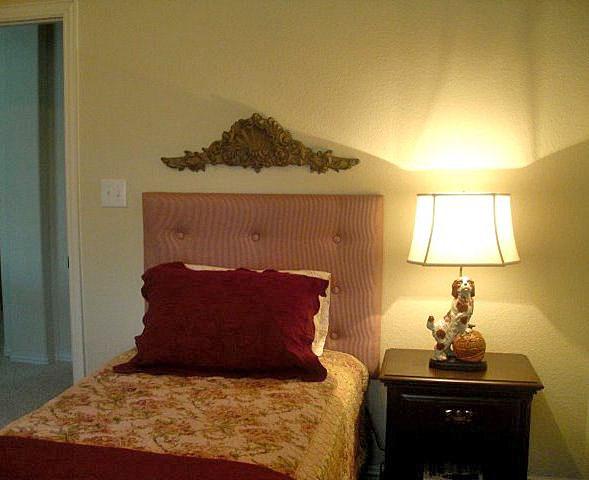
Vikki used a dot of Gorilla Glue under each of her doggie’s paws to hold him in place on the base.
Vikki said, “Total cost for this lamp was $111.18. Shipping charges are just so high. If you live where you have a local supply for the unusual parts such as the base and figurine lamp pipe you will be able to make something like this for much less. Of course my big cost was the doggie.”
I love how Vikki’s doggie lamp came out. She and her hubby did a wonderful job! Again, this lamp would most likely have cost a lot more in a store if it were available, which it’s not since it’s a one-of-a-kind. Or, is it?

Okay, make that two-of-a-kind since his brother is living at my house. 😉

Actually make that three-of-a-kind!
You may remember when I posted about Mary making her own version of my doggie lamp in this post: How to Make a Lamp from a Treasured Collectible.
Think we should have a little party and get all our lamps together to meet each other? 🙂 Wonder if anyone else out there in blogland has made this lamp?
Thanks to Vikki for sharing her wonderful tutorial! I know it’s going to inspire so many folks reading this to turn something they love into a beautiful lamp for their home.
Don’t be intimidated at the thought of making your own lamp. Vikki wasn’t even sure of the names for the lamp parts when she first got the idea to make her vase lamp, but she figured it out by Googling for lamp parts. I love how she just went for it and figured it out as went along.
Please do make sure you follow correct procedures when you wire your lamp and if you’re not sure, take your lamp to a professional or a licensed electrician. Safety first!
I love the idea of having a lamp that you just can’t find in any ole store. When you’re out shopping/thrifting/antiquing, keep your eye out for pretty figurines or vases that would work well in your decor. It’s a great way to get the exact size, color and style lamp you need for your home!

