In electronic music circles, sidechain compression is a key aspect of sound design. But the technique isn’t particularly well understood in the larger audio world. In this workshop, we’re going to look at how to use sidechain compression in your mixes, and discuss alternative ways to use it, just in case you’re keen to create something other than the popular bass-pumping sound outlined below.
In essence, a sidechain is the part of the signal that the compressor (or other dynamics processor) uses in its detection circuit to determine how much gain reduction to apply. In a standard compressor application, the sidechain signal and the audio signal will be the same – the sidechain will be separated from the audio signal internally and in many compressors you won’t even know that there is a sidechain at all, as you won’t have access to it.
However, in some compressors, such as the Dyn3 used in this workshop, you can use an external sidechain fed from a completely unrelated signal. In this situation, the audio signal will be reduced in gain whenever the sidechain signal goes above the threshold, rather than in response to its own level. In the example of a bass synth keyed from a kick drum, the gain reduction will follow the shape of the kick drum. You could have a single long drone and create a rhythm in it by using gain reduction from a sidechain rhythm, which you needn’t even send to the mix bus at all.
The chain gang
This technique is also regularly used in radio to duck the music when a DJ is speaking over it. This example can be similarly used in music to key the instrumental bus in a mix from the primary vocal, allowing the main vocal to sit more clearly above the instruments. Be careful, however, not to overdo it in this scenario – the pumping can be quite unnatural sounding as, unlike a kick drum, a vocal performance is rarely so rhythmic. Use a low ratio, as well as slow attack and release times.
A similar trick can be used on reverb and delay sends. Try keying a compressor after the reverb/delay from the input to the send. This will reduce the level of the effect the louder the dry signal is, allowing the reverb/delay to come through at full volume when the dry signal has ended. This effect is actually built-into iZotope DDLY, a dynamic delay effect that has the compressor and sidechain built-in and pre-routed.
Some compressors use an alternative to sidechain compression to lift the bottom end out of the detection circuit. Sidechain filtering is an almost essential component of mix-bus compression. In this example, the sidechain signal and the audio signal begin the same but a high-pass filter is applied to the sidechain signal. This way, the detection circuit no longer responds to low-frequency signals and only reduces the gain of the audio signal when the midrange and high frequencies trigger the detector.
In effect, this reduces midrange and pushes the low end forward in the mix. In some compressors, including the Dyn3, this is taken even further by including not just a high-pass filter but a low-pass, and sometimes additional EQ bands. A de-esser is essentially a compressor with a highly tuned sidechain filtered to respond only to the sibilant region of the audio.
Pumping on your stereo
By sending a duplicate of the audio channel to the external sidechain, we can shape the audio in any way we choose. Applying your own filtering and EQ shaping, you can sculpt the sidechain in any way you want – we’ve had great results using tilt-style EQs in the past – or, going further, you could compress or limit the sidechain so that the sidechain signal has fewer dynamics than the audio signal, which will see the compressor respond with less gain reduction. This is a great trick for smoothing out a vocal performance while leaving transients uncompressed.
With so many different ways of making use of sidechain compression, it’s important to understand how to use it in your sessions and what advantages the technique brings to your toolset.
Sidechaining in Protools: step-by-step
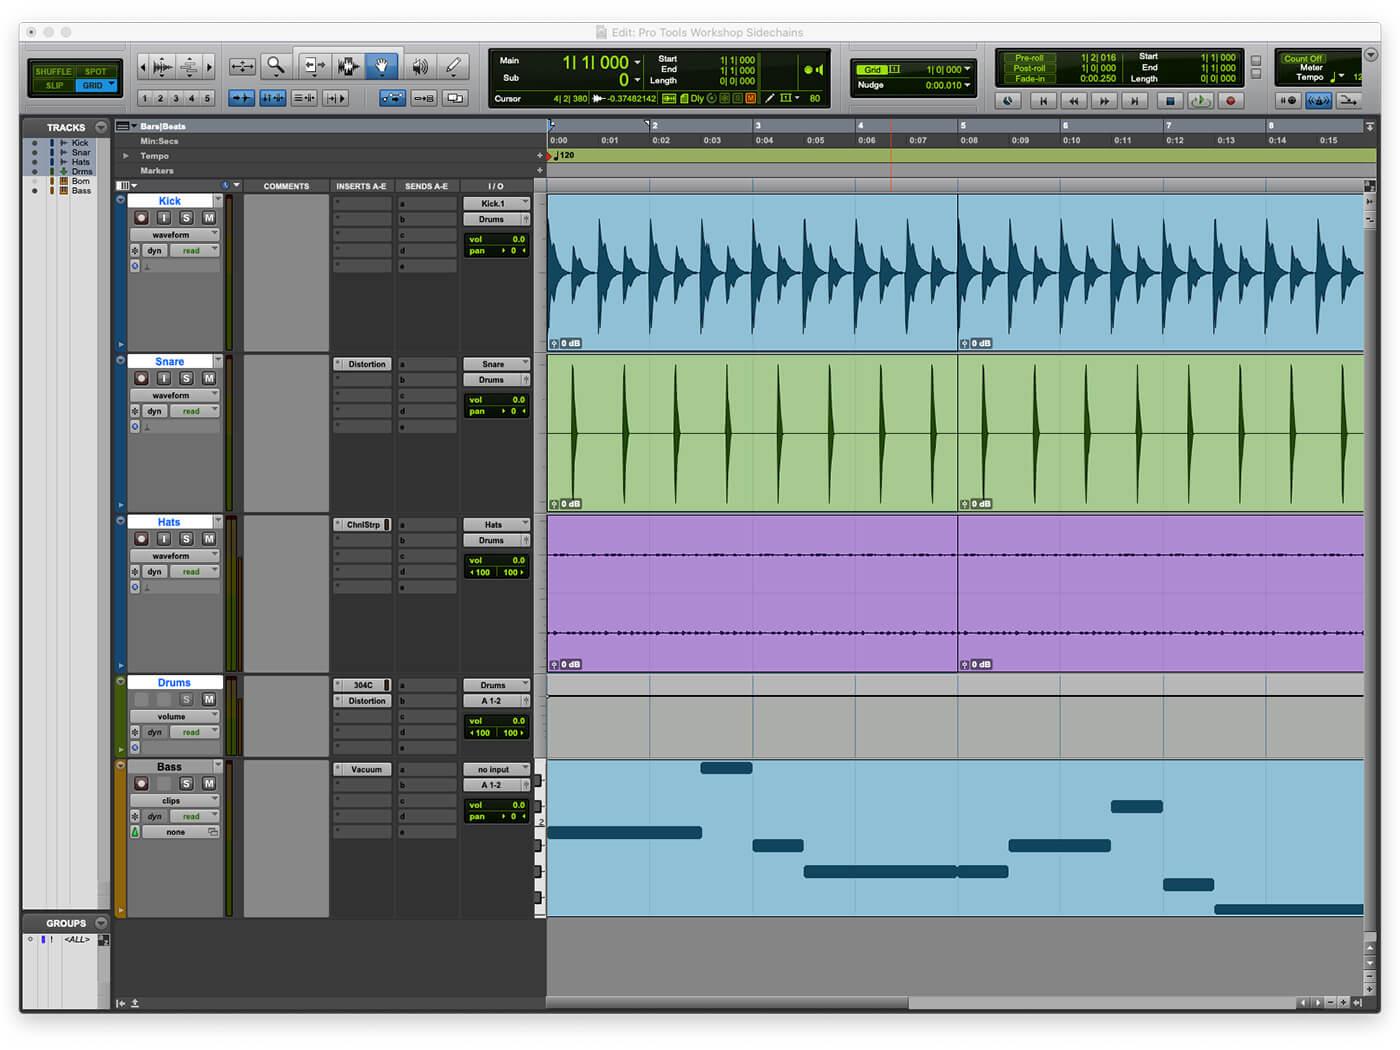
1. This workshop session is built around a simple drum machine pattern, built-in Boom, with a bassline provided by Vacuum.
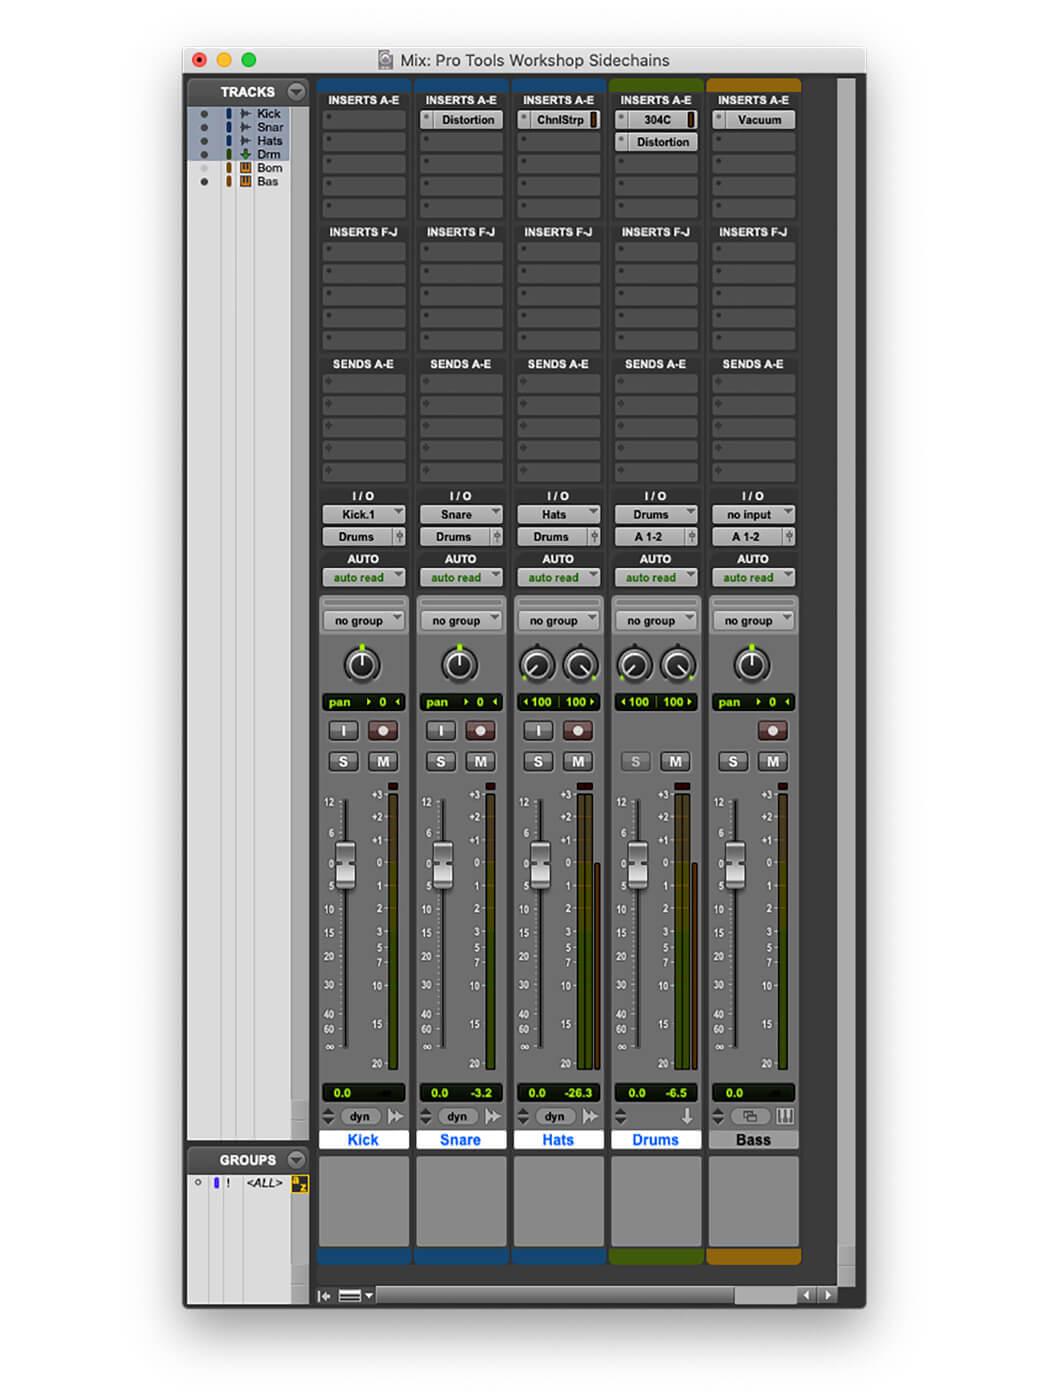
2. We’ve applied a few basic plug-ins already to liven things up and shape the drum sound, with most of the work being done on the drums bus.
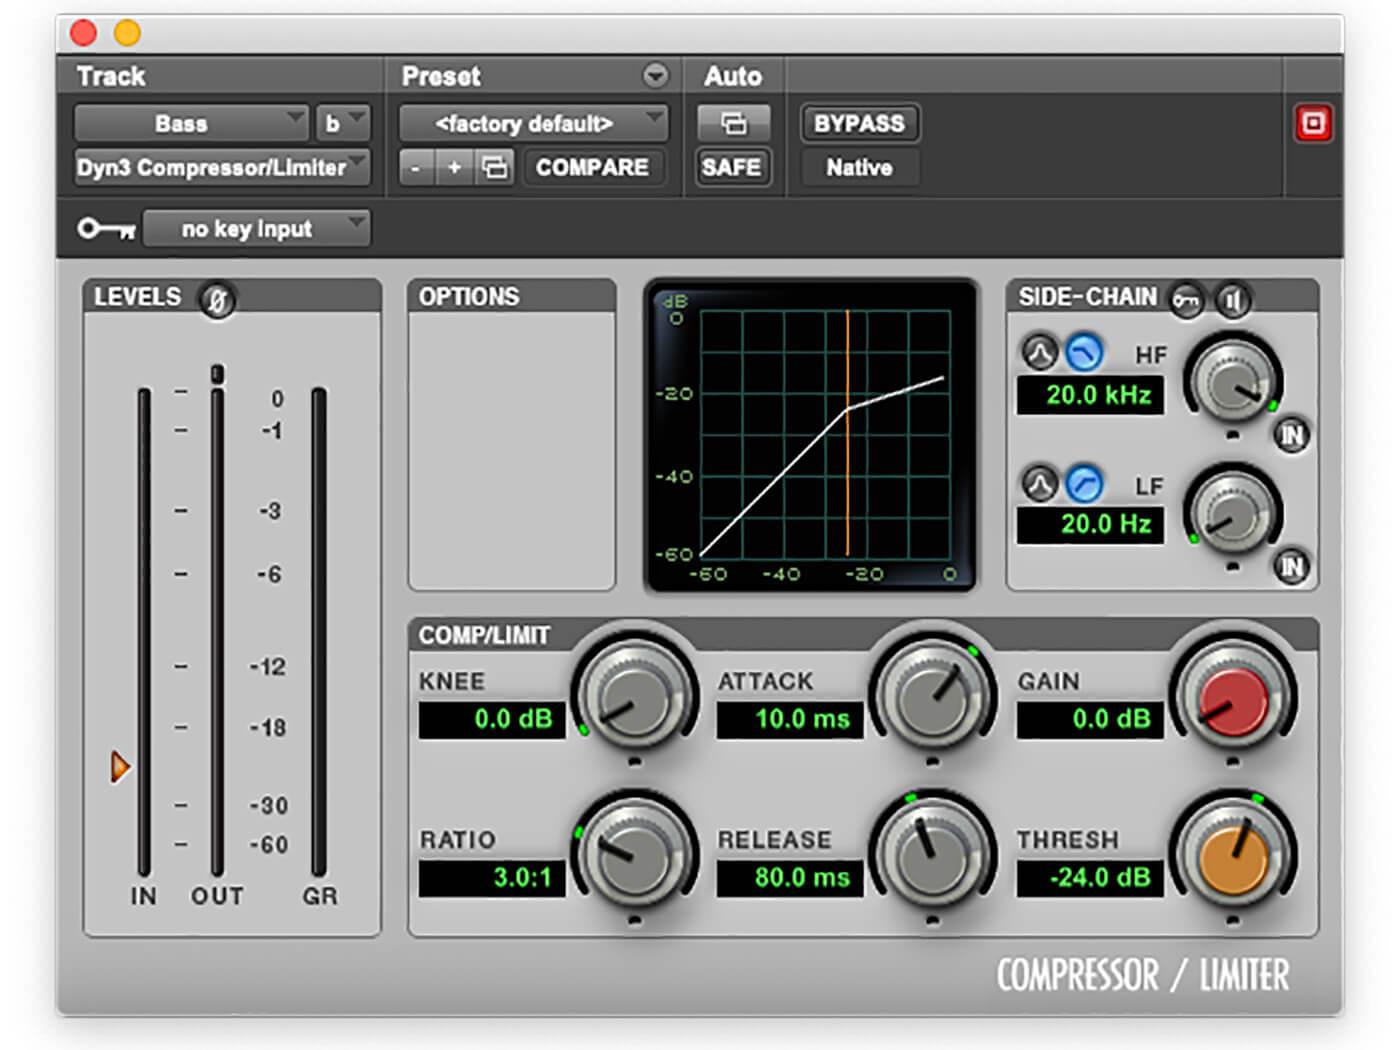
3. Add an instance of Dyn3 Compressor/Limiter to the bass channel. This is going to be our compressor, which we will trigger from the kick drum.
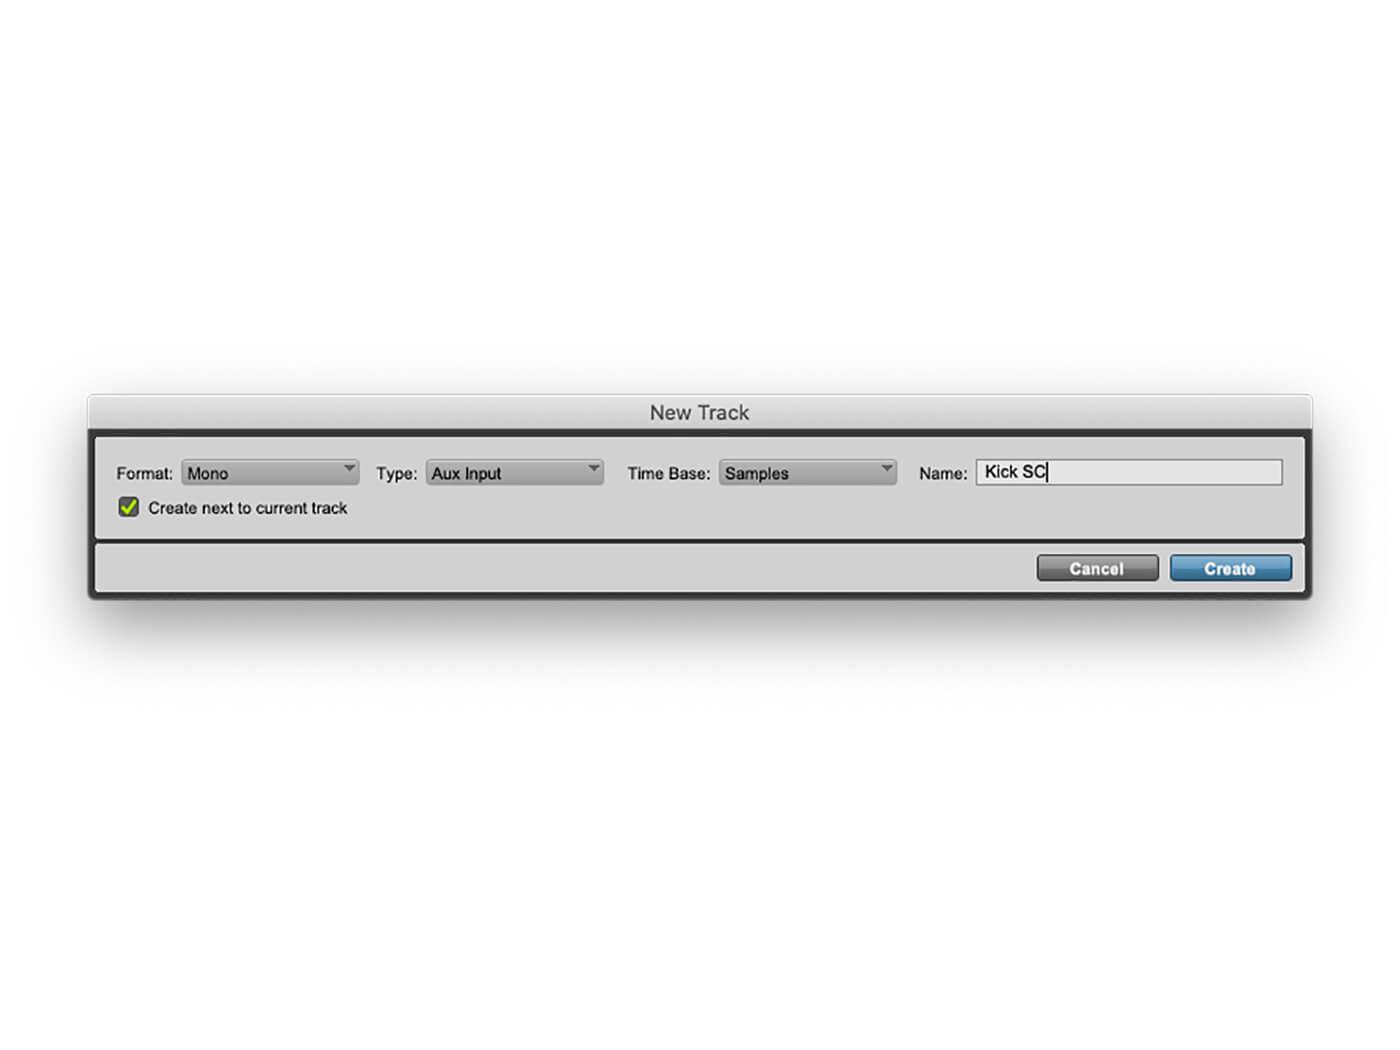
4. Add an additional mono send to the kick track. Note that you don’t need the sidechain send to go to a channel strip. If it does, be sure to mute that channel or your sidechain will also go to your mix-bus.
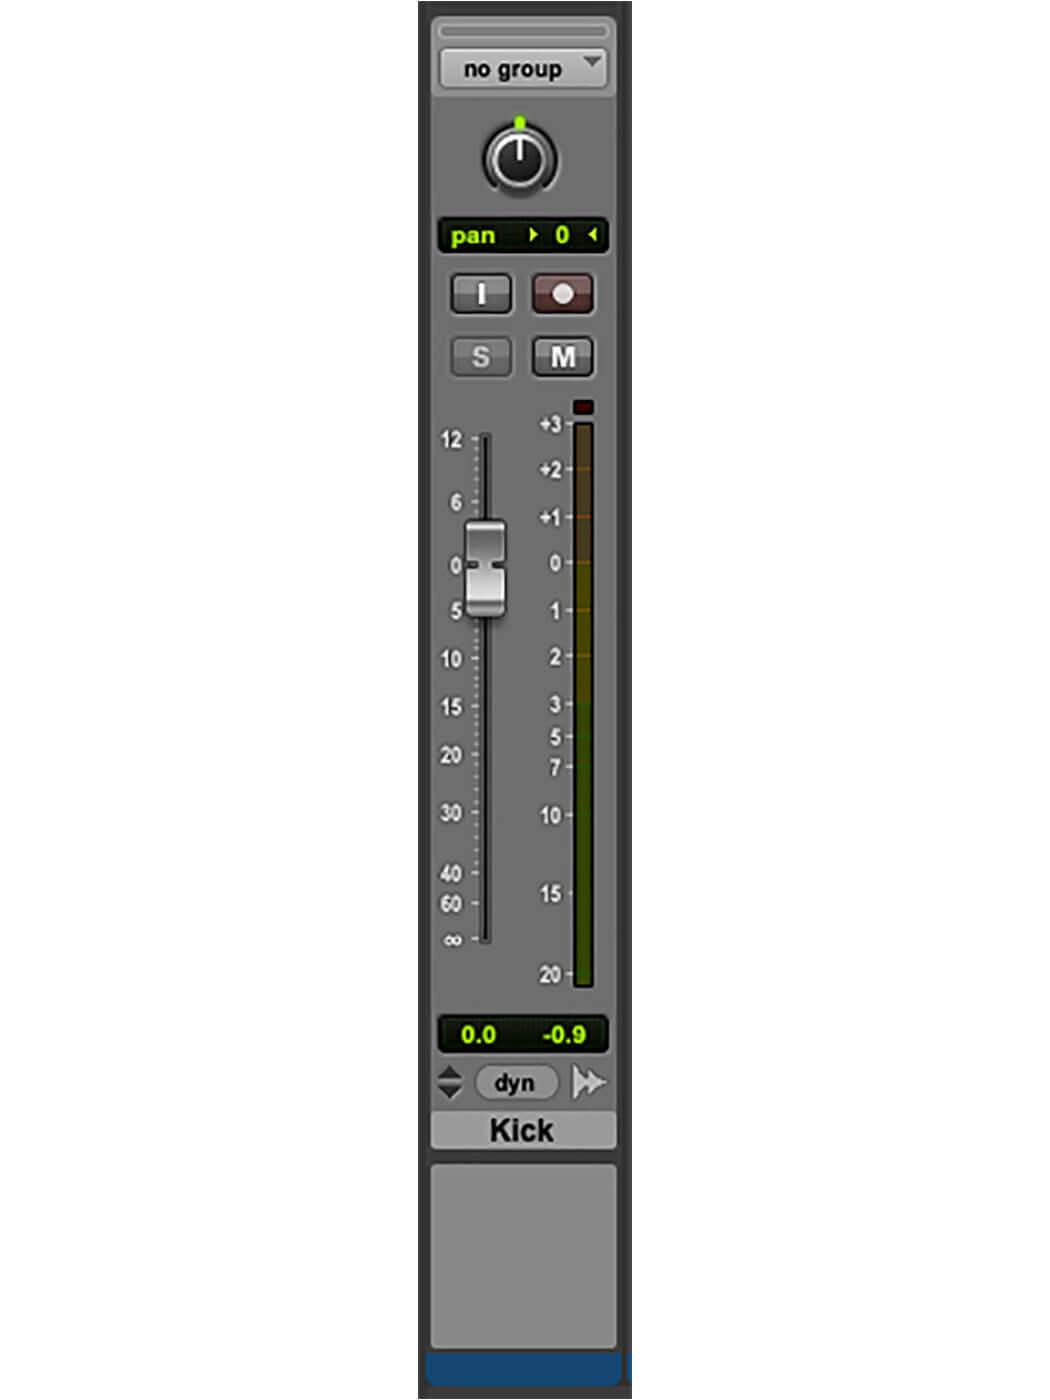
5. Check that your aux send is set to 0dB – some Pro Tools users prefer to have sends default to -INF. And put the channel into solo safe mode so the sidechain will still function later when we solo the bass track.
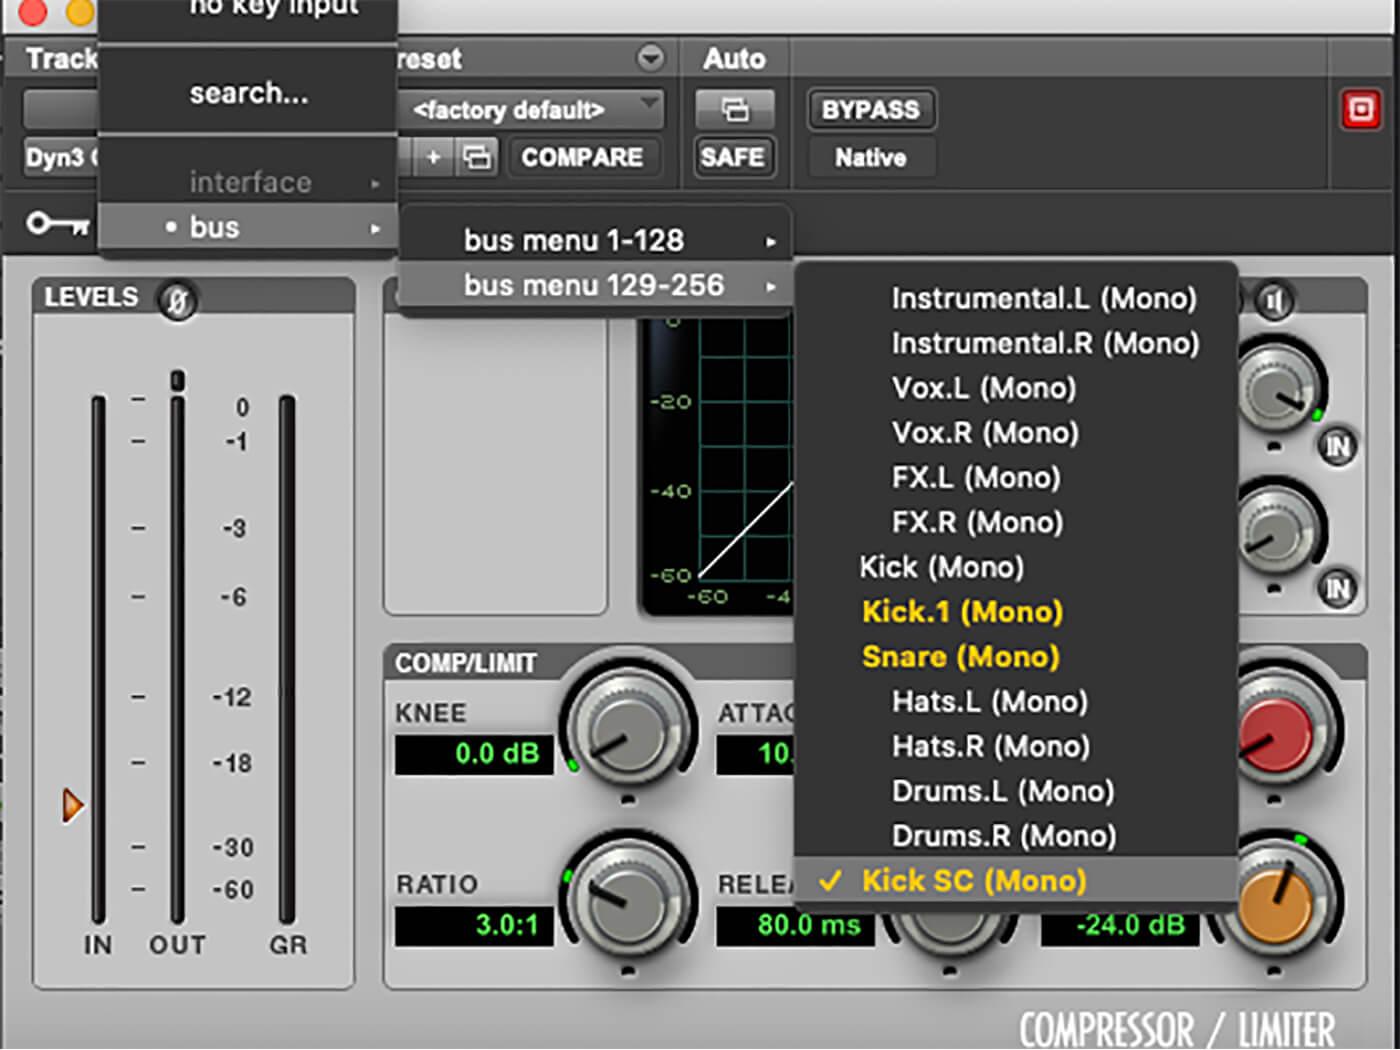
6. In the Dyn3 compressor on the bass channel, change the sidechain input to be the new aux send you’ve assigned to the kick. This routes any audio going to that channel to the sidechain input of the Dyn3 Compressor. Not all plug-ins have a side-chain input.

DEFAULT IN OUR STARS In the mixing tab of the preferences window, you can assign aux sends to default to -INF or, alternatively, with this setting turned off, to default to 0dB.
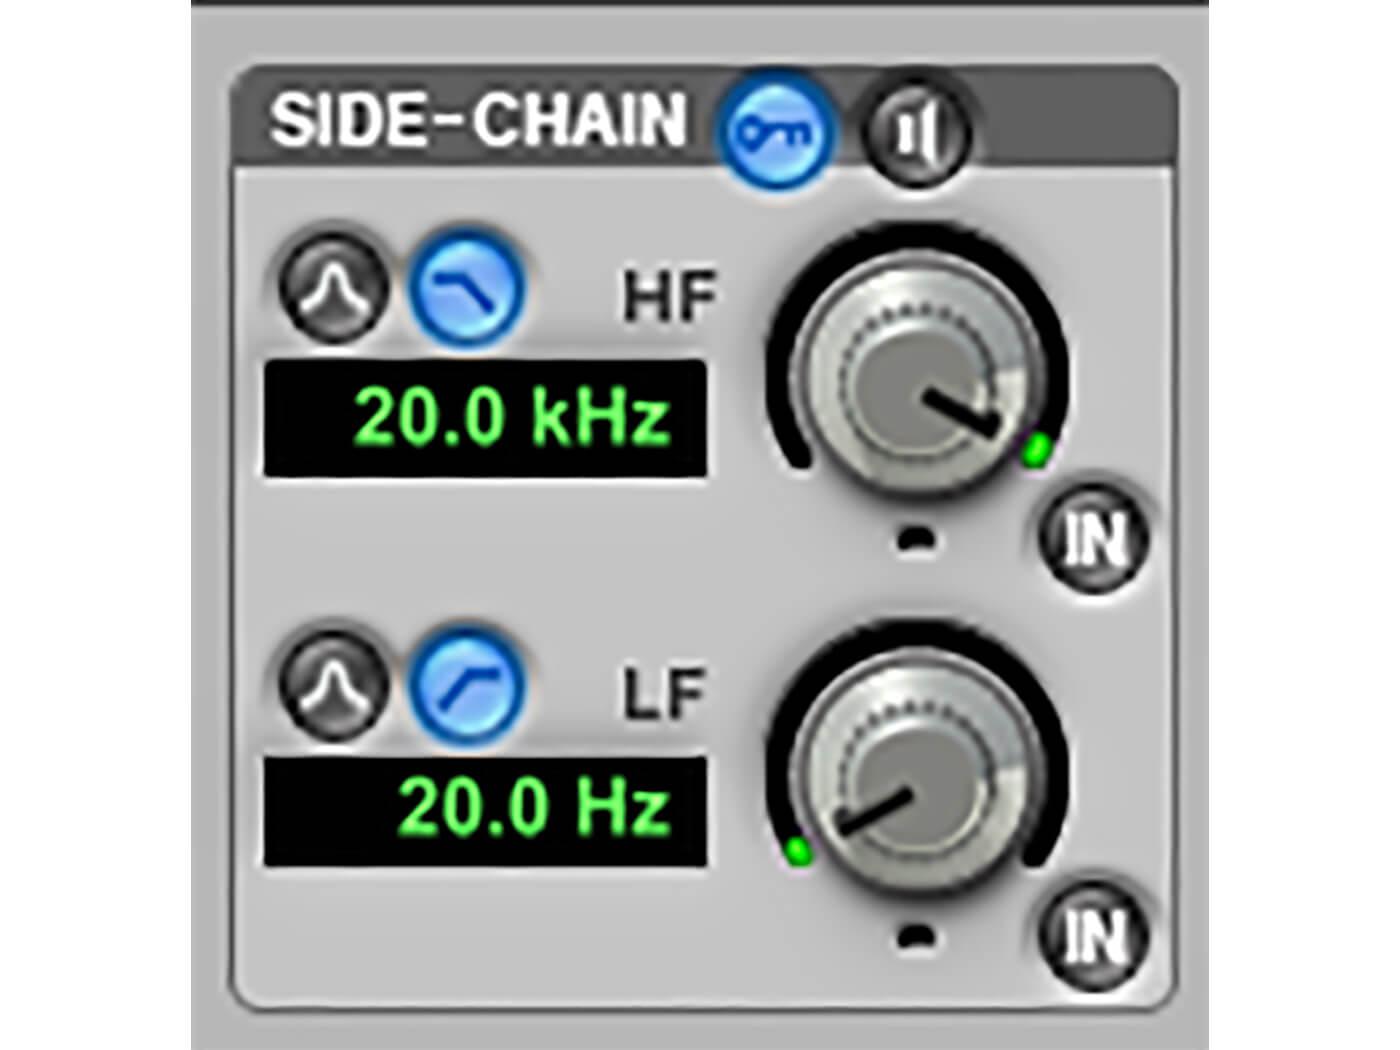
7. While the sidechain is now routed, it isn’t engaged yet. Click the key icon in the Sidechain box in the Dyn3 plug-in to engage the sidechain.
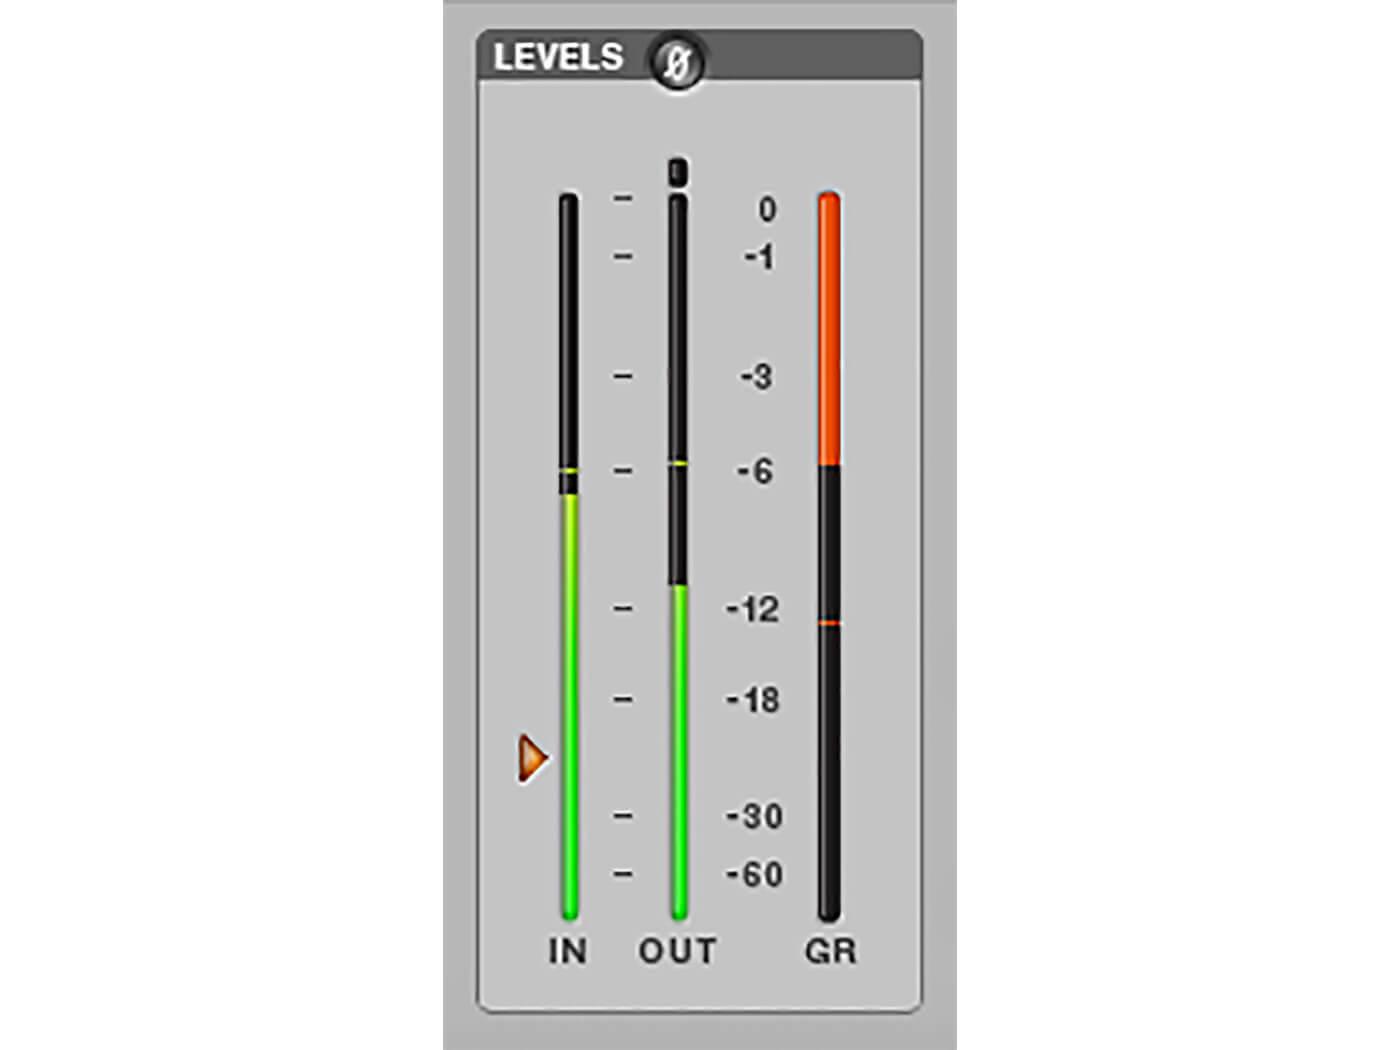
8. The compressor will now gain reduction in response to the sidechain input rather than audio from the channel.
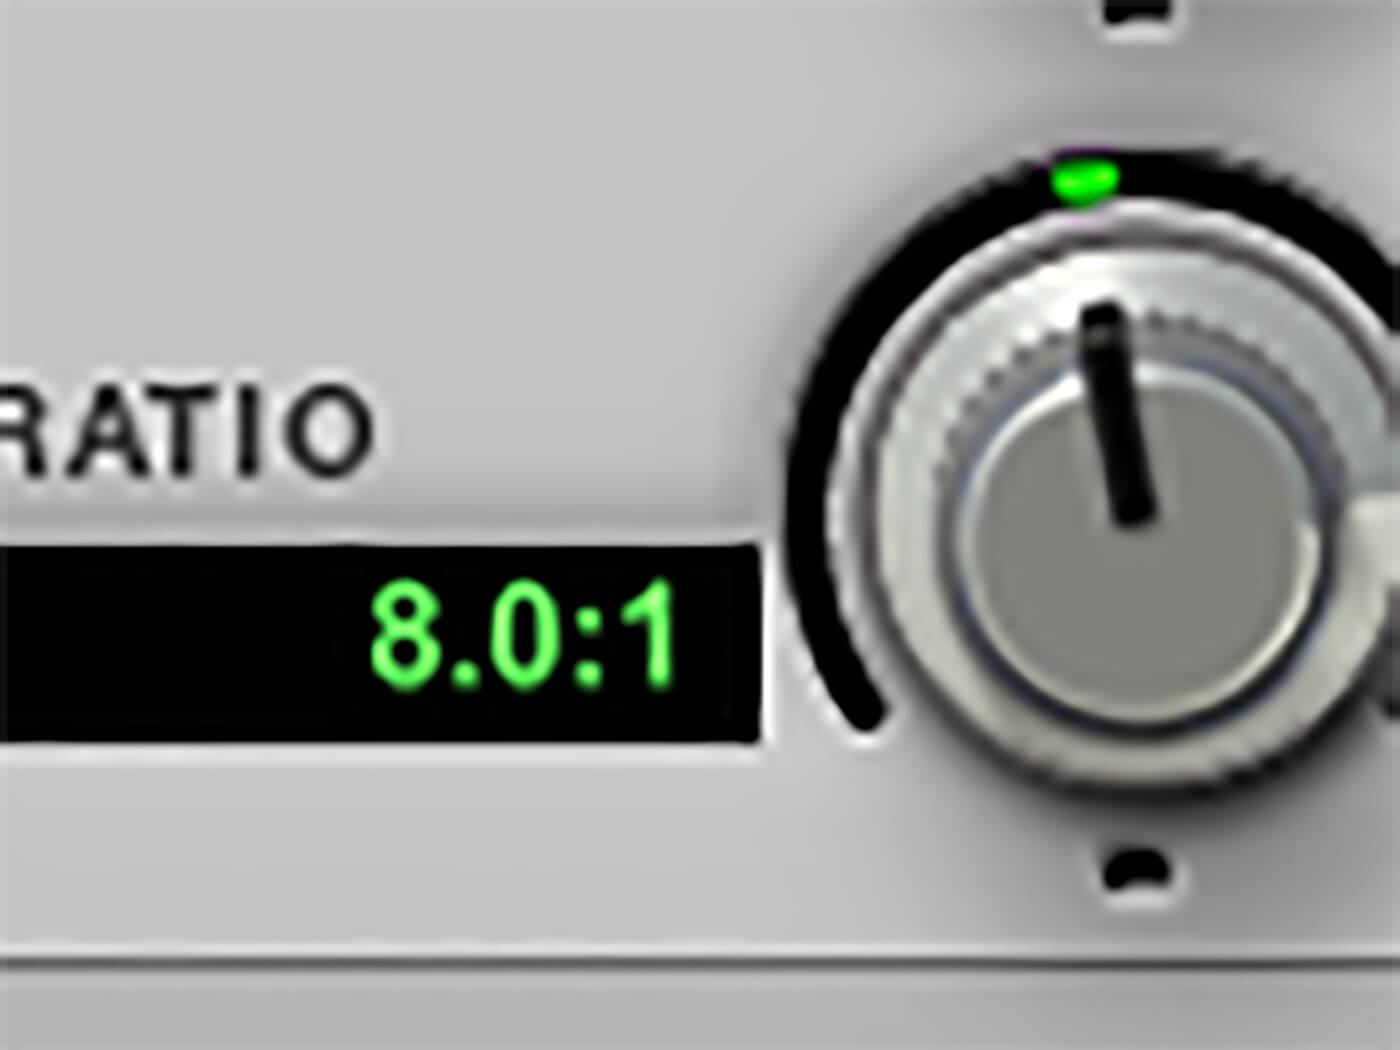
9. We want a fairly heavy pumping sound from the sidechain compression so we’re going to use a heavy ratio of 8:1.
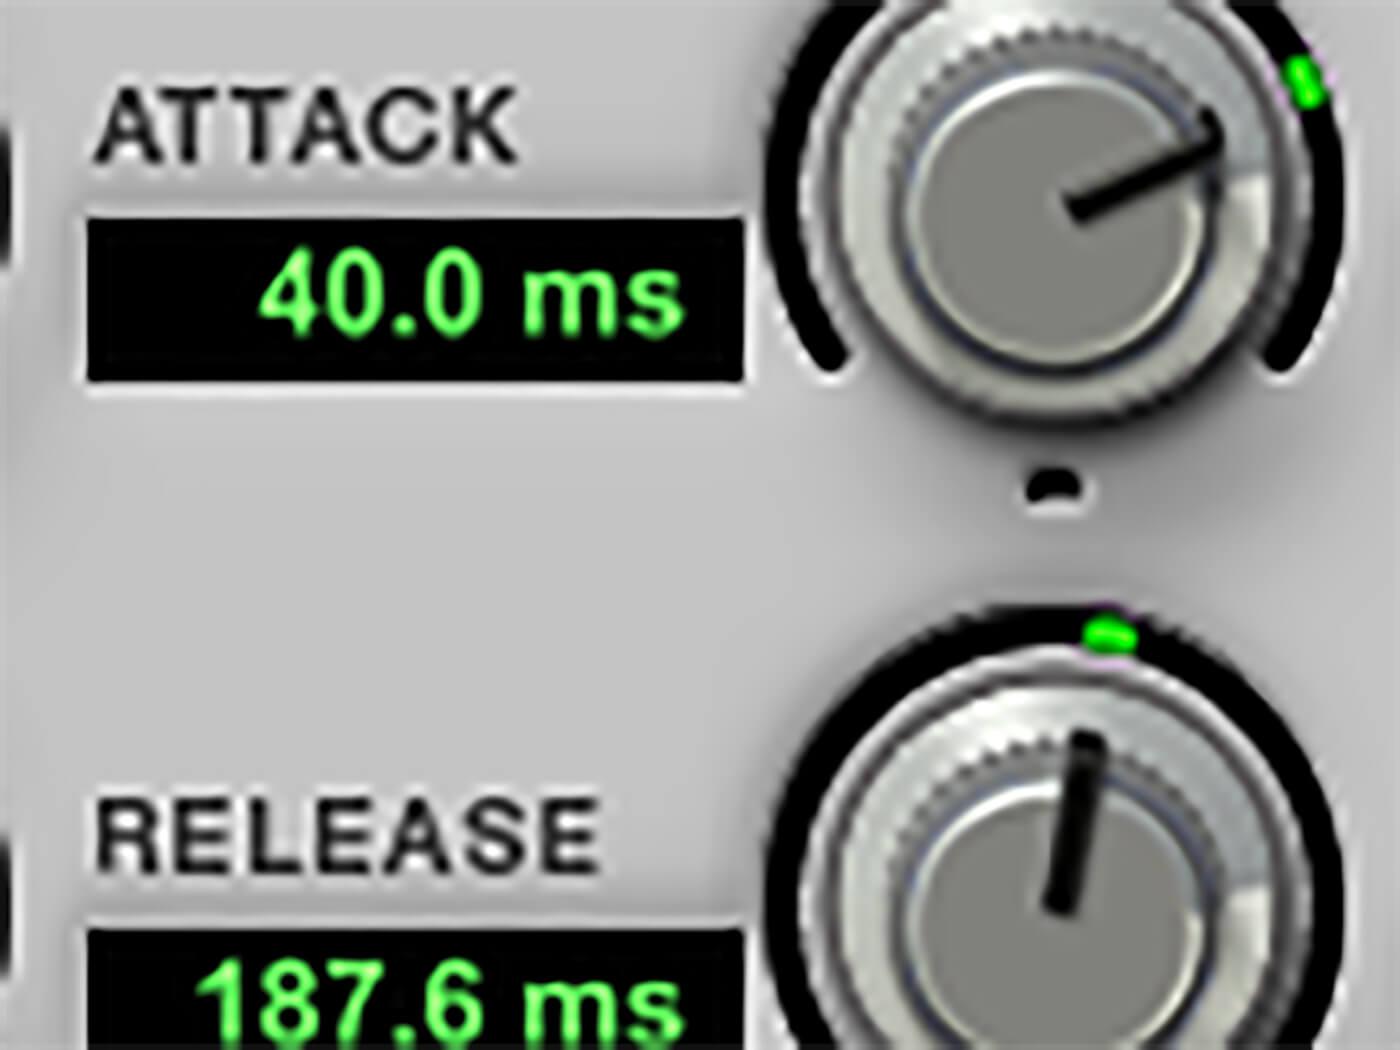
10. The key to making the pumping sound great is to time the attack and release to the track. You will need to use slow release times to ensure the pumping kicks along with the rhythm, and a fairly slow attack to prevent clicking.
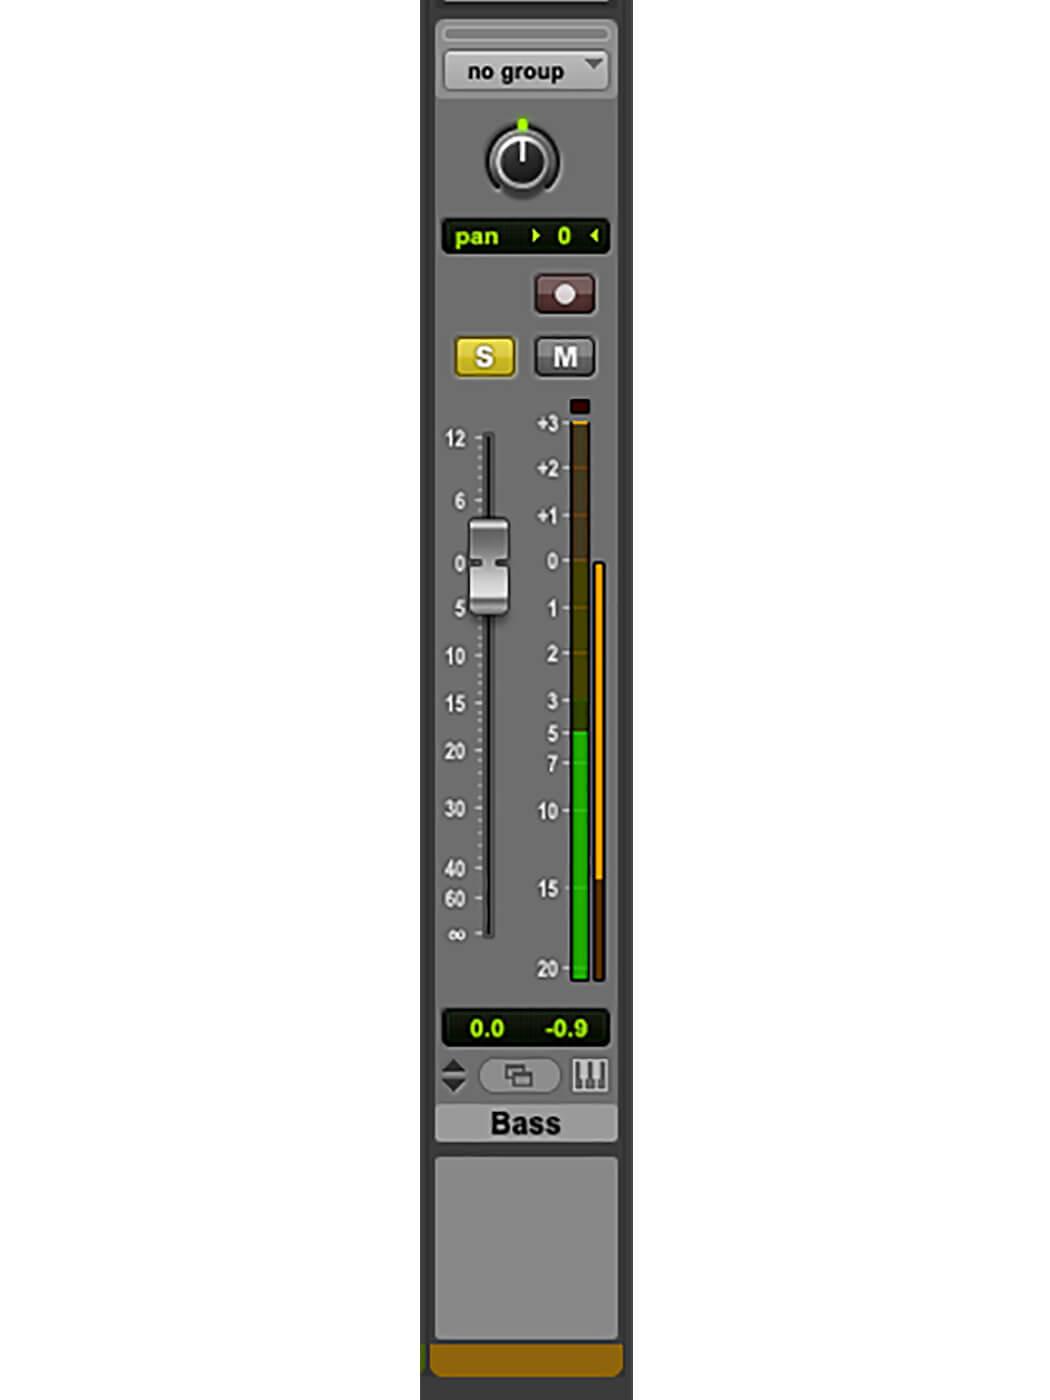
11. You can hear the effect of the sidechain compression in isolation by soloing the bass track – remember this won’t work if the kick track hasn’t been put into solo safe mode, as the sidechain signal itself will be muted. Because we’re bussing the kick to a drum track, however, we won’t be able to hear the kick anyway.
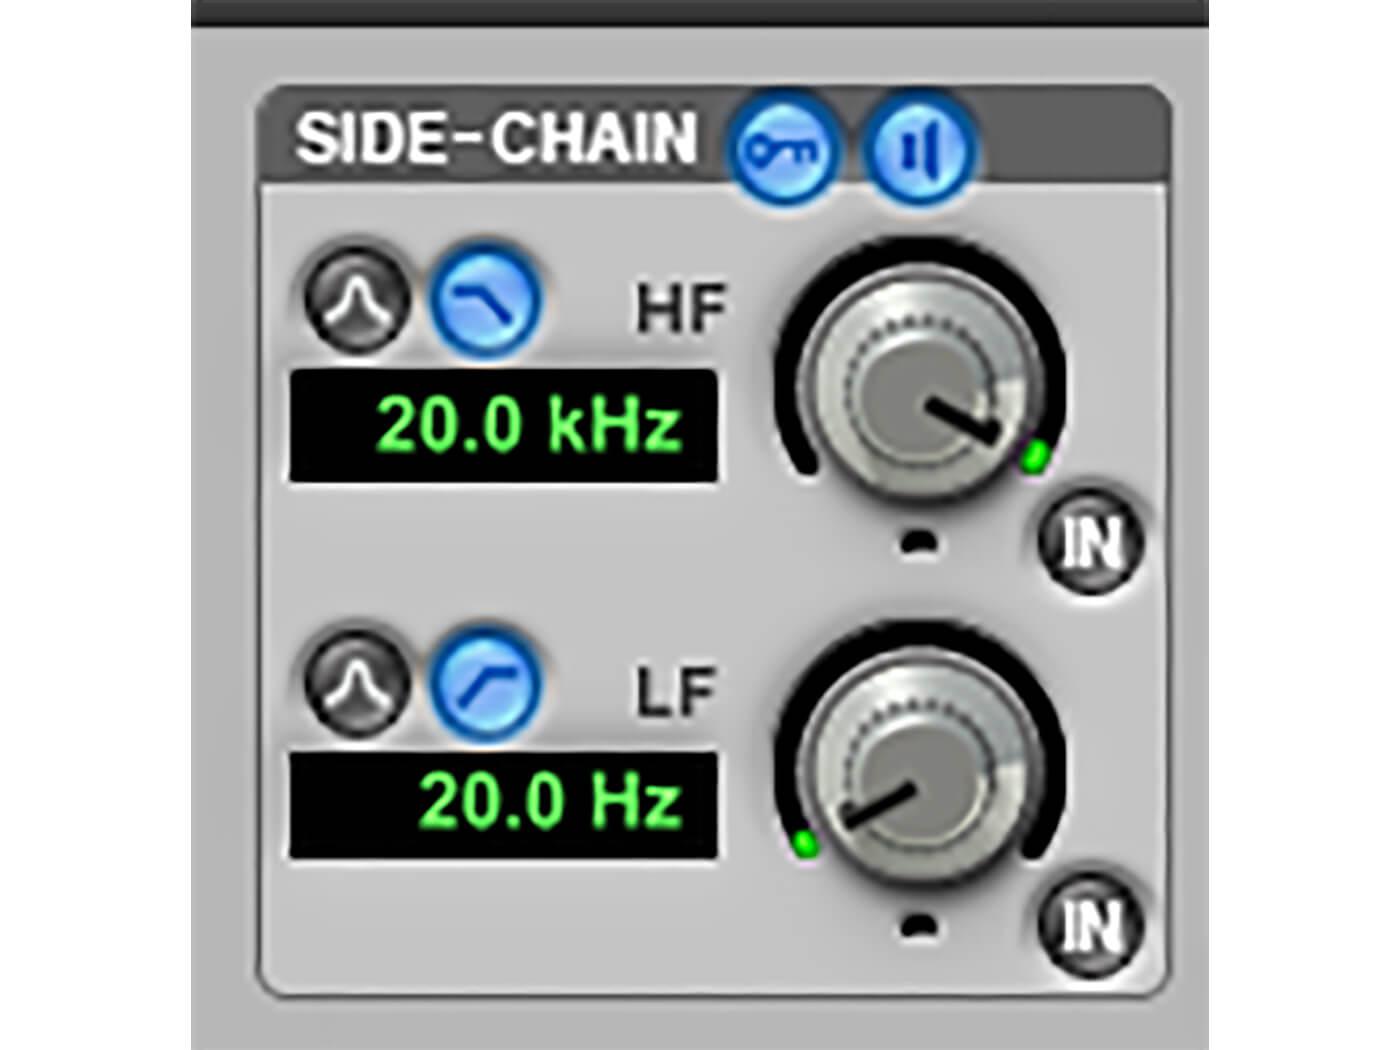
12. With the bass solo’d, you can listen specifically to the kick coming into the sidechain by pressing the Sidechain Monitor button in the Dyn3 plug-in.

PRESET JUNKIE As well as creating bus routings from the Send or Output boxes of the channel strips in the Mix or Edit windows, you can edit all your busses from the Bus page of the I/O Setup window. If you always use a similar set of I/O routings, it can be useful to build it in this window and save it as an I/O preset.
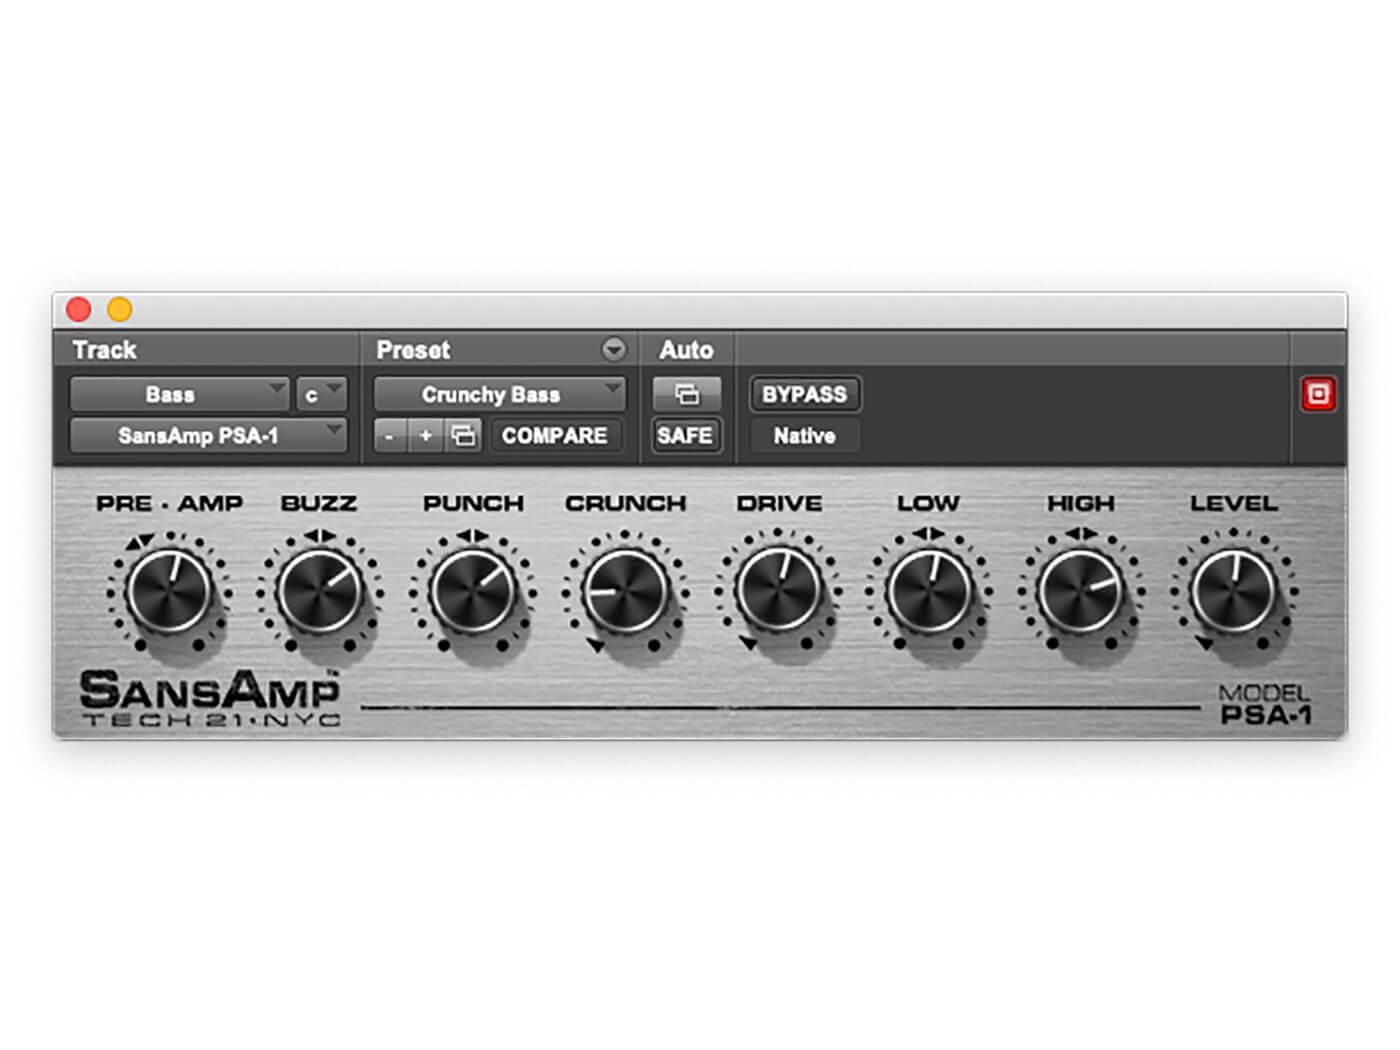
13. With the bass pumping along with the track, we’re going to make it sound more interesting. Add an instance of the Sansamp plug-in after the Dyn3 Compressor.
14. The Crunchy Bass preset is a good starting point. It makes the bass growl rhythmically along with the pumping. This is because it is responding to the new dynamics in the signal. If it were placed before the Dyn3 plug-in, the sound would be far less interesting.
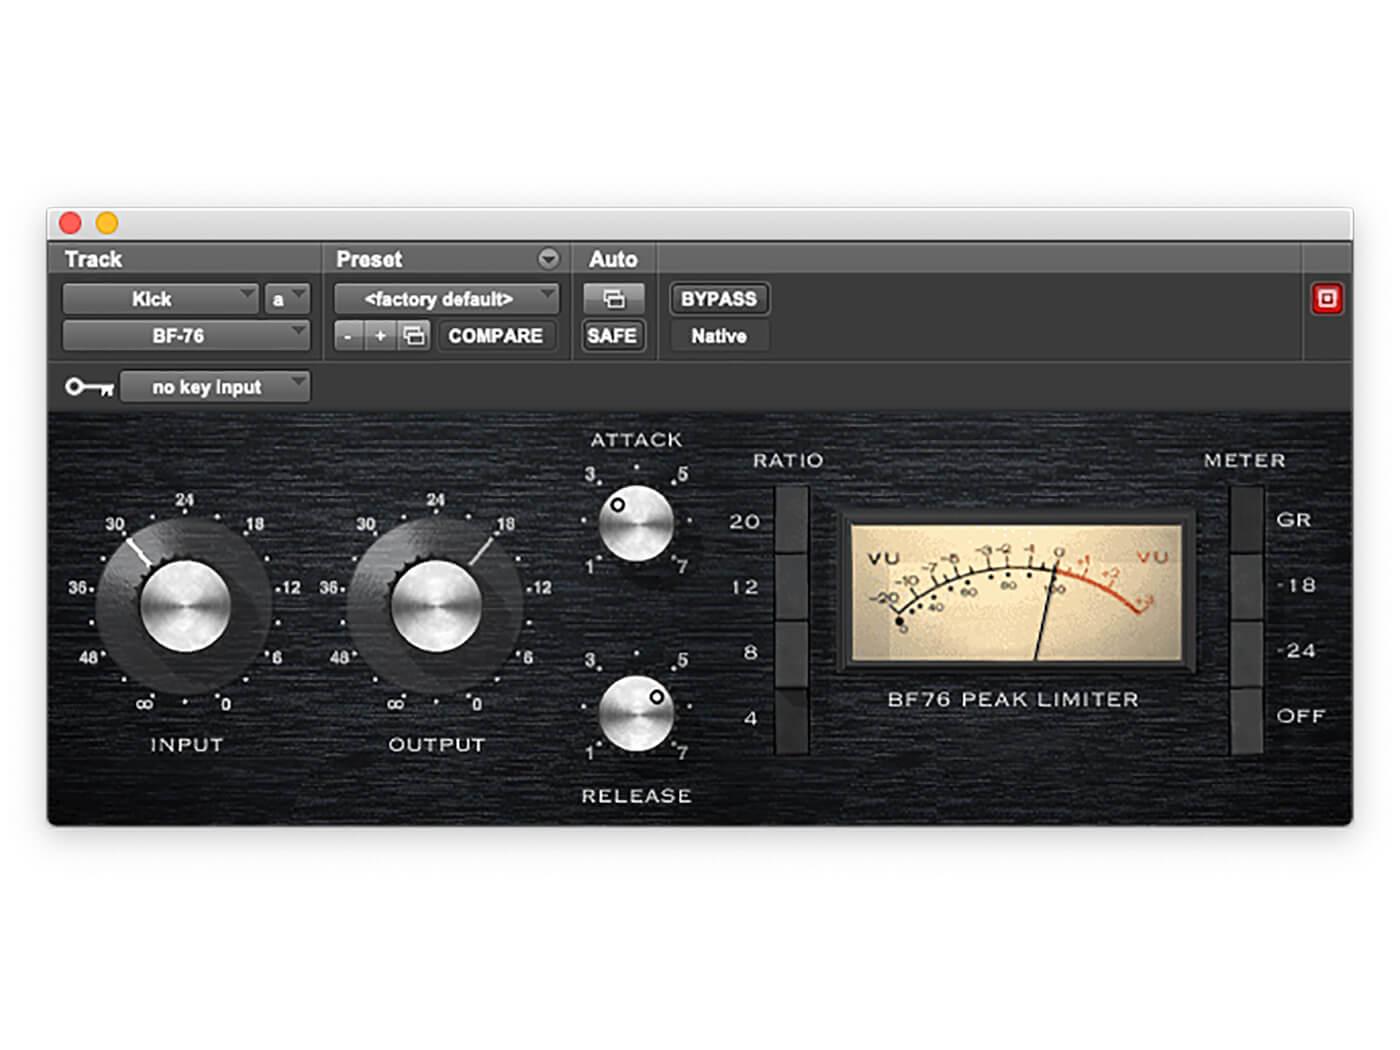
15. We can alter the response of the sidechain compression by changing the dynamic shape of the sidechain signal itself. Try adding an instance of BF76 to the kick channel, and with the bass channel in solo, listen to how the BF76 on the kick changes the sound of the bass.
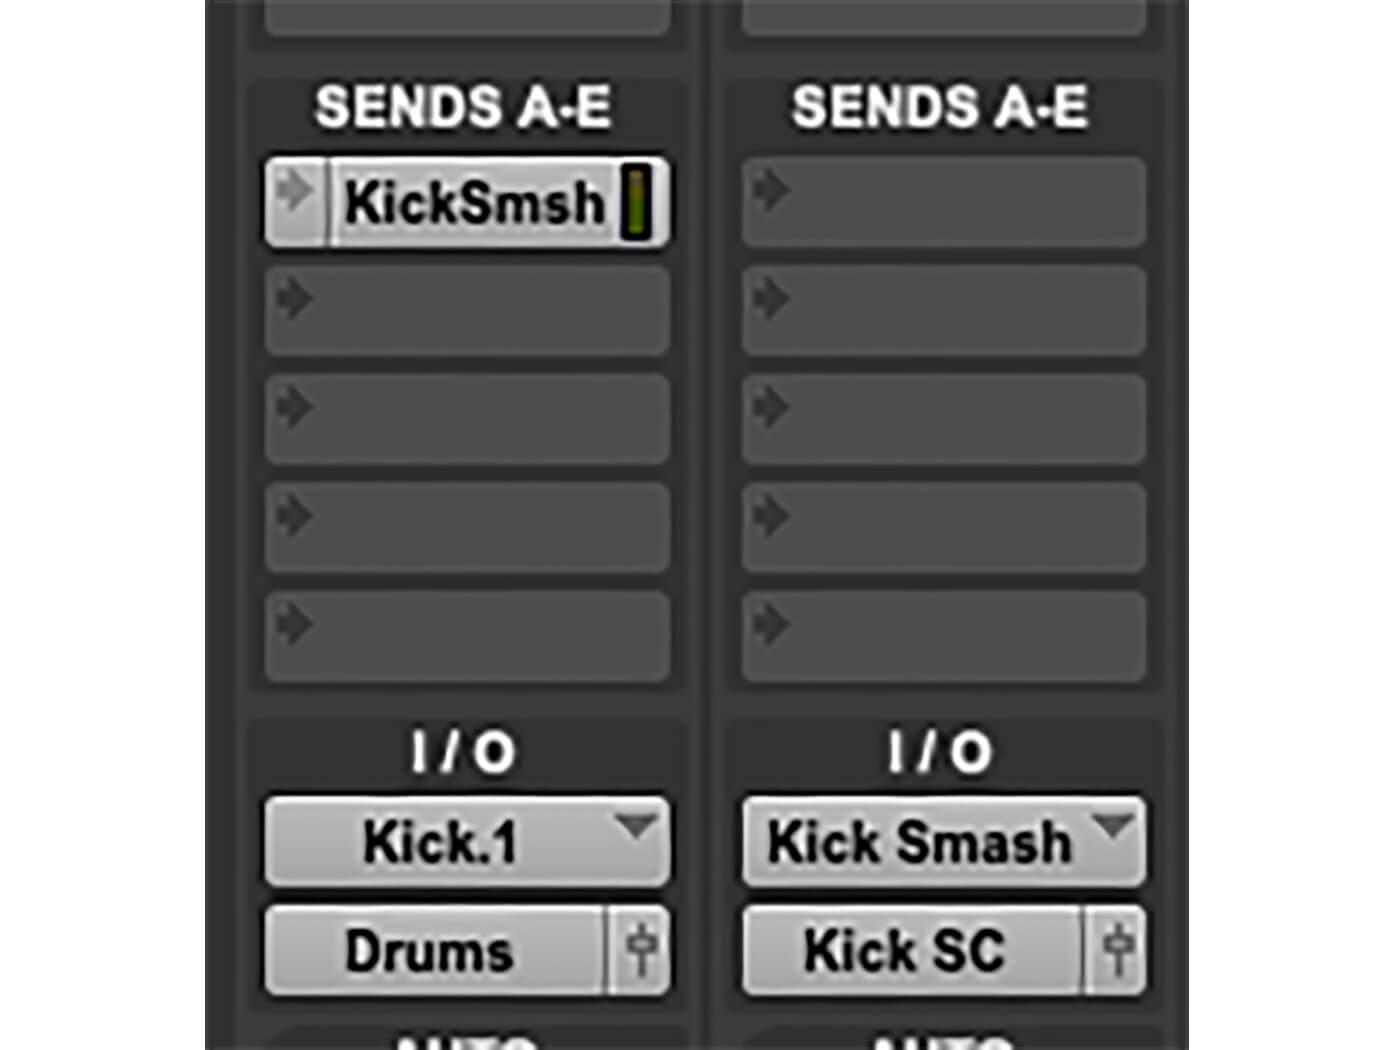
16. Adding dynamics processors to the sidechain signal can be a cool and powerful way of controlling the sidechain. But what if this negatively alters the sound of the kick itself? Easy: route the send from the kick to a new aux channel and route the output of the new channel to the sidechain.
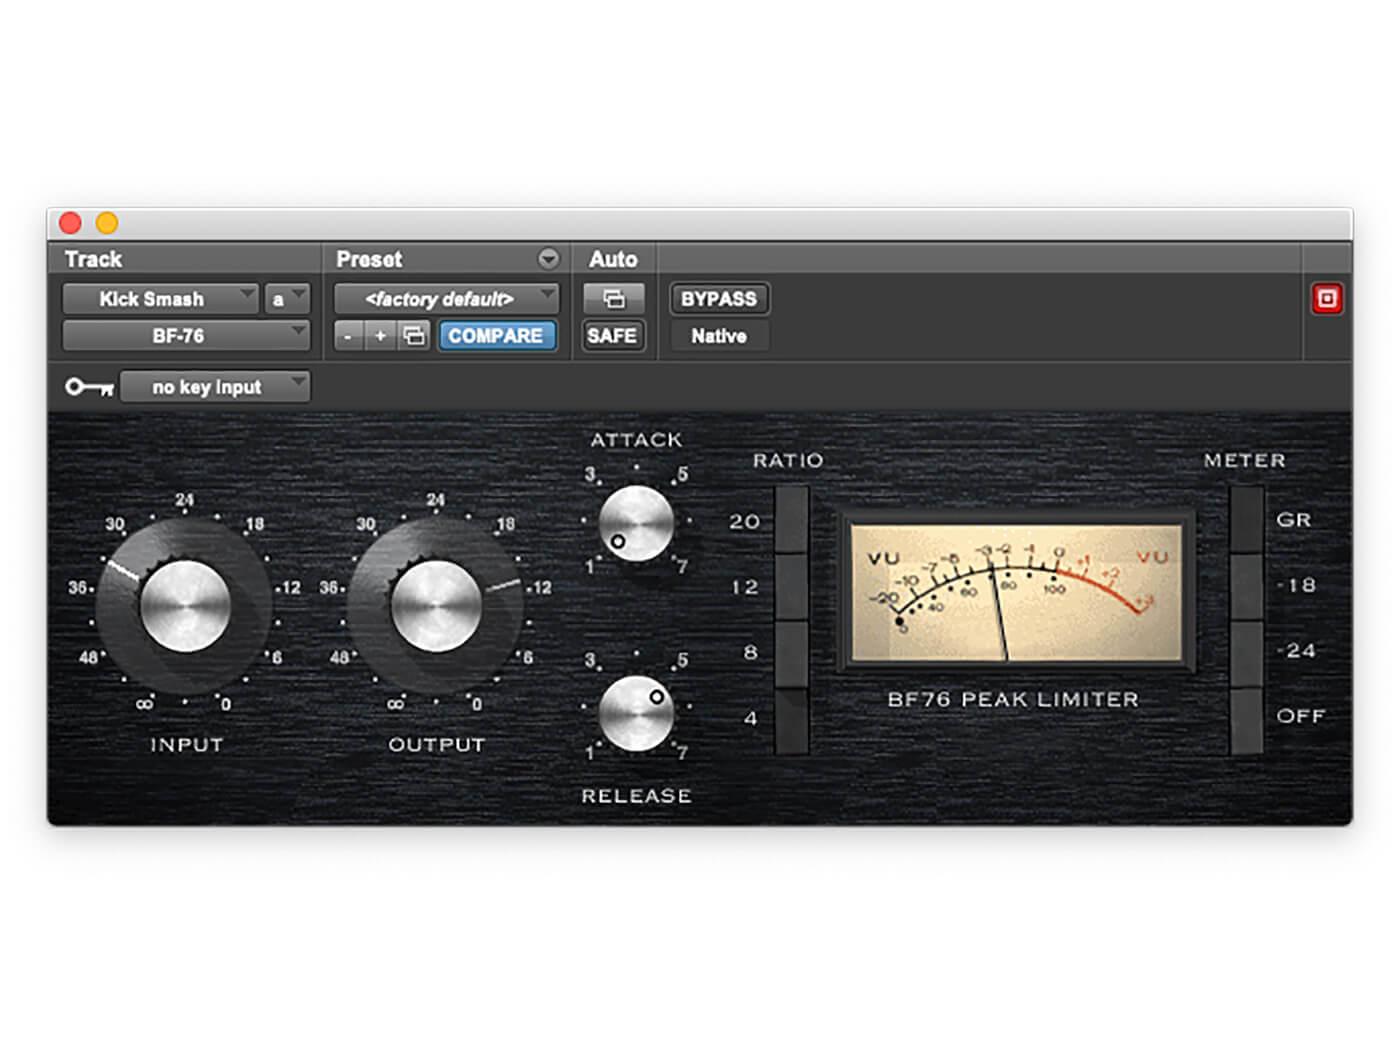
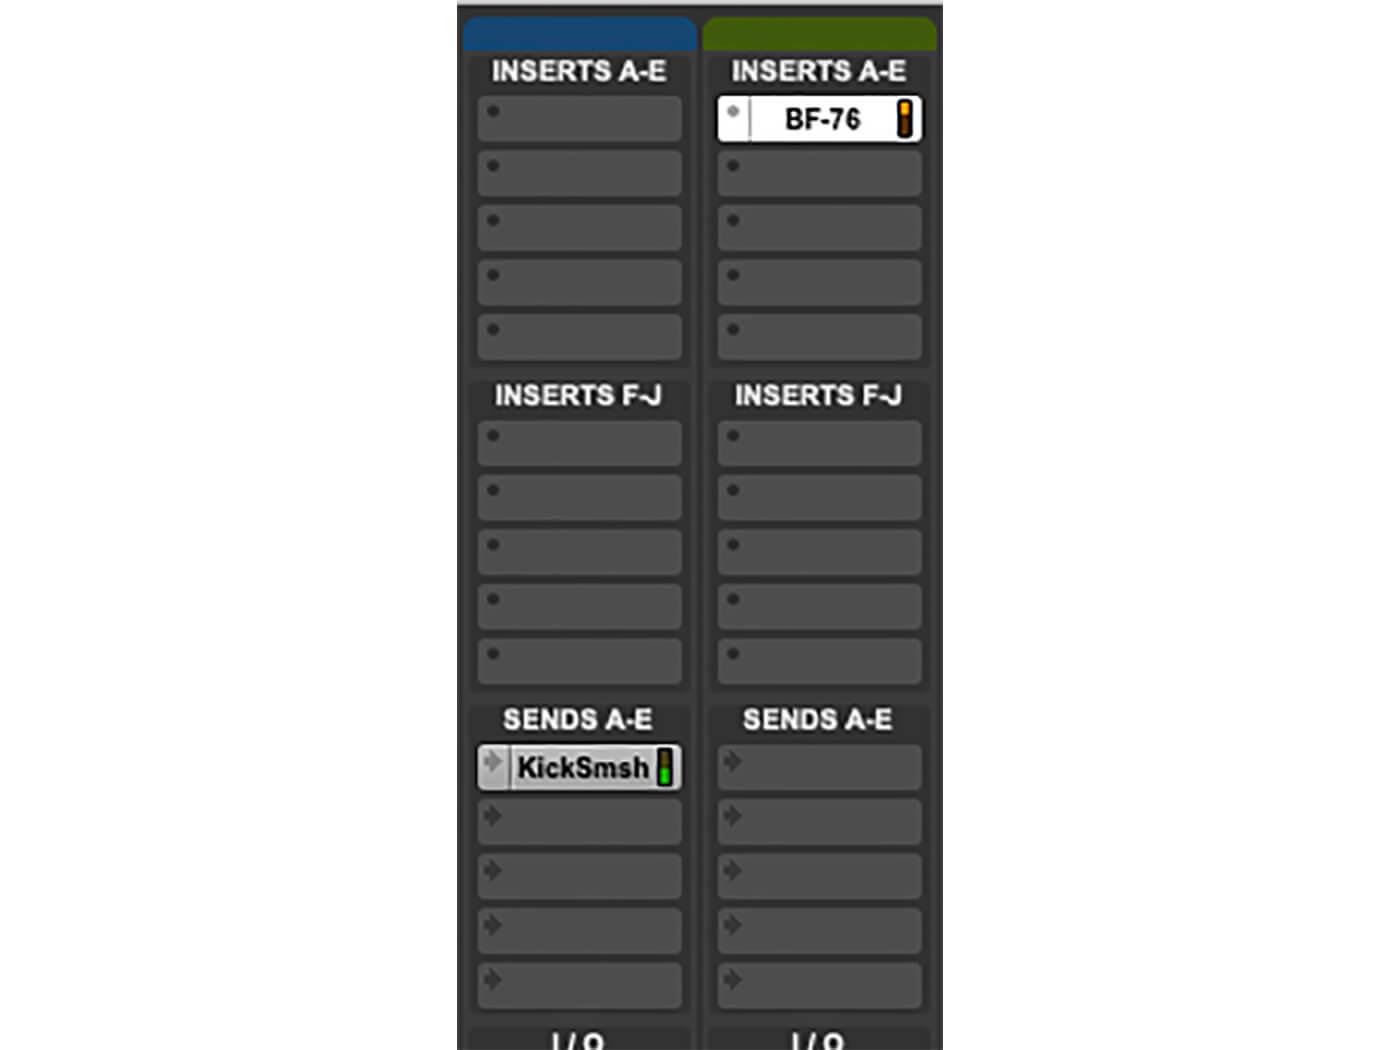
17. Now place the BF76 onto the new aux channel. The primary kick channel is still being routed to the output without the BF76 on it, while the new processed aux channel goes to the sidechain input but not to the mix-bus.
18. Tune the BF76. We enjoyed a fast attack with roughly 5dB of gain reduction at 4:1 to bring the best out of the Dyn3 sidechain. Remember, we’re no longer interested in the sound of the kick itself, only the sound of the bass it is being used to process.
For more Avid Pro Tools workshops and tutorials, click here.

