Hey Everyone,
Another How-To here today that could hopefully help you out if you ever find that a gasket or o-ring has ever expanded in use and won’t go back where it’s supposed to.
The example I have is a float bowl gasket from the Mikuni carburettor of a Honda CG125. Upon stripping the car down to re-jet and clean the carb for my cafe racer project I found that the float bowl gasket had absorbed some fuel and expanded and it wouldn’t go back into it’s groove again, and nobody likes being out of the groove. This leaves us with a few options.
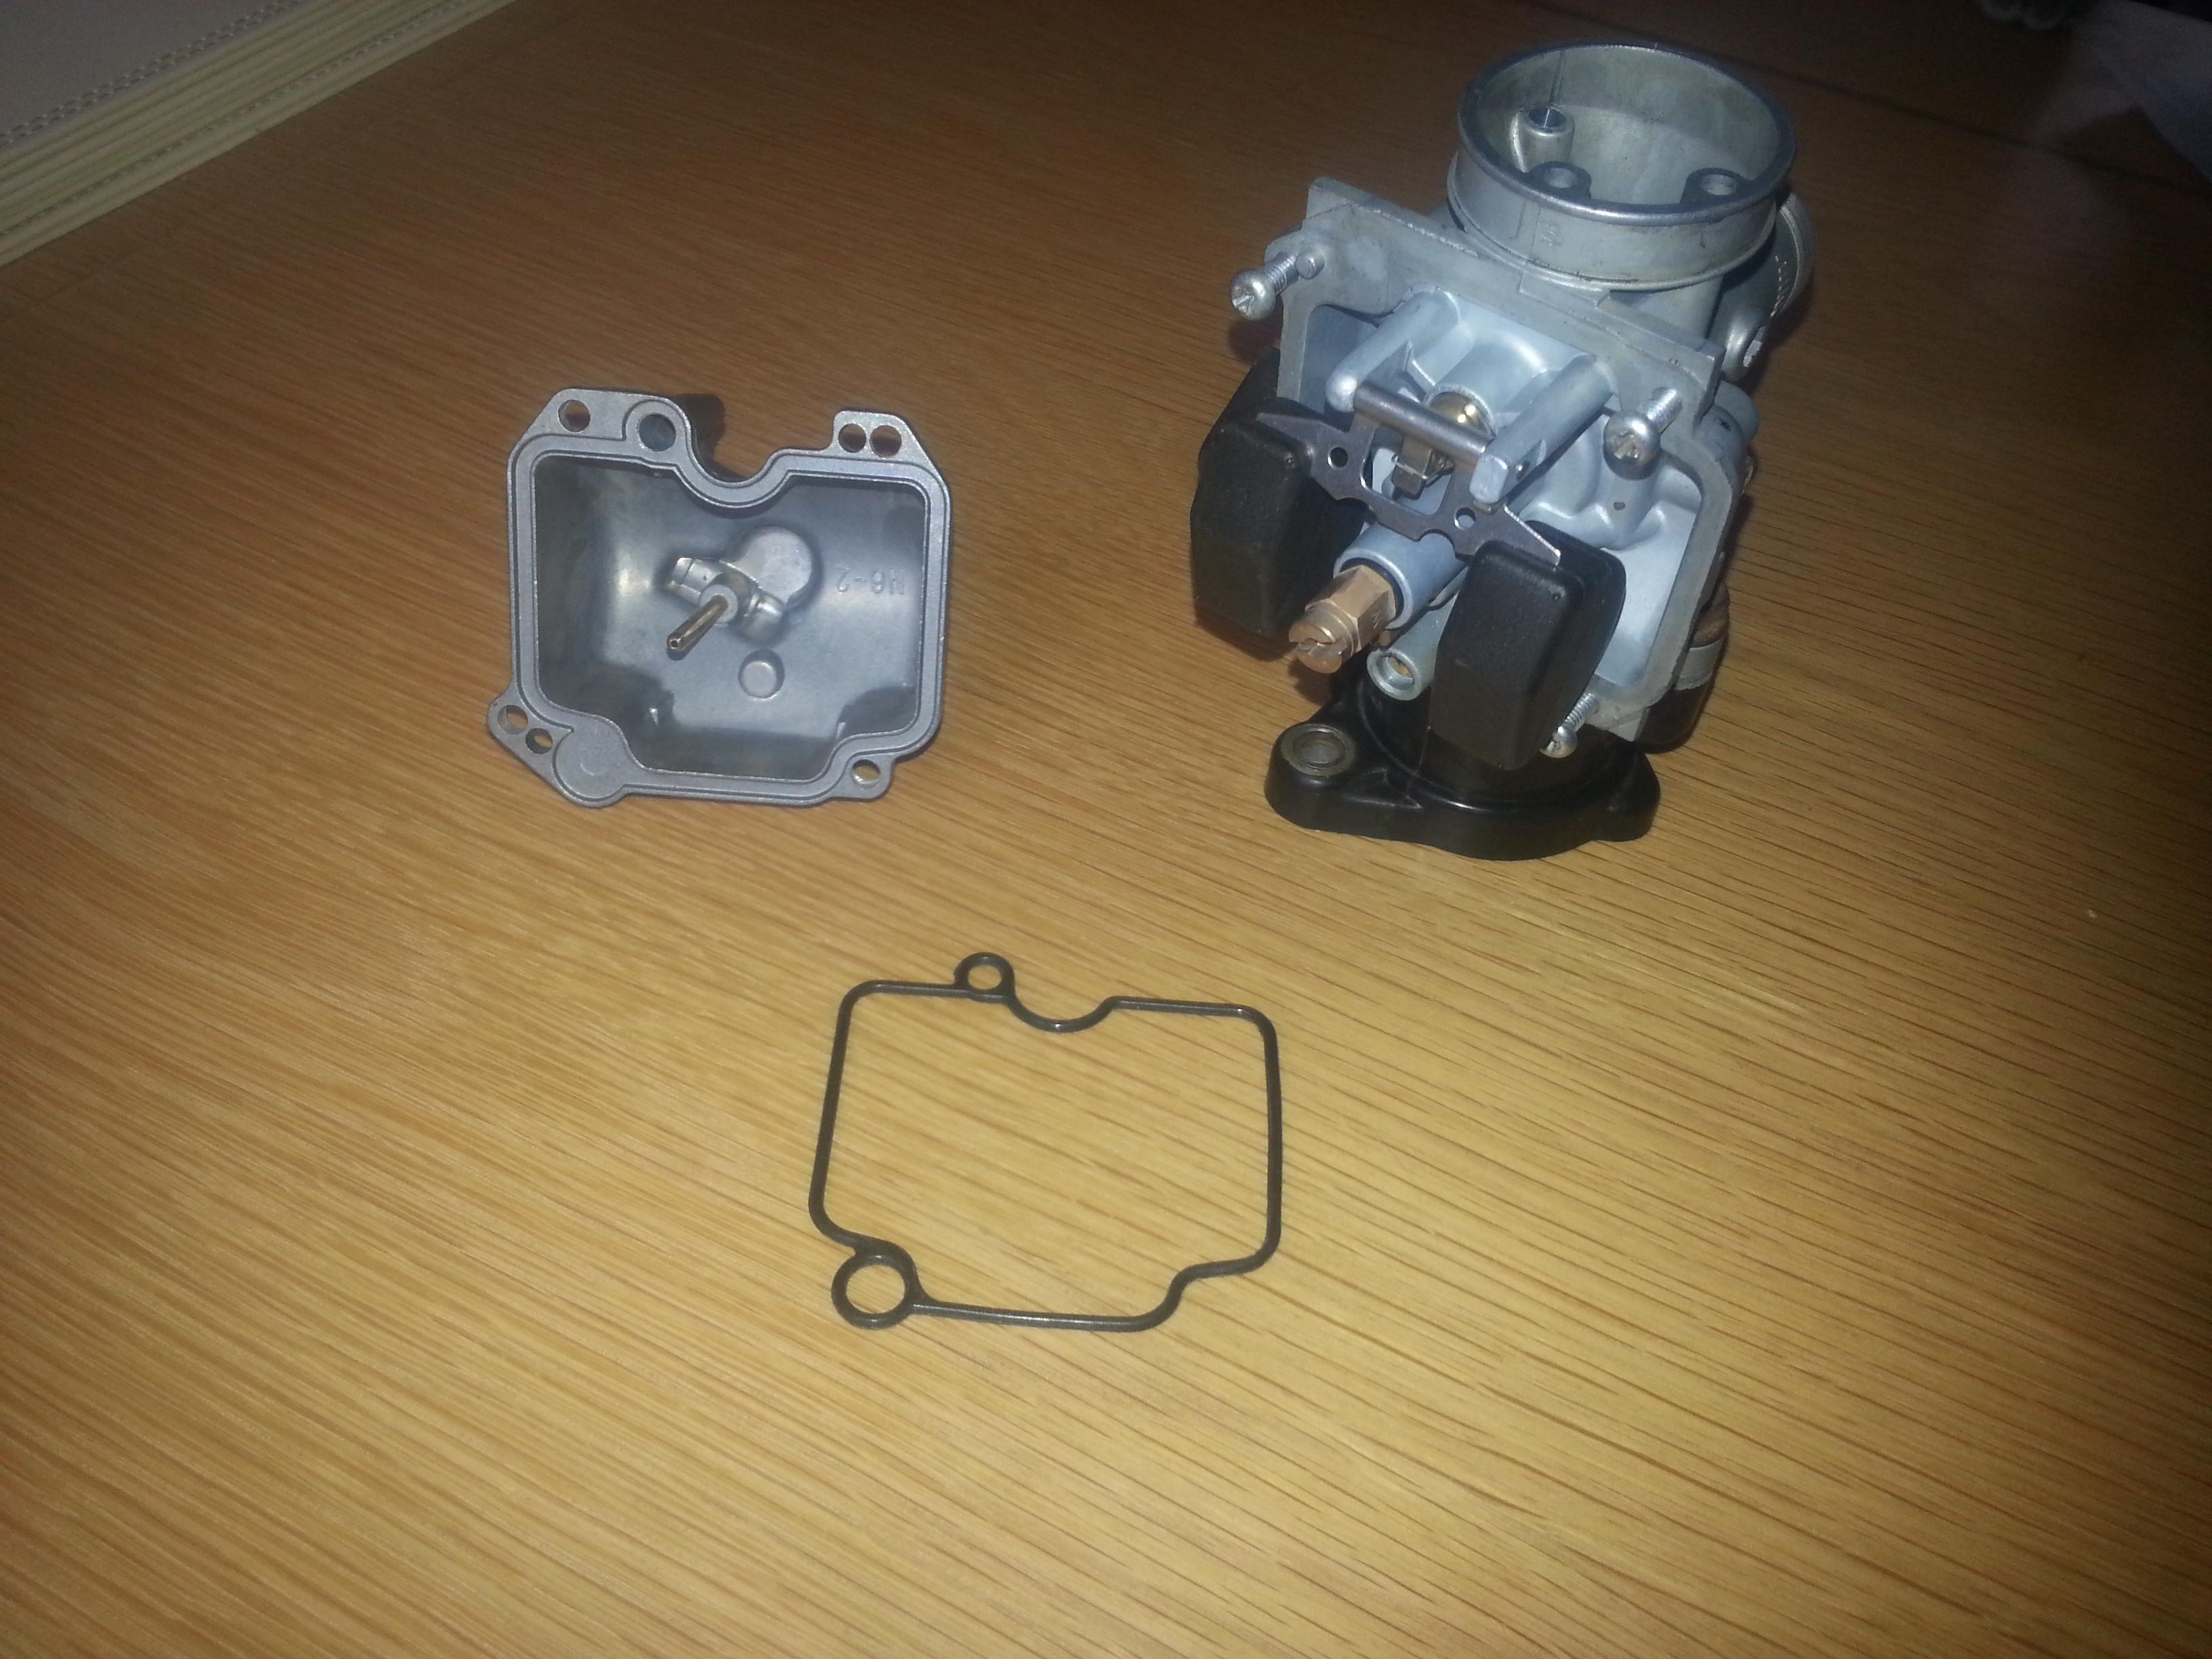
Firstly, a new gasket. Probably the best option, but some gaskets can be hard to get hold of, especially for older machinery and they could take a while to arrive if ordered online. Plus this option actually costs money and some gaskets ain’t cheap!
Secondly, I could cut and glue the gasket. Sometimes this is a reasonable option but typically I would only do this if a brand-new gasket or o-ring didn’t fit (i.e. the fitment issue wasn’t caused by swelling). Also care must be taken to ensure that the glue used in compatible with the fluid being sealed!
The last option is to attempt to shrink the gasket.
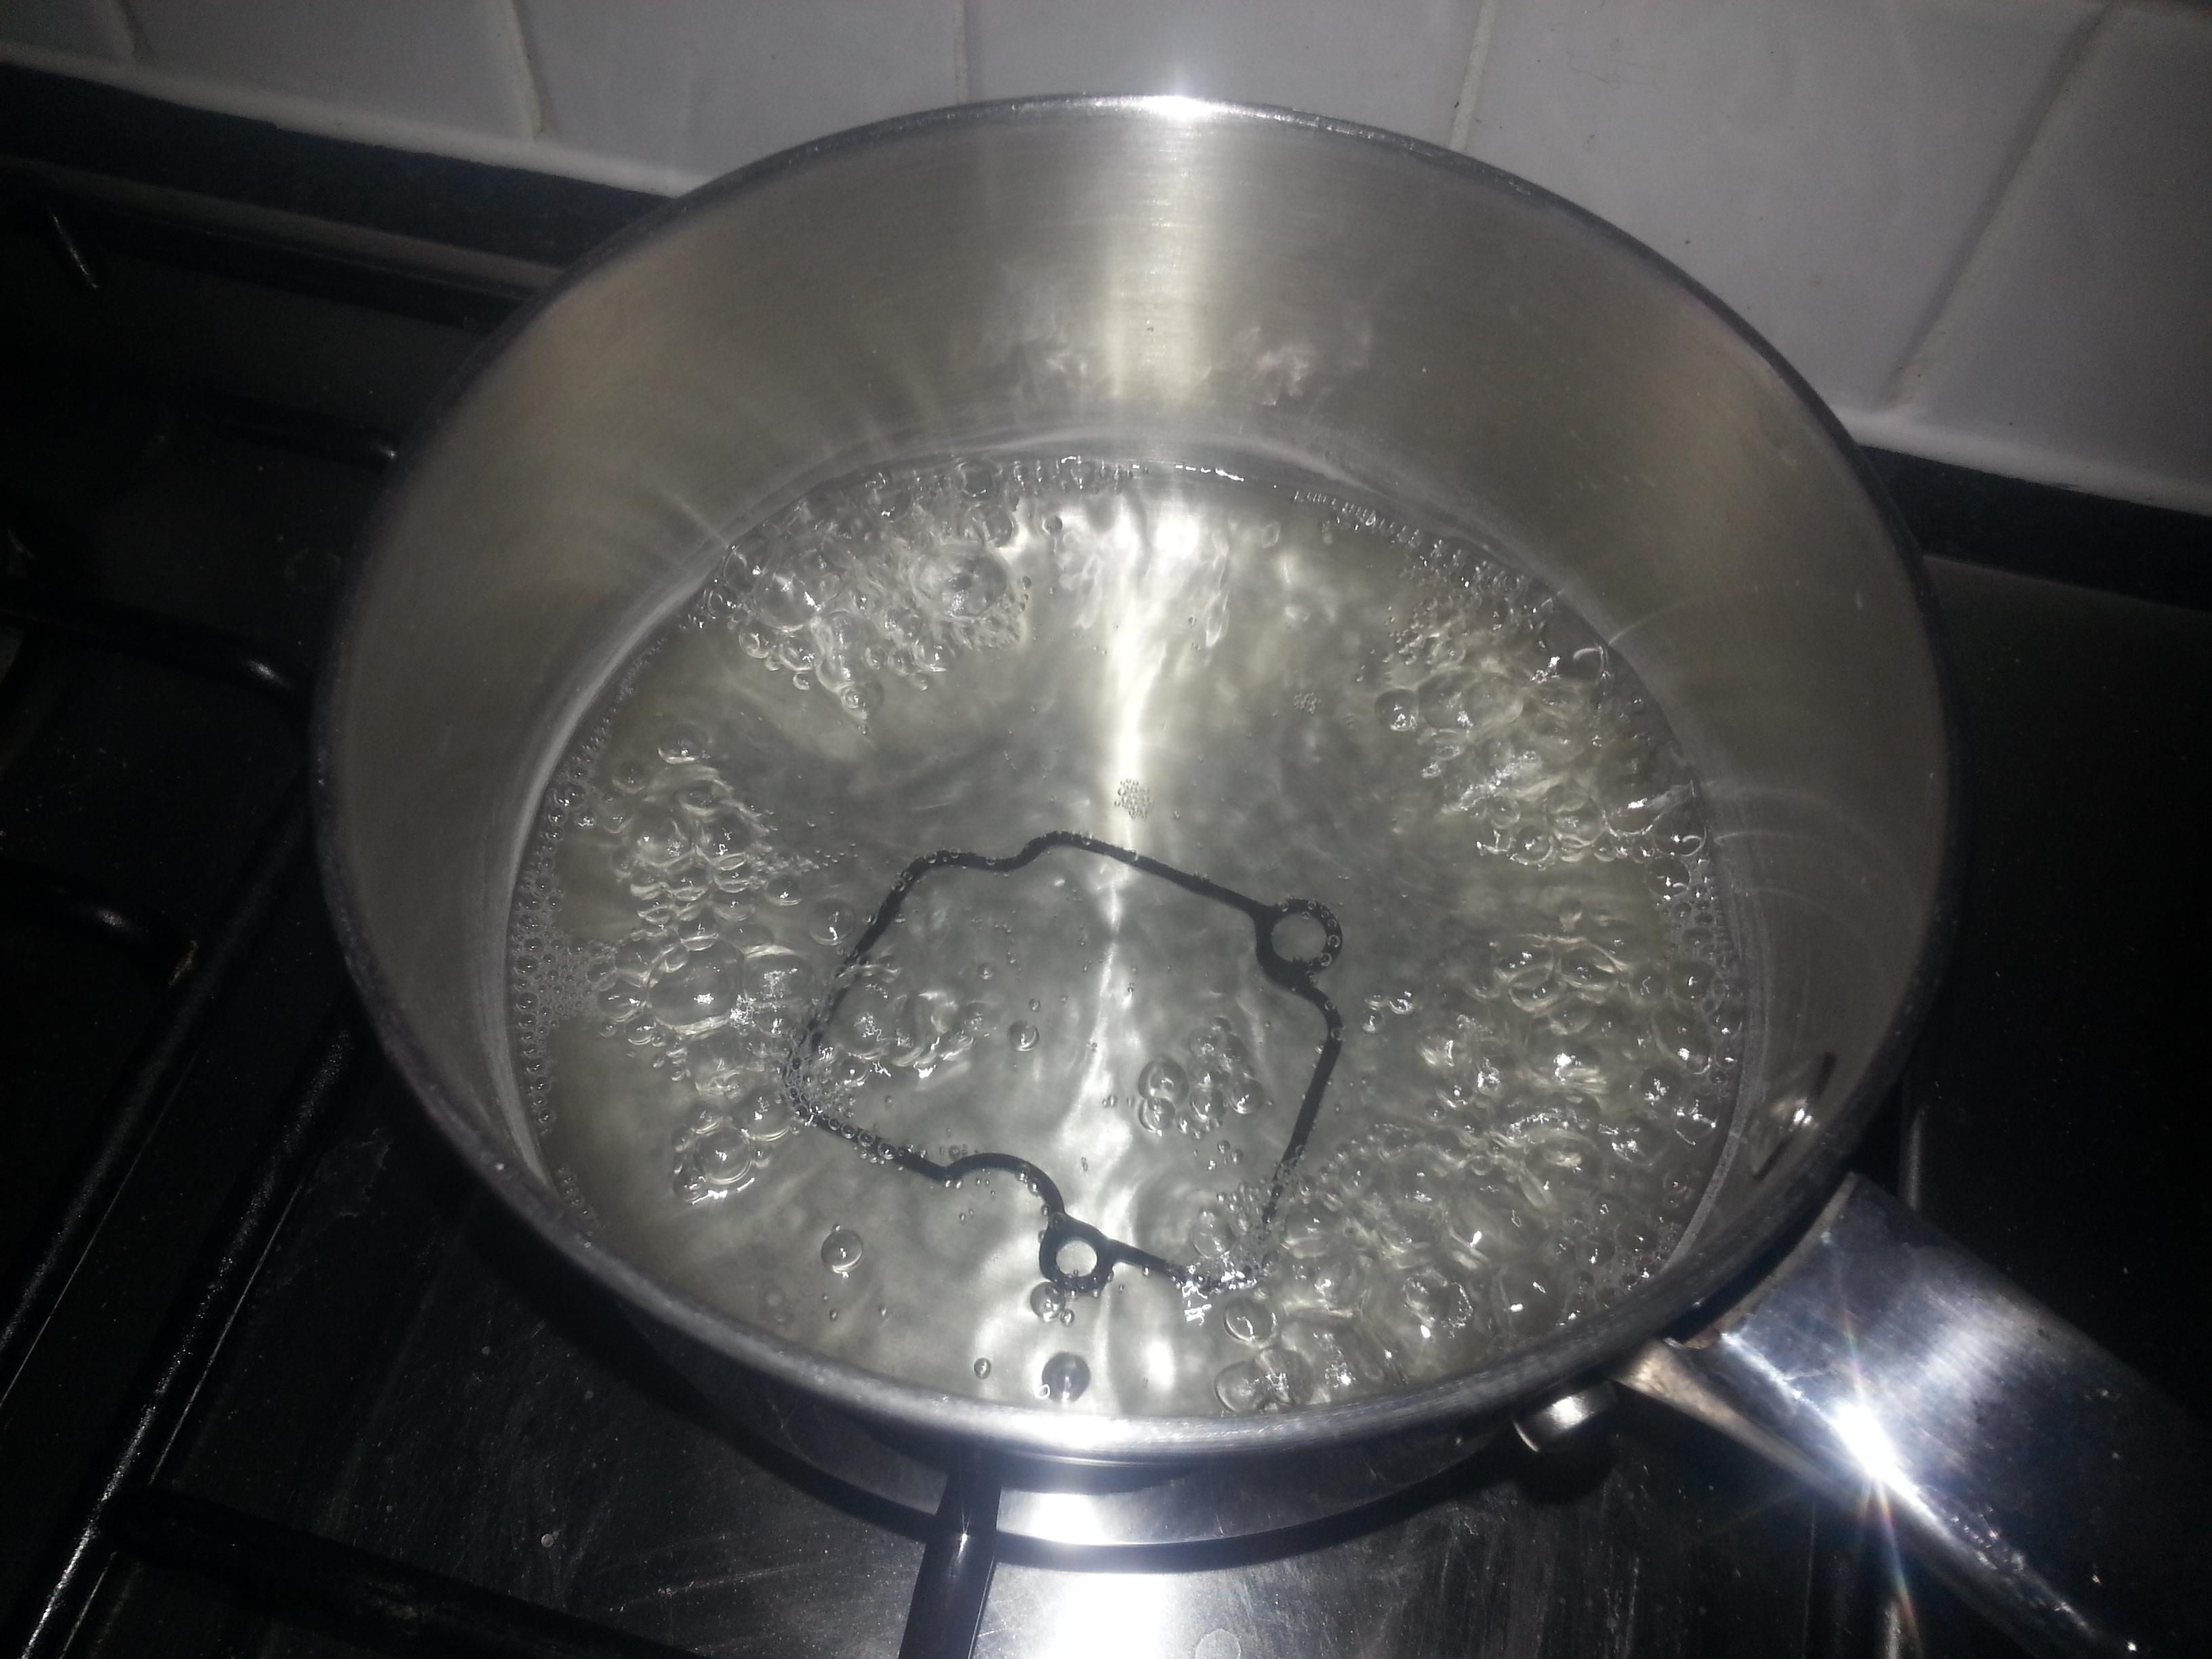
There are a few ways to shrink an o-ring or gasket, and in this How-To I will talk about boiling the gasket, a method I have used a few times to good effect. Although remember to ask permission of whomever is in charge of the kitchen or proceed at your own risk!
As a bit of background information, the reason gaskets and O-rings expand is that they absorb fuel or oil, which causes them to swell slightly. This expansion is typically quite small, but a per-cent or two over a long gasket can often be enough to prevent it from fitting where it needs to! The general idea behind shrinking is to drive the fuel or oil out using heat.
Its a quick and simple process, simply put the gasket in a pan with some clean water and boil it for a few minutes, simple as that. The heat will cause the fuel to vaporise and leave the gasket allowing it to shrink back (closer) to its original size, it will also clean the gasket.
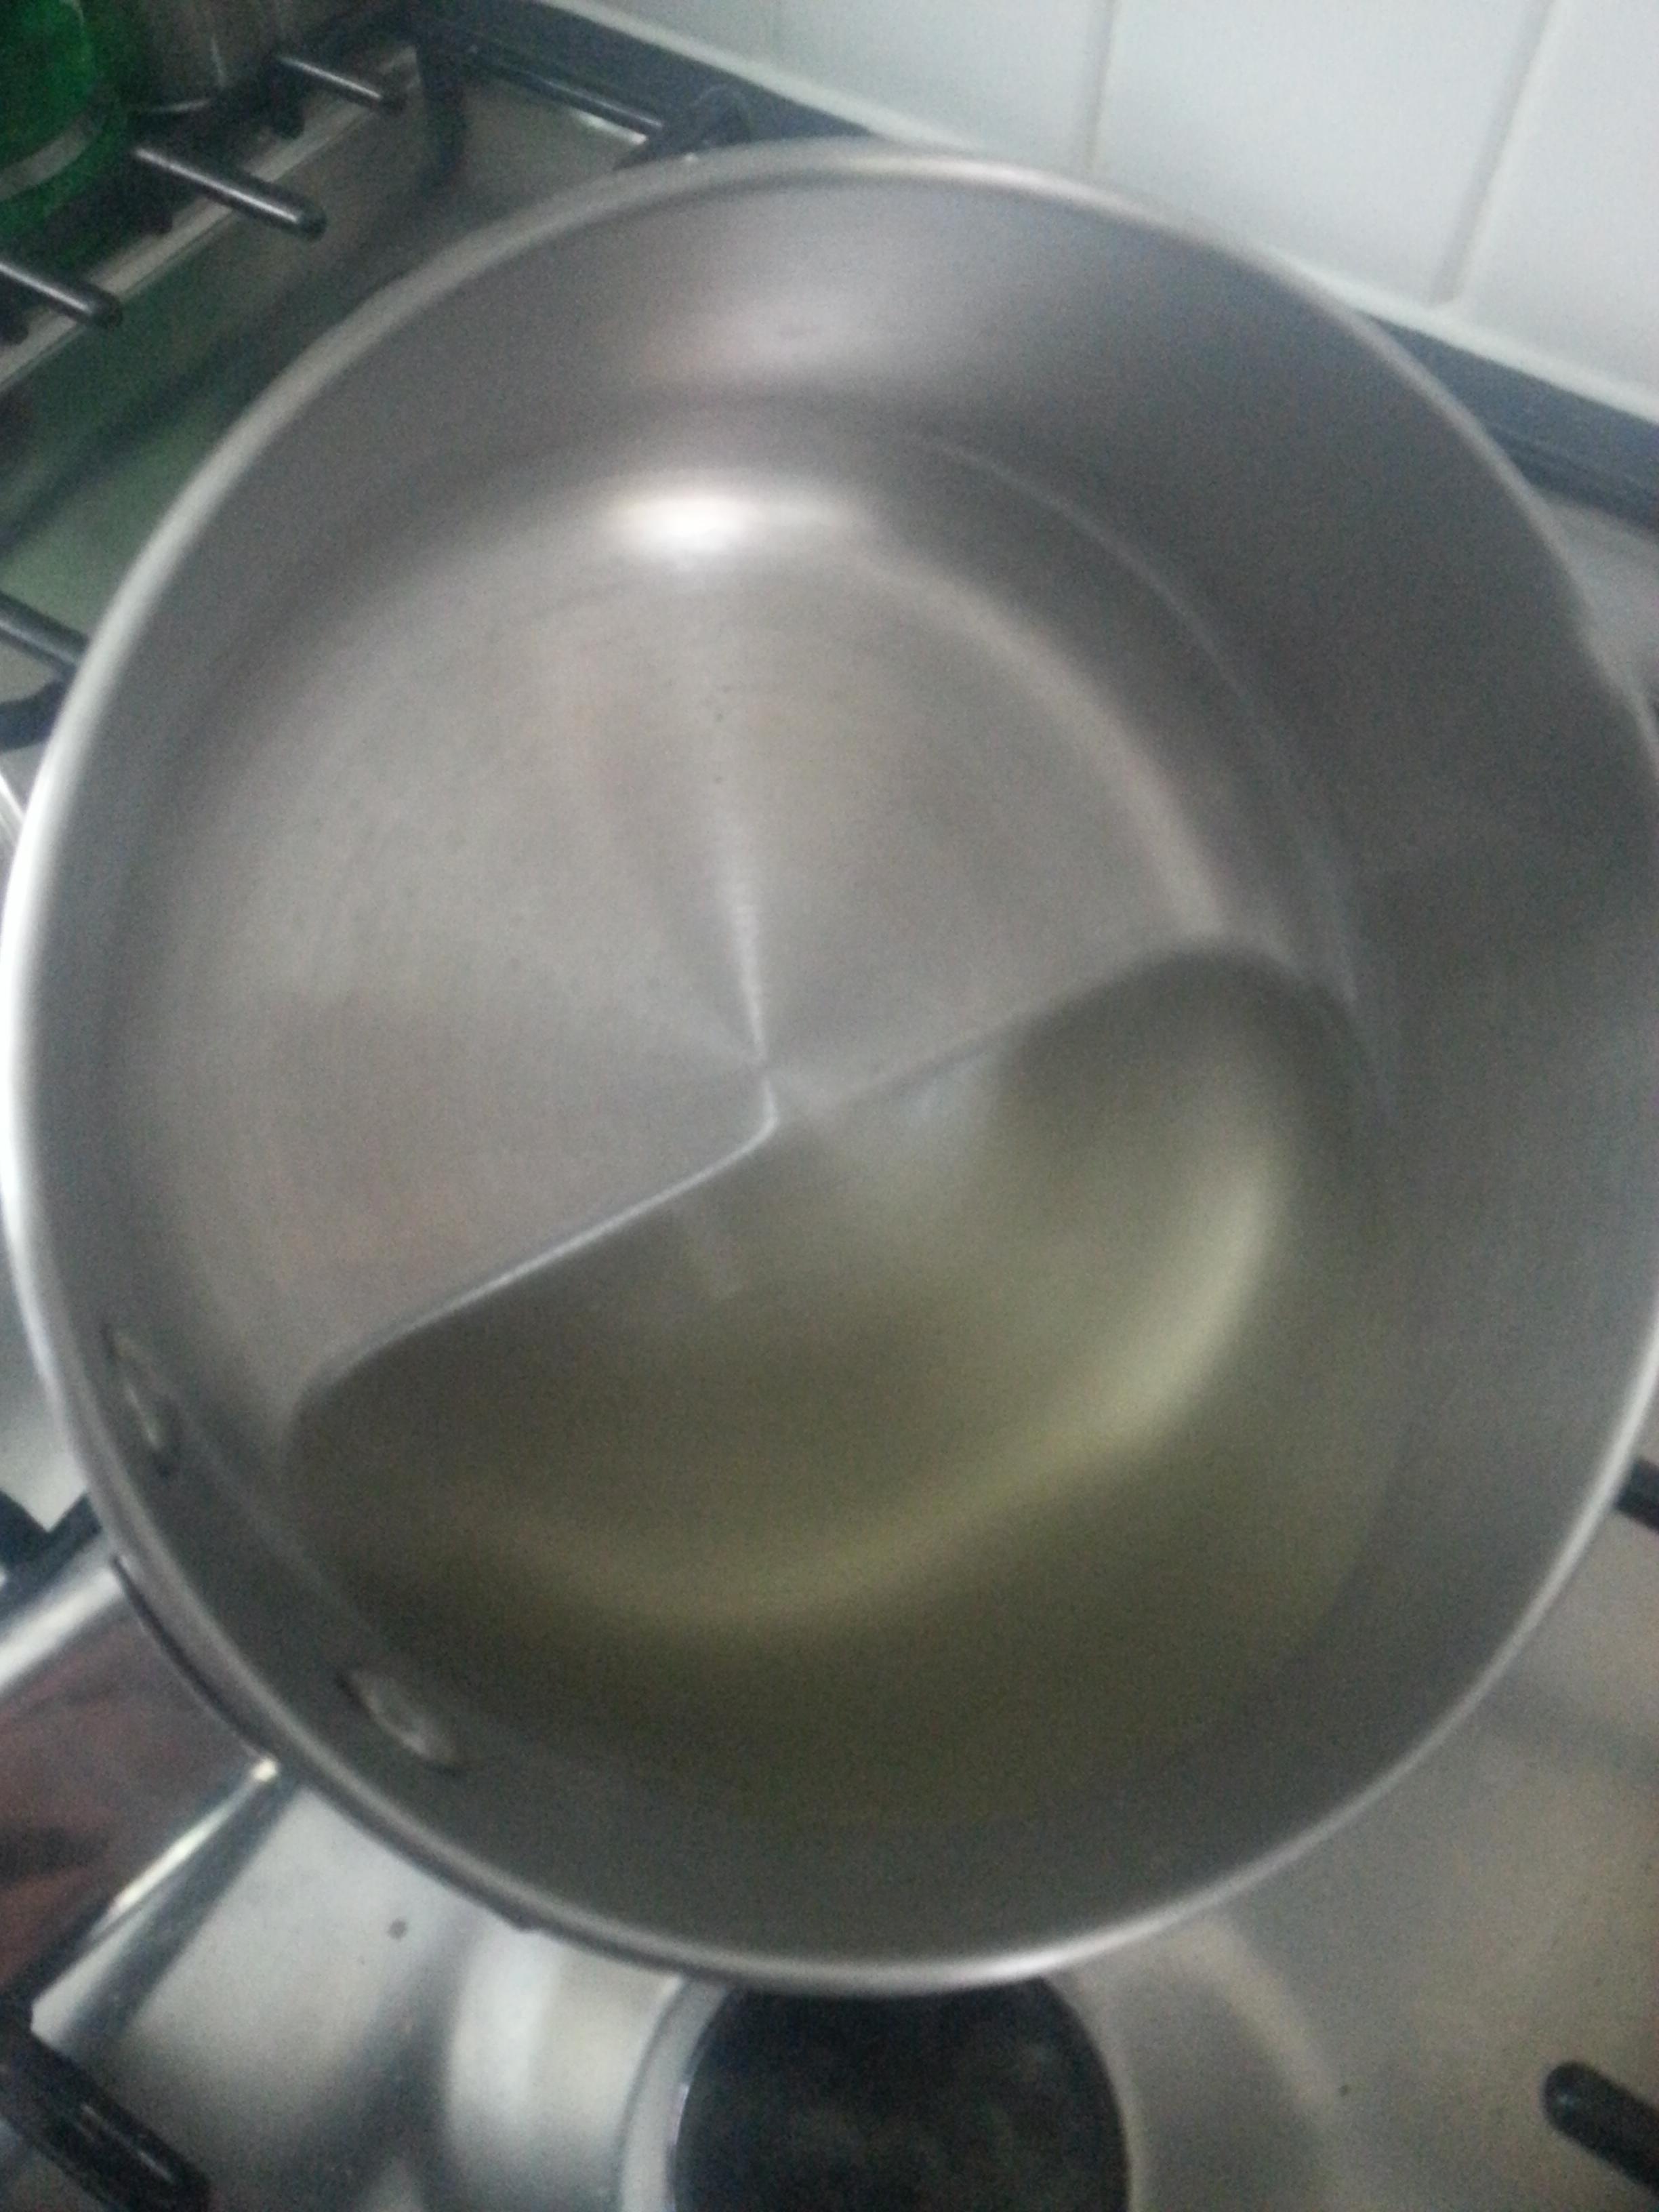
You can see from the picture the amount of dirt and fuel that came off the gasket and discoloured the water (it doesn’t look too bad but when you consider the gasket size to water ratio it must be quite a bit of dirt!).
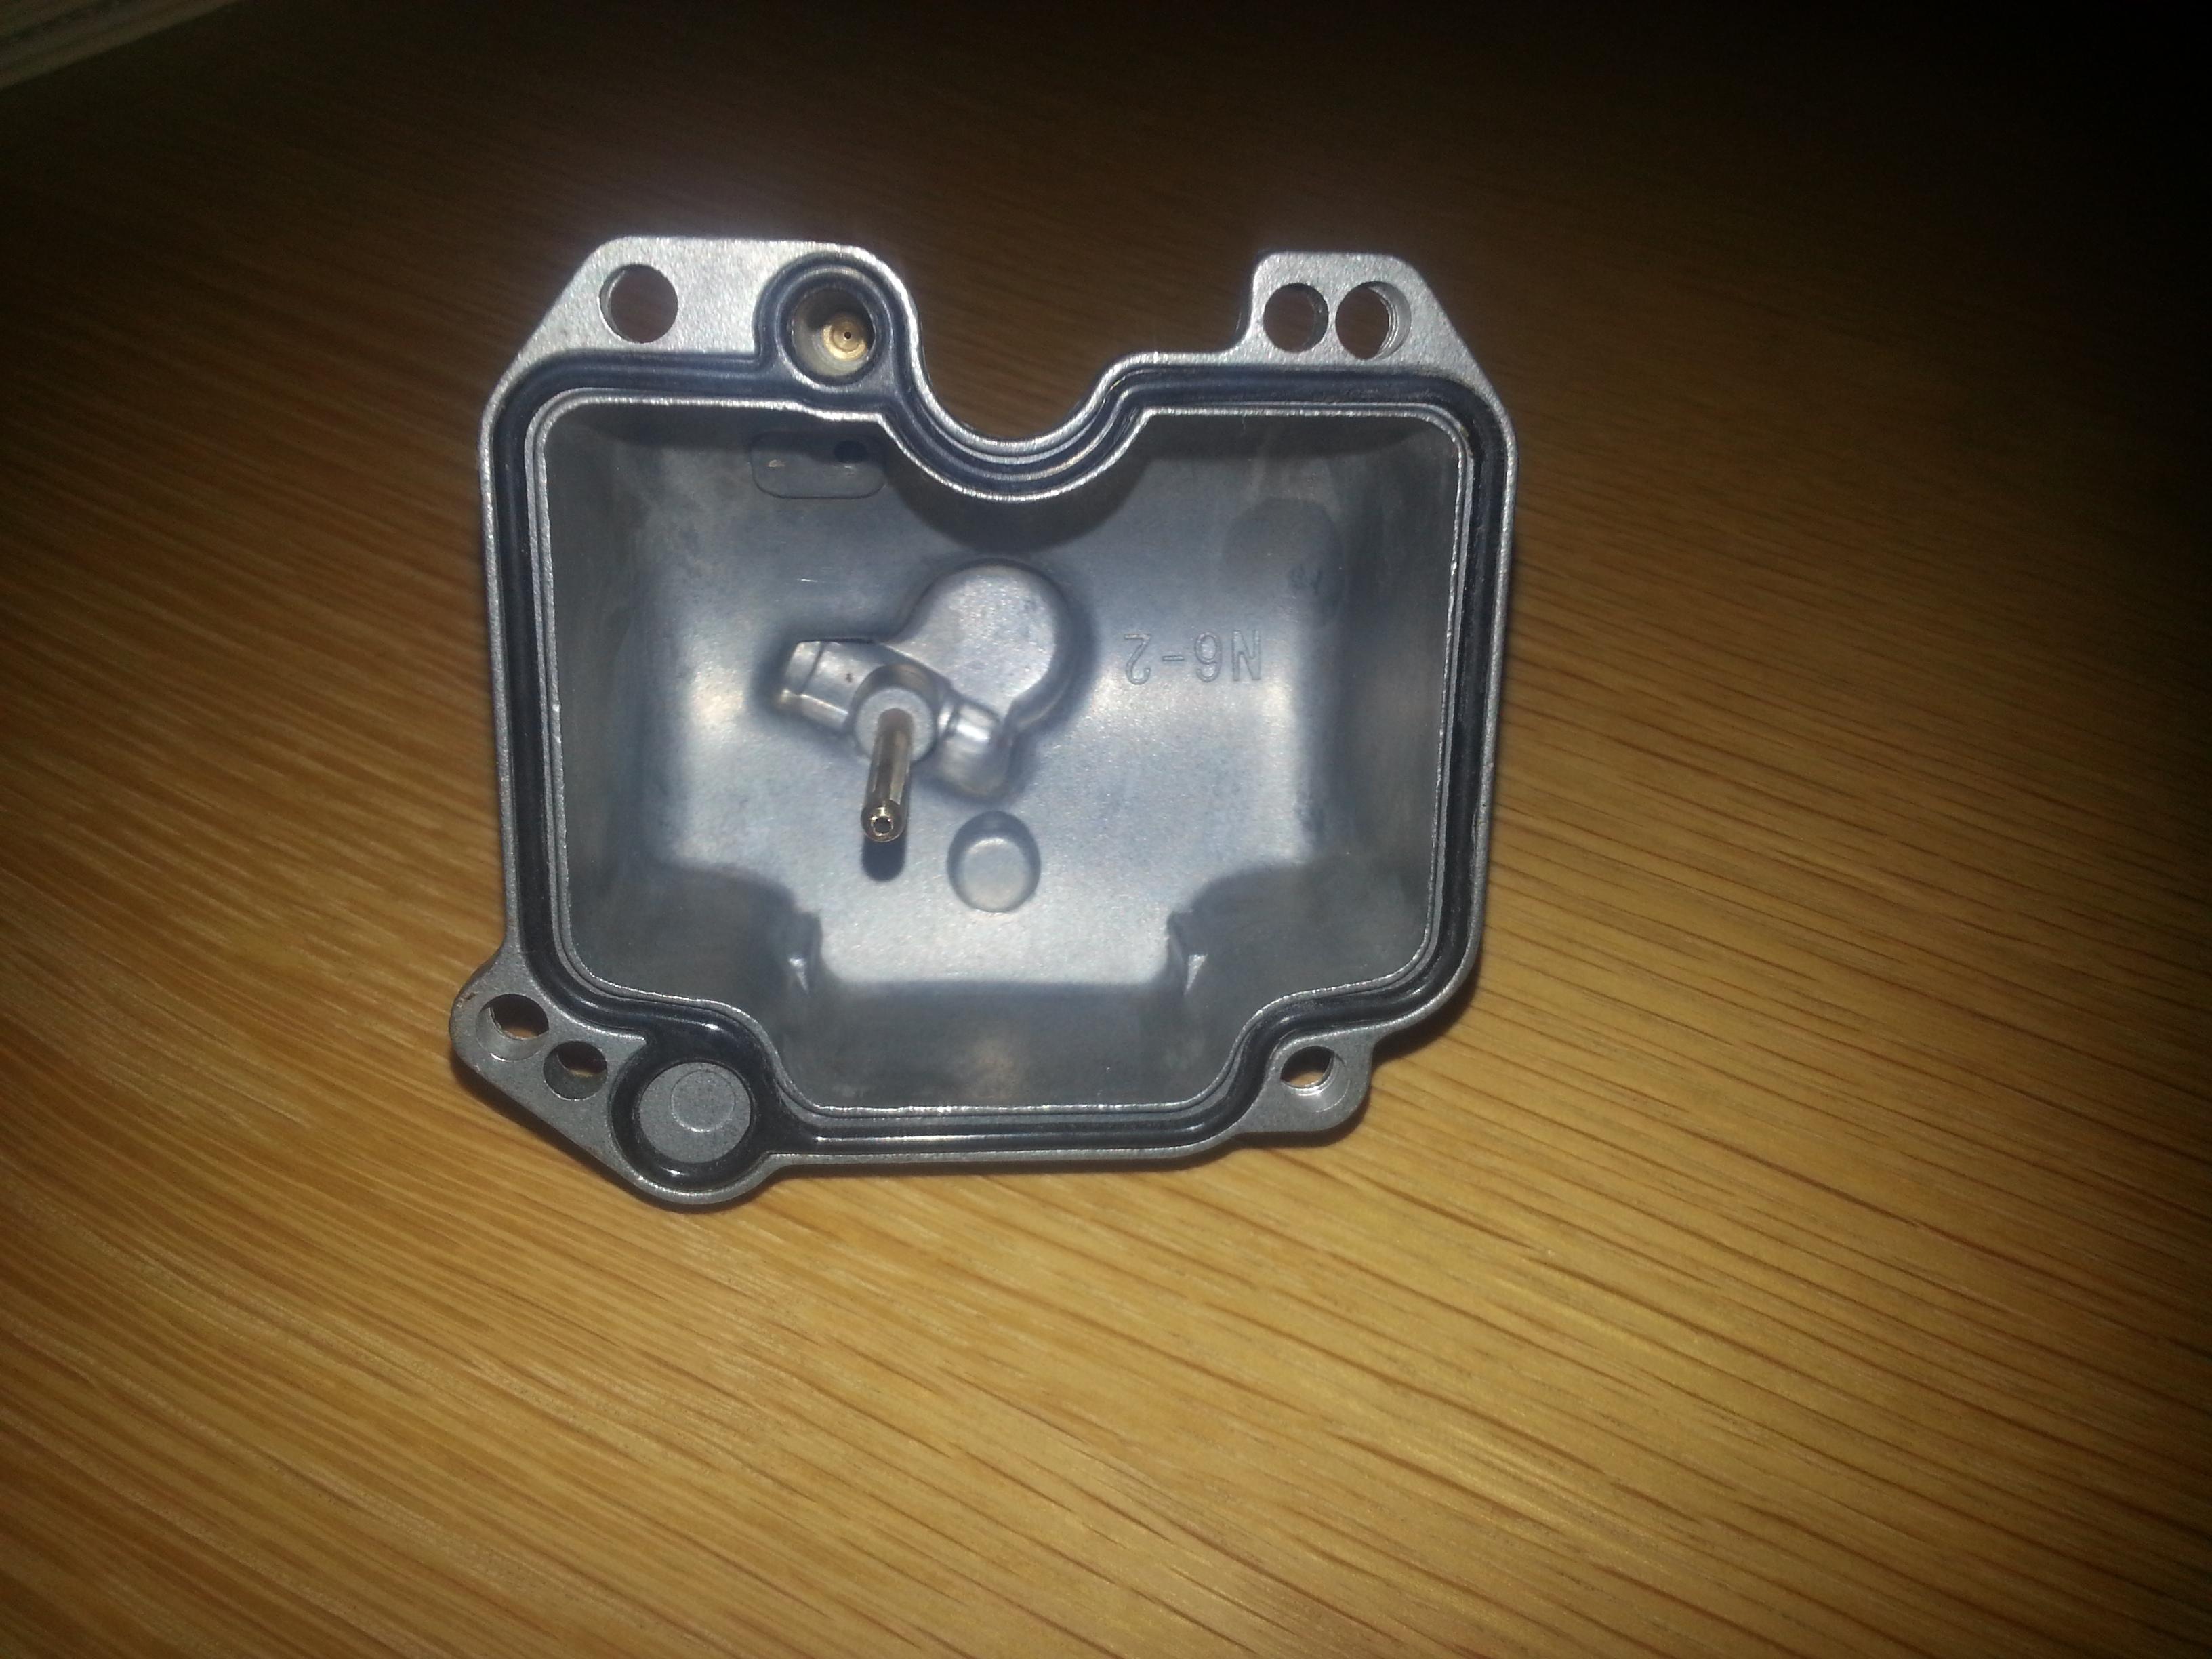
Once the gasket is dry it fits nicely back into it’s groove again. You can’t expect miracles but it worked in this case and might work for you too! Much quicker, cheaper and easier then the alternatives. If you don’t have great success on the first attempt, try boiling it again for a couple of minutes.
An alternative method is to leave the o-ring or gasket in direct sunlight for a few hours, which works by the same principle of making the fuel evaporate off. It takes a good while longer and won’t clean the gasket as well as boiling so it’s not my preferred method, although it can be used for gaskets and o-rings that might be damaged by boiling water.
People also report success with putting the gasket in the fridge for a while before fitting to shrink it, although I haven’t tried this method.
There we go, as simple as that, hope it helps!
[Check out the other How To’s Here]