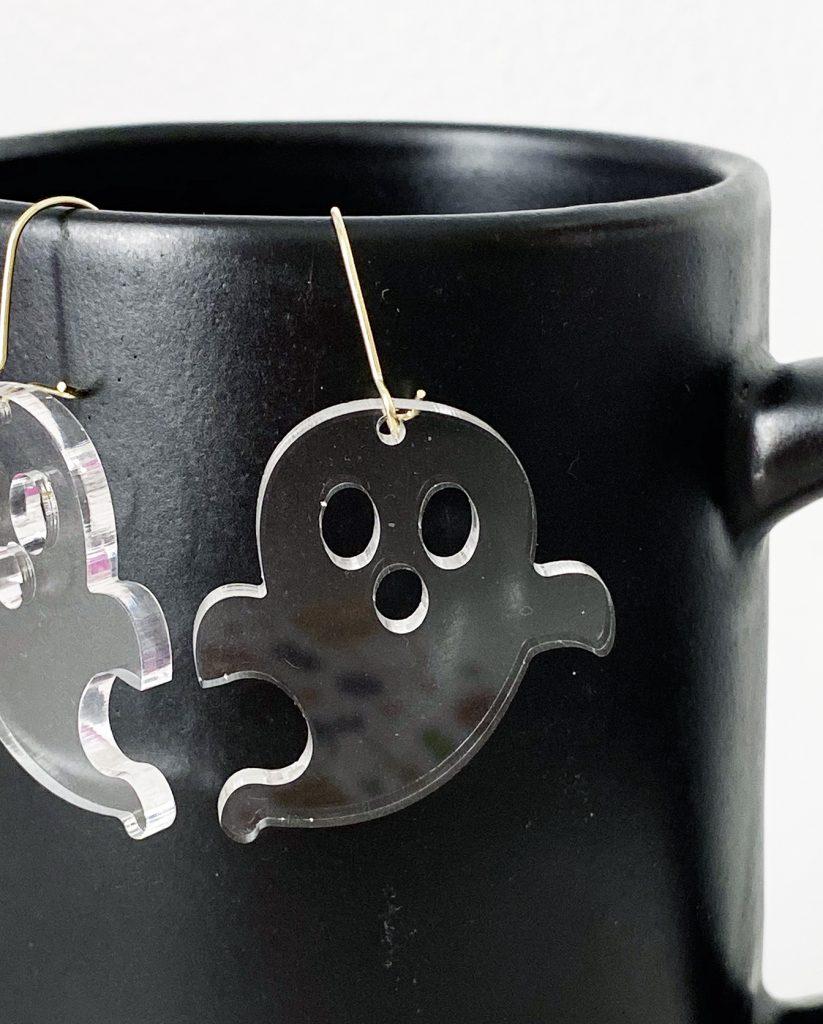
Learn how to make these easy DIY Halloween Earrings with your Cricut or Glowforge machine. Plus, download the FREE SVG files to make ghost and spiderweb earrings.
Halloween is one of my favorite holidays, and I am so excited to share the new Halloween earrings I just made with my Glowforge! DIY acrylic earrings were one of the first projects I wanted to make as soon as my Glowforge Pro arrived, and since Halloween is right around the corner, I made DIY ghosts and spiderweb earrings!
These DIY Halloween earring files will also work with the Cricut machine if you want to make some adorable ghost earrings like these:
If you’re new and wondering how I made these acrylic earrings, make sure you check out my post that fills you in on ALL you need to know about a Glowforge!
What you Need to Make Acrylic Halloween Earrings
- Glowforge (for acrylic)
- Cricut or similar cutting machine (for thinner materials like faux leather, leather, kraft board, etc.)
- Clear Cast Acrylic
- Florescent Green Cast Acrylic
- Earring Findings – Hooks and Posts
- E6000 or Acrylic Glue
- Halloween Earring SVG Files (download in the gray box at the end of the post)
How to Make your Own Halloween Earrings
If you want to make your Halloween earrings out of 1/8″ acrylic, you’ll need a 3D Laser Printer such as a Glowforge. A Cricut Maker or Silhouette is not equipped to cut materials such as cast acrylic.
NOTE: These files CAN be used with a Cricut machine, however the spiderwebs are quite detailed and may not cut cleanly. The ghosts are perfect and can be made in a couple of minutes, though! You can construct them from a couple of layers of kraft board, or even chipboard if you have a Cricut Maker.
If you’re using a Cricut, read this post for a tutorial and more FREE Earring SVG files: DIY Cricut Pineapple Earrings (I also can’t wait to make these on my Glowforge!)
Turn on your Glowforge and place your material on the tray. Open the Glowforge app and place your earrings on the material.
Size your earrings as desired. Follow the onscreen instructions to cut out the earrings (notice above it’s less than 3 minutes!) I love watching it do it’s thing!
Here’s what the Halloween earrings look like just out of the Glowforge.
Peel off the paper masking and clean the earrings with a microfiber cloth.
If you’re making the ghost earrings, just slide the hooks through the hole at the top of the ghost.
I used jump rings to connect the spiderwebs to a small round disc so that they could be post earrings instead of hooks.
To attach the earring posts, I used E6000 glue which has worked well for bonding the back to the acrylic. There is also acrylic glue that you can purchase on Amazon.
I hold the earring post just at the top of the glue tube so that I don’t have to use the applicator nozzle.
Although the earrings to dry for 24 hours, and they’re done (they will be set in about 20 minutes but need the full time to cure).
I love how cute these little ghosts are! Because they’re made with the clear acrylic, they look extra spooky and match every outfit, too!

LATEST POSTS:
- Lover Sublimation Design for Valentine’s Day
- Free Printable Hair Tie Valentine Cards
- Free Friendship Bracelet Printable Banner
- Comparing 4 Different Types of Craft Lasers: CO2, Diode, Infrared, and Fiber
- Tic Tac Toe Valentine’s Day Printable Game Cards
Download FREE Halloween Earrings SVG
You will NOT be sent an email with the file. Free SVG files available for download are for PERSONAL USE ONLY.

