In this post, I am sharing with you the progress of my double wedding ring quilt in this post plus……. a video too!
I have been posting the progress of my double wedding ring quilt on Instagram and have been asked a lot about what template I use, what pattern I use and etc, so I decided to make a video to just quickly answer that.
In the video, I sew a couple of pieces together too and hopefully you will get some points if you plan to sew your own double wedding ring quilt too!
There are affiliate link within this post that I may earn commission from. You can read my full disclosure HERE>
The progress of the making of a wedding ring quilt
This is a post of the progress and how I made my double wedding ring quilt.
The wedding ring quilt is now completed and blogged about HERE>
Curves Sewing
IT IS daunting. But for the record, I DID know that it was going to be difficult. Not the regular straight seams – most of them are CURVES! but….
I just decided one day that I am going to just start it.
With the arrival of Hello Darling fabric fat eights bundle by Bonnie And Camille, I went ahead with the cutting and started to sew a couple of melons. Next thing I know, I have 100’s of those melons.
Related : Bonnie And Camille Fabrics.
Wedding Ring Quilt Templates
If you want a similar template, you can buy it here (It is an Australian Brand — so for now it is available on Australian Website). Otherwise, you can try other brands too. Please note that they are slightly different and the result may vary slightly.
Here are some of the choices you can get from Amazon and some of my thoughts about them:
- This one HERE is on top of my list for the wedding ring quilt templates. I love the simplicity of the templates, and the way the wedding ring quilt is designed. It is easier to sew and cut the pieces if there have more straight edges than curved ones. Definitely a great choice. Here is a video on how to use these templates.
- This one right HERE is the closest one to the Matilda’s Own as it has all the template pieces for the patchwork version of the arc too. However, the corners are not square as Matilda’s Own templates.
- This one HERE is by Creative Grid Rulers, but you will need to do foundation paper piecing if you want to the patchwork arc version. I am not a fan with that method for the wedding ring quilt but it is an option. You can watch the video tutorial beforehand HERE>
Patchwork Arc Double Wedding Ring Quilt
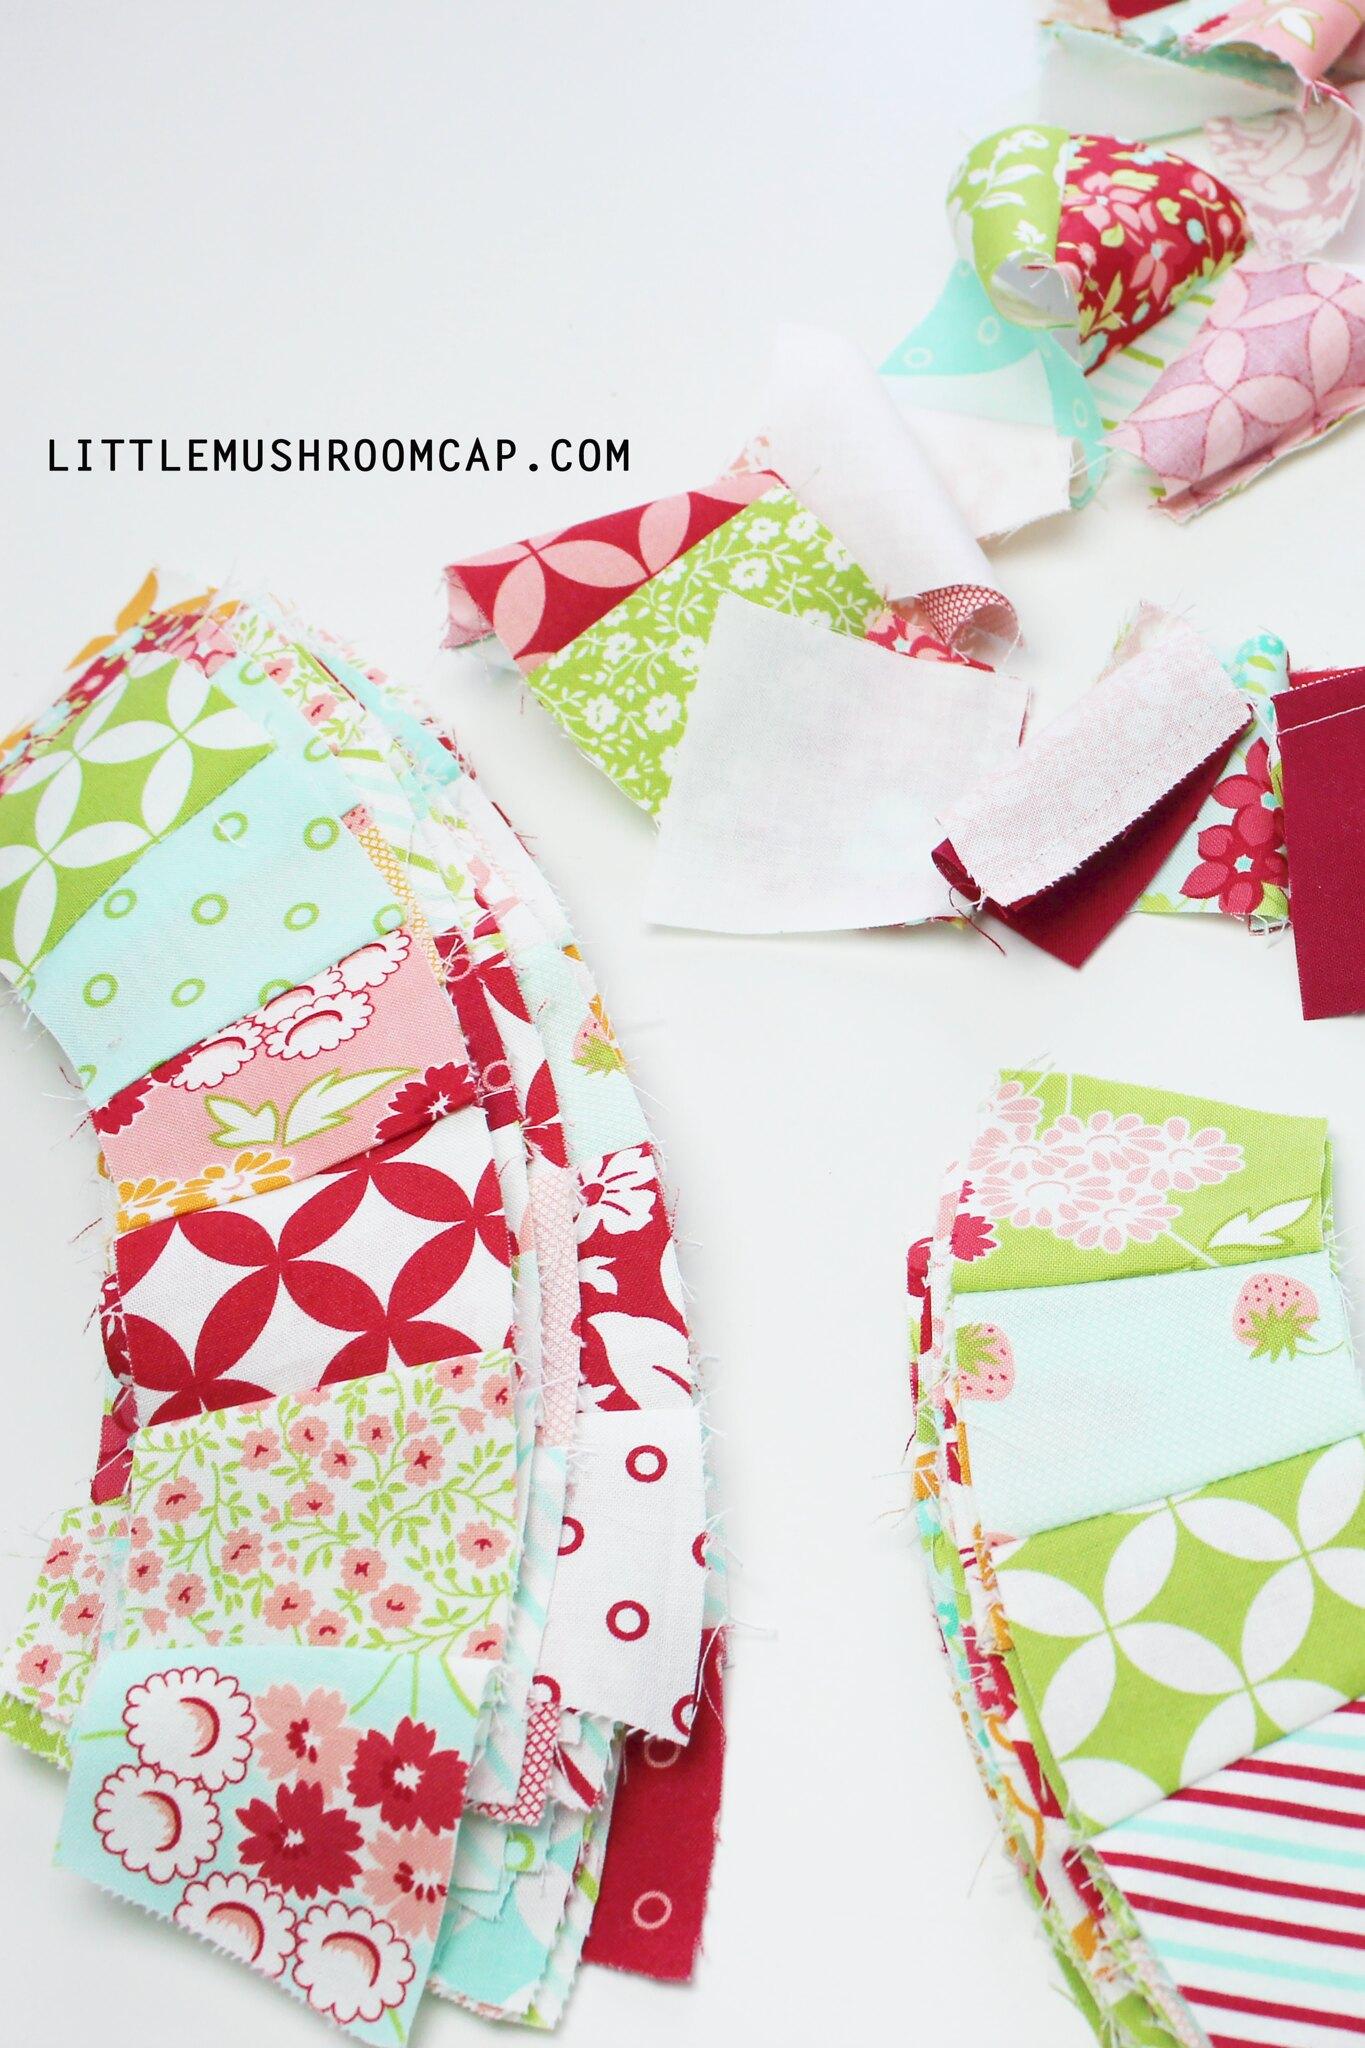
Piecing these patchwork arcs were as easy as any other simple patch. However, you do have to be aware on the symmetries and the number of pieces.
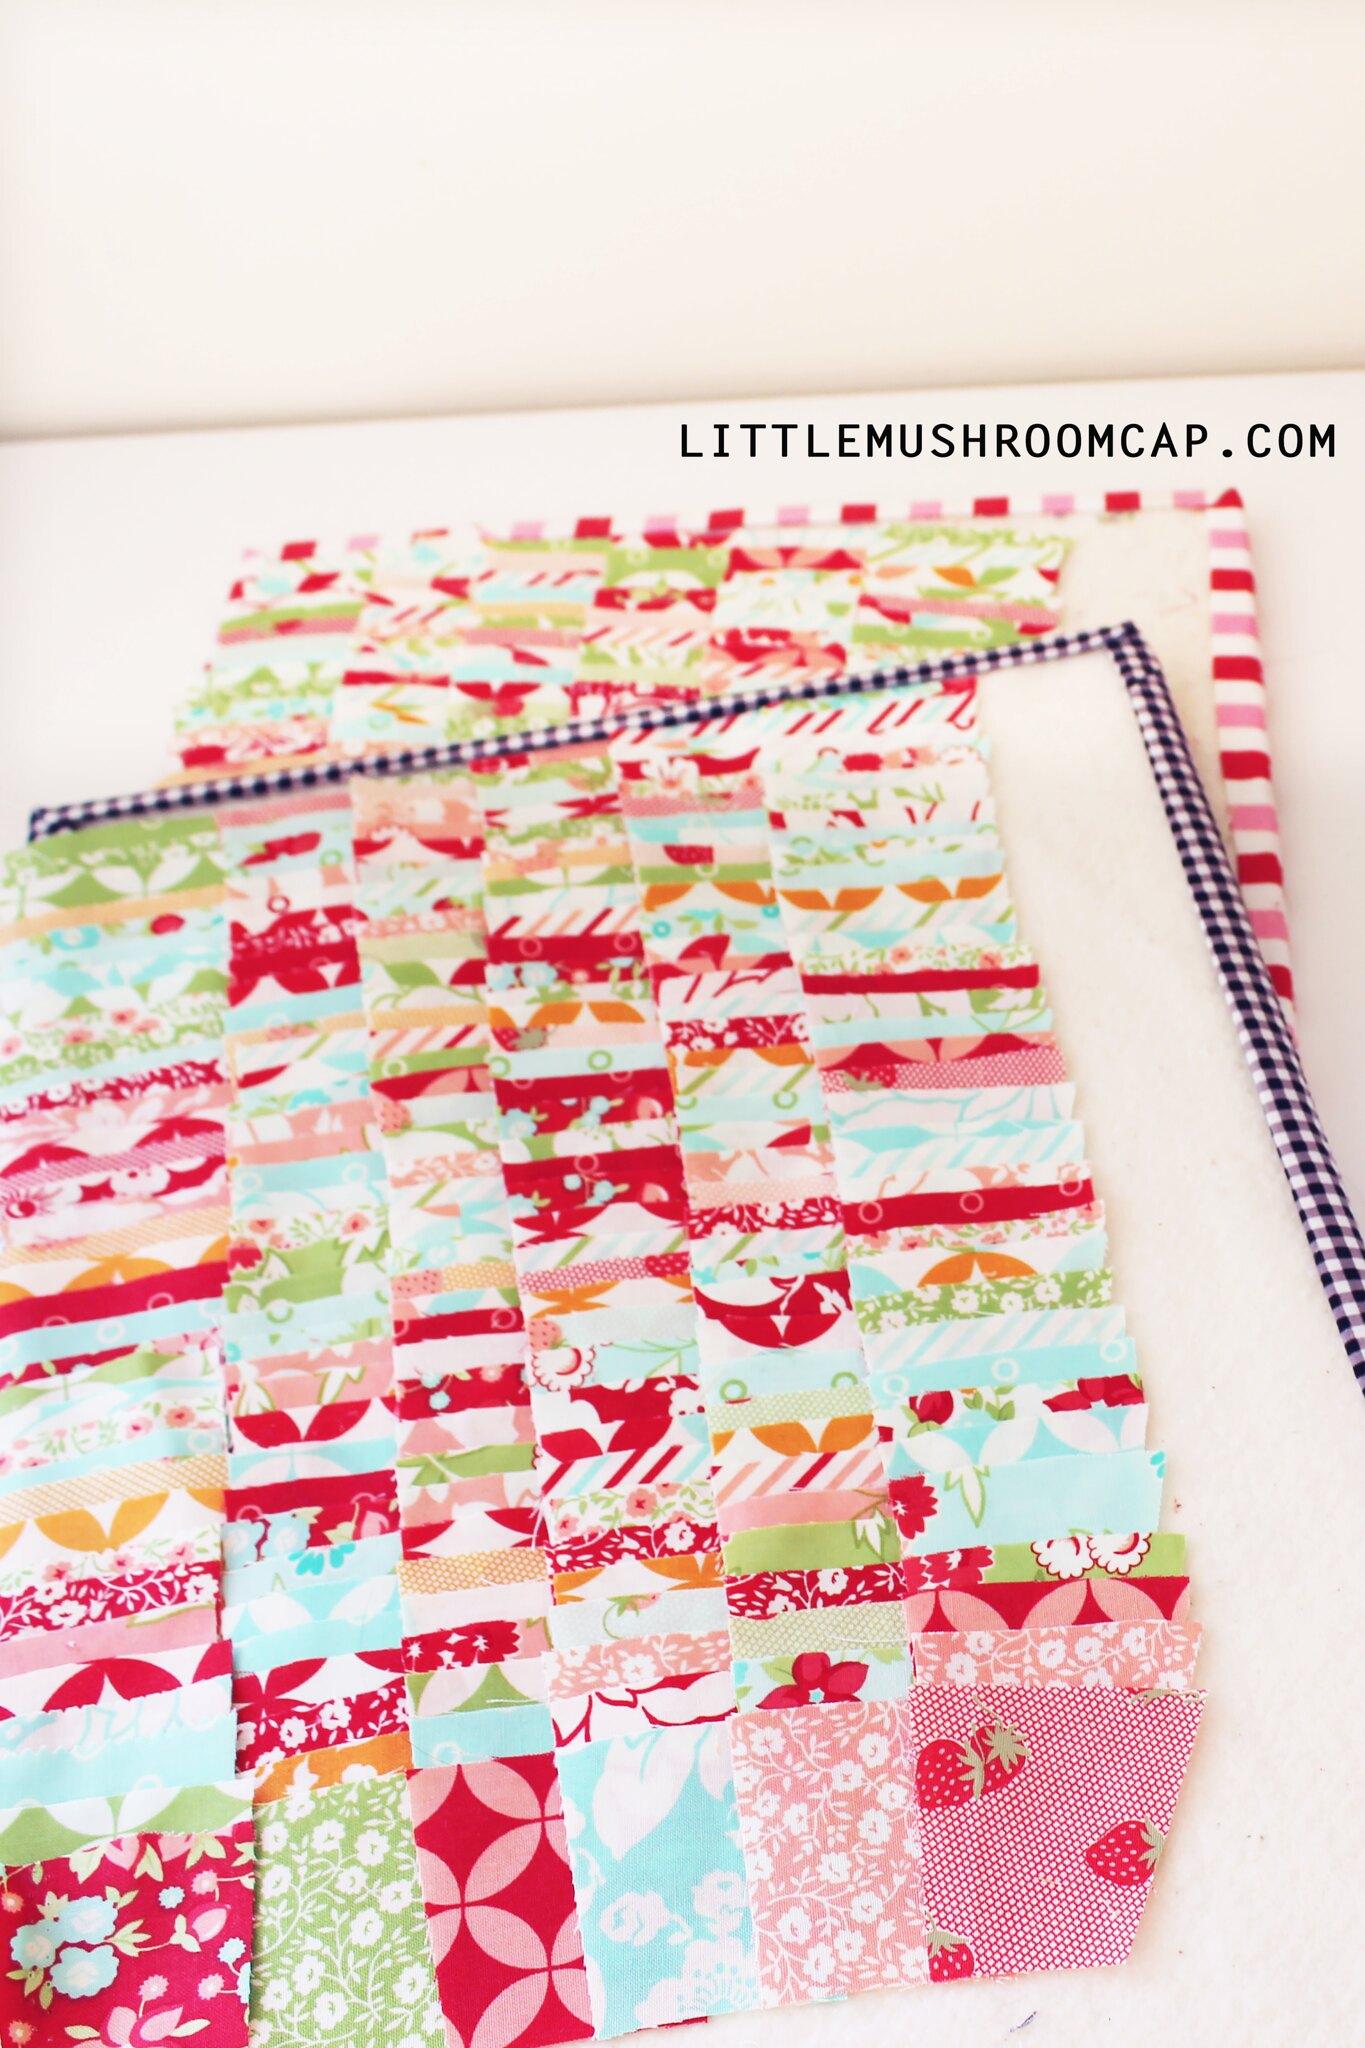
I use my portable design boards to put all the pieces in rows and in order so that I can chain piece as I go. Using the template I used ( Matilda’s Own) , there is only two shape for the basic arc.
Four of the pieces were similar in size and shape using template D of that particular template. Then I add a C shape to all arcs and E for the end of alternating arc. You will only need to make one long arc with the end pieces (I used solid red and white in my wedding ring quilt) as they will share this end piece and form a full melon. You will get the idea if you watch my video below.
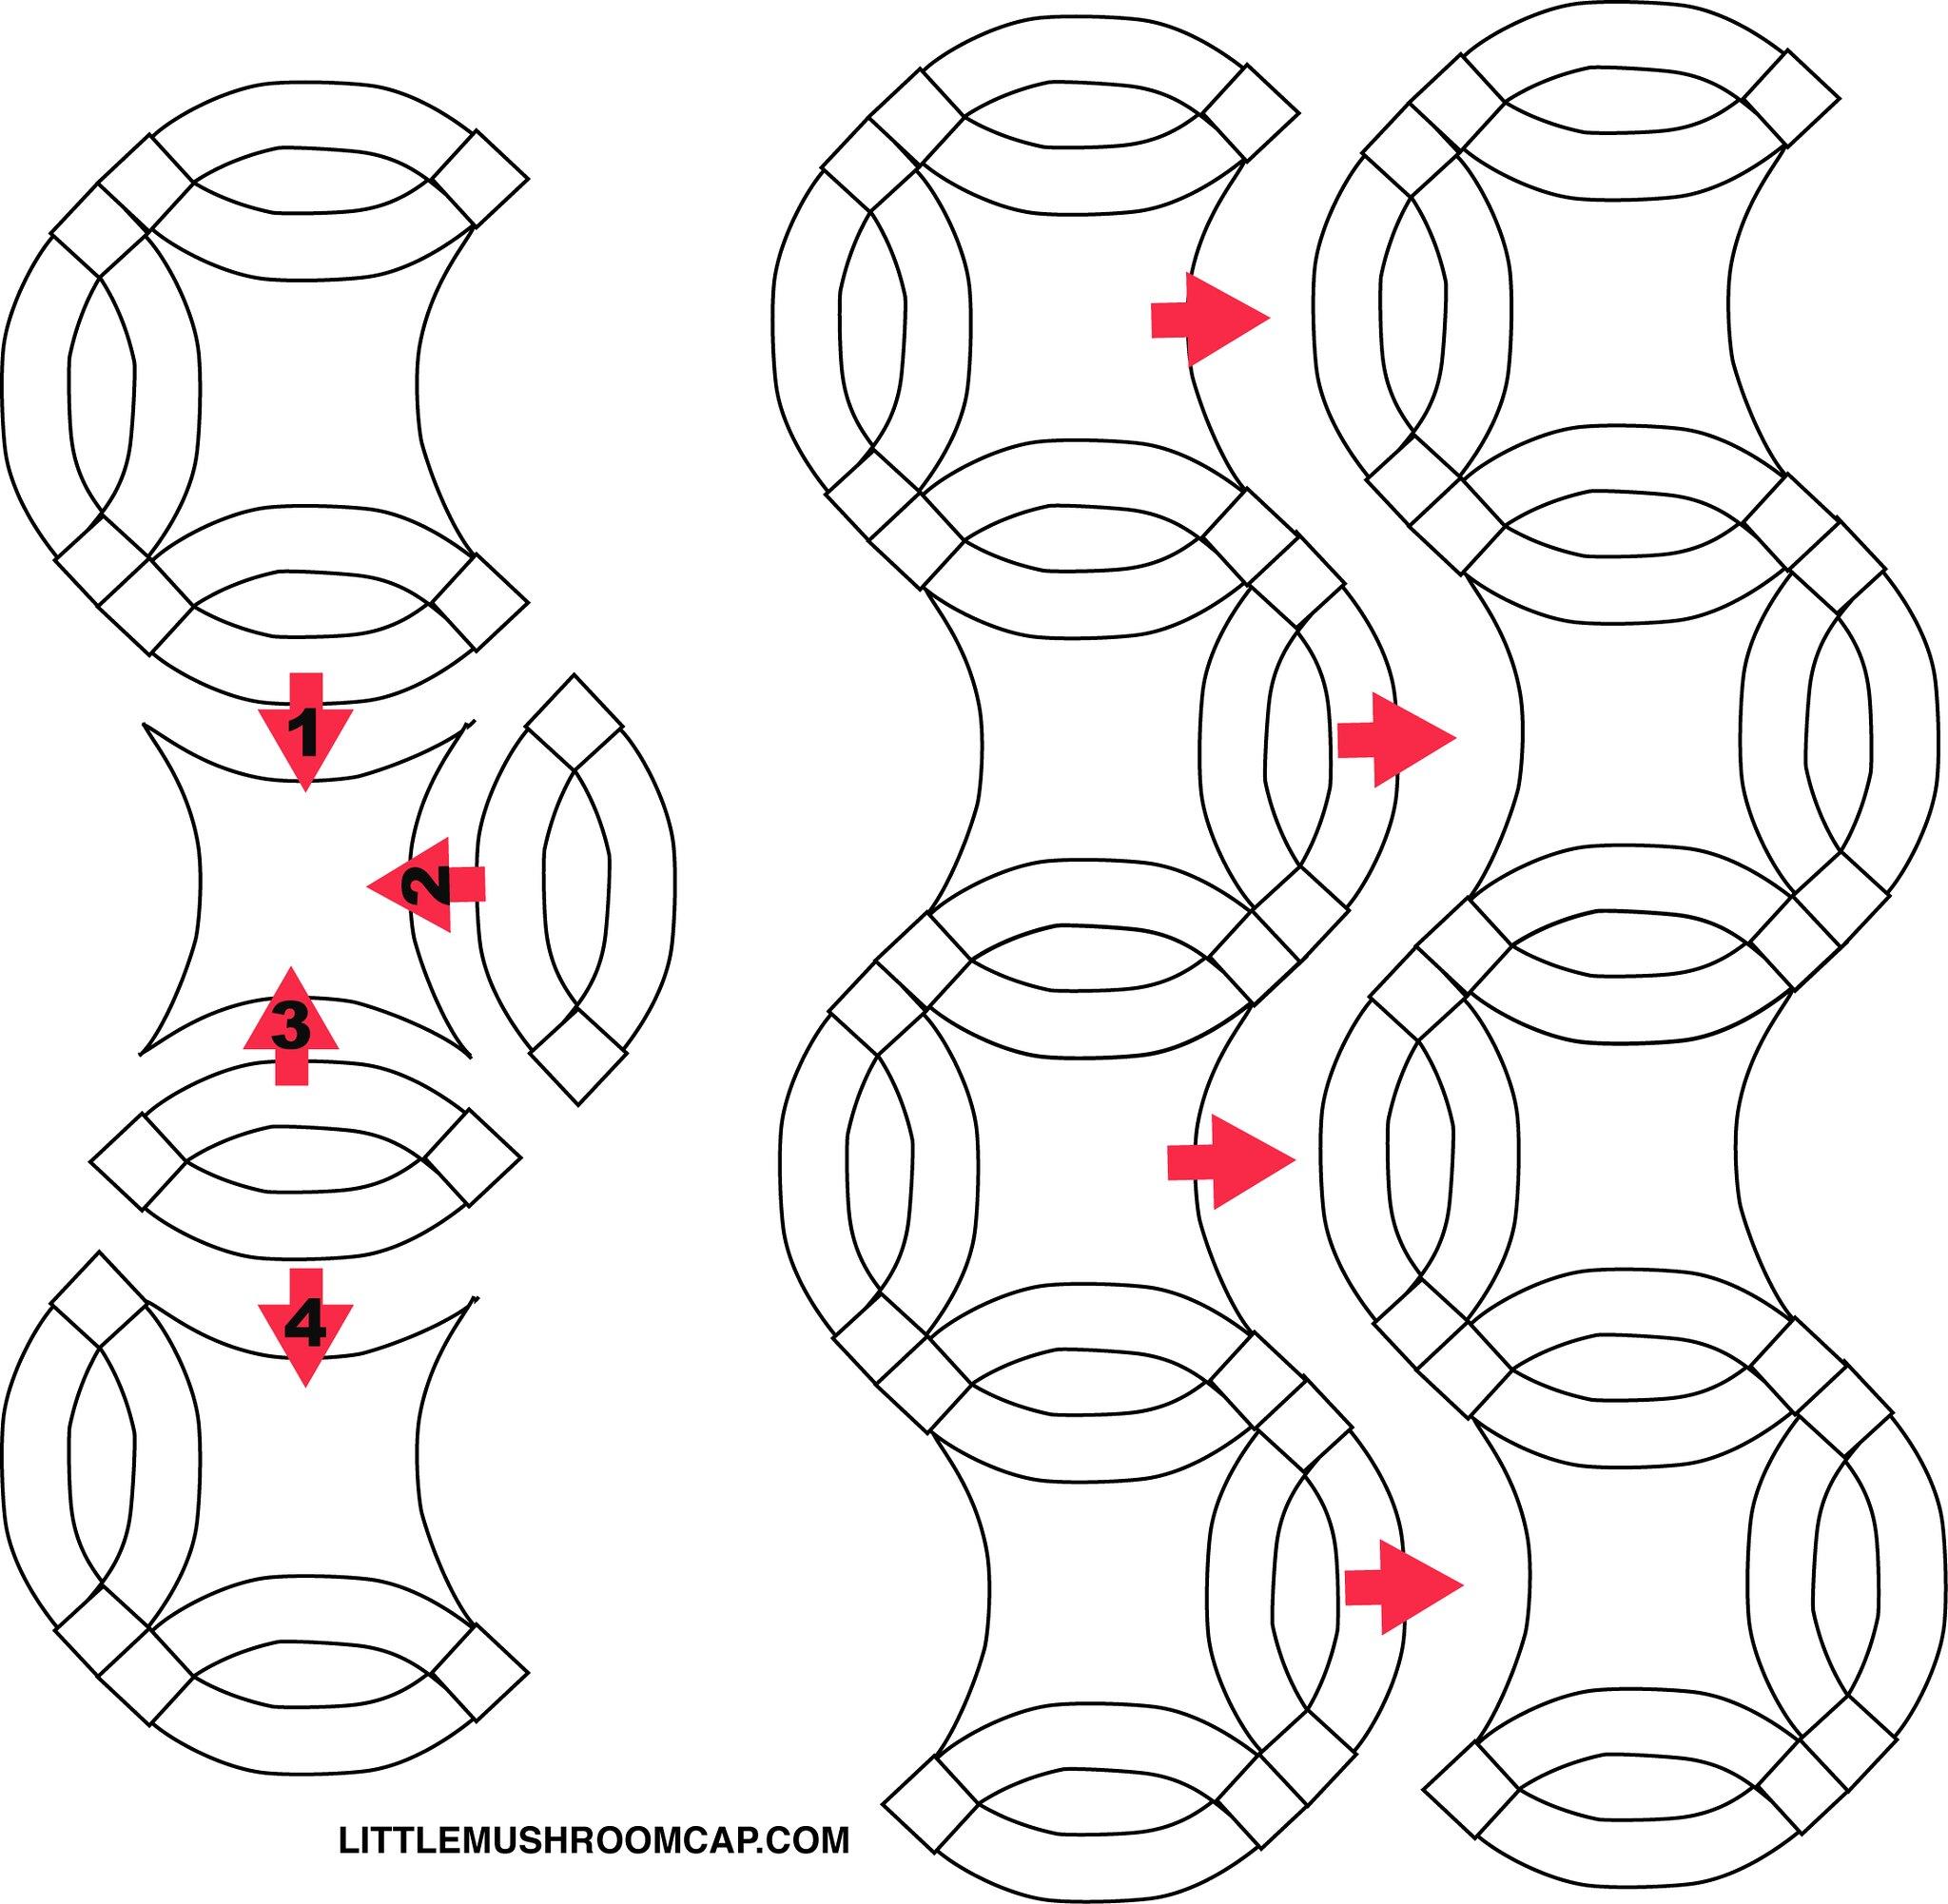
Then comes the hard part. Piecing the melons to the centre curvy hourglass piece. Once you get in the groove of piecing these, it comes together pretty quickly just like nay other straight-piece patchwork.
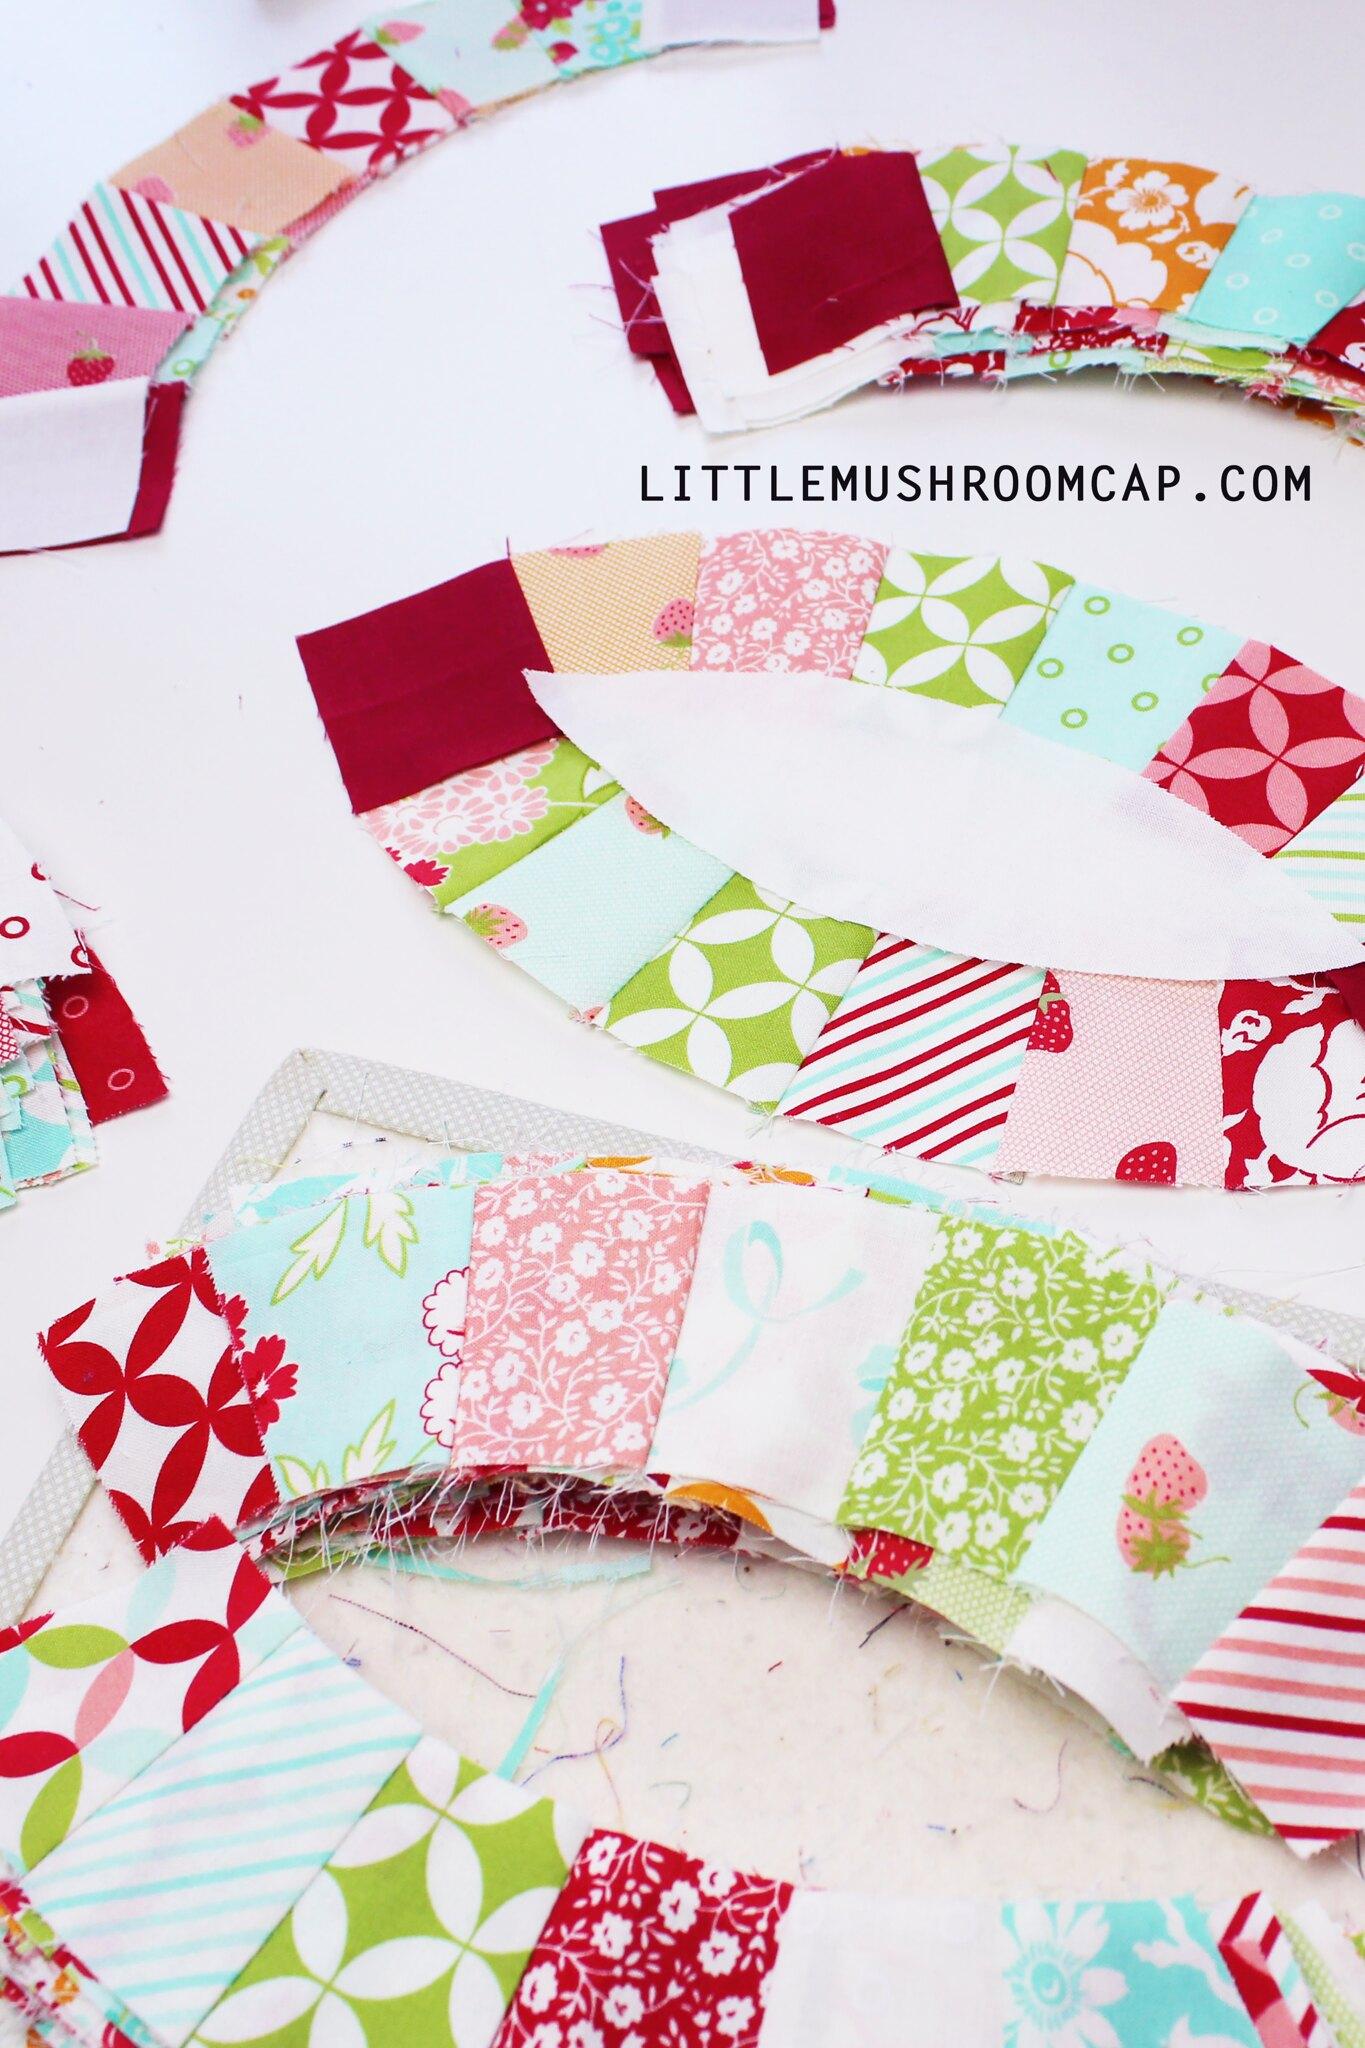
I DID take my sweet time. Although piecing the rows together were challenging, I still think the finish make it so worth it.
I have always wanted to make a double wedding ring quilt! Here is a video of me (amateur video) with a quick view on how I sew the melons to centre piece and the template I used.
Video : How I piece the Melons of the Double Wedding Ring Quilt:
In the video I talked about the template I use for this wedding ring quilt and the method I used to piece them together. I hope you’ll find it useful and encouraged to make a double wedding ring quilt too. Let me know if you are making one in the comment below.
The wedding ring quilt now completed and blogged about HERE>
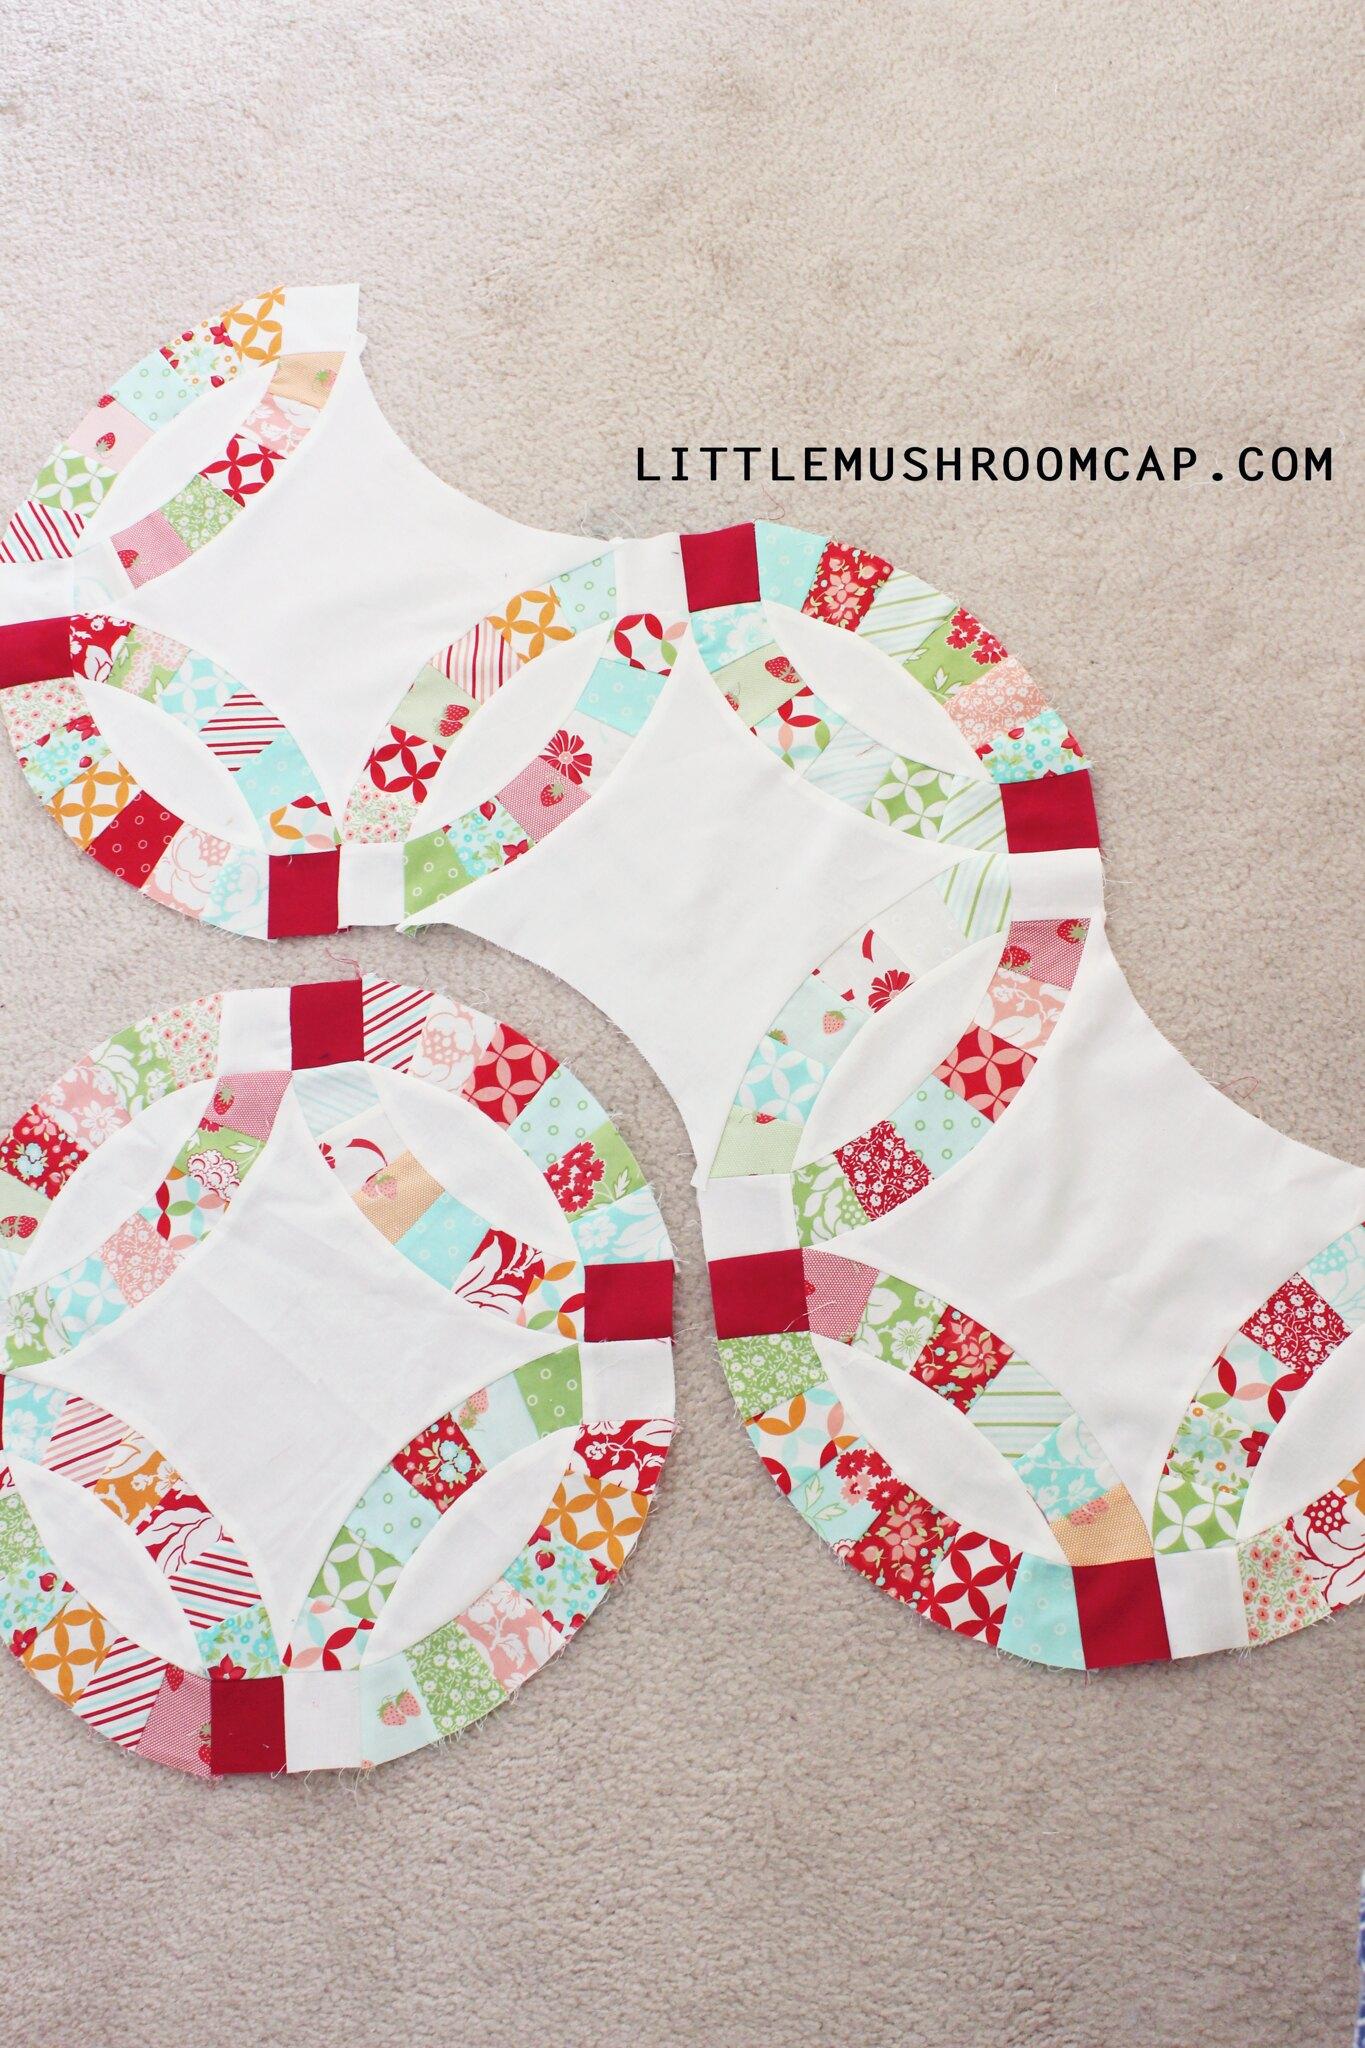
My quilt top is now ready to be basted. I haven’t got a proper photo just yet but you have a look at it on my instagram account : amira_littlemushroomcap. Updated: The wedding ring quilt now completed and blogged about HERE>
Well, I hope you will enjoy the video. Hopefully I have not scared you to start your own double wedding ring quilt.
Take it as a challenge! The finish is so worth it!!
Piecing Rows together
Here is a how I pieced my rows together. I did, however, piece my rows on point. So, I have various size rows with the longest one from one corner to the other.
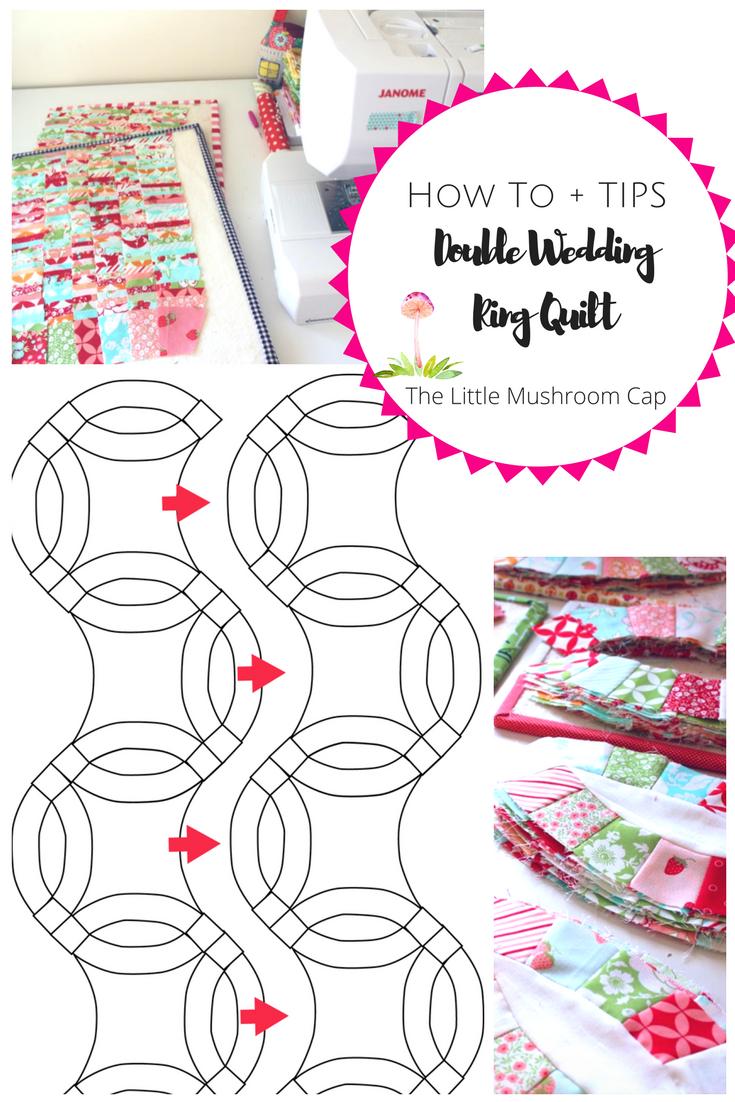
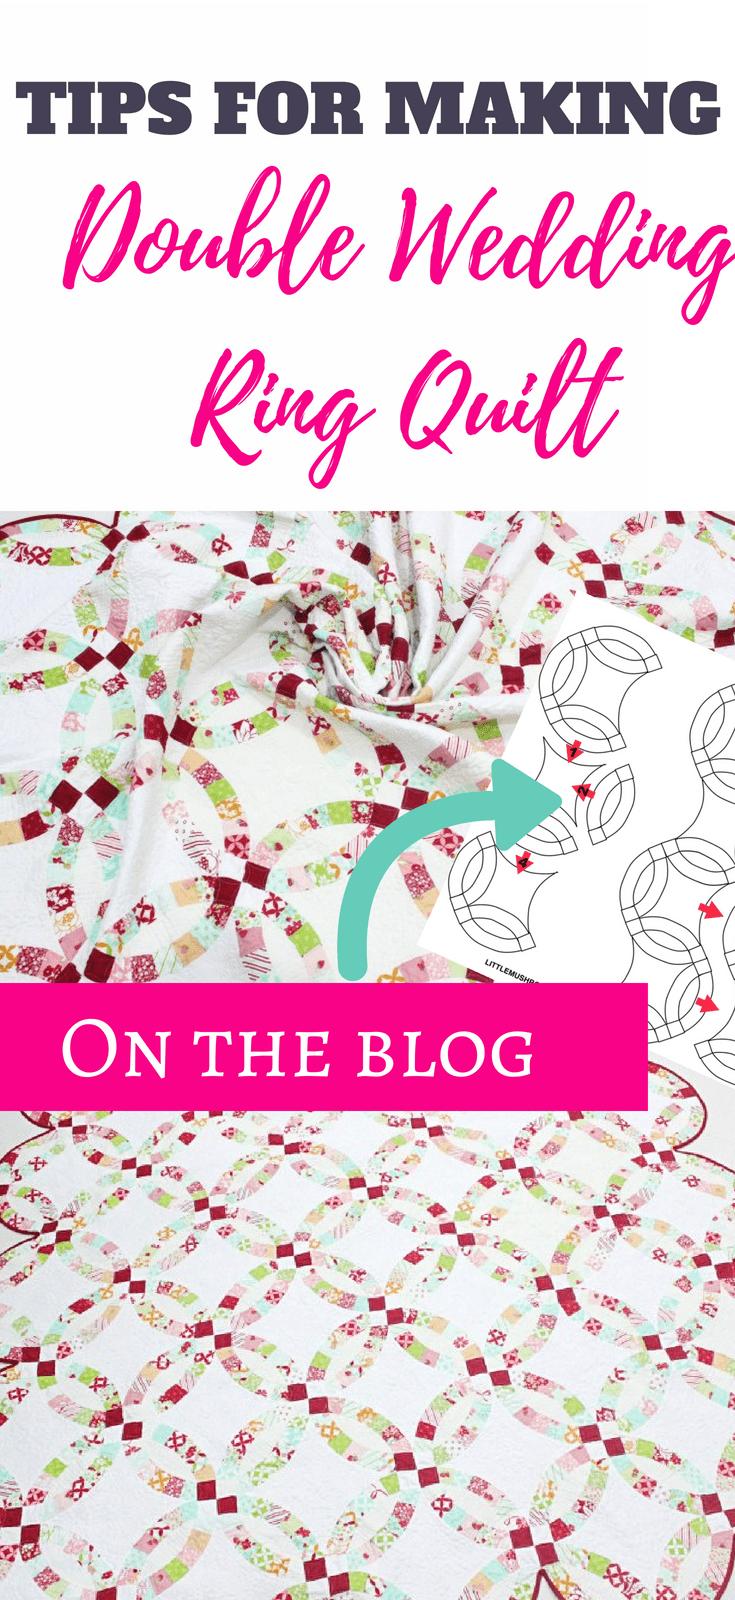
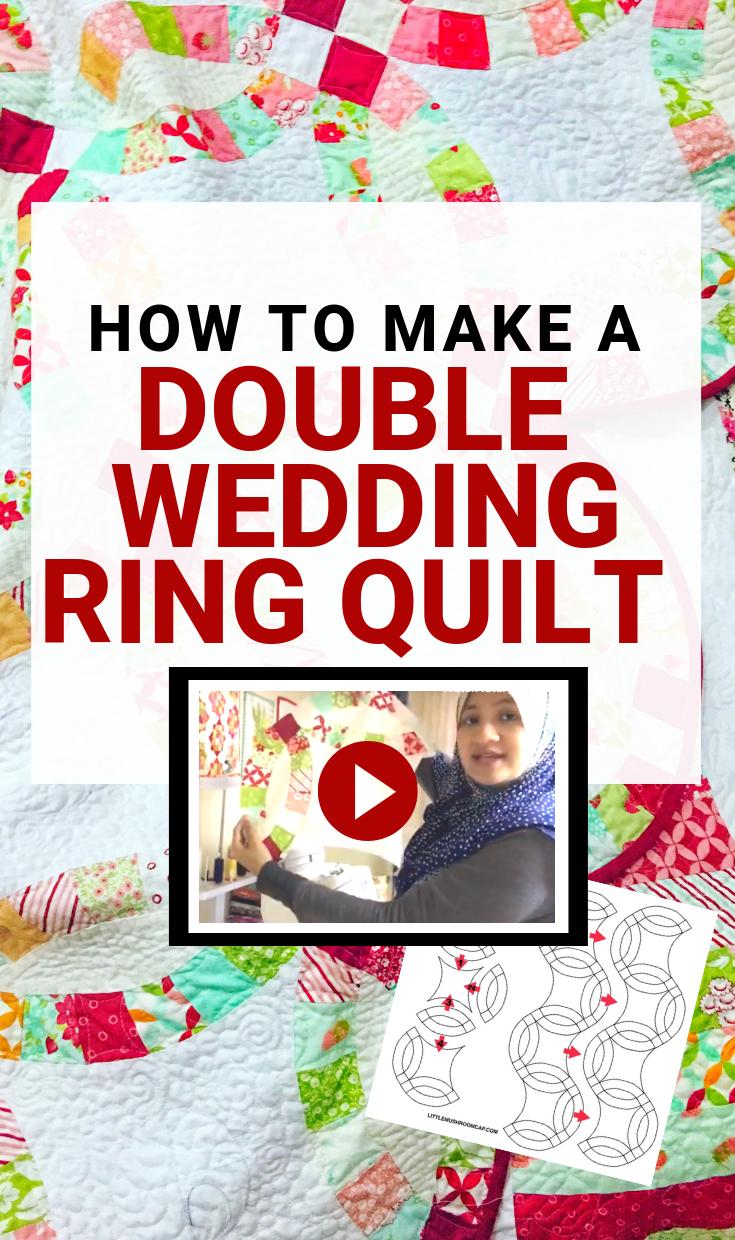
If you are planning to make double wedding ring quilt someday, it’s best you pin this post so you can come back to it when you do!
Till next time, Sweet Sewing!
Amira

 Chanel earrings, CC dangle earrings in water drop shape adorned with stones and pearls v39