Machine Quilting can be kind of tricky- especially when you are just starting off and all you have is your standard sewing machine to do the job.
I have had a few requests or questions about using your standard sewing machine for quilting your quilt and thought I’d help out by offering up a few links for some great how to’s + some quick tips on my own.
For the last few years I have been using a large machine for all my machine quilting {now named the screaming banche}. I fell into a wonderful deal and bought a WOW quilting machine. Definitly not top of the line- but thier service {over the phone} is wonderful and the machine does what I tell it to without too much complaining. It is not computerized and so I do all the designs ‘free hand’. I do have a few templates and can do groovy board designs,- but where the sewing cottage isn’t large enough to accomidate that. So free hand it is.
Before the big machine found it’s way into my life I used my standard sewing machine. It is a Janome. I love it!! My one complaint is the button stitch is at a slant and not customizable….. I love everything else. It is a work horse and loves it when I take it for long walks in the meadow of scrapville. hee hee
I loved machine quilting using my machine. I did the quilting for over 3 years- The quilts varied in size from tiny ones {baby size} to a mega queen size. The larger you get the more difficult is it to maneuver. It isn’t the quilting that is difficult, it is the weight of the quilt that hinders the quilting. {and if you are anything like me – I get distracted!- it takes a bit of time on the machine and seriously it is not stimulating sometimes}. I have found a few tips that totally helped and changed how I quilted- time to share them!

How to Quilt with a Sewing Machine~
* Start off SMALL!!! Don’t get all excited and load up the biggest quilt you have and off you go. You will find nothing but frustration down that alley!!! Grab a project that is ready to go and in the size realm of 36-50 inches max. You also don’t want to go the extreme and start on something tiny. This will lead to nothing but cries after sewing your finger or popping pills so you don’t have anxiety about sewing your fingers. Start somewhere in the middle that you are able to handle a nice amount of fabric in each hand and not have it heavier than a 10 year old child.
* Drop your feeddogs. Those are the little teeth beneath the plate that ‘feeds’ the fabric into the needle area. You really don’t want these moving. This has a habit of detering your fabric and not letting you be in total charge of it. IF your feeddogs don’t drop {mine didn’t} no worries- Turn it to 0. That is the same setting as if you were putting a button on and you don’t want them to move.
* Start with a simple design….like the meandor. If you find yourself crossing over lines a lot, then add a loop in there. I think that for the first year the only thing I did was the meandor! lol It was easy and quick to do and wan’t difficult. You can also learn how to control the stitch length and learn moving the fabric.
* When I started quilting I used safety pins. Layed everything flat, smoothed it out…and pinned it to death. This works great, but after a few years of getting that perfected ‘FUSIBLE BATTING’ was on the shelf. That I love!!!! It is easy to do, you still have to lay it flat and smooth it out, and iron…oh, boy iron! But, after it is done it gives the quilt a stiffness to it. This is easier, I found, to handle. It also condensed the fabric sandwich so it wasn’t as puffy and you can see a lot better where you are going.
The biggest payoff is the ‘no pins’ solution! No stopping to unpin. You are still pausing to move the bundle around, but that is not as often. Follow the instructions on the package and give it a try. You won’t regret it!
* The backside is pretty important when starting out on machine quilting your own quilts. The busier the fabric the less it shows mistakes. You will not be happy with your first attempt if it has a solid color back!!! Believe me!! That thing will show any and every pucker, skipped stitch, pointy curve and whatever else you didn’t think you did. 🙂 So, keep it easy and find something that will be a little more forgiving.
Even though I don’t use my machine anymore {right now I am using the screaming banche} when I do use it for little projects I still follow the same rules.
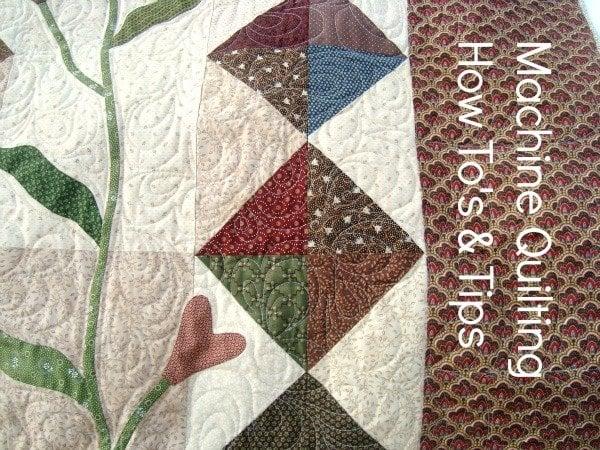
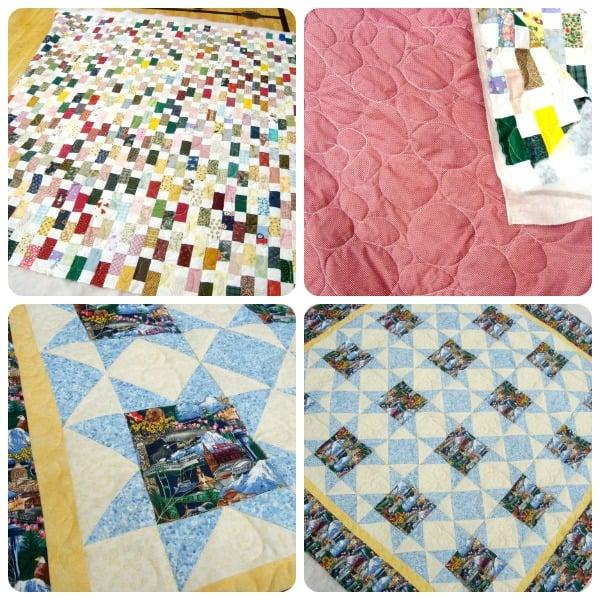
The photos are from the most recent quilts I have quilted. They are quilts for others. I do that occasionally too.
There are a lot of machine quilting tutorials out there to start you off.
If you are quilting around applique- here’s a video to help you:
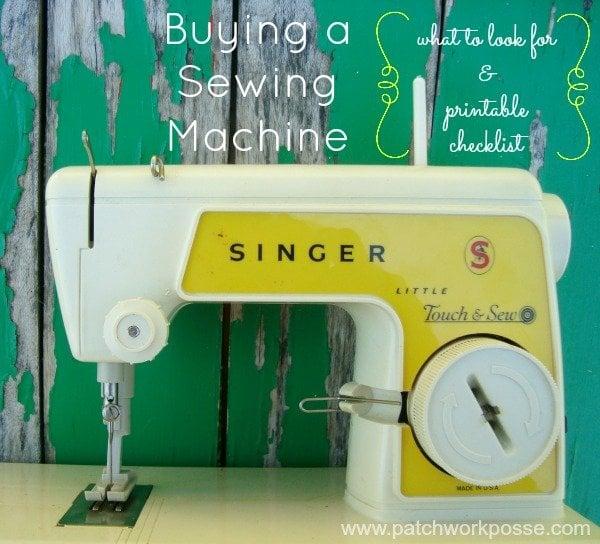
If you are looking for a new sewing machine…here’s a quick free printable all about finding out what you need.
 What’s your story on Machine Quilting? Share it! I’d love to hear how you started off or any tricks you might have.