In our recent adventure – the Pedraza Project – we had a decision to make about the flooring. The kitchen had a new layout with two entrances (one large one from the front door foyer and one smaller doorway from the dining area).
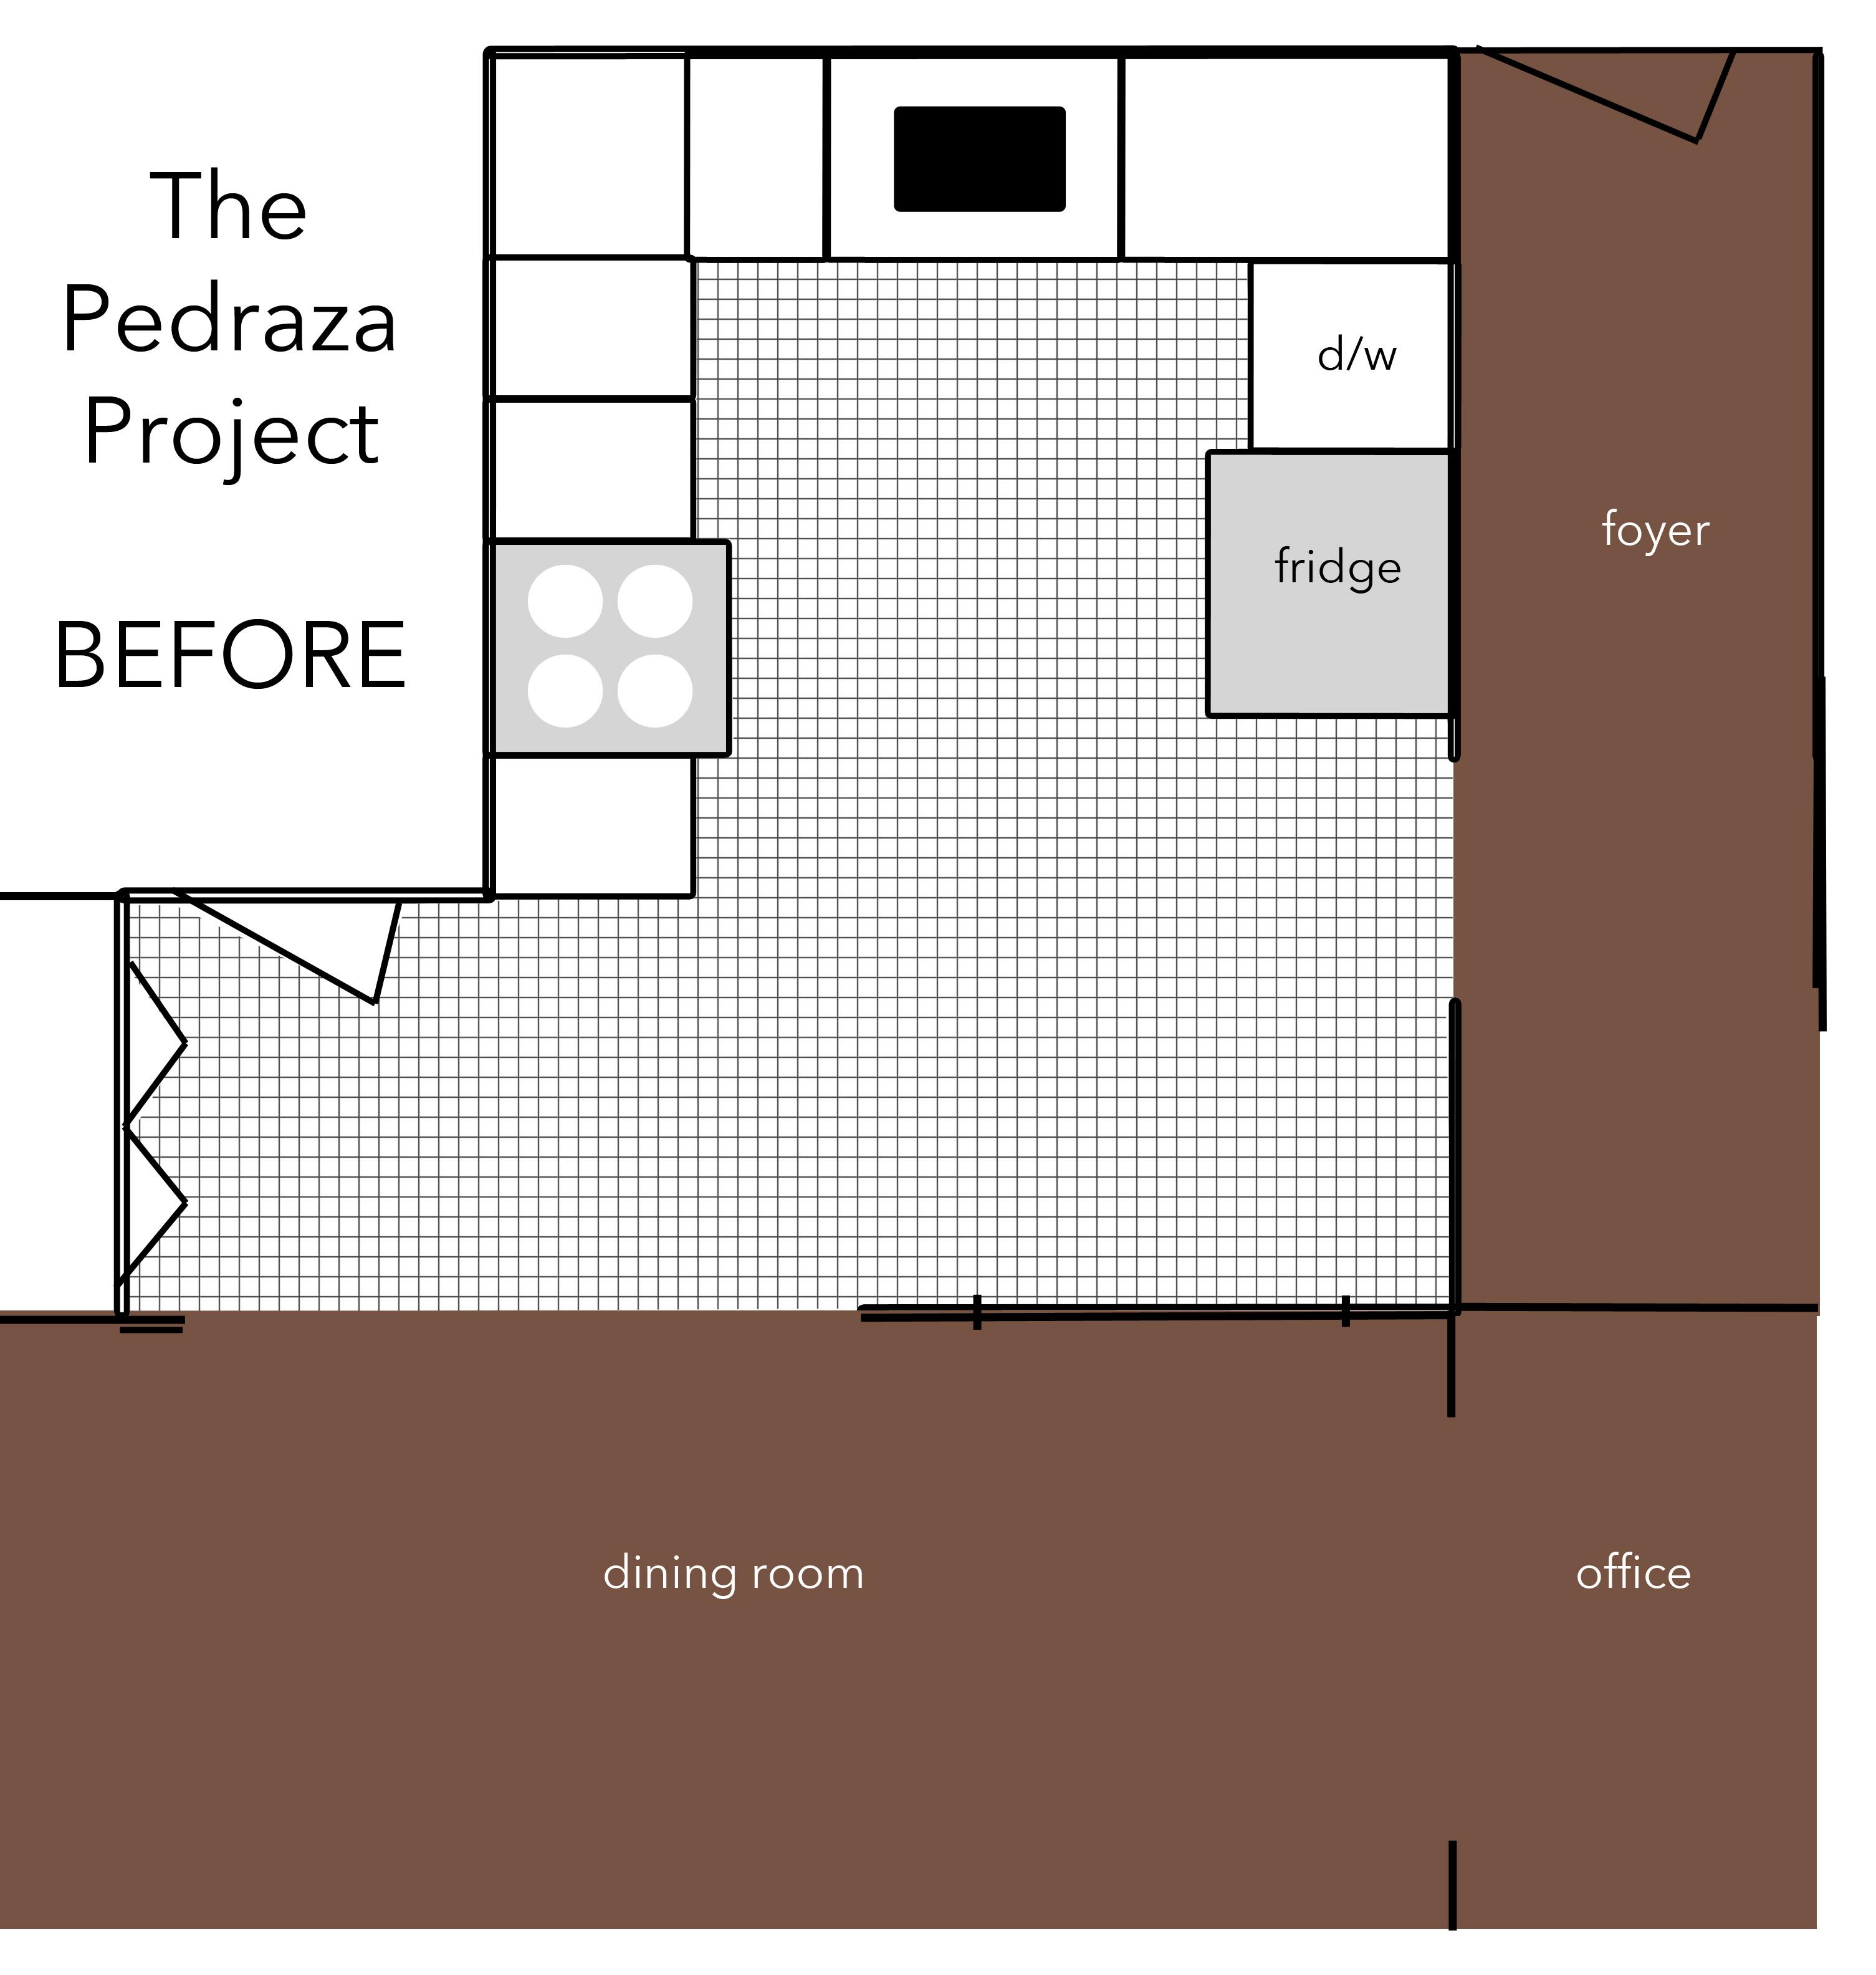
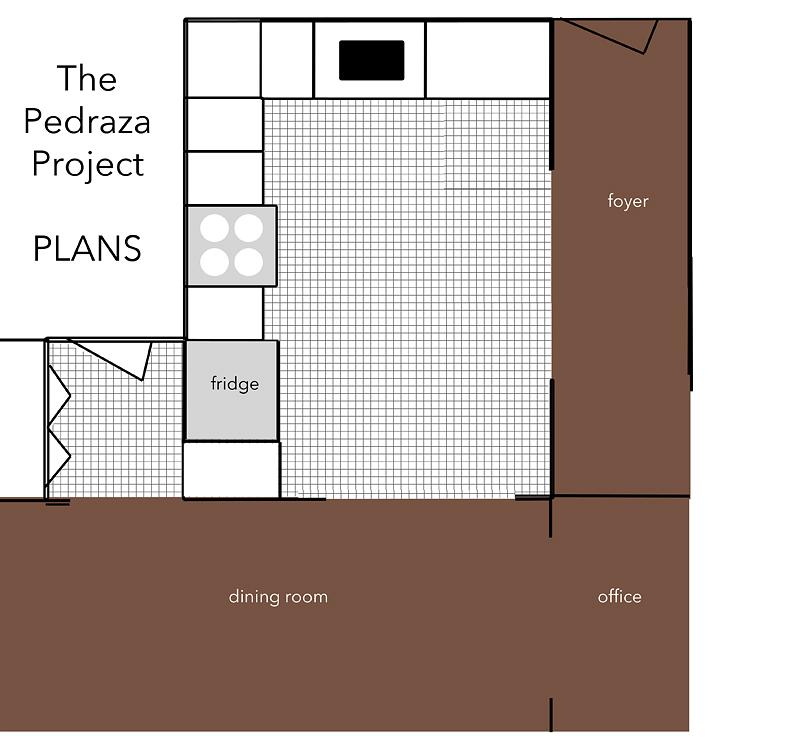
This space was also changing in the sense that it went from a U-shaped kitchen layout to more of a L-shaped layout. That meant that we had two focal points – the window from this view….
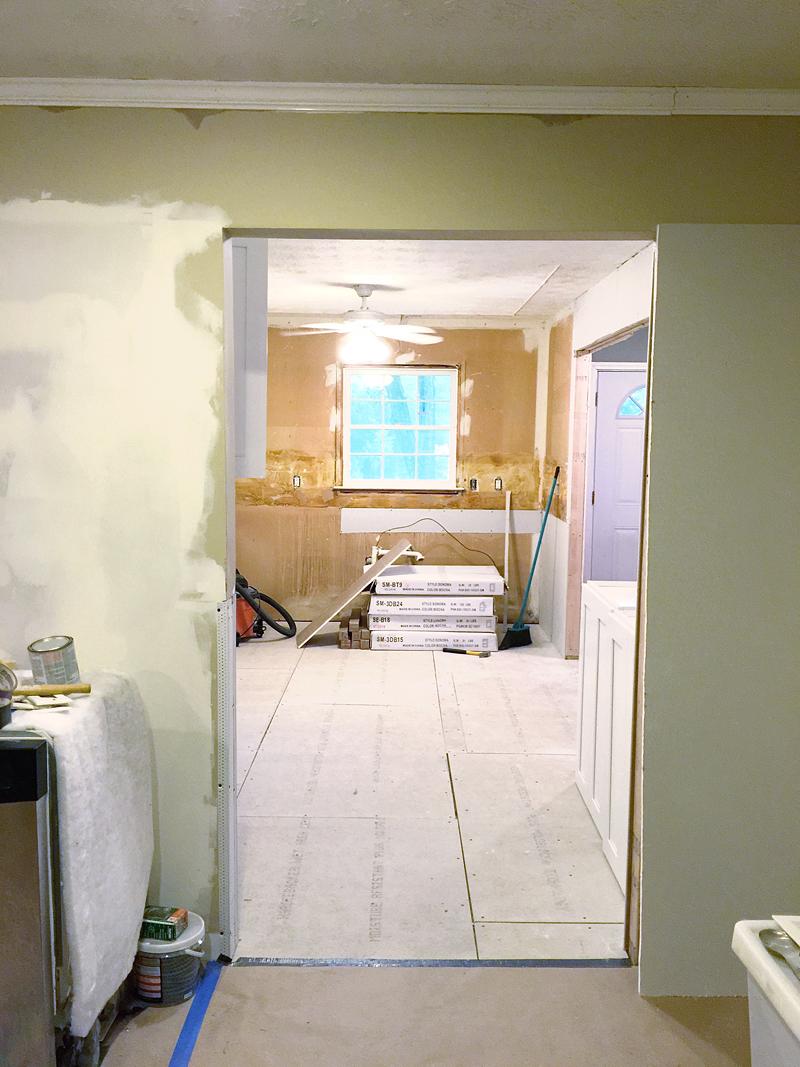
And the hood/range from this view….
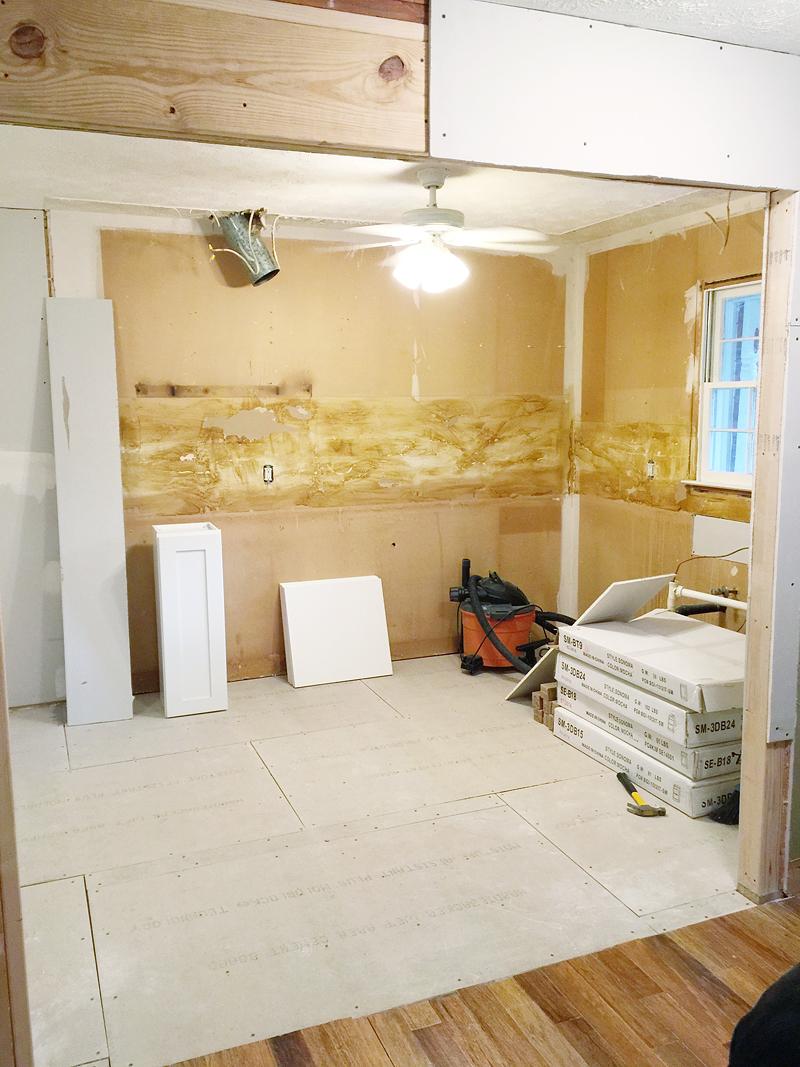
(I know…the hood isn’t in that photo…but you get the point.)
These are all important things to note when it comes to laying a tile floor. Knowing the layout, the focal points and the entrances are all clues to figuring out the center point. Why is the center point so critical? Well…that my friends is where your very first tile goes for ANY tile job.
Are you sufficiently overwhelmed?
Don’t be – this is easy and will help you be a pro at mastering layout for any tile floor. Or it could ruin your life because you might now notice any time a tile floor is planned poorly. If that is the case….my deepest apologies 🙂
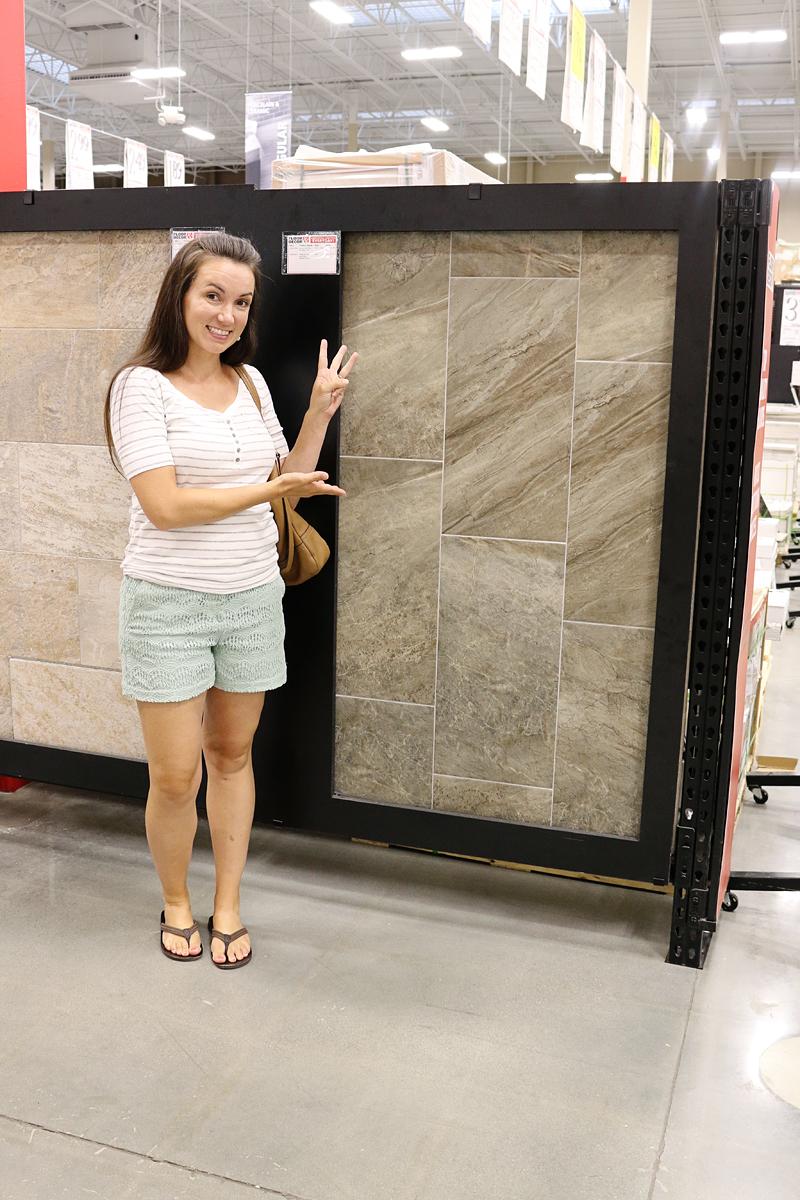
So let’s get to the Pedraza Project floor. We headed to our new fancy Floor & Decor store and picked out a bunch of different options for flooring. In the end, everyone loved the porcelain large format tile that had lots of dark variation.
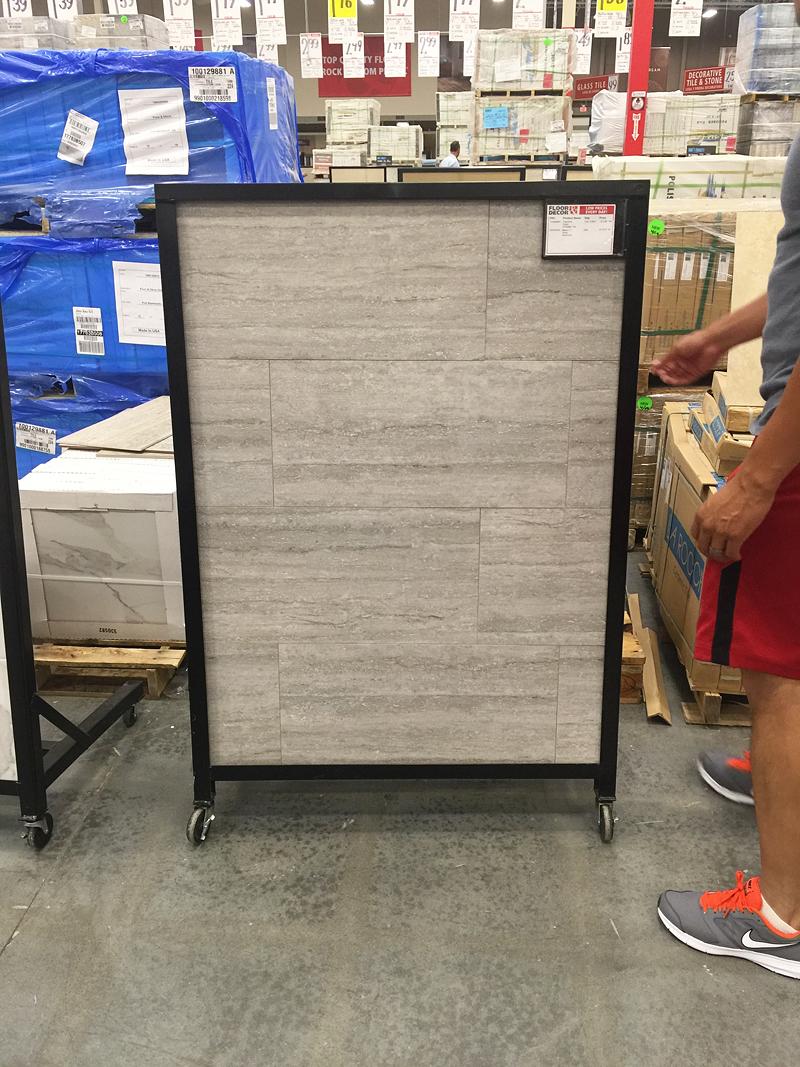
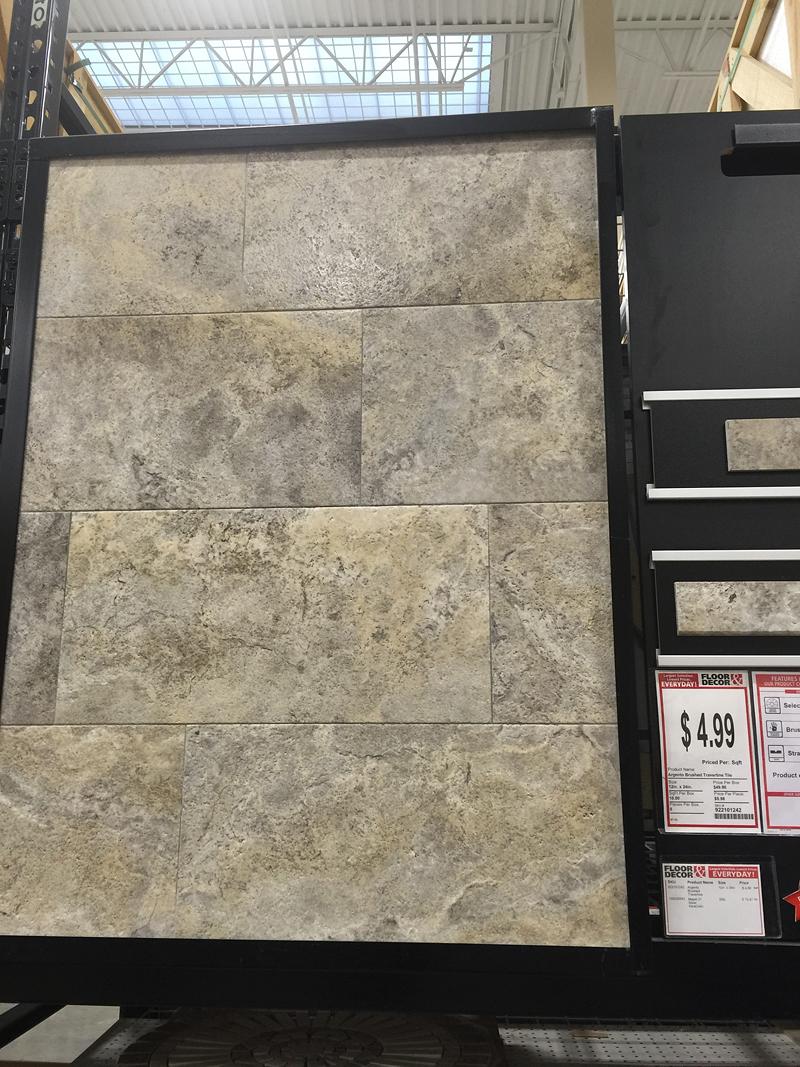
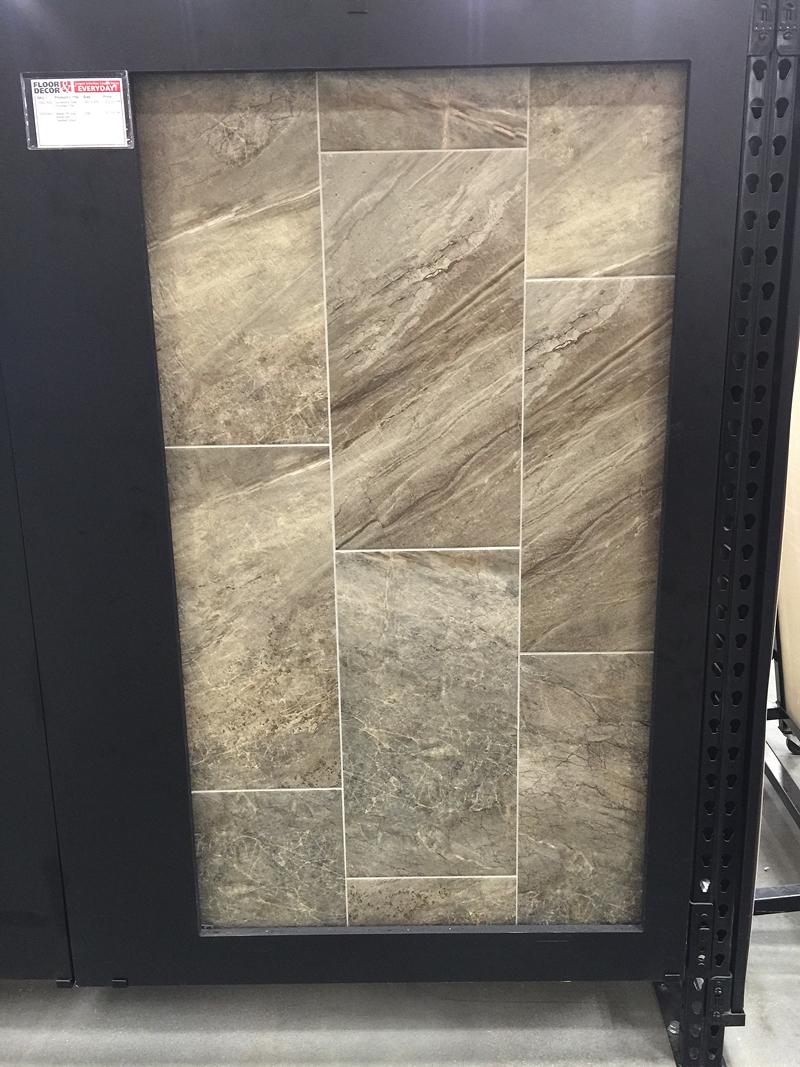
The Symphony Gray Porcelain Tile looked like it would hide dirt well, hold up to the wear and tear of everyday, and overall, play nice with our cabinets and backsplash.
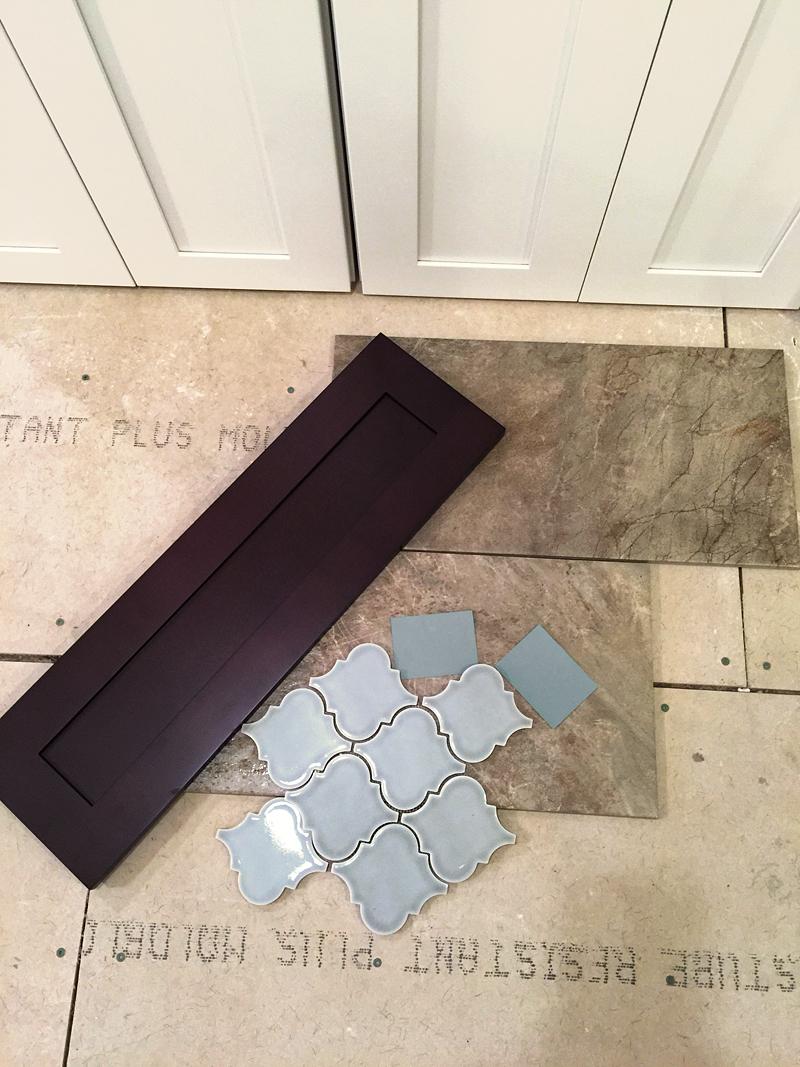
And even though we loved the tile on display….we didn’t dig the lighter colored grout so while we were at the store, we made sure to check out the grout colors to get the one that would disappear the best. The Floor & Decor selection is really massive…and it’s all right there in front of you…so whatever you need, you can buy and leave and tile that same day!
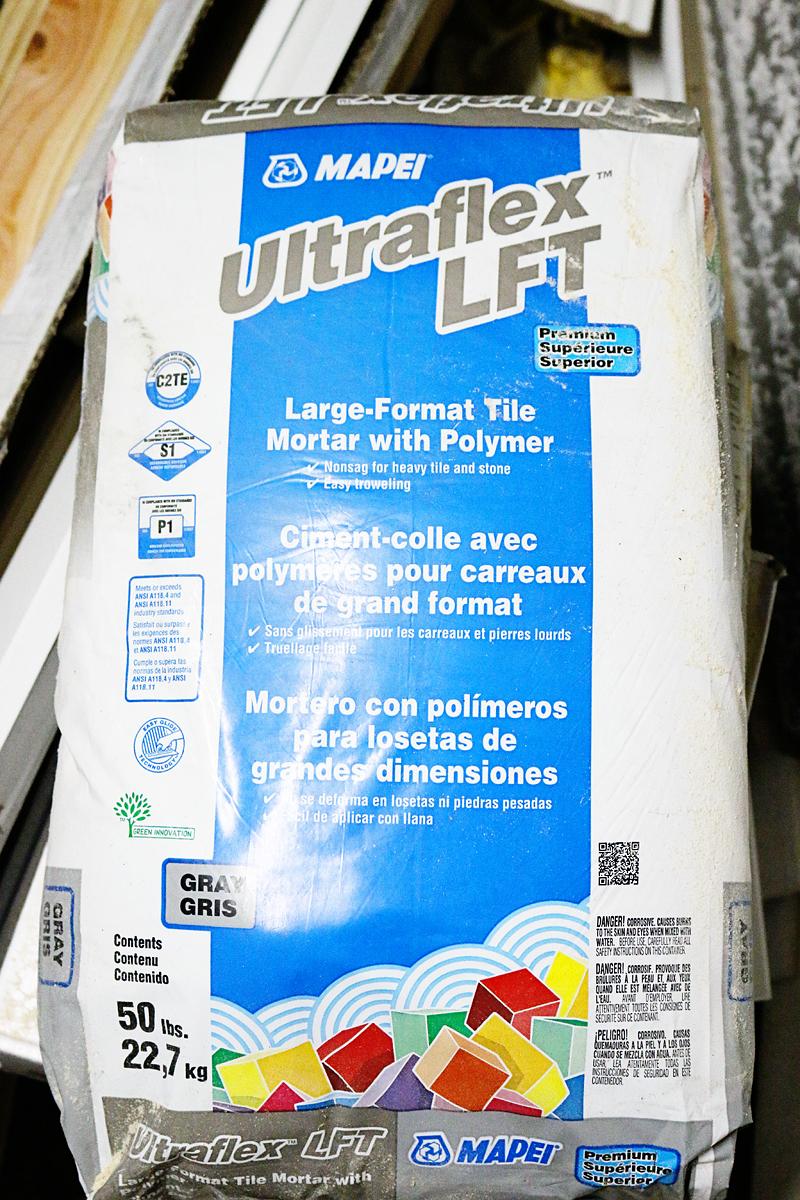
As far as other supplies, this was my first time working with such a big tile….so the mortar is a little different. You want to make sure you get an adhesive (mortar or thinset) that is for large format tiles. We decided on the gray colored one just in case we missed a bit – it would blend in well. Here is the link to the one we used.
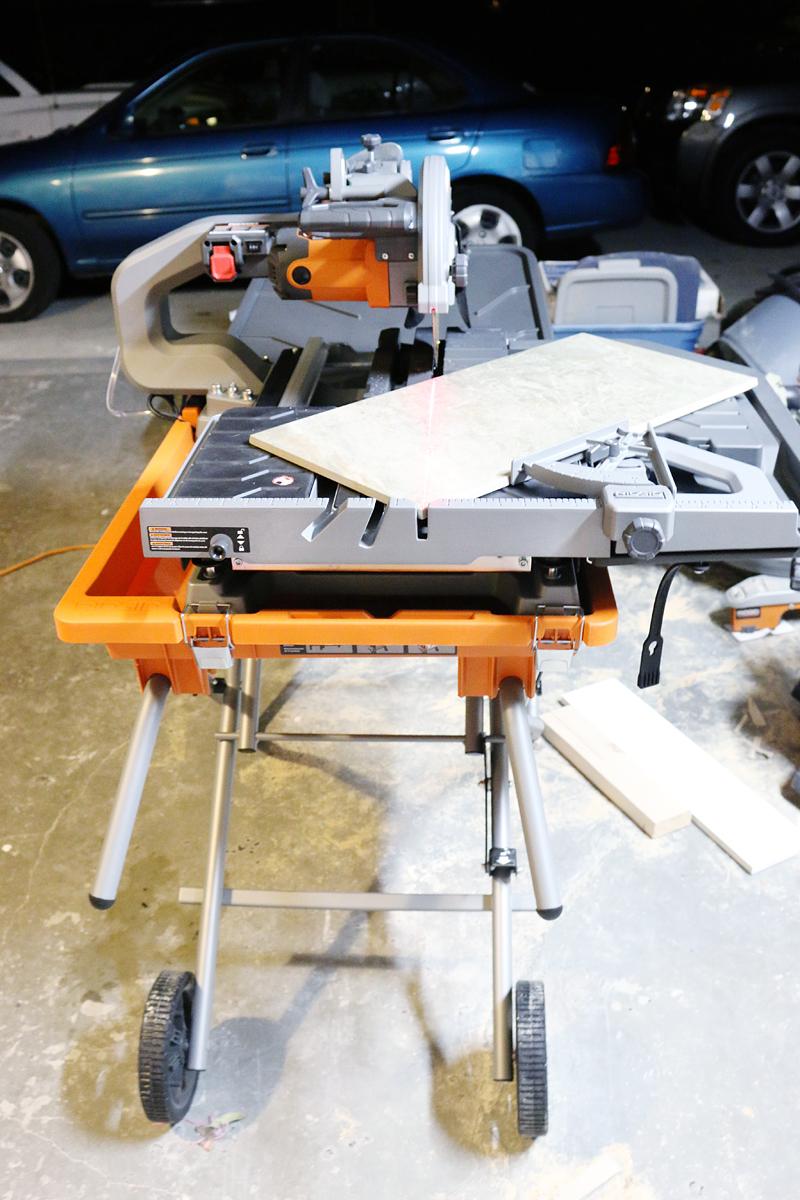
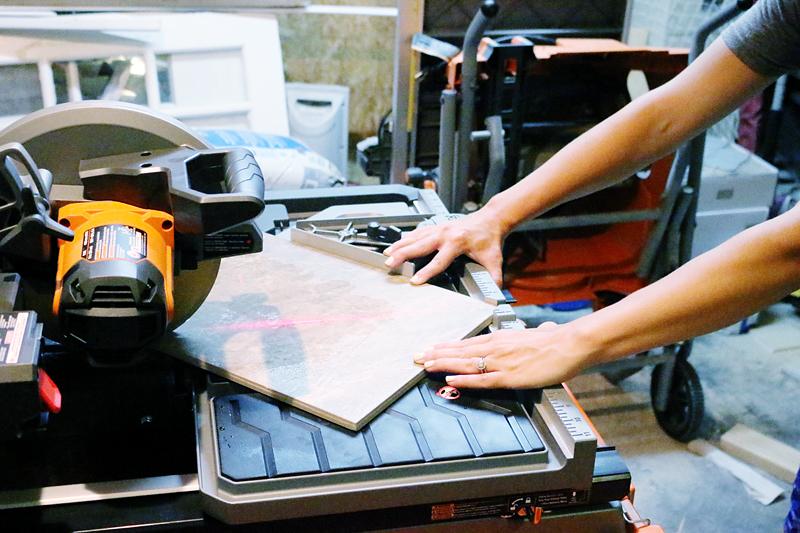
We also needed a tile saw that would perform well with larger tiles and OMG I am obsessed with this one from Ridgid. In full disclaimer – it was sent to us as a gift….we never promised to talk about it or show it on the blog….but it’s literally my new favorite toy. If you are in the DIY world and you don’t have a sliding tile saw yet….this cut our time in half….and our tiles in half too 🙂 Plus, I didn’t look like I peed my pants….which if you are a tiling person you know…that’s a thing.
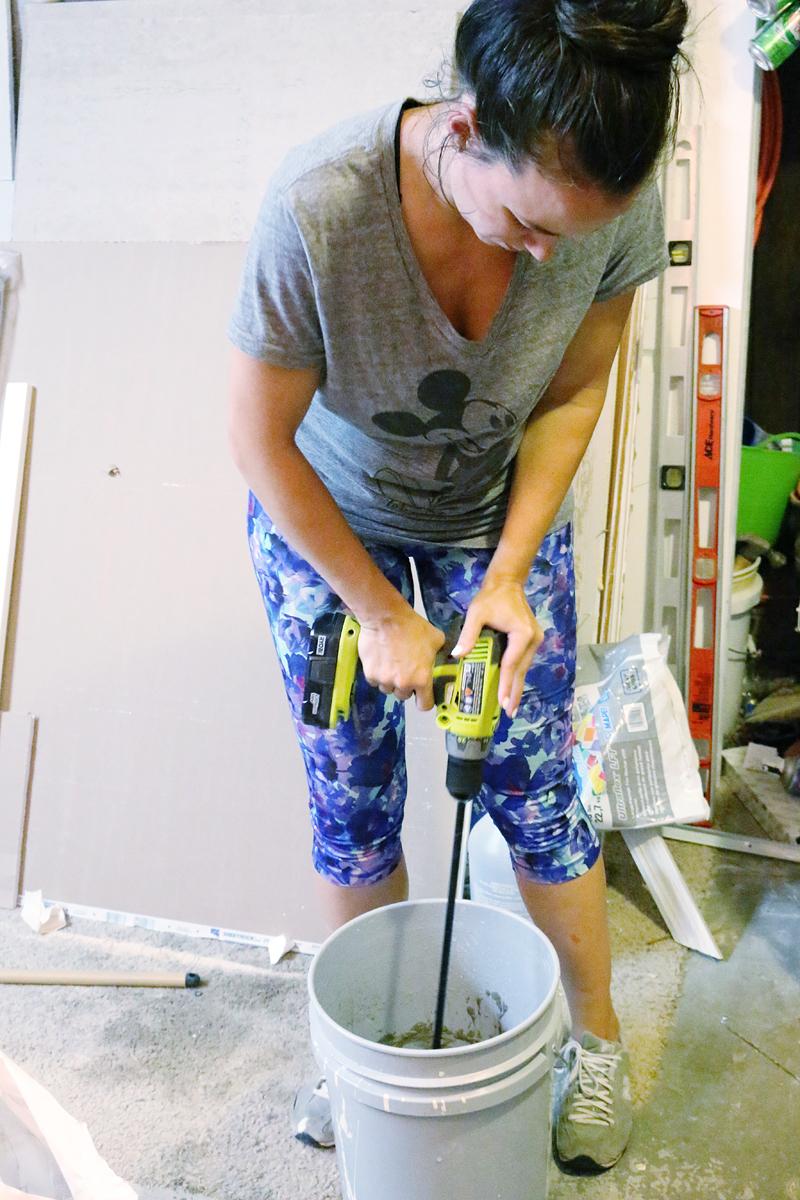
So the first thing that we did was mix up our mortar. The cement board was already laid and things looked great as far as prep.
I decided that the wall that we wanted to be the starting wall would be the entrance to the kitchen from the foyer. I dry fit a bunch of tiles first to make sure that it would work out and I wouldn’t be left with slivers over at the other doorway but things looked good and I marked the center of the doorway and made sure that it would be lined up correctly with my focal point on the opposite wall.
Then I cut our first tile. I cut the bottom corner off at a 45 degree angle and it was SUPER easy to calculate the angles with the plate at the bottom of the saw and then the angle guide you clamp to the side.
Once the piece for the center was cut and the other pieces were dry fit, we felt like we had a solid plan.
Oh and if you don’t know what dry fitting is – basically you just take a ton of tiles out and lay them in the pattern you want and then see where the other doorways fall on the tiles. If it leaves you with a little tiny piece (anything smaller than 1/4 of a tile is too small) or if your sight lines don’t line up visually with your focal points (in this case, the sink or hood) then you gotta tweak. This tweaking can be done by moving your center point tile. Sounds exhausting….because it is…but it’s probably the hardest part because it’s so much ‘double checking’.
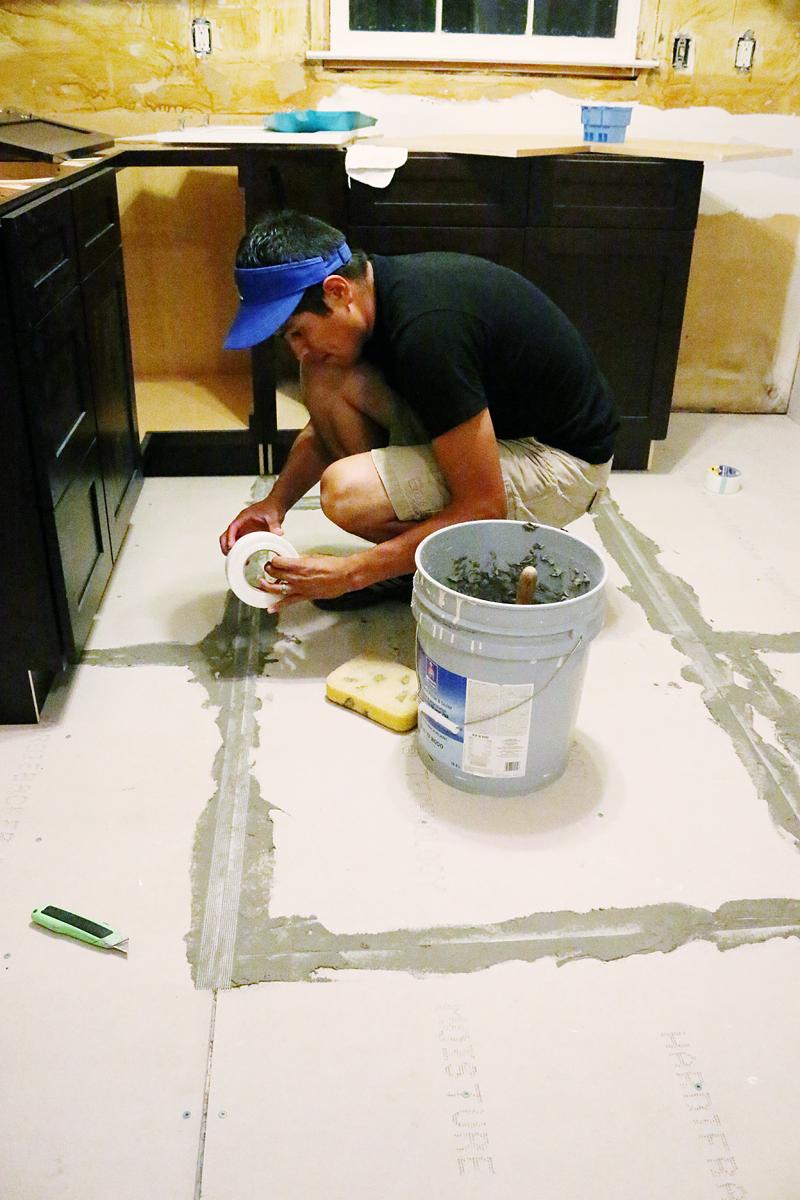
Ok…so the plan was intact….then we had to tape the seams. You use the mortar you just mixed to spread a super thin layer on the seams of the concrete board and then embed the tape into the mortar. This in theory makes the floor like one solid piece instead of several pieces of concrete board. This solid piece – or FOUNDATION – will help your tiles not shift apart or break if the house has slight movement (which all houses do!).
Now it’s time to trough and place those tiles!
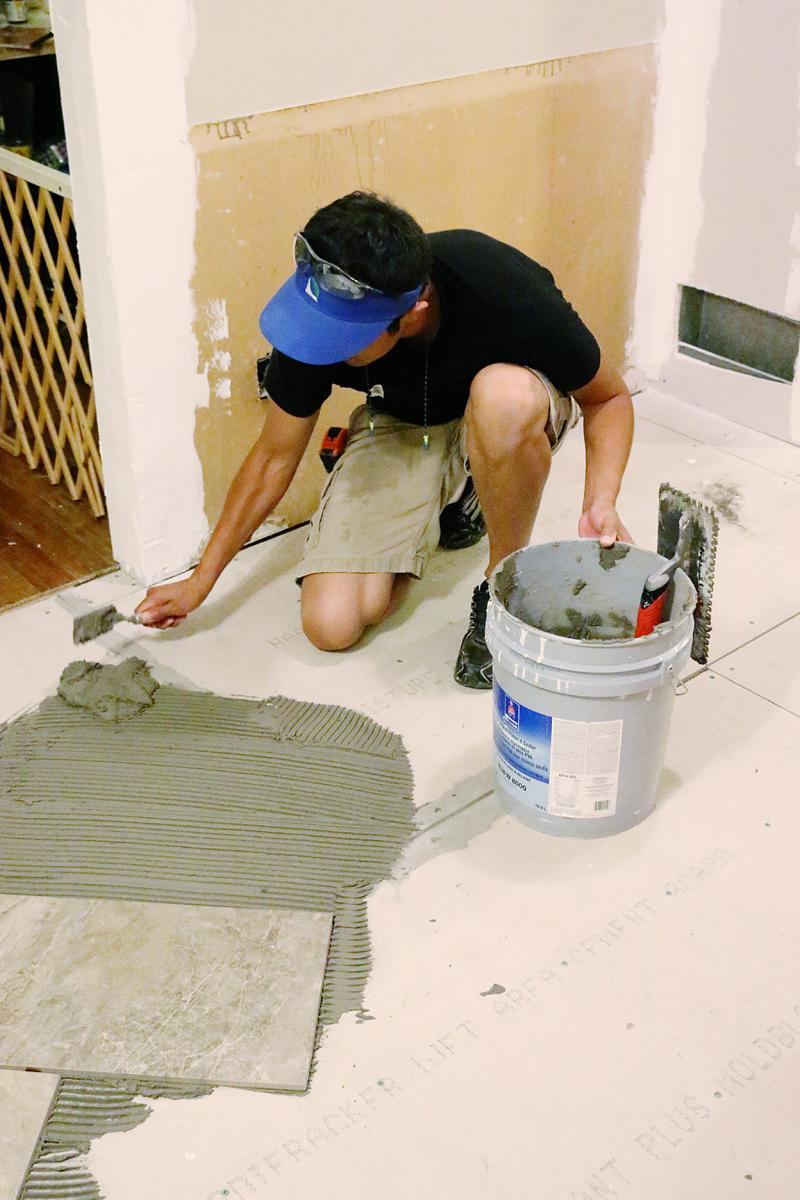
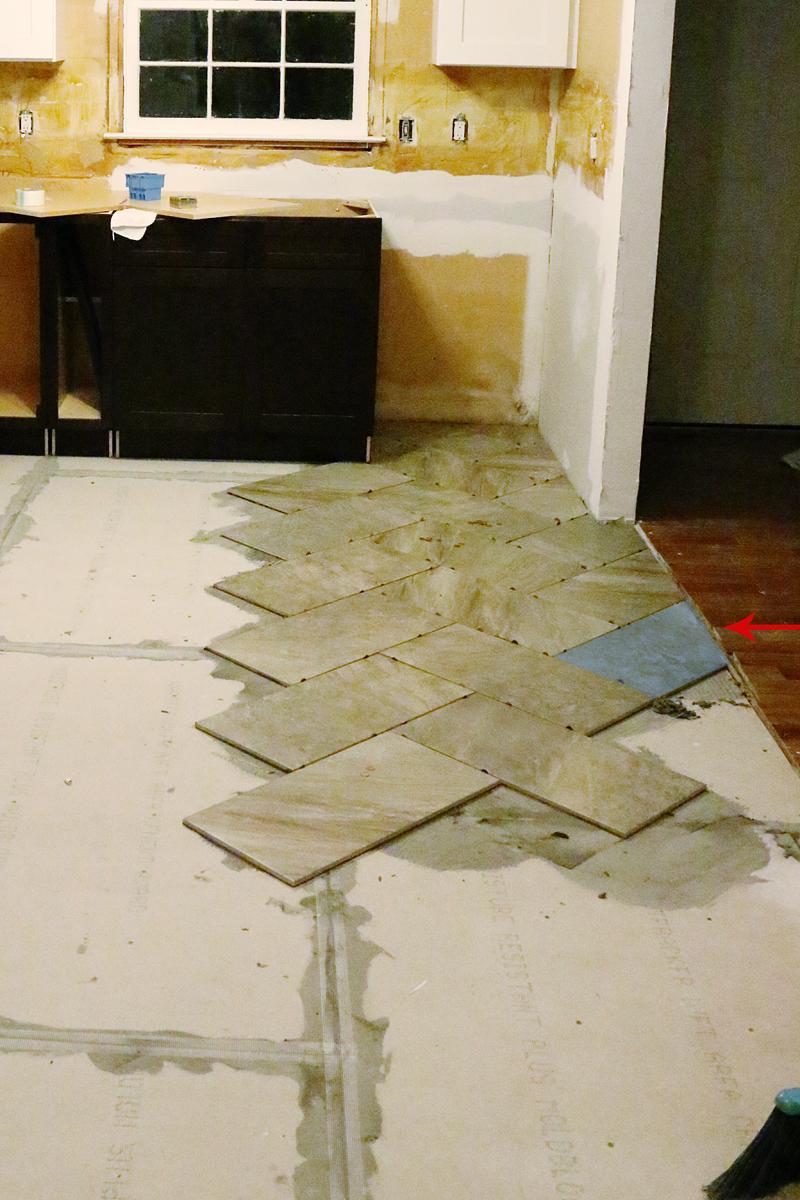
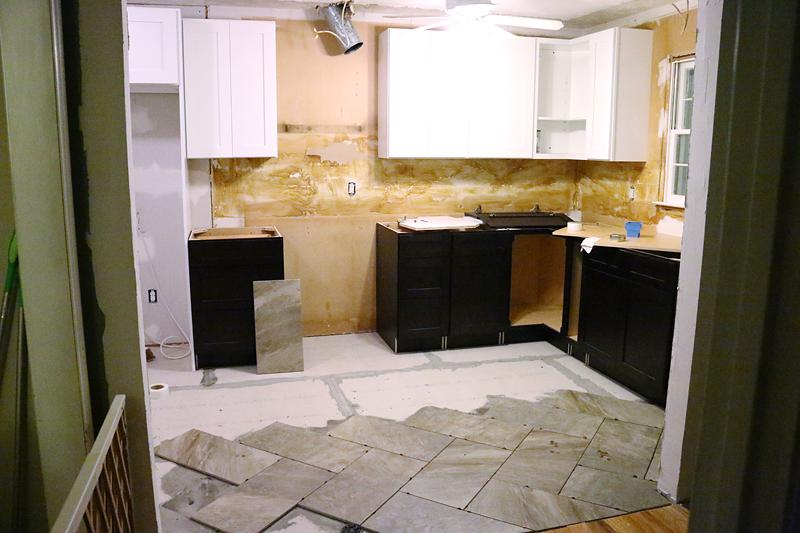
The easiest way to feel lay a herringbone pattern is to do it one line at a time. BUT we made a mistake….we didn’t finish our lines before laying the next one….see where we did blue but didn’t do all the blue all the way to the wall? Yeah. That would have saved us so much energy if we did that. Learn from us 🙂
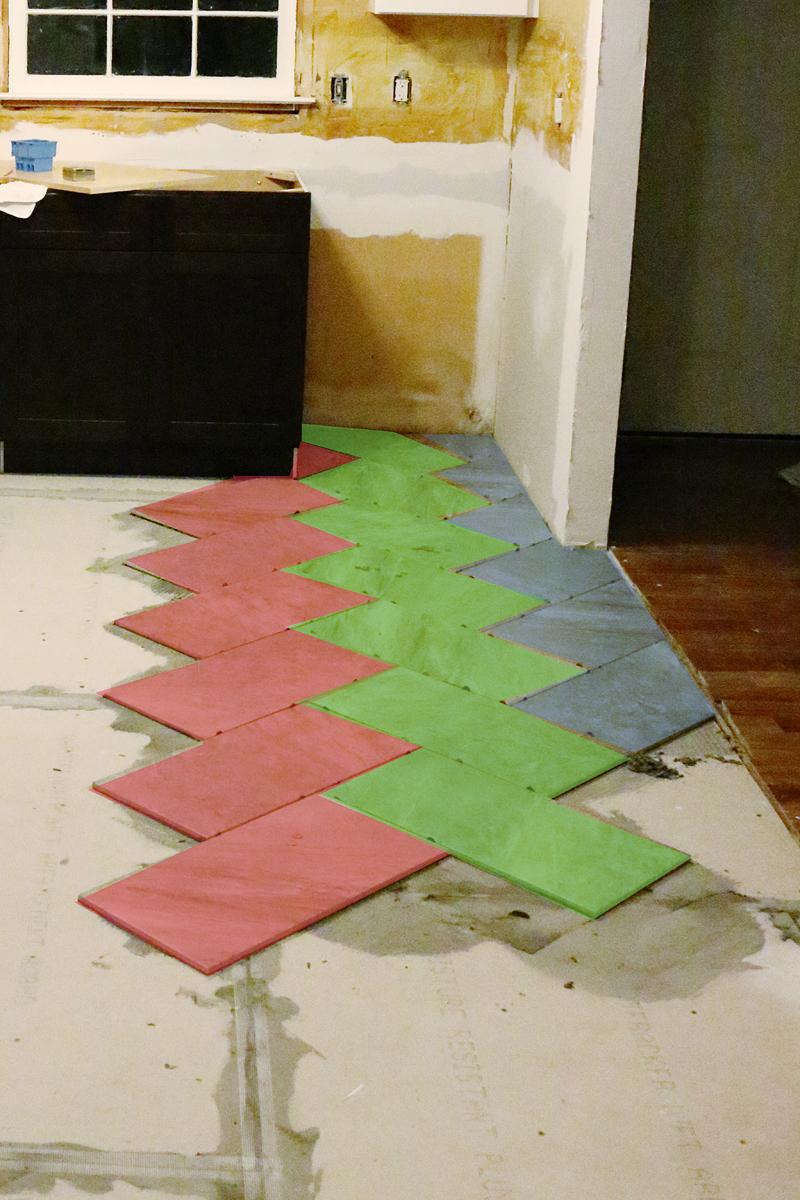
Then when it comes to the corners, there is a lot of angles. Remember that you want to have tile under certain appliances – so save your ugliest tiles for there 🙂
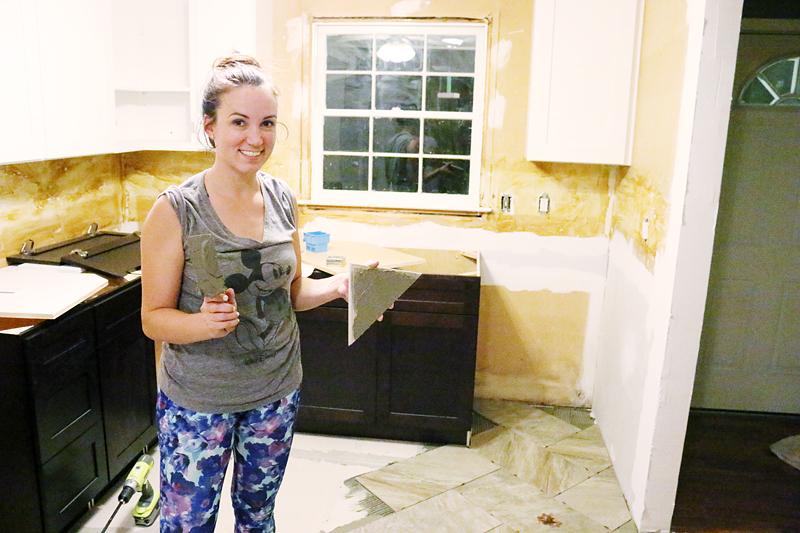
Also you may notice that we used pennies as spacers. The crazy thing is – we had one weekend where both Danny and I could tackle this project. Jeremy had to have it done then to move on to electrical and we had a pretty tight deadline. So the night we started, we looked all over the house and couldn’t find the spacers that we bought. And it was so late, the store was closed. So we used pennies! They were uniform width and cheap and yes, we raided the kiddos money jars for them 🙂 #thankskids
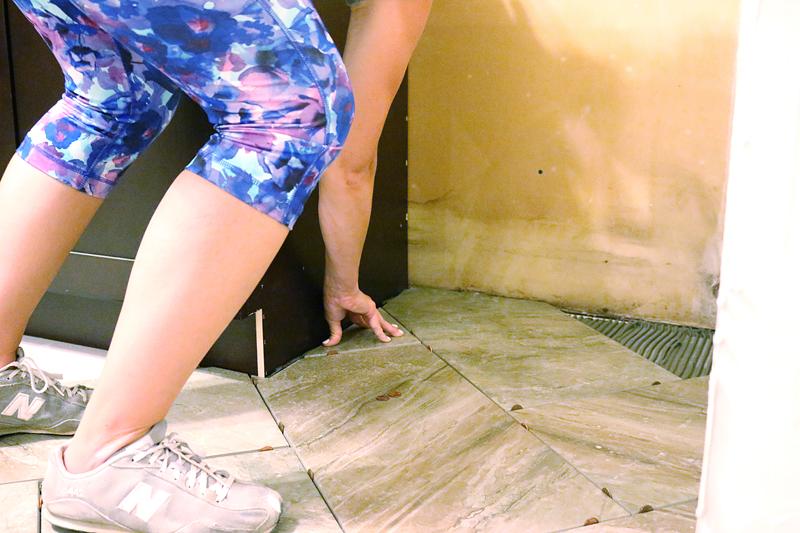
That first night we got this far….
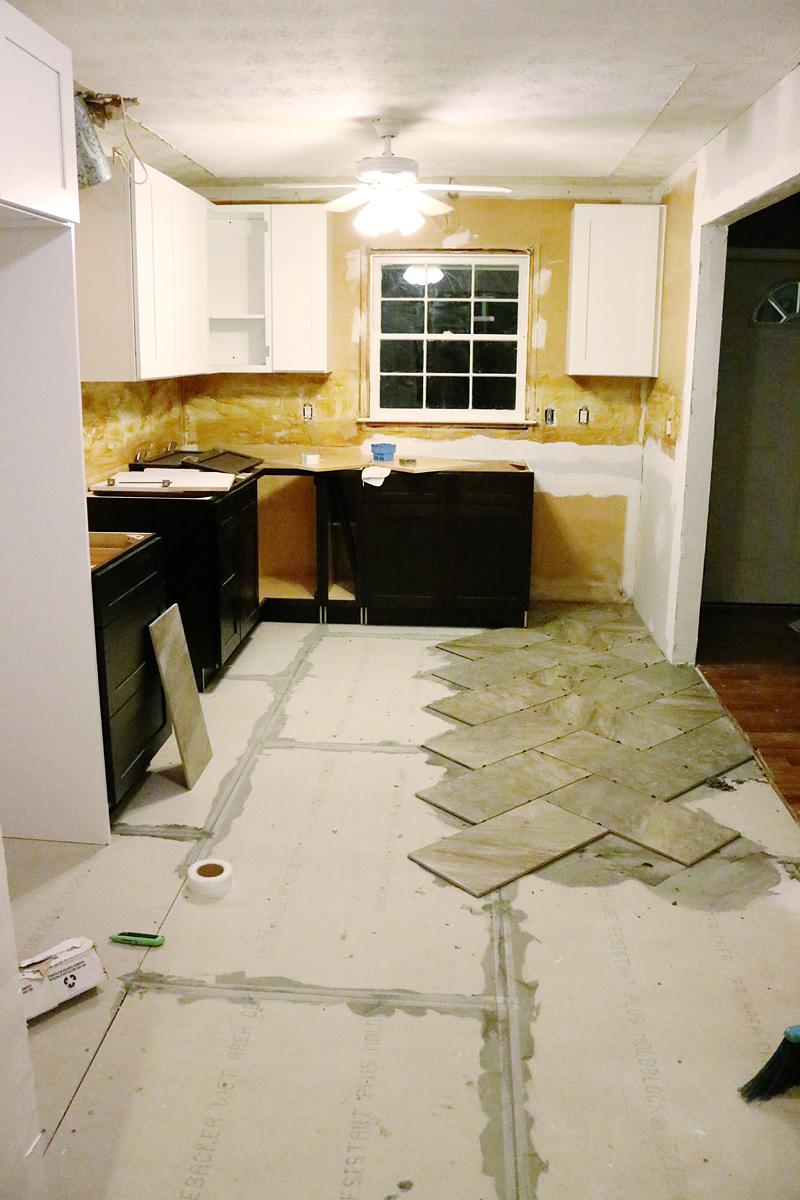
Danny was on the saw and I was laying. So we decided to make more progress, that he should do the arm workout and I would cut (I was only SLIGHTLY faster at figuring out the angles)….
And that second day we got it all knocked out. Danny used to tile in a former life (back in high school he worked for a tile contractor) but he has never tiled with someone as OCD as I am so I think he was shocked at how crazy I was over little imperfections.

But it went super fast with both of us and I was glad to wrap it up! We both got a kick over listening to Charity laughing at Unbreakable Kimmy Schmidt next to us. Every three seconds she started giggling…it was hilarious at 11pm….trust me.
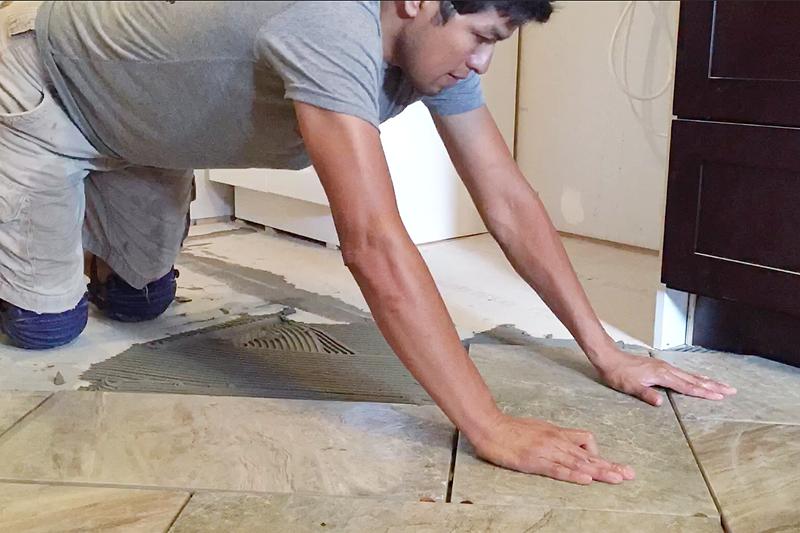
As far as cuts – the whole pattern is 45 degree cuts. You simply cut those first tiles all the same and lay them all the same and then do each row pointing in the opposite direction (no cuts except the ends). So the first line of tiles has the top to the right. The next row has the top to the left. And then you switch back and forth. It’s really simple when you do by lines.
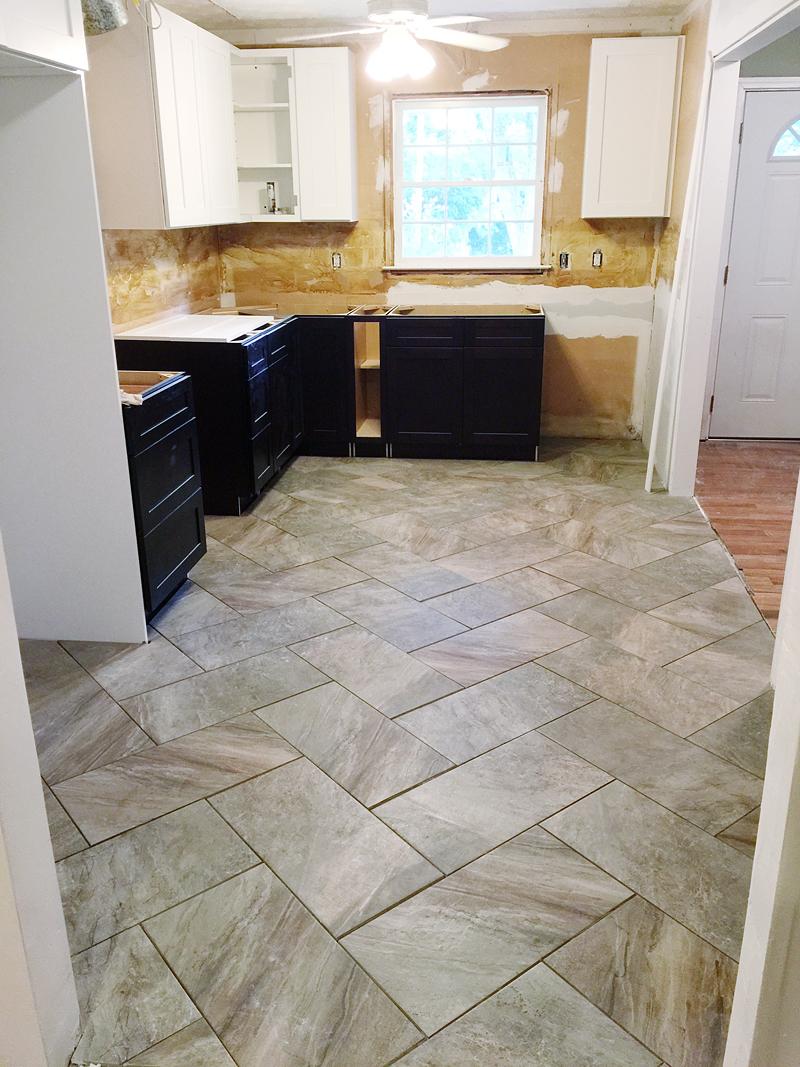
I would say my biggest recommendation is two fold.
First – pay attention to the height of the tiles. You want to make sure that ALL your corners are flush…so nothing is sticking out weird and creating a lip.
Second – pay attention to the pattern of the tiles. We had so much variation but even with that, there were definite ‘stripes’ and definite ‘marbled’ patterned tiles. We felt like the stripes stuck out more so we tried to put those about every third tile in each line. That helped us make it look random and not weird or blank in one area of the floor.
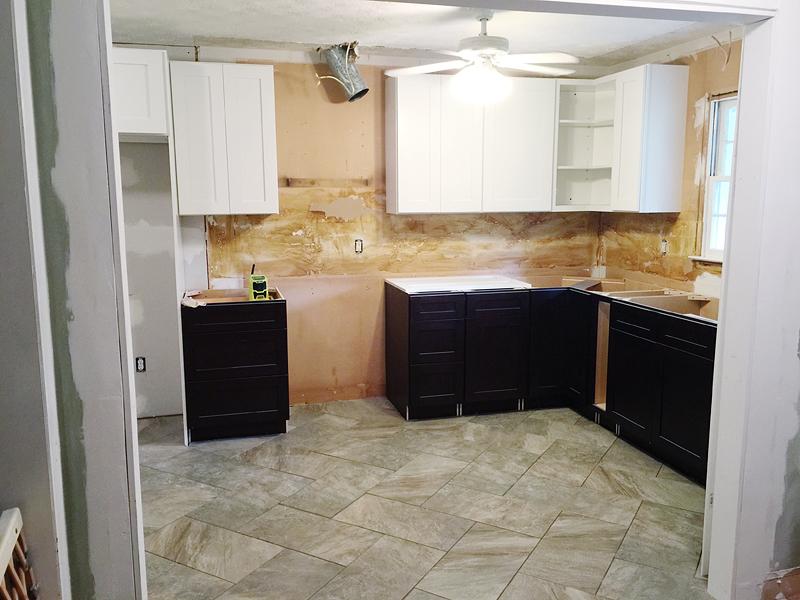
After 24 hours it was dry and we were ready to grout. We picked up some Sahara Beige grout but we mixed it with the dark gray grout to mix up our own custom color. Did you know you can do that? If something doesn’t look dark enough, you bet your bottom dollar you can mix some up yourself.

Ours looks really dark when wet but grout dries much lighter and this color disappears next to the tile.
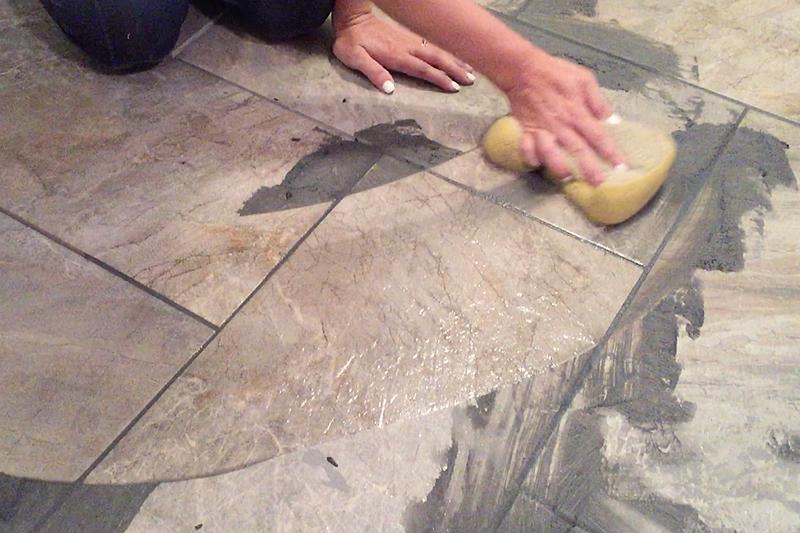
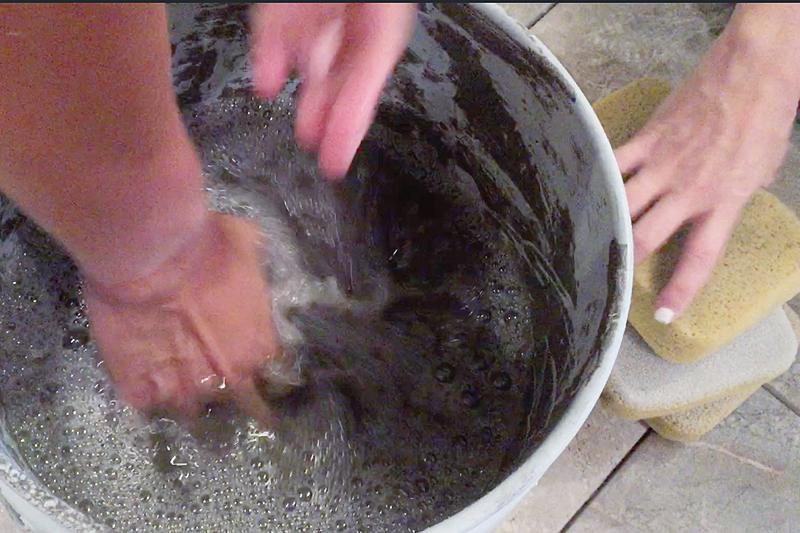
It helps to have one person on bucket duty to rinse all the sponges and one person on wipe duty. I like to wipe because my hands get less raw 🙂
When it was all said and done, it looked SO good. Exactly what we wanted.
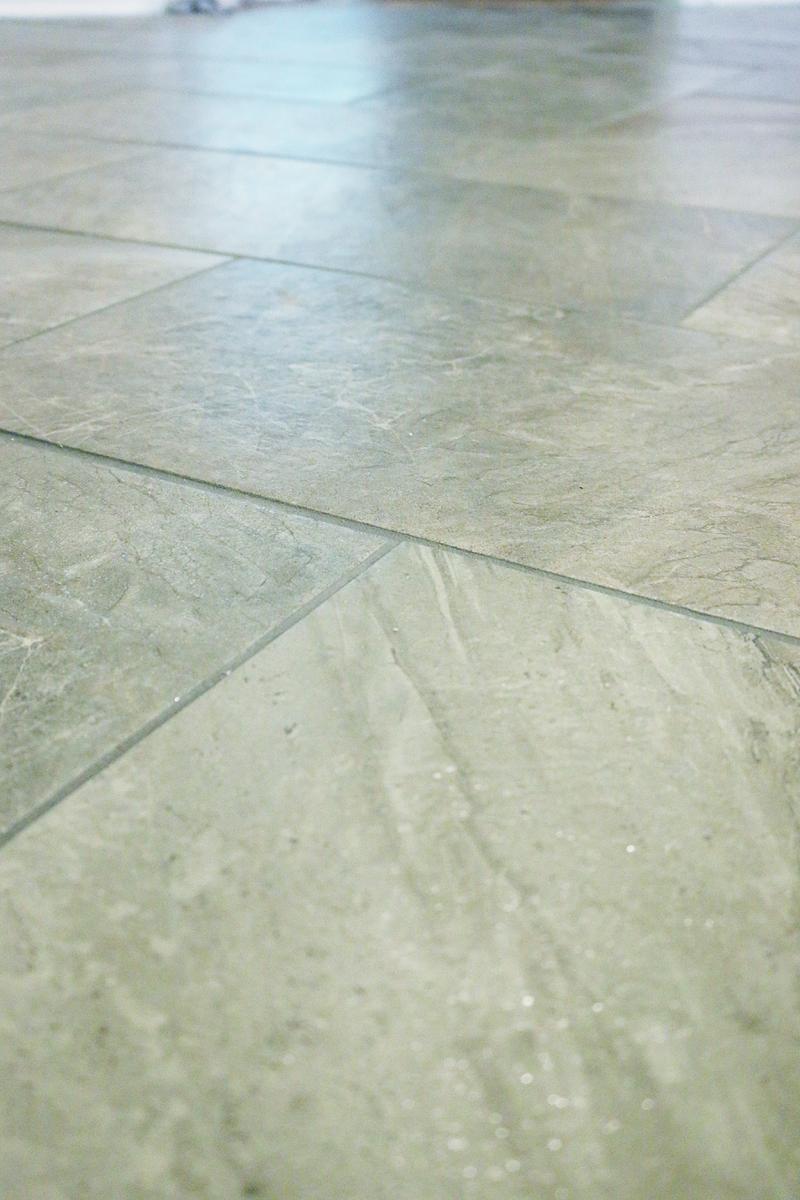
And that is how you lay a herringbone pattern!
I have so many tiling projects in the hopper that I hope you guys get ready….I mean…with a saw like that, who wouldn’t want to tile everything….amiright?! The best part about this project is that large format tiles mean that you can knock out a big space with relative ease. And they can add a modern feel or a lot of texture or make a normal space feel even BIGGER.
Now stay tuned because next is the appliances and then how we did butcher block countertops! And wish us luck because this weekend, we are tackling the backsplash….that is gonna be a game changer….I just know it 🙂
And if you want to read more past posts about this project, here are the links –
- Introducing the Pedraza Project
- Kitchen Plans
- Demo
- Overall progress
- Faucet & Sink
- Cabinets
- Painting
P.S. Our friends at the RTA Store, that kindly provided the cabinets for this family, are having a HUGE Semi-Annual Sale that runs until Wednesday, the 21st at 8pm (eastern time).

 Rolex Milgauss 116400GV Blue Dial
  Chanel earrings, CC dangle earrings in water drop shape adorned with stones and pearls v39