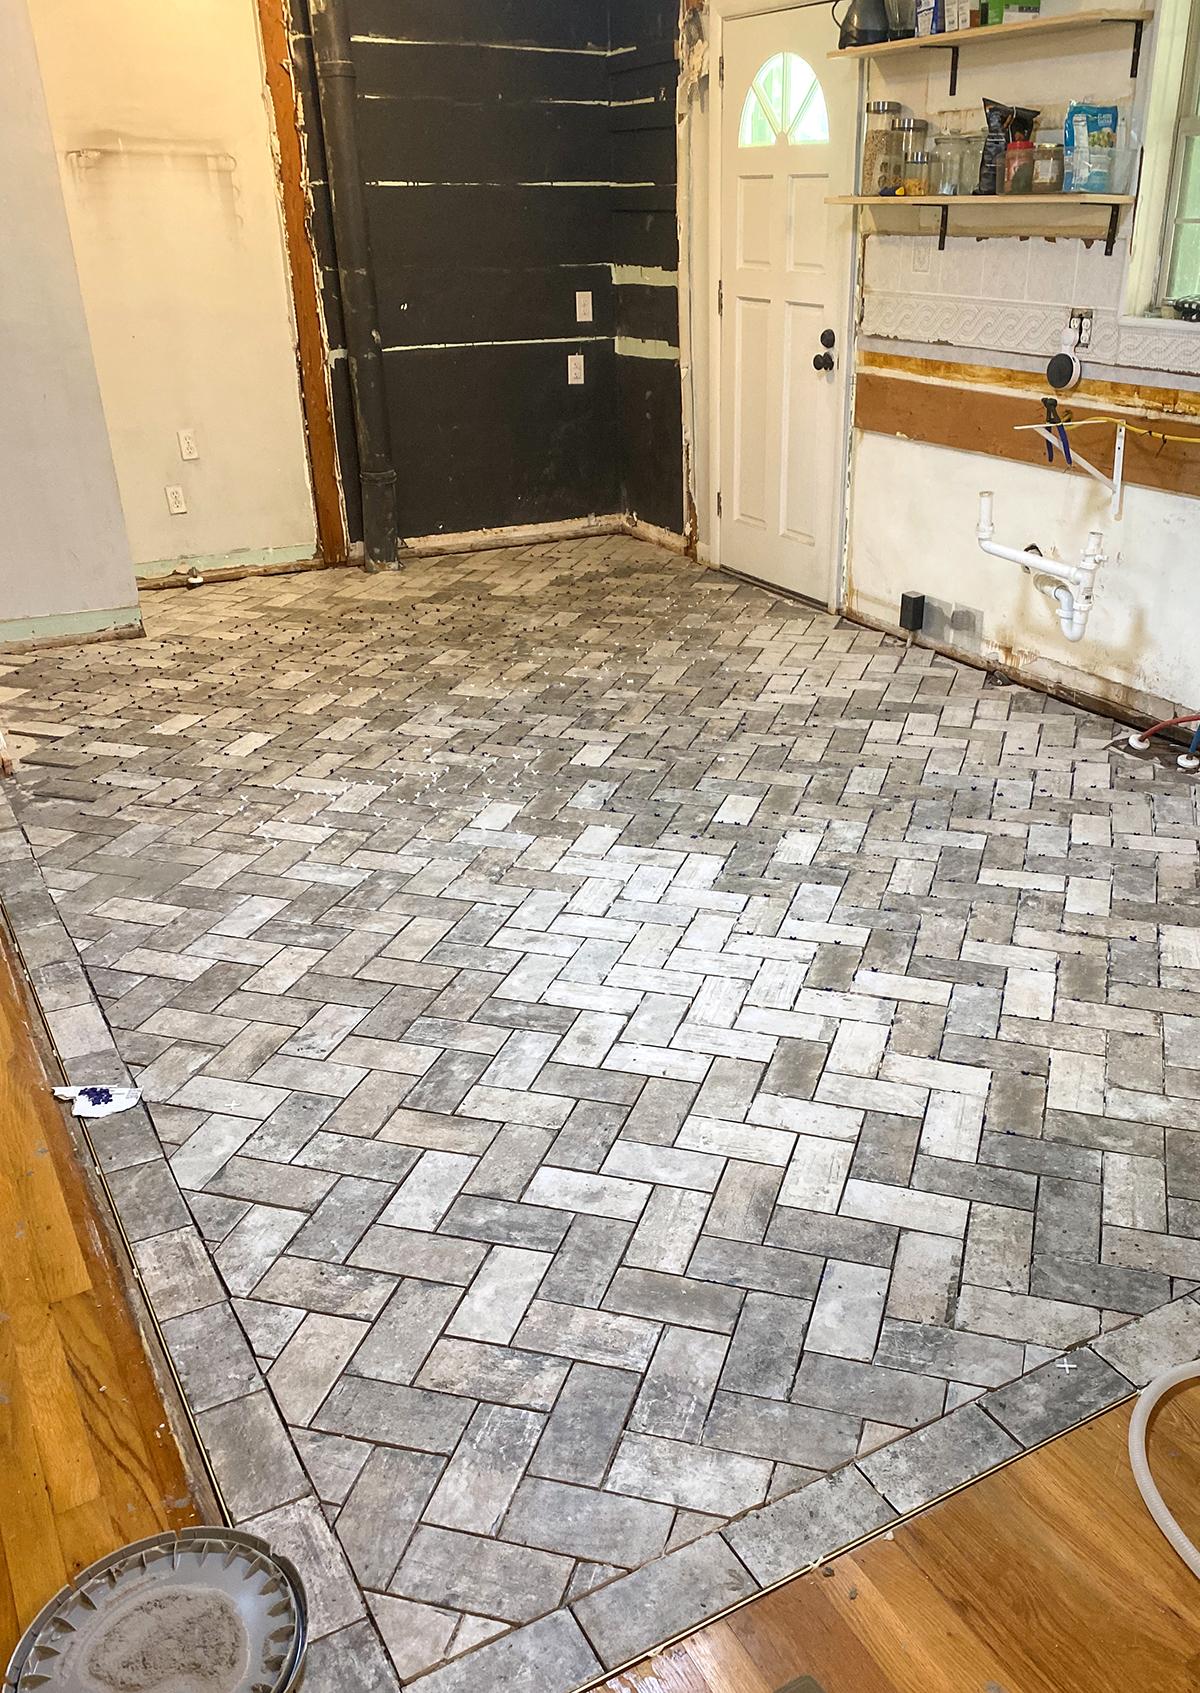
We recently undertook the mammoth effort of ripping apart our entire kitchen down to the subfloor and rebuilding, but when it got to tiling we realized that while there are a lot of videos on how to do a herringbone tile pattern, there isn’t a lot of information on how to start a herringbone tile pattern.
We wanted to be really sure the pattern would stay straight across the whole room because it would be really obvious at the edges if it veered off, but like, do we start in the middle? At the most visible section?
Like most things in our life, we kind of winged it and hoped for the best so we’re here to share our tips and tricks. This was our first time trying herringbone tile (we’ve been pretty traditional subway tile kinda people until now) and it turned out so good.
How to start a herringbone tile pattern
First, identify the center of your room. Measure the center across the width and then the length of the room and mark a small X in the center spot, and make an X at the center along the outside edge of your are length- and width-wise as well.
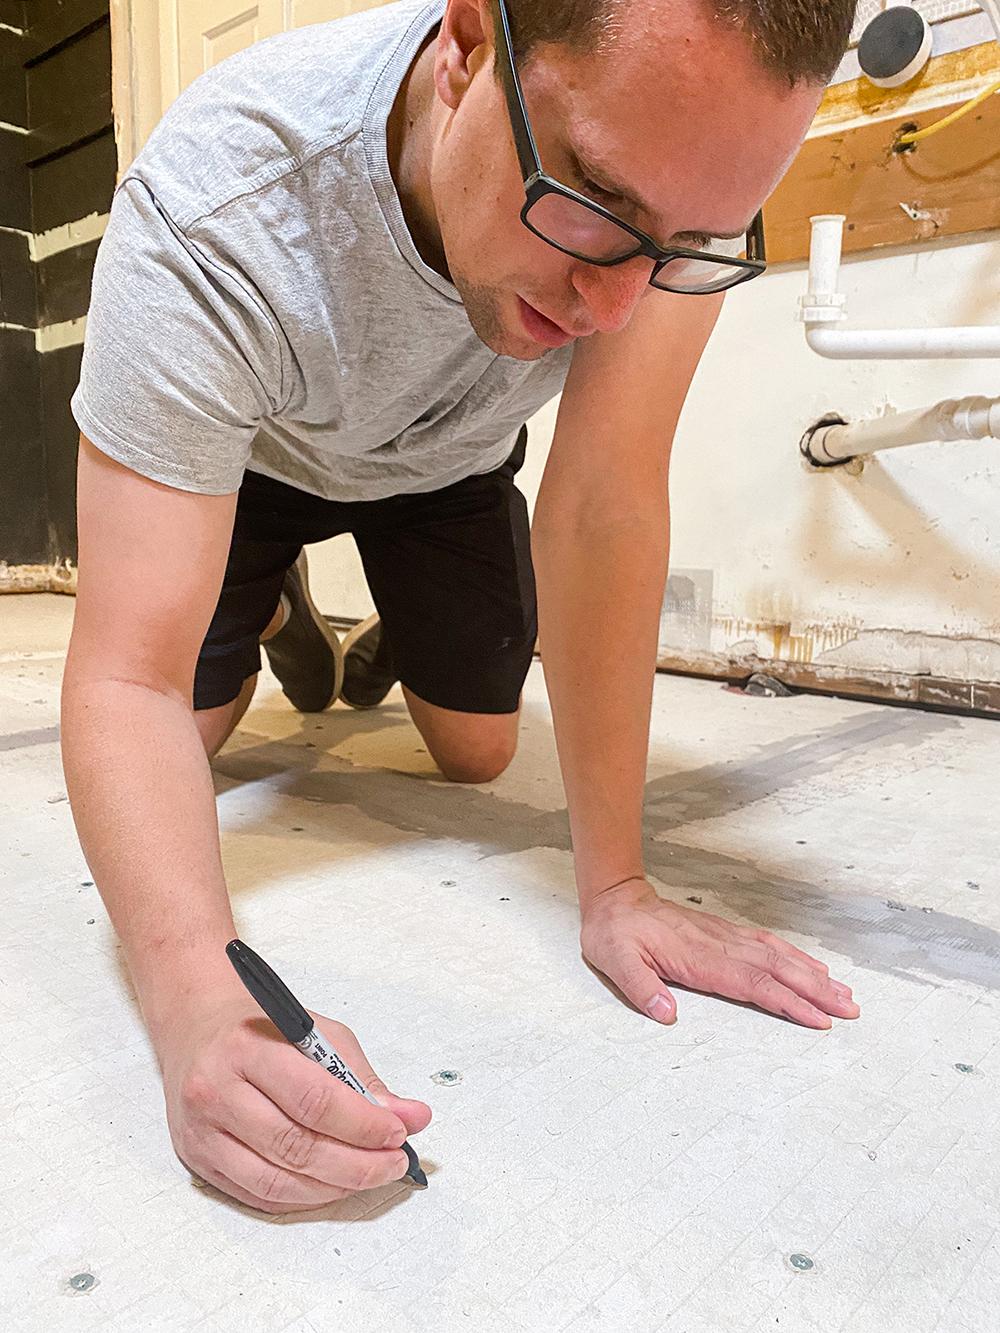
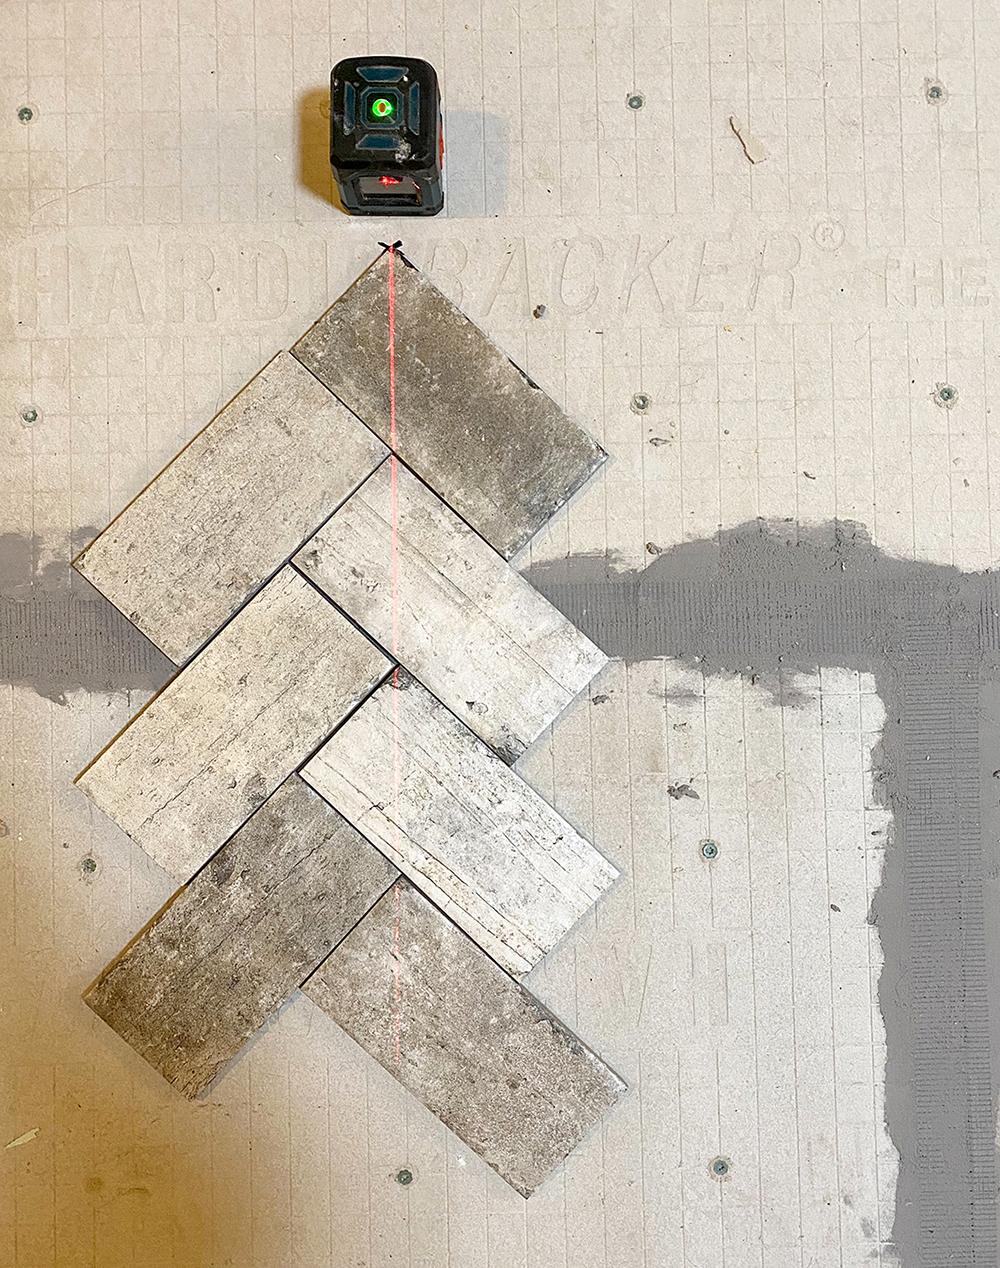
Then, take your first tile and hold it at roughly a 45-degree angle with its upper corner on the X you just marked. Do this as a dry lay for now to get the pattern right, i.e. don’t use mortar just yet.
Next, take the second piece of tile and align it iso it makes a 90-degree angle with the first, so place it going the opposite direction to the first piece with the long edge aligned straight with the upper short edge of the first tile (turns out this is really hard to explain in words).
Here’s where you make sure your pattern is straight: take a laser level and position it so the line is running between the very center X in the room and the X on the outside edge of the room.
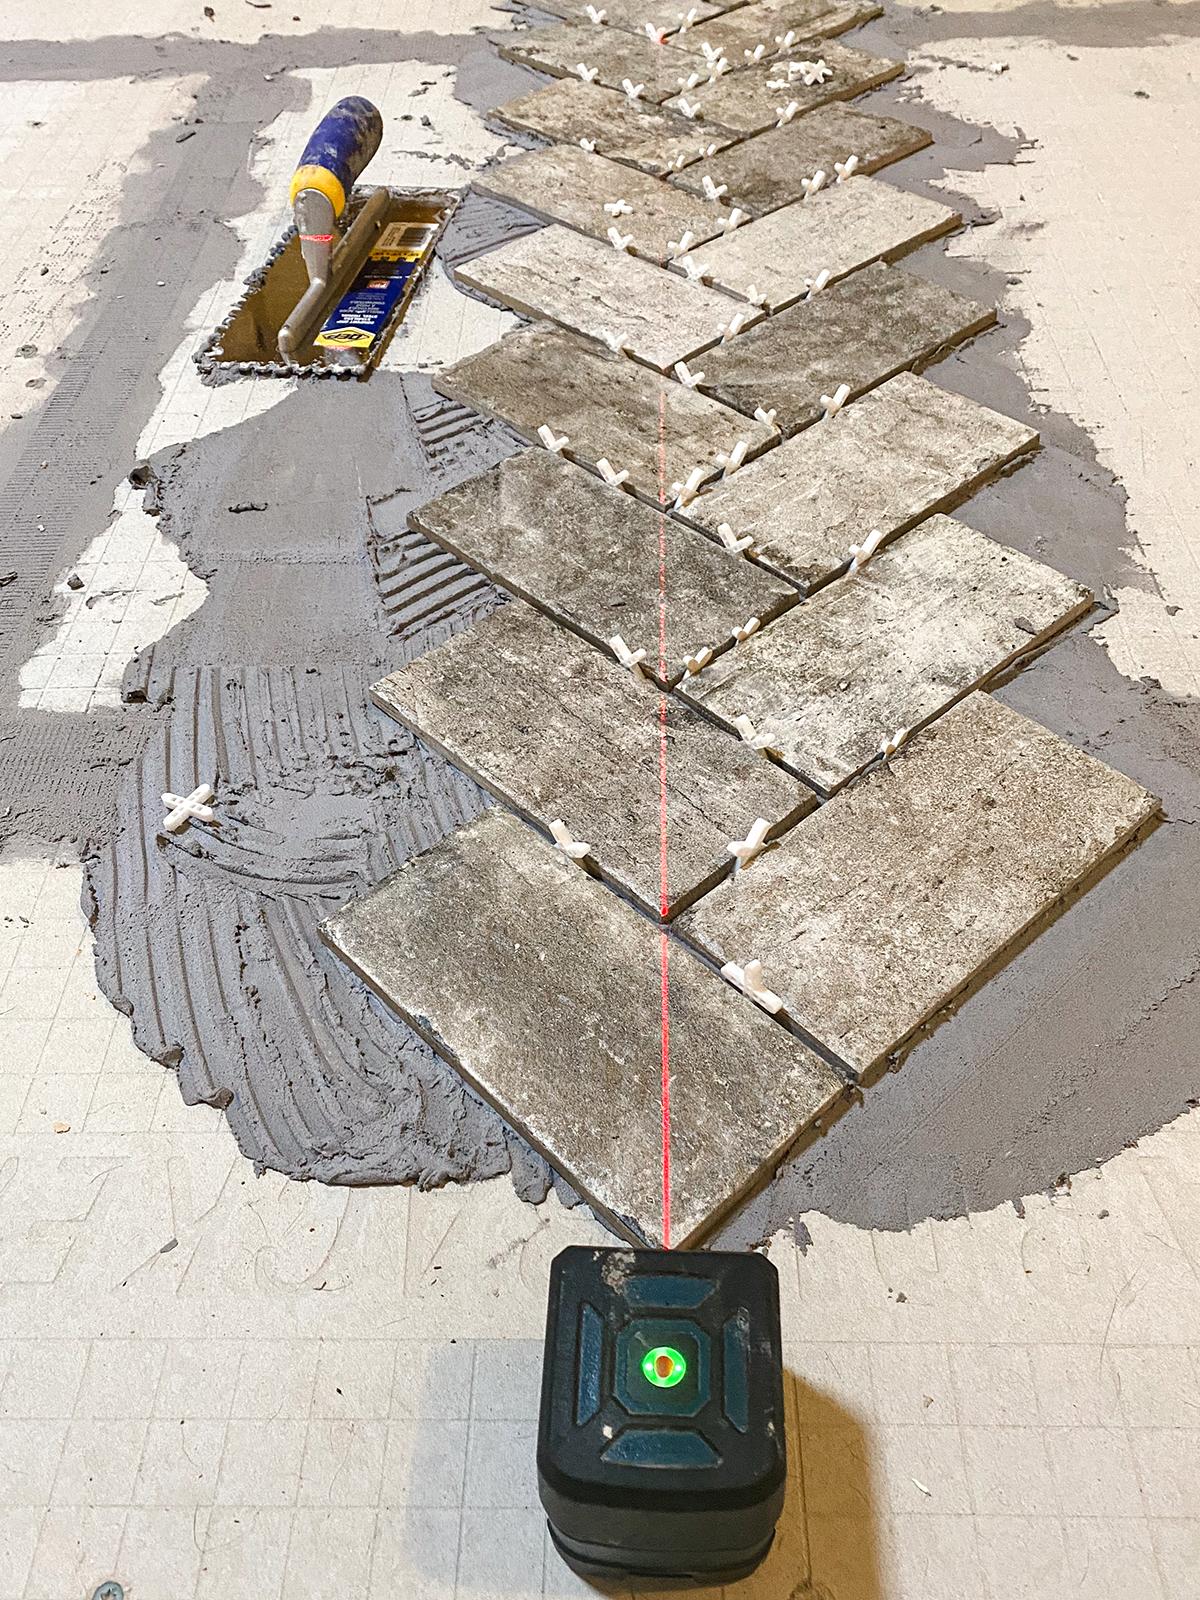
Make sure that in your first two tiles, both the upper corner of the first tile and the point where that tile and the next meet are aligned to that laser level line. Then, as you continue down the pattern, keep an eye on that laser level line and make sure each point where the tiles meet follows along that line.
Once you’ve got a few rows established, the pattern should pretty naturally stay straight from there as long as you’re consistent with your spacers, but it’s helpful to check the level line every few rows just to make sure and adjust as needed.
Spoiler: I was actually using a mix of ⅛” and 3/16” spacers and didn’t know for the first, like, quadrant of the room so my pattern did veer off, which I was luckily able to notice and correct in an area under the cabinets so it won’t be seen.
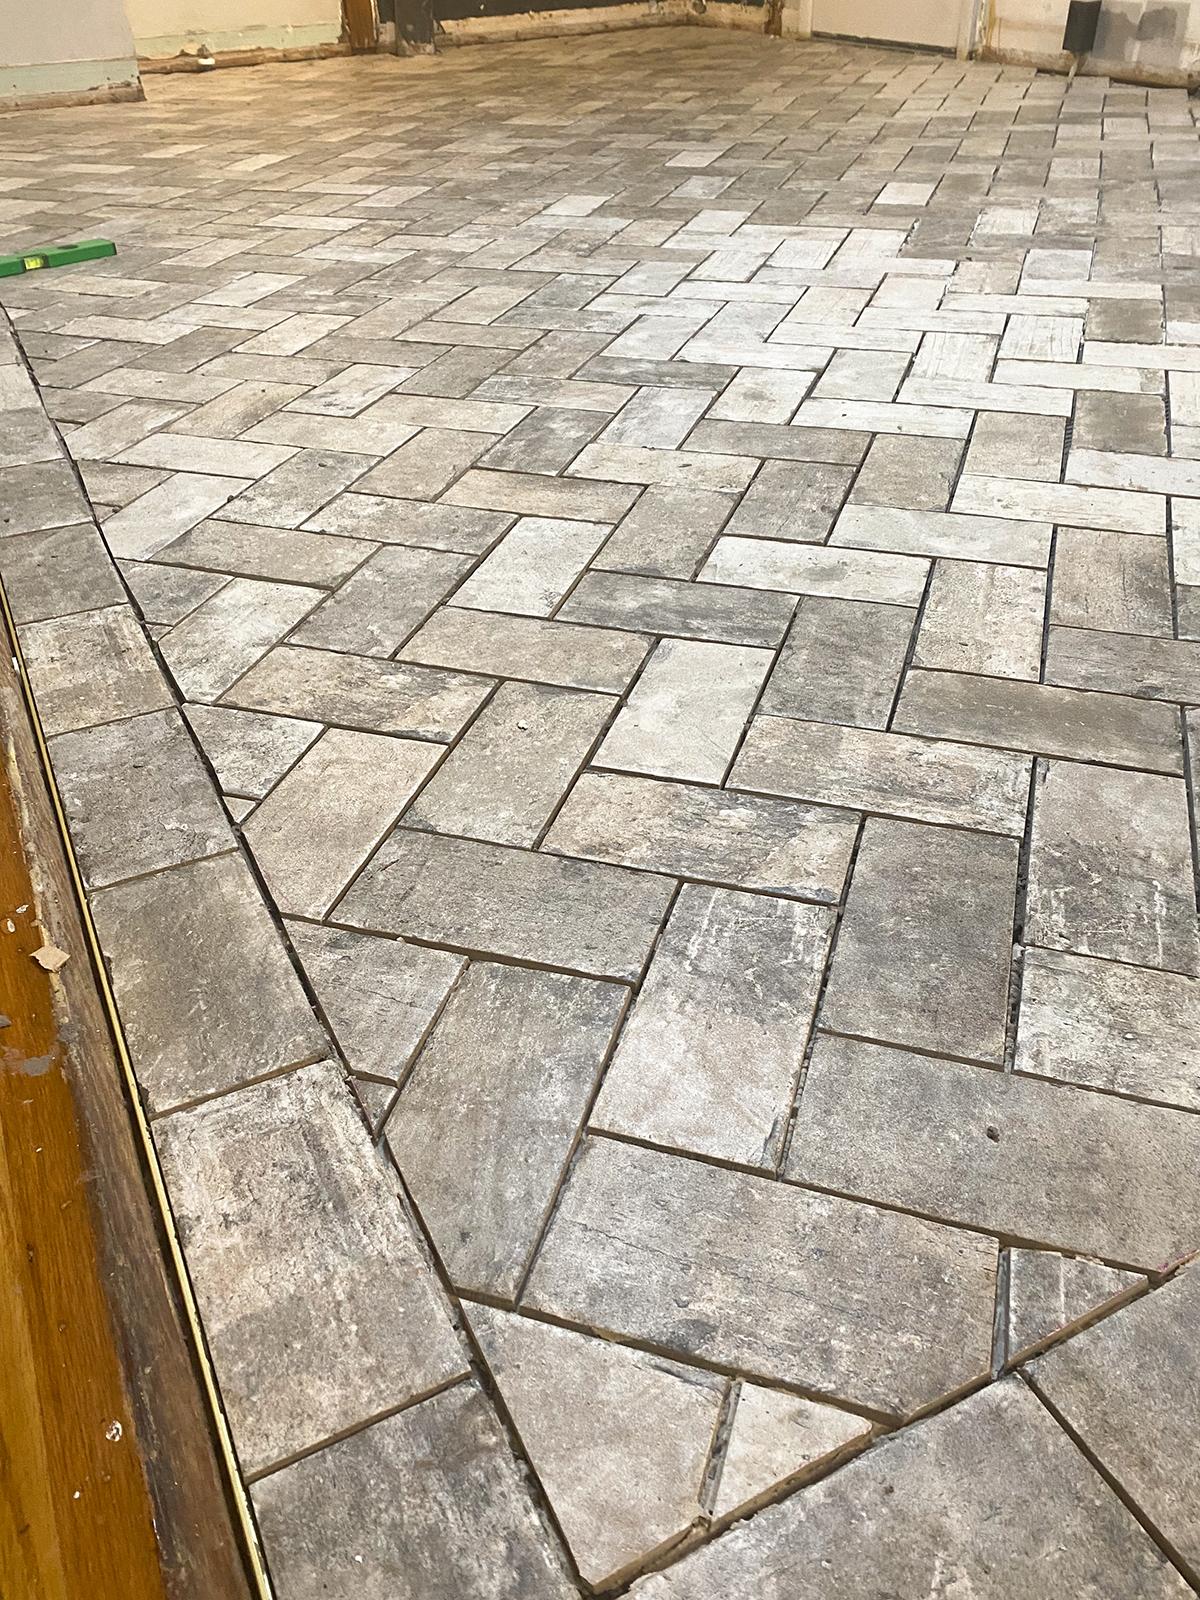
Anyway, we were so proud of being able to pull off this brick-look herringbone pattern and are so excited to get the rest of the kitchen done now. Hopefully this helps at least someone else like us whose brain hurt trying to think about how to start a herringbone tile pattern!
Happy DIYing!
If you liked this post about how to how to start a herringbone tile pattern, make sure to sign up to our newsletter and follow along on Instagram for more day-to-day projects.
