By Mona Gamil Published: 13/02/2023 | Updated: 02/05/2023 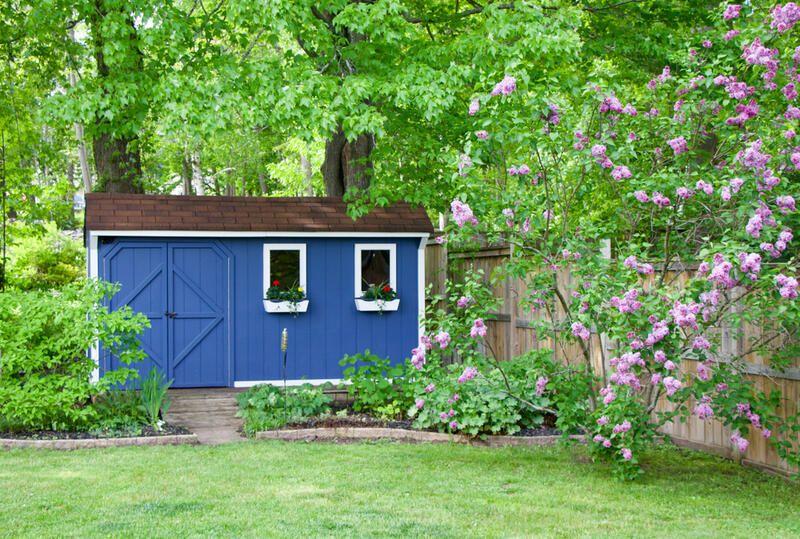
Transform your draughty shed into one you can use year-round with our insulation guide!


Shed insulation is a great way to manage the temperature inside. It’s a great idea if it also serves as a workshop because you can use it year-round in both hot and cold weather.
Also, an insulated shed serves better as a storage space for your gardening and power tools, particularly if you have a plastic shed that is vulnerable to weather changes.
Extreme temperatures could damage their quality and shorten their useful life, causing you to replace them more frequently and spend more money, adding a heat and moisture barrier will keep your shed insulated and add to their longevity.
If you plan to spend a lot of time in your shed, it should be as comfortable as possible.
Adding some floor or shed roof insulation is key to making your shed a cozy environment that you can use all year long.
Whether you just want to add some shed floor insulation, replace the existing shed floor altogether, or give your shed a full wind and sun-proof layer of padding, this information is aimed to help you choose the best insulation choice for you out of the many options out there.
We’ll provide you easy to follow step-by-step directions on how to get the best shed insulation so you can use it in any weather.
Why insulating your shed is a good idea
Although it might seem superfluous, insulating your shed has a few significant advantages.
Regulating body temperature
Sheds without insulation may experience abrupt seasonal temperature fluctuations, from the oppressive summer heat and humidity to bitterly freezing winters.
By adding insulation, you can better control the temperature in your shed while also conserving fragile items like paint and electronics and saving money on heating and fans.
You can enjoy it year-round
By controlling the temperature there, you may use your shed year-round and even unlock a myriad of new possibilities.
For instance, you may turn it into a cozy refuge, a home office, or a workshop.
More longevity
Damp, rust, mildew, and insects are just a few of the many ways that extended exposure to extreme temperatures or moisture can ruin your shed. But you can lessen all of that if you keep the temperature in your shed steady.
You will need
-
Hammer
-
Spray Foam
-
Tape
-
A Strong Adhesive
-
A Handsaw
-
Plywood
-
Staples and Staple Gun
-
Insulation materials (foam boards, bubble wrap, fiberglass roll, etc.)
-
Roofing rolls
-
Cutter or Sharp Knife
-
Tape Measure
Safety checklist
Before you roll your sleeves and get insulating, there are a few things you should address first.
Which shed kinds should be insulated?
The traditional wooden shed is the most popular form of a shed to add insulation, but insulation can also be added to a metal or plastic shed.
Allow space to move
Take away any toys, equipment, and tools while you are insulating your shed to make it as clear as possible and make maneuvering easier and safer.
Look for cracks or leaks
The main purpose of insulation is to control temperature, which is impossible if the door seals are broken or have holes in them.
Secure any loose roofing felt with nails
Your shed roof typically loses the most heat throughout the year, so it’s crucial to make sure that it’s still in place. If not, to simplify your life, secure the corners with powerful nails.
Protect both yourself and your shed
Before you start, lay down a dust sheet to protect the shed floor, and put on safety goggles to protect your eyes.
Choose the right materials
Try to select the best insulation for your shed.
Bubble wrap
Regular bubble wrap is one of the quickest, easiest, and most affordable solutions to insulate your shed. It works best for wooden shelters alone.
How to insulate a shed with bubble wrap:
-
Cut your bubble wrap into strips to fit the internal wall frames of your storage shed.
-
Use tacks or a powerful stapler to fasten the bubble wrap to the walls.
-
Make sure to staple it to the structure rather than the cladding to prevent moisture from infiltrating.
-
If retaining the aesthetic of your shed is important to you, just cover it with a thin piece of similarly cut-to-size MDF or plywood.
Using multiple layers of insulation
Multi-layer insulation, also known as a thermal wrap, combines the qualities of bubble wrap with aluminum siding to create a thicker and better insulating material that is appropriate for practically all types of sheds.
Installing it is as follows:
-
The multi-layer insulation should be unrolled and then cut to fit between the frame panels.
-
Apply glue to your cladding before firmly pressing each strip onto a metal or plastic shed you’re insulating.
-
Glue or staple each corner of your application to the cladding if it is for a wooden shed.
-
To give your insulation a cleaner look, you can cover it with MDF or a light board similar to how bubble wrap is covered; however, this is only possible in a wooden shed.
-
To keep moisture out, use heavy-duty tape to seal the joints of plastic or metal structures.
Rockwool or Fibreglass
The best shed insulators are made of fiberglass wool or rockwool, which are only suitable for wooden sheds and control temperature, moisture, and even sound levels.
This is how it can be installed:
-
Always wear safety glasses, a facemask, and gloves when cutting mineral or fiberglass wool to prevent eye or skin irritability.
-
Install a damp-proof membrane as the bottom layer before insulating to assist prevent moisture buildup.
-
Simply friction fit a slab-sized material, such as Earthwool, into the gaps in your shed by pressing down.
-
Utilize a roll-based product, trim it to fit the available gaps, and then push it down firmly.
-
Always use MDF or plywood to cover your wool insulation for the best performance and appearance.
Padded boards
A simple, standardized method to insulate your shed is to use foil-lined foam insulation boards, a more robust sort of insulation that also acts as a vapor barrier.
This is how it can be installed:
-
Simply place your variously sized boards over the frames of the panels of your wooden shed.
-
Trim the edges to size if necessary, then tape them to the surface to keep them from moving.
-
To complete, cover with a board as you did before.
-
Apply adhesive to the walls and attach the boards one at a time, following the same steps as with the multi-layer insulation for metal or plastic sheds.
Insulating a shed floor
This may be the most challenging part of creating an insulated shed, the floor is particularly vulnerable to dampness, so it’s worth investing some time into protecting it from the elements.
Insulating a Pre-Built Shed’s Floor
You probably already have a shed with a non-insulated floor. Whether you built it yourself from scratch or bought it from your local garden wear store, floor insulation is commonly overlooked. You might wonder, how can a shed that has already been built be insulated?
There are several methods you can use to install insulation in your pre-built shed. If you can take the floor out, insulating from the top is the simplest solution. You will need to reach the subfloor if your floor cannot be removed, however, because of nails or a finished floor. We’ll examine the various methods below.
Insulating from the top
Insulating a shed floor from the top is by far the easiest way. XPS rigid foam is the best material to use at or near grade.
How to do it:
-
The subfloor of your shed needs to be taken out. Moving everything out of your shed will need the greatest labor during your installation.
-
Before installing the rigid foam, place some wood blocks underneath each hole between the gaps to prevent the foam from falling out from underneath the shed. It does fit snugly between the joists, but it could become loosened by movement from above.
-
The next step is to measure each joist cavity. For the best R-value, a precise measurement will ensure that your insulation fits tightly.
-
You should cut the foam pieces. Use a table saw or a portable jigsaw to cut objects, a cordless jigsaw is recommended for this. Always remember that you cannot make a piece larger if you cut it too small.
-
Add the foam. XPS is available in 2-by-3-inch sheets. The thickness you get depends on the breadth of your floor joists. using 2-inch ones is recommended.
Whichever form of insulation you opt for, to insulate your shed walls, floor, or all of the above, why not enlist the help of an expert? Contact Shrubhub’s team of hard and softscape designers for a helping hand!
ShrubHub.com