How to collect seeds from your garden

Collecting seeds seems to be one of those things that very few of us do any more.
There are so many tempting varieties in the seed catalogues, so many new things to try out, that it sometimes doesn’t seem worth it or the time has passed and it becomes another thing on the ‘should have done’ list.
Yet I remember both my grandfathers and my Dad collecting up seeds in brown paper bags. I remember my Gran surreptitiously taking them from every stately house garden we visited and stashing them in her handbag.
I also know that there are many beautiful plants that have not survived because people didn’t collect the seed and pass it on – not only is that a loss to individual gardeners, it means that we lose the diversity of the gene pool.
Last year all of this inspired me to design some seed packets for people to download and print out so they could collect their own seeds, and this year I have been busy collecting seeds from my garden for the members of Snapdragon Studio.
One of the perks of membership is free seeds from the garden a few times a year.
While I was harvesting seeds, drying them out, packaging them, writing the labels – I realised that it is one of those simple things that connect me to the season, to the cycle of growing. It was something that felt far bigger than the actual work involved. It turned out to be one of those magic activities that give more than they take.
So if you fancy having a go at collecting seed from your garden, these are my top tips
Which seeds should you collect?
- My top seeds for collecting are the ones which have to be super fresh to germinate, the ones which will self sow in a garden but which can be really tricky to get going from a seed packet. These include Astrantia, chervil, black leaved cow parsley, sweet cicely. Sowed fresh these have a really good germination rate (though some may take ages as they like to go through winter first). From a packet they can be very patchy as they are often quite old.
- The other seeds that I collect are from plants that are really good colour forms or heritage varieties – I have a beautiful bright pink columbine and orange poppies that are going on the list for members this year.
- Annuals and biennials are the easiest to collect and the most rewarding as you move from seed to plant very quickly.
- Wild flowers are adapted to very small geographical areas – if you are trying to establish a wild flower area then collecting local seeds is a great way to start (obviously only from places where there is a profusion of the variety).
Which seeds shouldn’t you bother with?
- There is little point collecting seeds from everyday plants or those which are going to have been cross pollinated by insects. For example, while it is quick and easy to collect sweet pea seeds and plant them, the resulting plants are probably not going to be as good as the originals. Seed houses grow varieties separately to keep them true to form. You might get a beautiful new variety, but usually you will get something that isn’t quite as beautiful as the ones you began with.
- There is also little point in collecting seed from perennials that are easy to increase by division (most hardy perennials will grow faster by division than seed)
How to collect seed
- Choose a sunny, dry day as the biggest problem with home collected seeds is them developing mildew or mould – keeping them as dry as possible is the main aim.
- Collect ripe seed – you will soon learn by looking when seed is ripe – poppy seedheads suddenly get little pepper pot holes round them, most umbellifer seeds darken and are easy to detach with a shake.
- Take a paper bag to collect each variety of seed – write the type on the outside of the bag before you start. Cut the seed head off the plant and put it straight into the bag. If the seed is ripe this is probably enough – the seeds will fall off the seed head into the bag.
- With plants that propel their seeds explosively when touched, carefully put the bag over the seed head before cutting the stem – with some varieties it can sound like you have a bag of popping popcorn as the movement causes the seeds to be thrown about.
- Spread the seeds out flat in a greenhouse or sunny windowsill to let them dry out naturally for 24 hours. Shallow boxes or seed trays work well for this.
How to store seed
- Seeds germinate best if they are sown fresh – so there is a good argument for sowing immediately, and then waiting for them to germinate (this can take a while as they will germinate at the correct time). However you might want to store them for convenience, to plant in the spring or to give to other people.
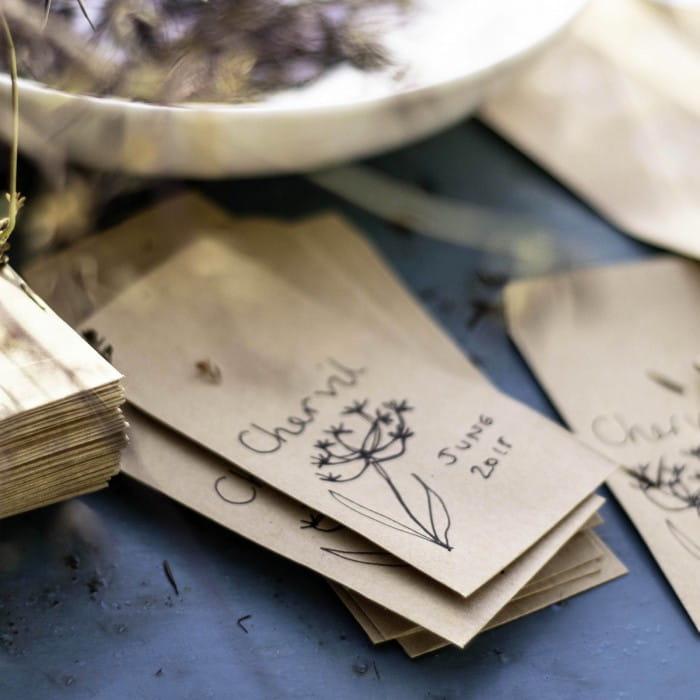
- Envelopes are the best things to store seeds in – you can write the date and variety on the front – I use little manilla envelopes.
- Seeds should be kept cool and dry to keep them viable for the longest period – a box or zipped pouch in a fridge is ideal. This applies to all seeds, not just ones you collect yourself – leaving the packets in a hot greenhouse is the fastest way to destroy their viability.
- Google is your friend when collecting seed and growing it on. There is detailed information on germination times and requirements for almost every plant – my advice is to write it on the envelope so you know when you are sowing it whether the seeds could do with a cold spell in the freezer or a 24 hour soaking or another special treatment.
The list of available seeds from the garden will be being sent to members later this month – you can find out more about becoming a member here.

If you enjoyed reading this you might also like to read about how I store my seeds.

 Dior Women's Pearl Earrings CD