Before I started offering custom framed art for my clients, I was unfamiliar with the different types of art hardware. I had seen sawtooth hangers & wire hanging hardware, but D-Rings alone, without a wire, I had never seen before.
Then, I started working with our framer and learning all about the benefits of custom framing vs. using frames off the store shelf. One of the benefits was having the proper hardware installed on the back. He recommend we use D-Rings without a wire and hang them on hooks. He explained how this method ensures your art is secure on the wall.
I went home and attempted to hang my art with D-Rings for the first time. It was definitely a challenge to get them level, but I loved how much more secure the art was on the wall. So, I was determined to find a method that would make hanging them easier!
After lots of research and practice, I now know how to hang D-Rings perfectly level without any stress!
So, I went ahead and filmed a step by step video, showing exactly how I hang art with D-Rings, so everyone can save themselves the frustration and 50 holes made on their wall.
.jpg)
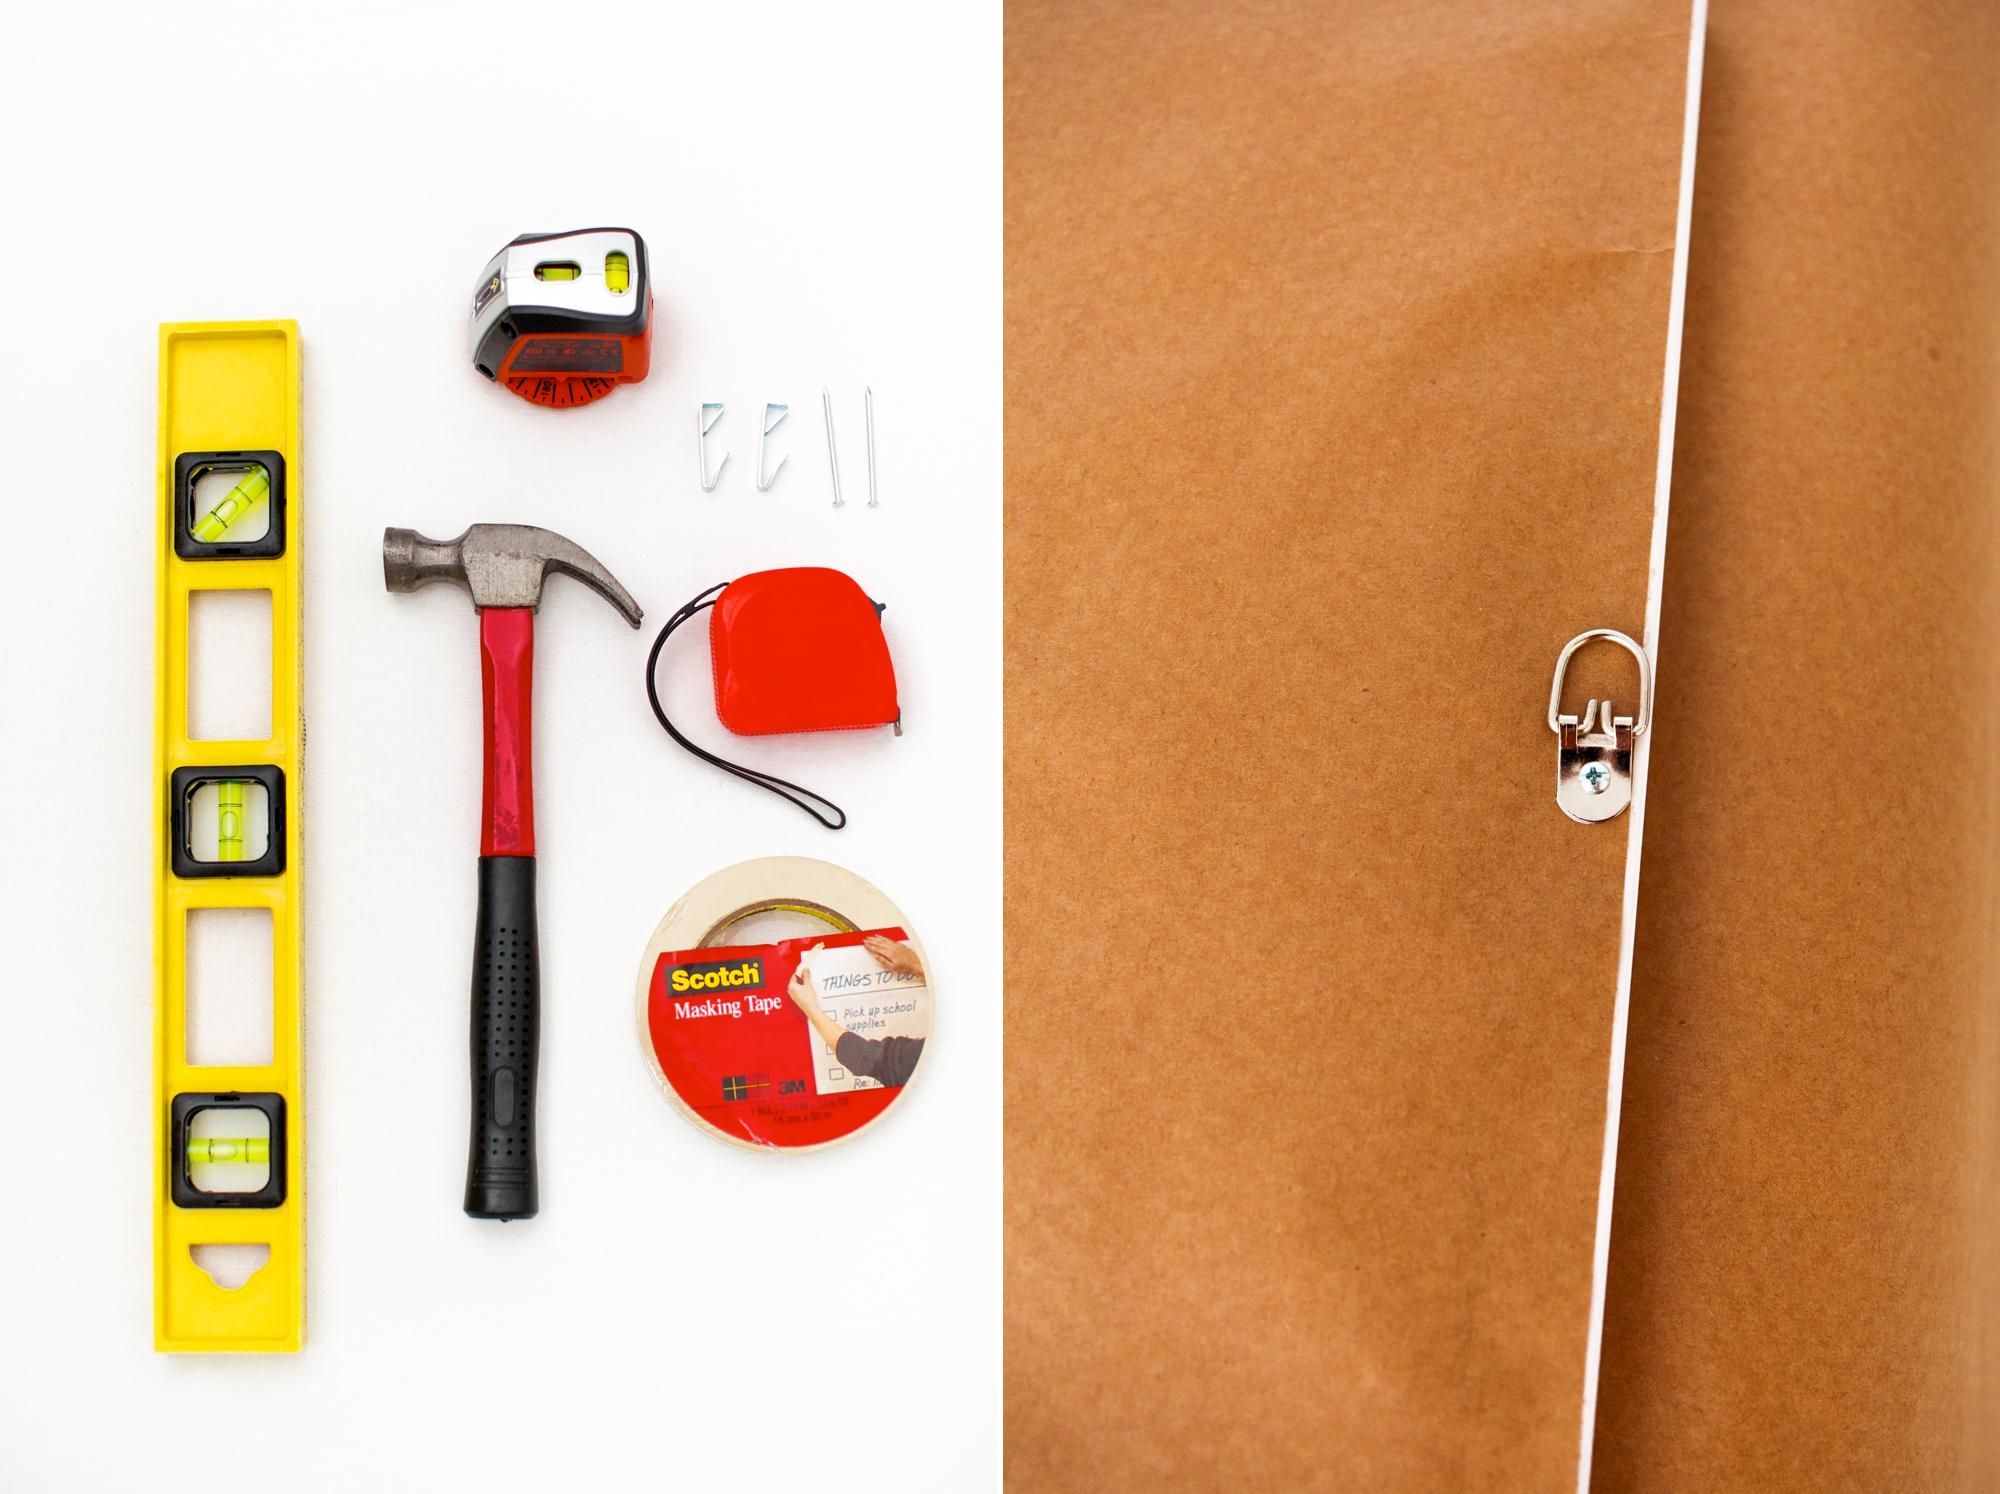
What You Need:
- Level (regular and/or laser)
- Hammer
- 2 Hooks & Nails
- Masking Tape
- Measuring Tape
- Pen
- Scissors
- Yardstick (optional)
Step 1: Take Measurements
- Length of wall space
- Length of Art
- Width of Art
- Distance from top of art to top of D-Ring
Step 2: Use Formula to Find Height Measurement
*Getting the right height is super important. If you hang it too high, you’ll affect the room’s proportions. If you hang it too low, viewing it will be uncomfortable.
The proper height of your art should be 57 inches from the center of the piece to the floor.
The Formula to use is:
57 inches
+
half the length of your art (length ÷ 2)
–
Distance from top of piece to top of D-Ring
=
Where to mark your wall to place the nail & hook.
Step 3: Masking tape
Measure the height (formula answer) on your wall using your measuring tape and mark the height with a piece of masking tape.
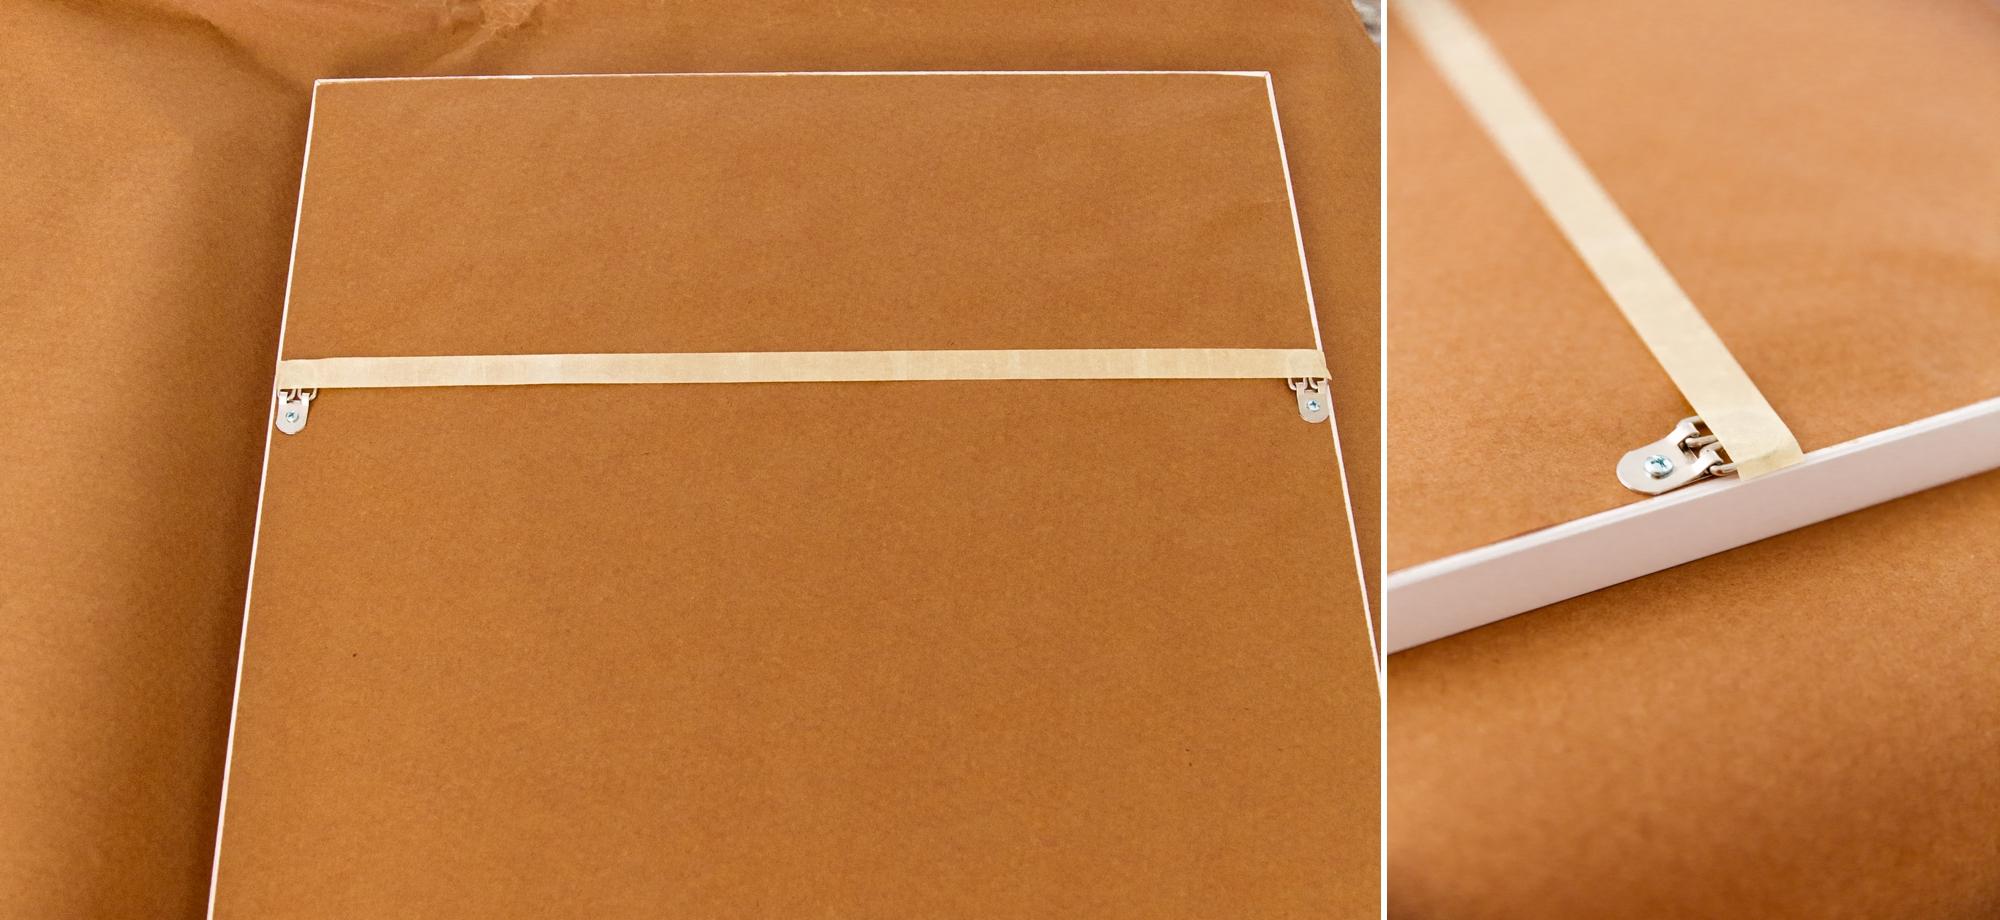
Then take the masking tape and place it across the back of your piece on top of the D-Rings.
Cut the masking tape so it is exactly the width of your piece.

Step 4: Mark your masking tape
Using a pen, make a dot right below the top of the D-Ring on to the masking tape. (This will be where the bottom of the hook will go)
Step 5: Figure out where you want to center your piece on the wall
Measurement of wall space – Width of piece ÷ 2 = how much space on either side of art.
I take this measurement and cut two pieces of masking tape. I then place it on either side to see exactly where my art will be. I then take the masking tape off the back of my art (careful not to rip the backing) and place it in-between the two side pieces.
Step 6: Make Level
I used my laser level to make sure the laser goes directly through both dots.
*If you don’t have a laser level and only have a standard level, use the standard level to make sure the masking tape is perfectly straight. I do this by placing the level on top of the masking take and adjusting the tape inch by inch across to make sure its level.
.jpg)
Step 7: Hammer in Nail & Hooks
Place the bottom of the hook directly on the dot and hammer in the nail. Repeat on both sides.

Step 8: Hang your Art
Lastly, hang your art on the hooks and use the standard level to check if it’s level. If so, take down your piece and remove the masking tape. Re-hang your piece!

 Chanel earrings, CC dangle earrings in water drop shape adorned with stones and pearls v39