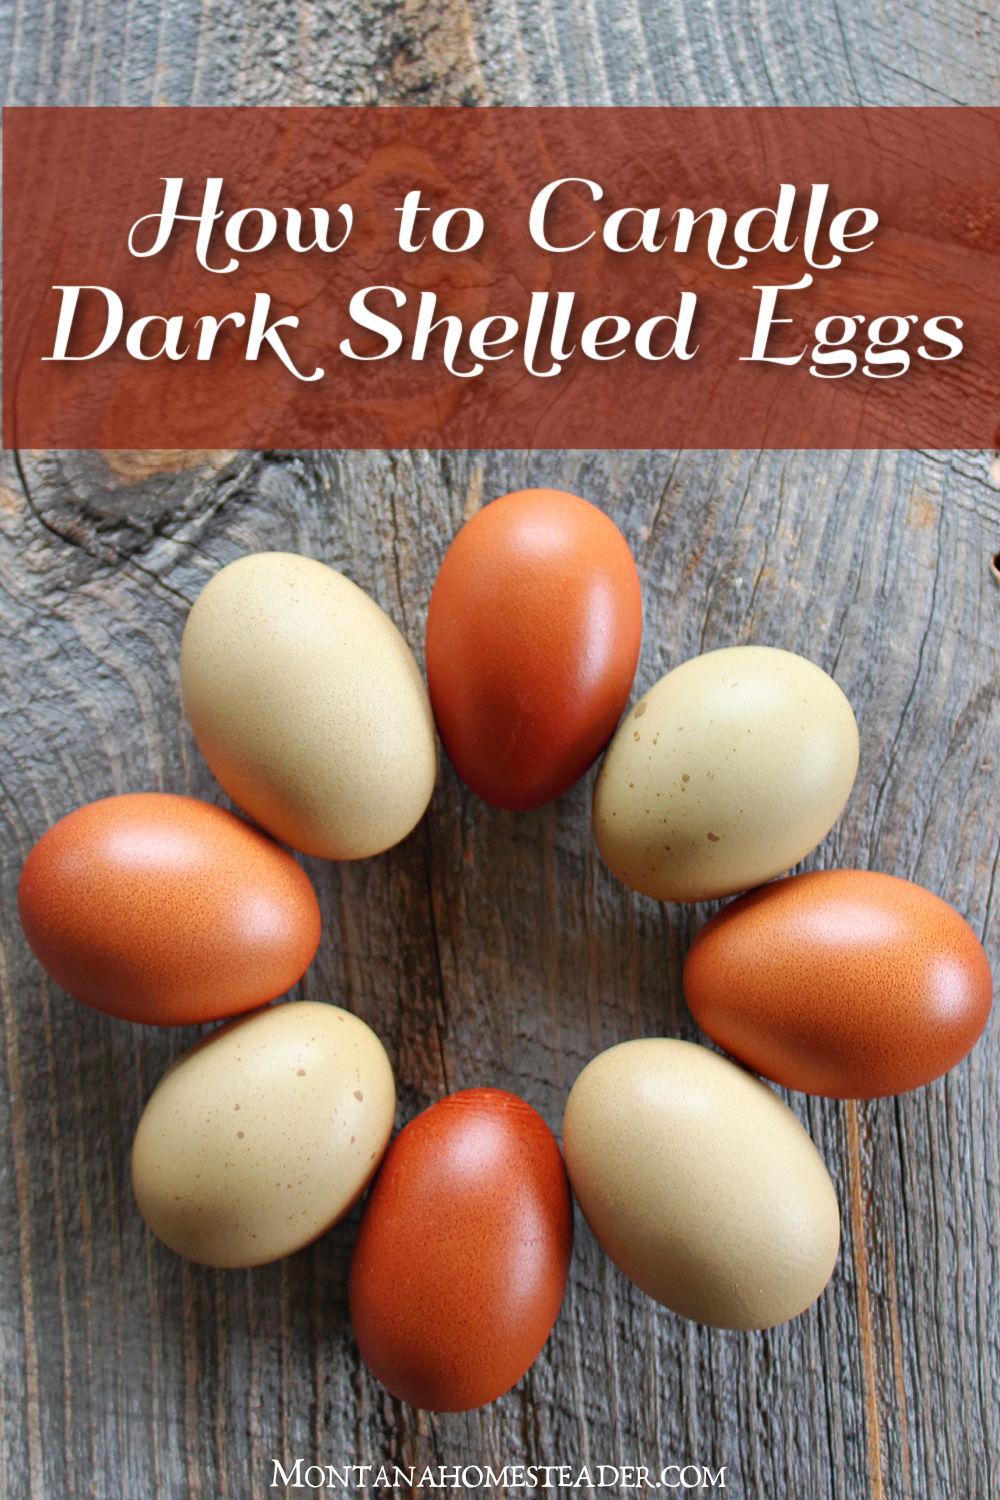
Have you ever tried to figure out how to candle dark shelled chicken eggs and found yourself feeling really frustrated? That was me last week! In the past when we incubated chicken eggs, we had a couple eggs with darker shells or thicker pigment that were difficult to see inside.
This year, over half of our incubator is filled with darker shelled eggs from our colorful rainbow egg laying hens. Our Black Copper Maran, Cuckoo Maran and Olive Egger eggs are all dark shelled. Even a couple of our blue Easter Egger eggs have a darker pigment.
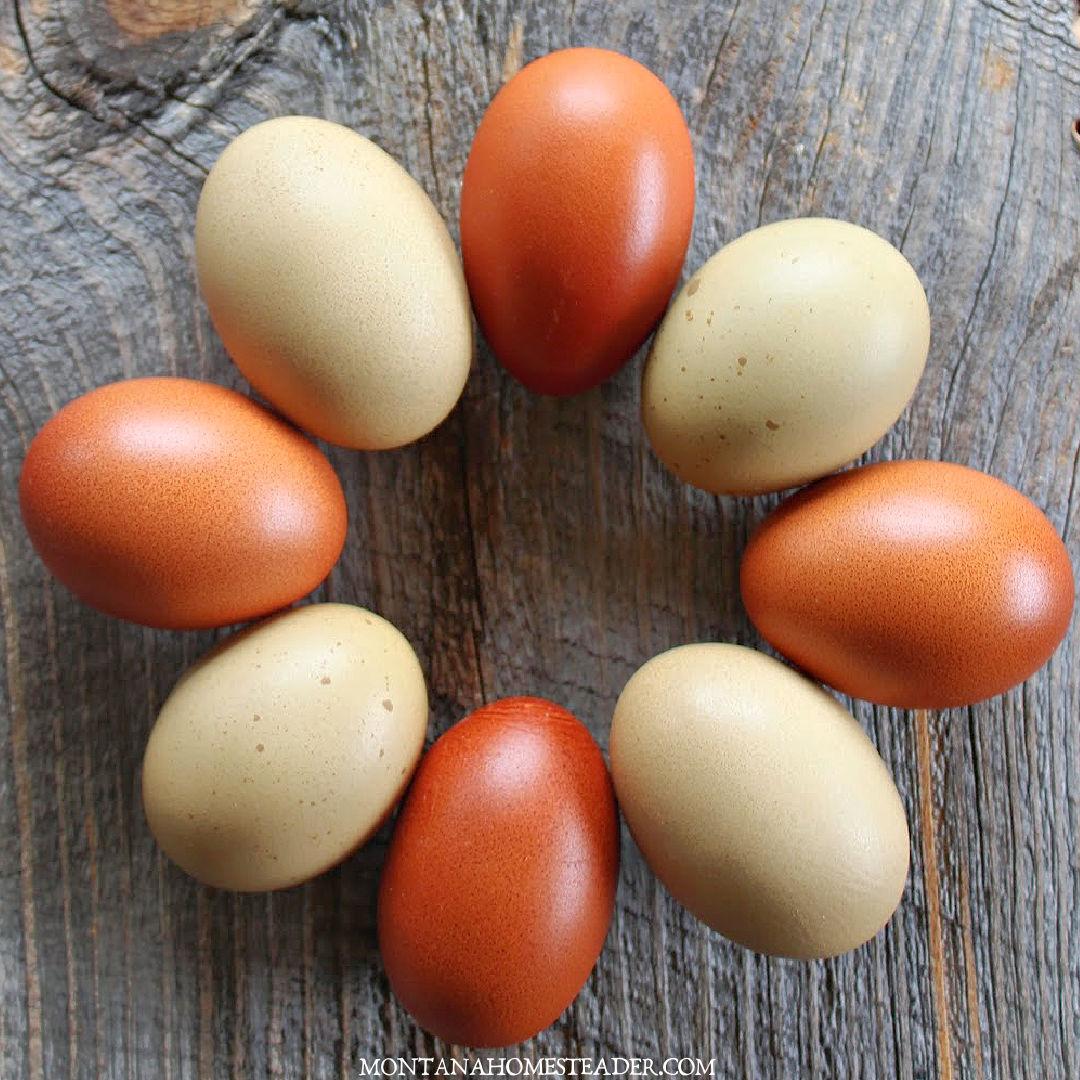
Candling the creamy Swedish Flower hen eggs was easy using our standard egg candling flashlight. But all of the dark brown eggs from our Maran hens, the lovely green Olive Egger eggs and even a few of our blue eggs were impossible to see inside when candling. (If you’re new to candling, here’s our tutorial on how to candle eggs)
If I was lucky, I could see the air sac and trace it on the shell with a pencil to monitor the air sac growth. But the rest of the egg was solid black no matter what angle I held it over the egg candling flashlight.
I did a google search because I was so stumped as to what to do. I didn’t want to just leave the eggs in the incubator and unknowingly have a clear egg or one with a red ring that could eventually explode and ruin the rest of the eggs in the incubator.
Candling eggs with a cell phone flashlight
I read about how to use a cell phone flashlight to candle eggs. I thought this was brilliant since my cell phone flashlight is brighter than our egg candling light. I tried it out and while it was brighter than our egg candling flashlight, I still couldn’t see inside the majority of our dark shelled chicken eggs.
Using my iPhone flashlight to candle eggs meant I had to have my phone lying on the flat surface of the table next to the incubator. Trying to candle 25+ dark shelled eggs while bent over the table next to the incubator left me feeling frazzled and frustrated with an achy back. No fun!
Candling eggs with a high powered flashlight
Then my husband suggested I try his high powered flashlight he uses for work as a Home Inspector. I checked it out in our dark laundry room and wow, that thing was powerful! (Here’s the flashlight we used) This flashlight has an output of a 10,000 lumen beam on the highest setting. Compare that to the light output of 250 lumen of our egg candling flashlight. That’s a major difference in light output!
The problem was that at the higher light settings, my husband’s high powered flashlight was really hot. I didn’t want to cook the eggs in my attempt to candle them.
My husband suggested I put a cardboard toilet paper tube on the flashlight to add a little distance from the heat and channel the light. Who would’ve thought this would be a way to repurpose a good ‘ol toilet paper tube! Amazingly the toilet paper tube fit perfectly inside the top of the flashlight.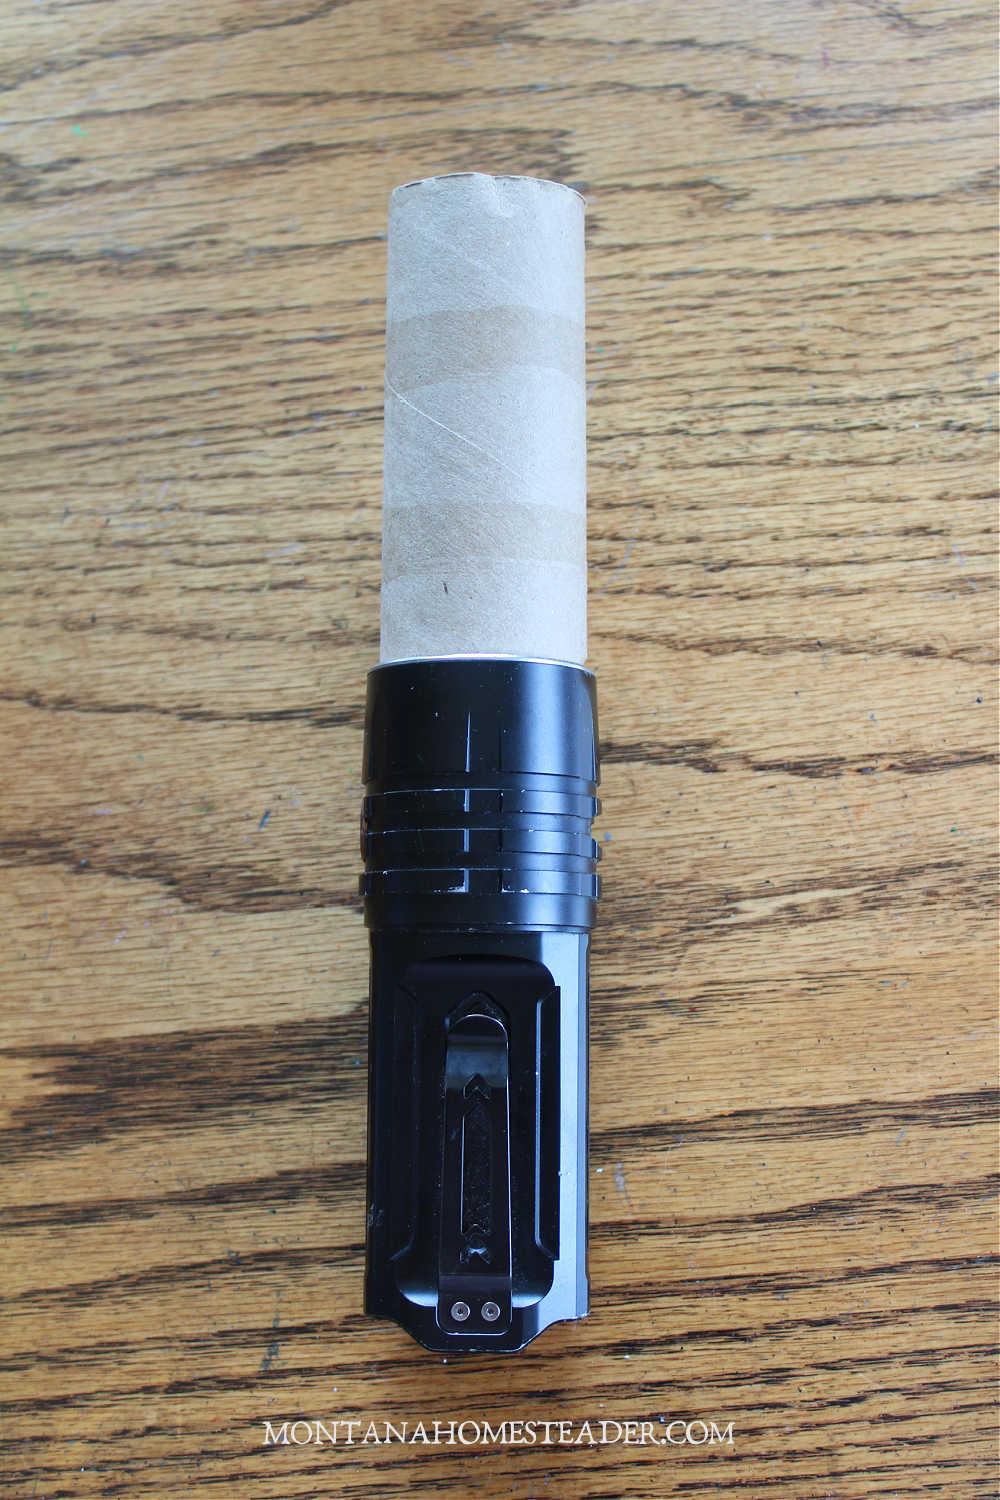
I first experimented with an egg that we weren’t incubating just so I could practice with the various brightness levels and heat output. I figured out that on setting 3/medium (1200 lumen), the light was bright enough to see inside our darkest egg shells but the heat output wasn’t so hot that it would harm the eggs.
On day 14 of our latest round of hatching chicks in the incubator, I put the new method to the test to see if I had really figured out a successful method on how to candle dark shelled chicken eggs. It worked!!
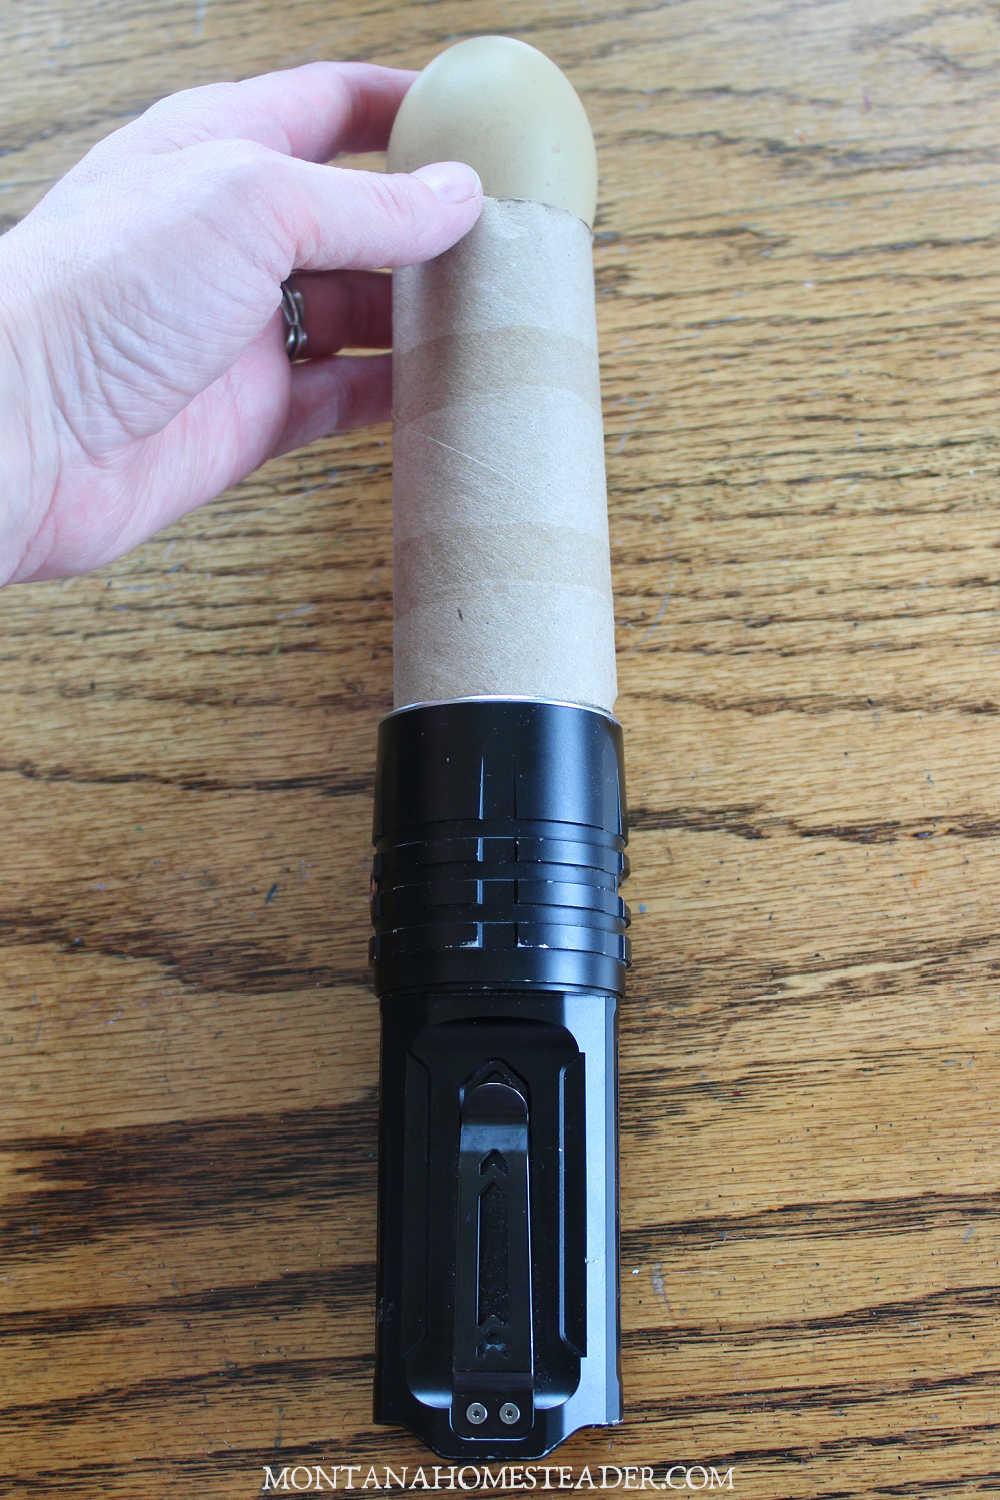
If I couldn’t see inside the egg by looking through the end with the air sac, I turned the egg so it was point down and air sac up. Sometimes shifting the orientation of the egg made the difference and I was able to see inside enough to observe what I needed to see to verify signs of life inside the egg.
I was able to successfully candle every.single.egg. Yay! While this method allowed me to see inside the dark shelled egg, I couldn’t see every single aspect like I could in a lighter shelled egg.
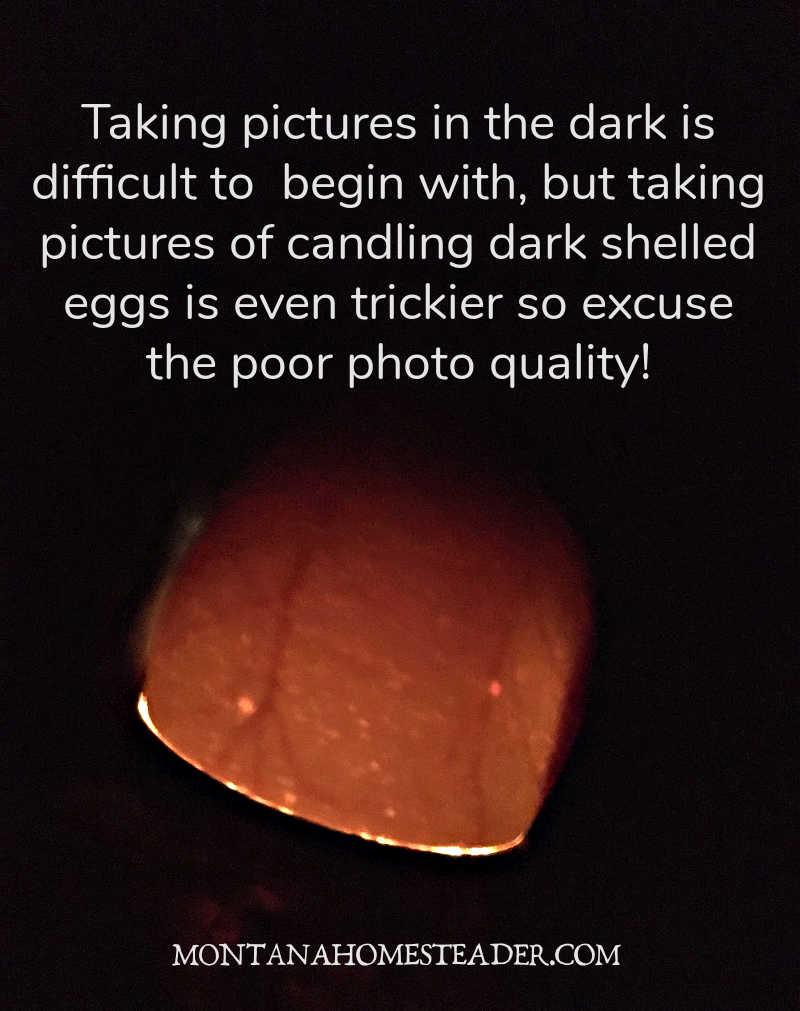
What we’re looking for when candling dark shelled eggs is being able to see anything remotely close to viable life inside the egg. I often couldn’t see the dark spot of the embryo. I could see several red veins spread out inside the egg stretching down into the dark area of the egg which told me the embryo was viable.
I was even able to detect one dark shelled egg that had a red ring that meant it was no longer viable for some reason. That egg was removed from the incubator.
I’m so excited I finally found a way to successfully candle dark shelled brown, green and blue eggs!
Do you have any other tips to share on how to candle dark shelled chicken eggs? Share your tips in the comments below!
