Once in a while, a RevolverGuy finds himself with a cocked revolver that needs to be safely decocked.
The reasons for this could vary. Maybe the Range Safety Officer has called for a cease fire, or maybe the animal has moved and you no longer have the shot. Perhaps you’re just getting tired, or you need to get that piece of hot brass from your neighbor’s self-chucker out of your shirt. Whatever the reason, it’s important to do it properly, so that you don’t negligently fire an unintended shot.
Step by step
Whether you’re shooting a single action or a double action revolver, here are the steps you need to follow to safely decock your revolver:
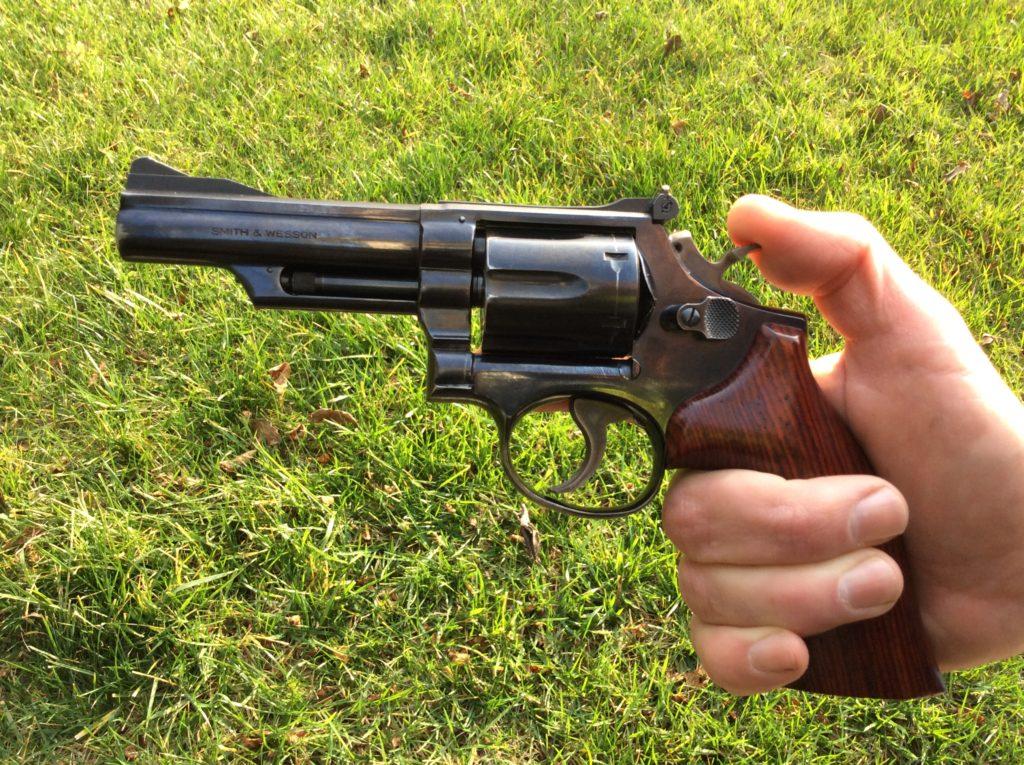
1. Point the revolver in the safest direction-and keep it there throughout the procedure-with your trigger finger resting on the frame of the gun, away from the trigger and trigger guard;
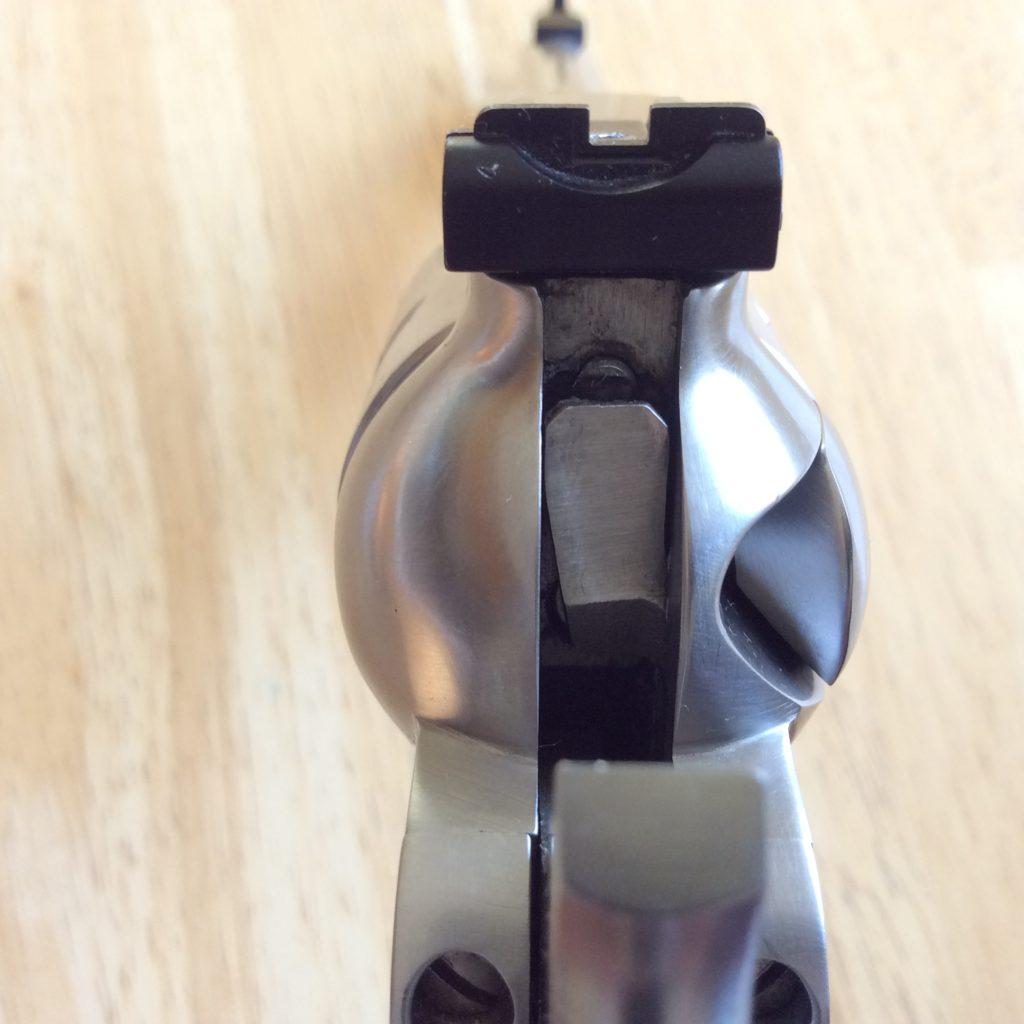
2. Place a weak hand finger or thumb in front of the cocked hammer, wedging it between the hammer face and the frame of the gun. The intent here is for the finger or thumb to block the fall of the hammer if it gets away from you during the decocking. Please note that if the hammer has a fixed firing pin, you should put your finger or thumb underneath it so you don’t get hole punched!
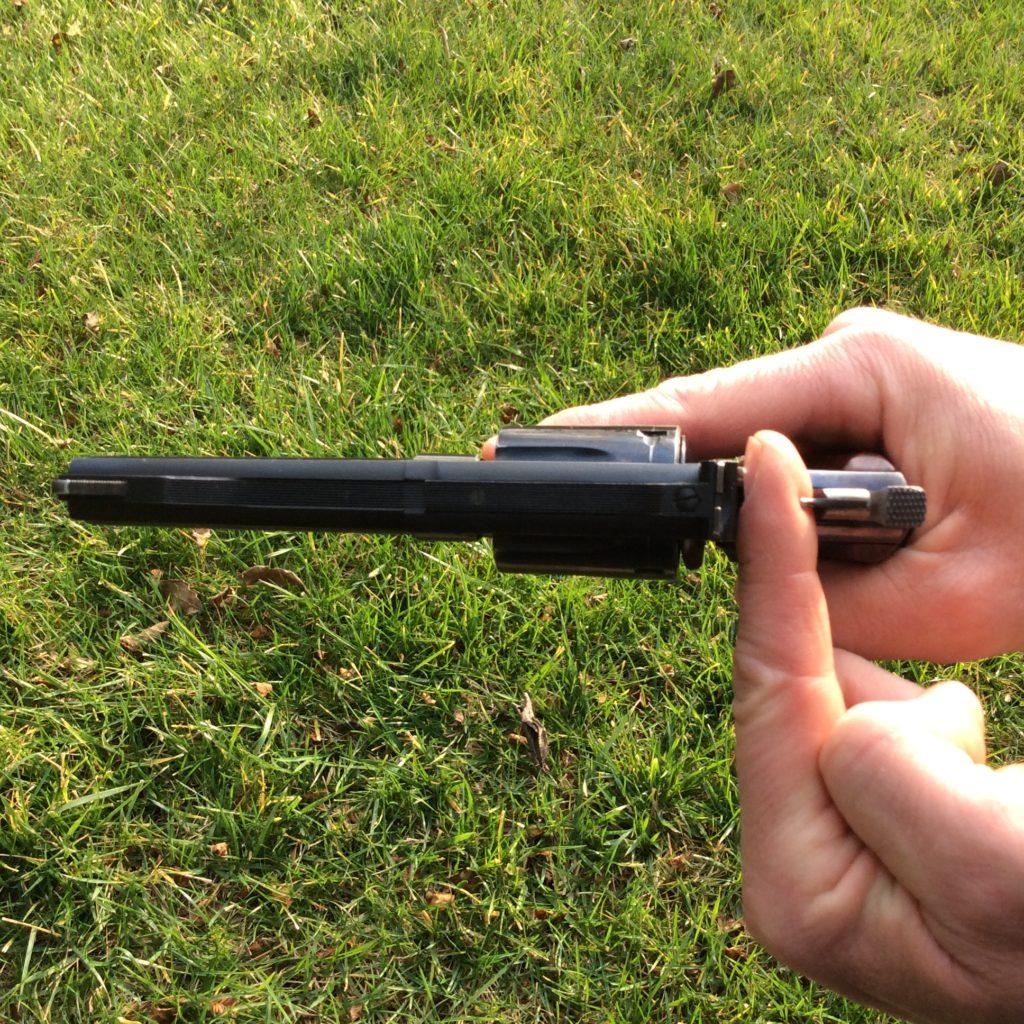
3. Place the thumb of your shooting hand on the hammer spur, to control its forward motion;
4. Move your trigger finger to the trigger, and press it until the sear releases the hammer to go forward. As soon as you feel the hammer is released by the sear, immediately remove your trigger finger from the trigger and put it back into its place on the frame, away from the trigger and trigger guard;
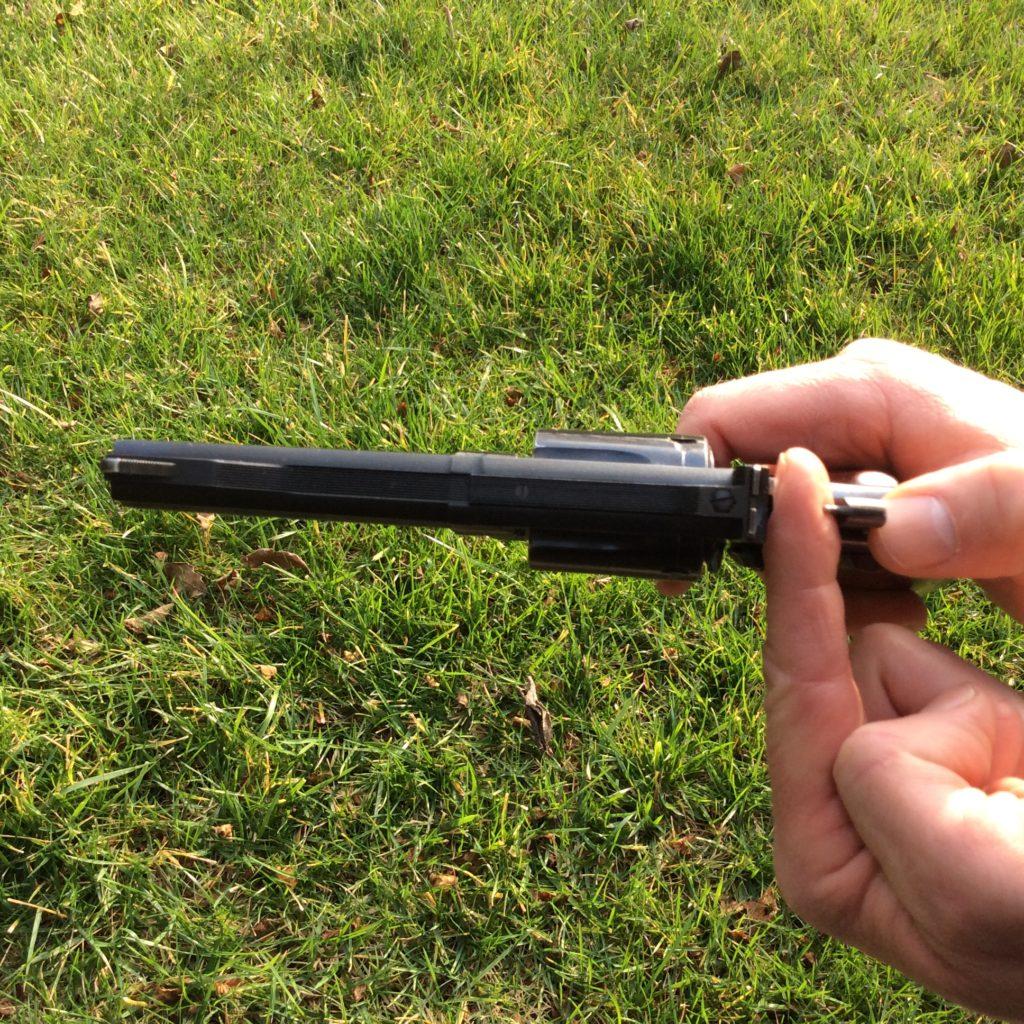
5. When the sear releases the hammer, allow it to move forward slightly, but restrain it with your shooting hand thumb so that it doesn’t travel very far. If you accidentally cock the hammer again, that’s OK-you can just go back to step 4, above, and try once more;
6. Ensure your trigger finger is off the trigger and on the frame, then move the blocking finger or thumb of your weak hand out of the way. Slowly lower the hammer to its forward resting position.
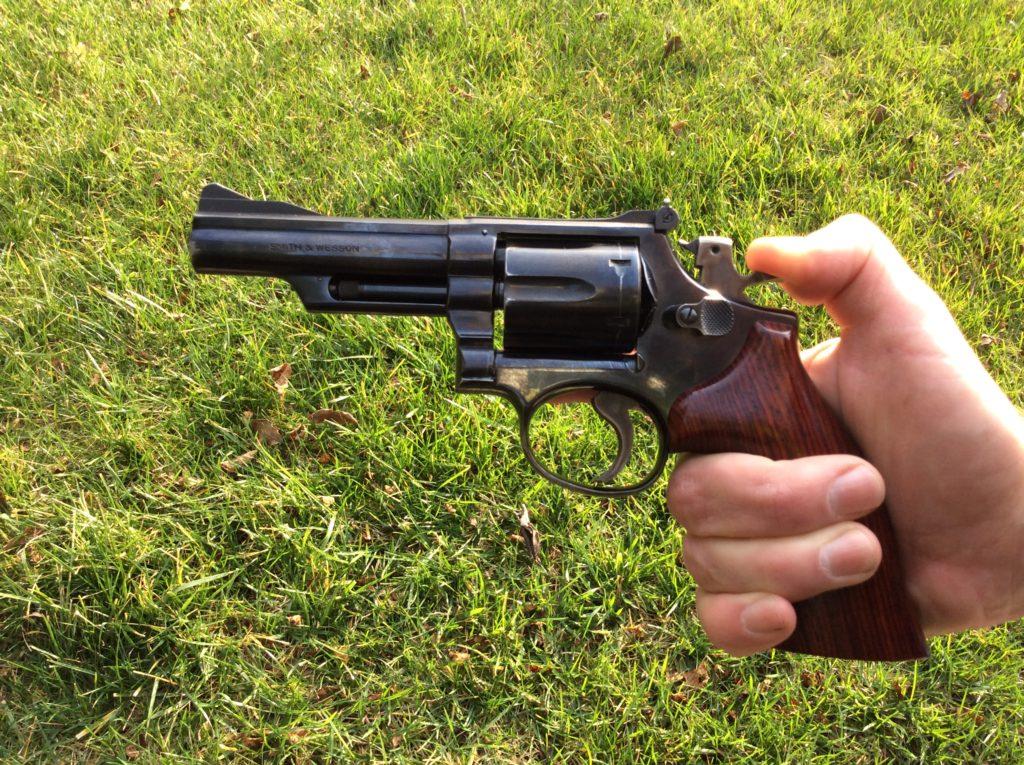
That’s it. You’re done.
A common mistake
The procedure is really simple, but there is one common mistake that you have to watch out for-it’s absolutely critical that you immediately remove your finger from the trigger after the sear releases the hammer to move forward!
If you continue to press the trigger as the hammer is lowered, then the gun thinks that you want to fire it. If you lose control of the hammer and it strikes with enough force, the gun can fire. By removing your finger from the trigger as soon as the hammer is disengaged from the sear, the safeties inside the gun (if present) can work to prevent the firing pin from reaching the primer, even if you lose control of the hammer as you lower it.
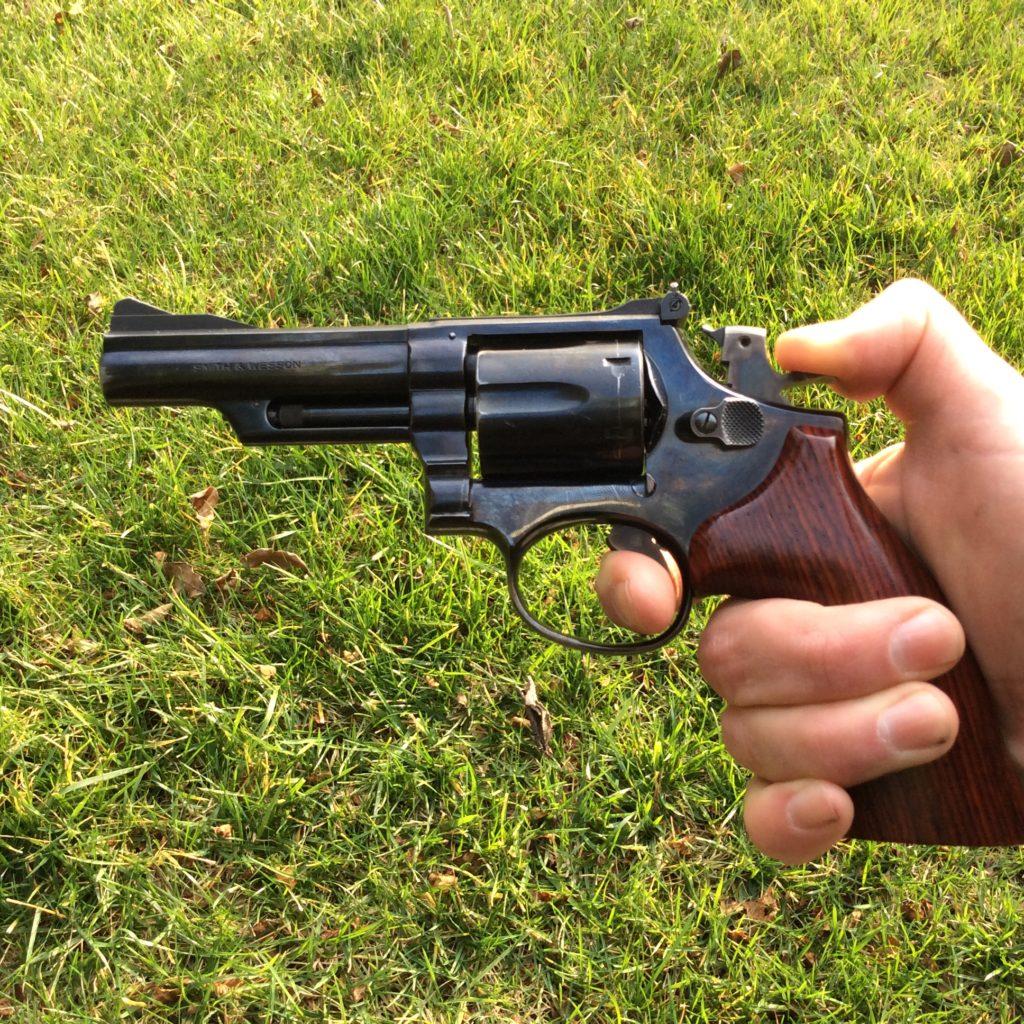
The classic scenario for this kind of negligent discharge begins with someone who wants to cut corners and lower the hammer using only the shooting hand. They put the shooting hand thumb on the hammer spur, pull the trigger, then ride the hammer forward as their finger continues to press the trigger. If the hammer slips away from the thumb, then the gun will probably fire. We see all kinds of television and silver screen heroes do this nonsense, but please don’t do it for real. Use two hands as described above, with a blocking finger as a backup safety (this is especially critical for guns without the internal hammer block or transfer bar safeties), and don’t hold the trigger to the rear as you lower the hammer!
Nuts and bolts
As we alluded to earlier, most external hammer revolvers of modern design incorporate internal safeties that prevent the gun from firing unless the trigger is held to the rear. Some older designs (such as the ever-popular Colt Single Action Army-or 1873 / Peacemaker / Model P-and its clones) don’t have these features, but most of the external hammer guns you’ll find for sale today are equipped with them.
There’s some exceptions out there (like the base pin system on the Cimarron guns), but most revolvers use one of two primary methods to accomplish the goal of preventing a discharge unless the trigger is held to the rear. For simplicity’s sake, we’ll call these the “hammer block” and “transfer bar” methods.
In the hammer block method, there’s a bar that prevents the hammer from moving fully forward unless the trigger is pulled and held to the rear.(1) The blocking piece moves out of the way when the trigger is pulled and held back, which allows the hammer to strike the frame-mounted firing pin and transfer the energy necessary to crush the primer and start ignition. On models with hammer-mounted firing pins, holding the trigger to the rear moves the block out of the way and allows the hammer to travel fully forward so that the nose of the firing pin can extend through the breechface and contact the primer.
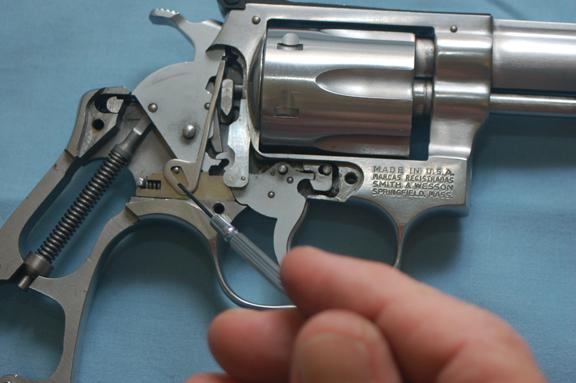
Some variation of the hammer block method is common on Smith & Wesson revolvers with exposed hammers, earlier double action Colt revolvers, some early-model Charter Arms revolvers, Rossi revolvers, and others.
In the transfer bar method, when the trigger is pulled and held to the rear, a bar rises into position between the hammer and the frame-mounted firing pin. When the hammer strikes this bar, the energy is transferred to the firing pin, which moves forward to crush the primer and start ignition. If the trigger is not held to the rear, the transfer bar remains in a lowered position, and the hammer is unable to contact and transfer its energy to the firing pin.

The transfer bar method is commonly used on “New Model” (post-1973) Ruger single action revolvers (and pre-1973 “Old Model” revolvers that have been modified with the free conversion kit), Ruger double action revolvers, Taurus revolvers, later production Colts, and the Traditions single action revolvers made by Pietta, among others.
No surprises, please
So, now that you know the proper steps for decocking an external hammer revolver, make sure you do it the proper way and teach others to do the same. That’s how a RevolverGuy operates!
It’s not hard to do it the right way, and it could save you from a world of heartache caused by a shortcut.
*****
Endnotes
1. Sharp-eyed RevolverGuy SHBond357 clarifies that the hammer block is actually designed as a backup safety to prevent the hammer from moving forward in the event the gun is dropped. A raised bump on the top of the rebound slide interacts with the base of the hammer to prevent the rebounding hammer from moving forward if the gun is dropped and lands on the hammer spur. In the event this system fails to prevent the hammer from moving forward (due to a structural failure of the parts), the hammer block will still prevent the hammer face from moving forward and touching off the primer. In normal operation, the hammer block doesn’t play an active role in preventing the hammer from moving forward—it’s just there as a fail safe.

