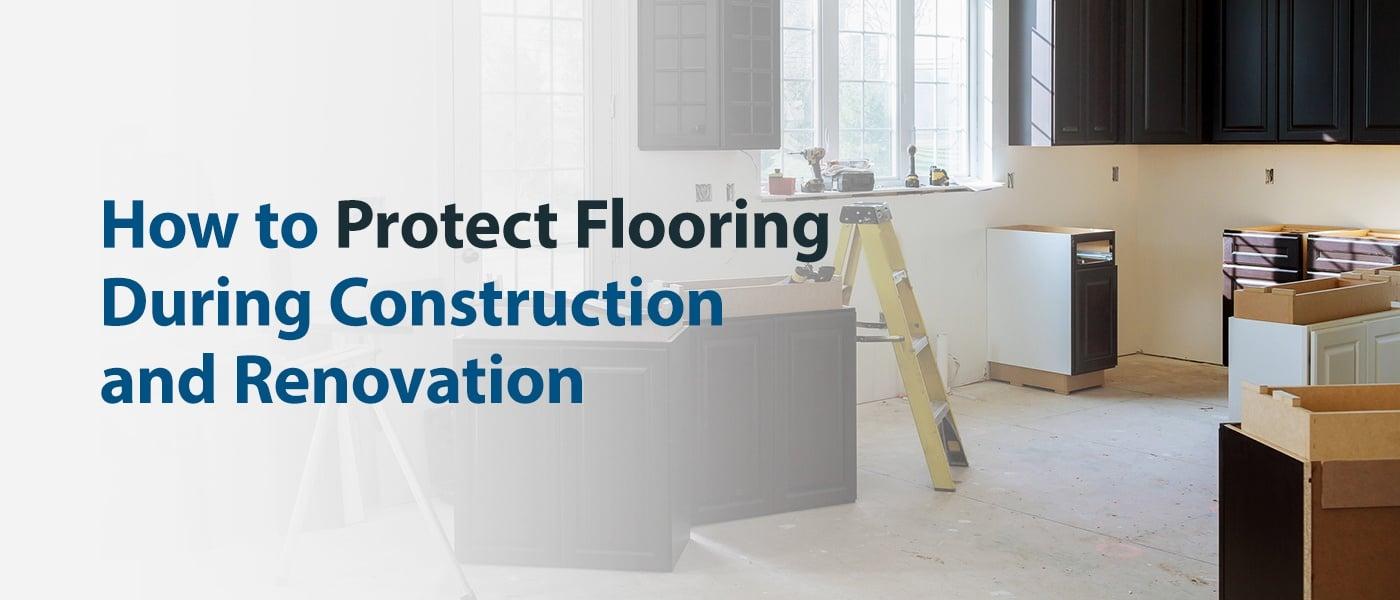
If you’re planning a home improvement project soon, it’s probably helpful to know how to protect your floor during construction. Your flooring should last a long time, but heavy objects, paint and debris can cut its lifespan short. Here are some tips for protecting floors during renovation so you can save time and money instead of replacing them.
View Flooring Options by Room
Why It’s Important to Protect Your Flooring During Renovation
Protecting floors during construction is critical to maintaining their luxurious appearance and preventing permanent damage. When you’re redesigning part of the house, the construction team may use materials that could harm your flooring, such as:
- Paint: Using paint could result in spills and stubborn stains on your floors.
- Outside dirt and mud: Tracking mud or dirt from the outdoors can scratch and stain your flooring, especially on a rainy day when there’s extra moisture on the ground.
- Dust: If you live in an older home, dust has most likely accumulated in your walls. Removing walls or ripping out old building materials will probably bring dust into the air that settles onto your floors, potentially scratching them.
- Bulky equipment and furniture: Carrying heavy furniture or cleaning equipment can scratch or crack your flooring if you lose your grip on them.
5 Ways to Protect Flooring During Construction and Renovation
Consider some of the following tips to protect your floor during renovations.
1. Use Temporary Floor Coverings
A temporary floor covering is an affordable, efficient way to keep your flooring safe from damage. It’s convenient to install, and it provides a clear walkway for workers. Choose a covering that’s suitable for your flooring material and type of project.
The following floor coverings can protect most flooring materials against scratches and stains:
- Floor cardboard: Laying down specialized cardboard can prevent dents on your floors during heavy-duty construction projects, such as adding or renovating entire rooms. Some floor cardboard products come with adhesive to prevent them from sliding on your floor’s surface, but you could also use painter’s tape to hold it in place.
- Hardboard: This thick wooden board is durable and easy to install for heavy-duty use. You’ll often find products with built-in protections that’ll guard your floors against all types of damage.
- Rosin paper: For enhanced protection for your floor’s finish, you can stack rosin paper and hardboard. Keep in mind that rosin paper can stain your floors or tear, so you should only use it with a sheet of hardboard.
- Adhesive floor protection film: A high-quality film sticks to your floors to guard against indoor and outdoor debris. Most products are safe for you to apply directly onto your carpeting, hardwood floors and other flat surfaces. However, it’s best to read the packaging to make sure it’s suitable for your specific flooring material.
2. Apply Painter’s Tape to Non-Adhesive Floor Coverings
If you use a temporary floor covering that doesn’t have an adhesive, you can use blue painter’s tape to keep it from sliding against the surface. This adhesive material can protect your flooring from paint spills and pressure from moving heavy equipment. High-quality blue painter’s tape doesn’t leave a residue behind when you apply it correctly to your floors.
Remember these tips when using painter’s tape on your floors:
- Use medium-adhesion tape: Your adhesive product should be medium strength. The tape should be strong enough to stick to your floors, but an adhesive that’s too strong can leave residue behind.
- Clean your floors: Before applying the product to your flooring, clean the surface to prevent residue and debris buildup.
- Avoid using on newly finished hardwood floors: Painter’s tape is generally safe to use on flat flooring surfaces. However, if you’ve recently had your hardwood floors refinished, you may want to stick it to the baseboard instead.
3. Determine Walking Routes
Establish a route for bringing equipment and materials inside and outside of the house. The whole construction team should know which areas of your property are prohibited so that no one tracks debris in those sensitive areas.
Follow these steps for creating safe pathways in your house:
- Make them clear: Before renovations begin, think about what parts of the house that the construction team will need to access. Apply protective film or another temporary covering to designate where workers should walk. Clear the pathway of furniture or any other objects that could make walking difficult.
- Protect the walkway: If you suspect that the construction team will track mud into the house, you can spread a thick layer of wood chips by your door to reduce the grime on their shoes. You can also install sticky mats at each work-area entrance to pick up dirt and debris underfoot.
- Wear shoe covers: Even though adhesive film and sticky mats can guard your floors against outside grime, shoes may still have stubborn debris on them. Instead of making everyone take off their shoes when they come into the house, you can get inexpensive shoe covers for them to wear.
4. Keep the Site Clean and Well Ventilated
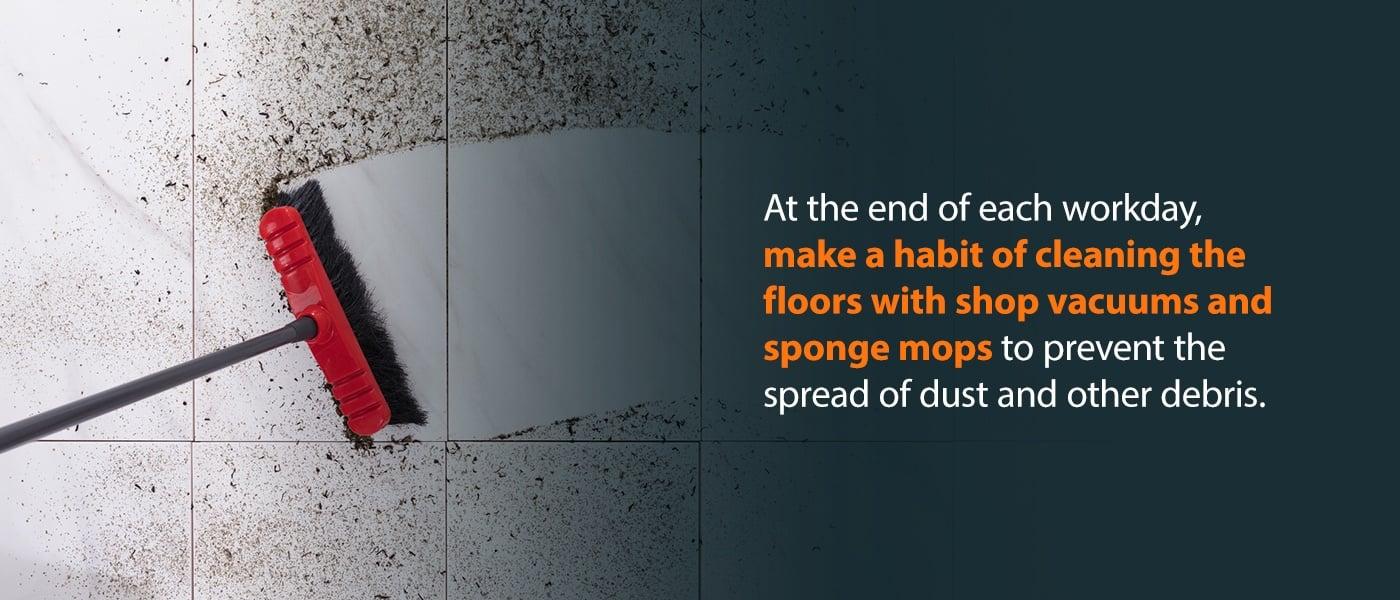
Your flooring could collect small amounts of debris, even with a temporary floor covering. At the end of each workday, make a habit of cleaning the floors with shop vacuums and sponge mops to prevent the spread of dust and other debris. If you’re working with paints, clean up any spills as soon as possible to avoid permanent stains. It also helps to dispose of trash as you work to cut back on clutter.
The site should also have adequate ventilation to protect your floors and the room’s indoor air quality. If you’re working with harsh chemicals, use a fan or keep the window open. Besides chemicals, any dust or debris in the air can settle onto the floors and damage them. Installing a fan in the window can eliminate contaminants in the area and create a pressure barrier. This barrier prevents dust from circulating throughout the rest of your living space.

5. Seal the Rest of the Room
Dust and debris can float off your trim and walls and onto the floor. Besides protecting your flooring, you can also cover up the other areas in the room, such as:
- Air ducts: Your HVAC system’s ductwork could collect dust and spread it throughout the whole house, including onto your floors. If you use plastic to cover your ducts, you can hold it in place with painter’s tape.
- Baseboard molding: Paint spills on your baseboard molding can trickle down to your floors. Use a piece of cardboard and painter’s tape to cover this component of your room.
- Doorways: As you carry heavy objects into and out of a room, put a protective film over your door openings. Any chips or dents from bulky equipment could shed wood from the trim onto your floors.
- Window treatments: Dust and debris can get trapped in your windows and curtains. Since you’ll most likely have your windows open to provide ventilation, you don’t have to protect them from dust buildup. Instead of removing your window treatments, you can wrap them with plastic to keep them clean.
Schedule an Appointment With 50 Floor for Durable Flooring
As you renovate your home, you may decide to update your floors also. When you schedule an in-home appointment with us, we’ll provide samples of our products to help you choose the best material for your living space. We also offer flooring care guides for our products to help them last a long time, no matter what renovation projects you’ll have to do over the years. For more information about our flooring options, you can also call us at 1-877-50-FLOOR.

View Flooring Options by Room

