The perfect holiday treat, Kringla is an easy recipe with minimal ingredients that is slightly sweet and buttery all at the same time. The perfect light dessert recipe.
Ok if you guys did not know I’m from Minnesota, born and raised. In that fact I am VERY Norwegian/Scandinavian, not in the thick accent sort of way but in the ancestry way.
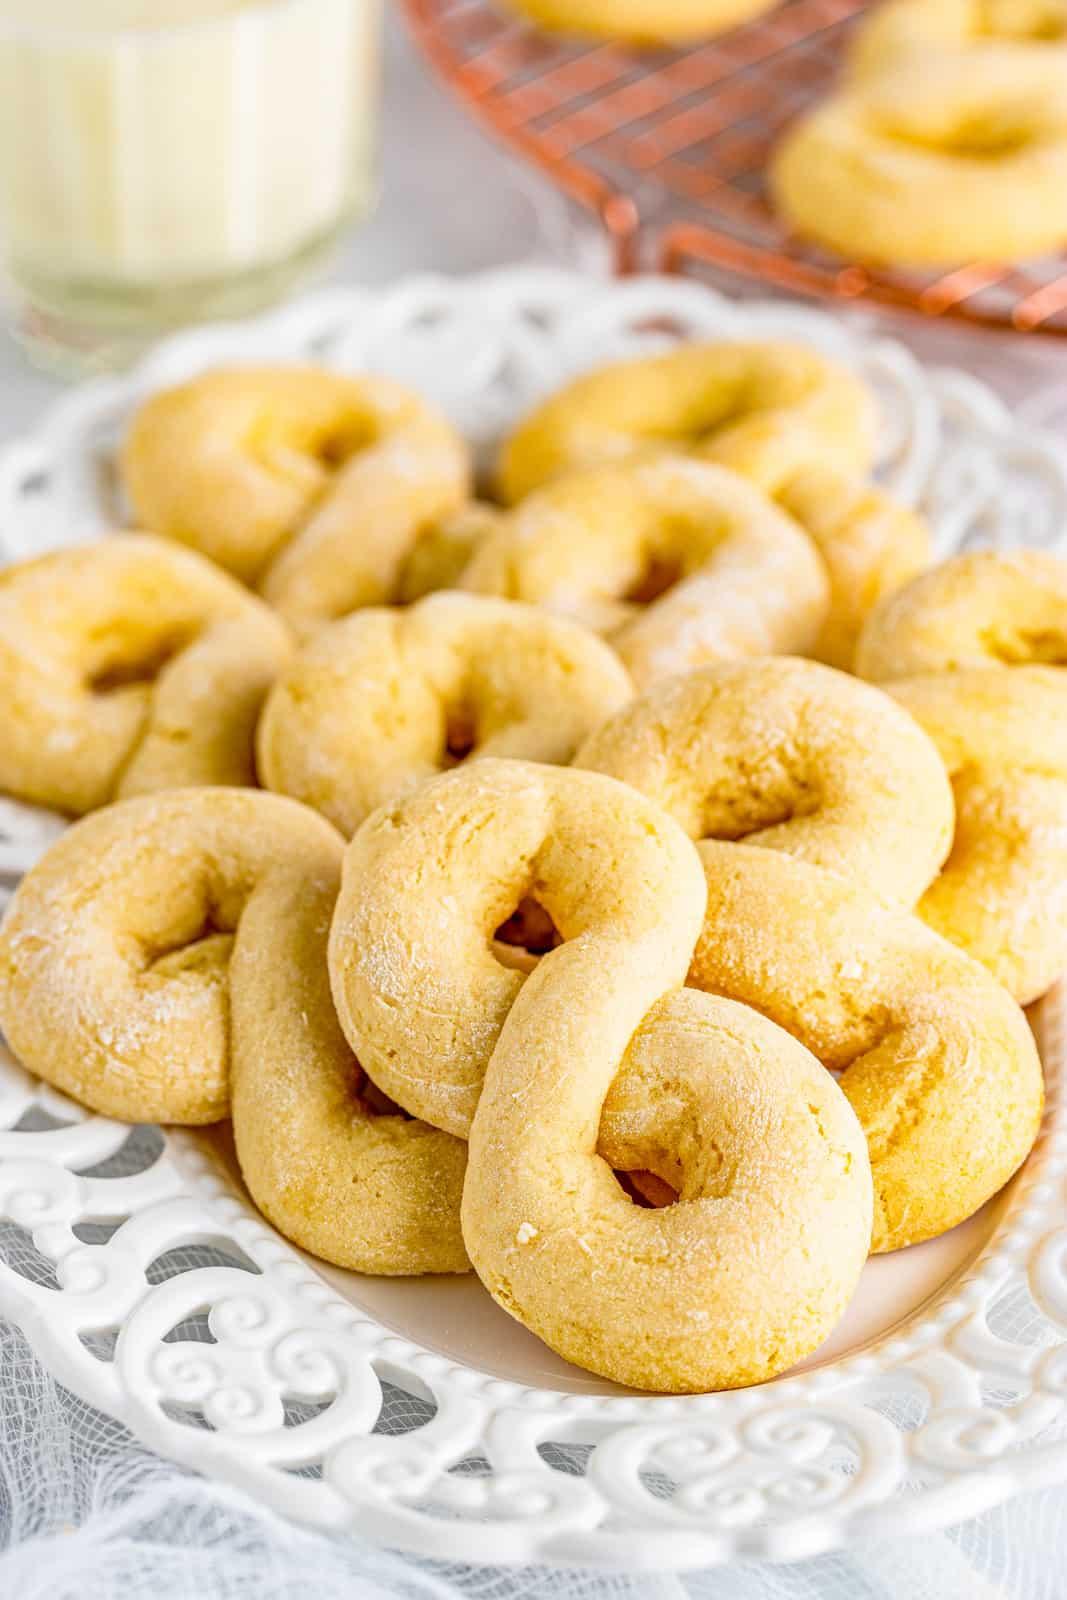
Kringla is one of our family traditions that is a Norwegian/Scandinavian dessert that you could call a pastry but we call a cookie. If you have never tried one, you’ll be pleasantly surprised at how amazing they are.
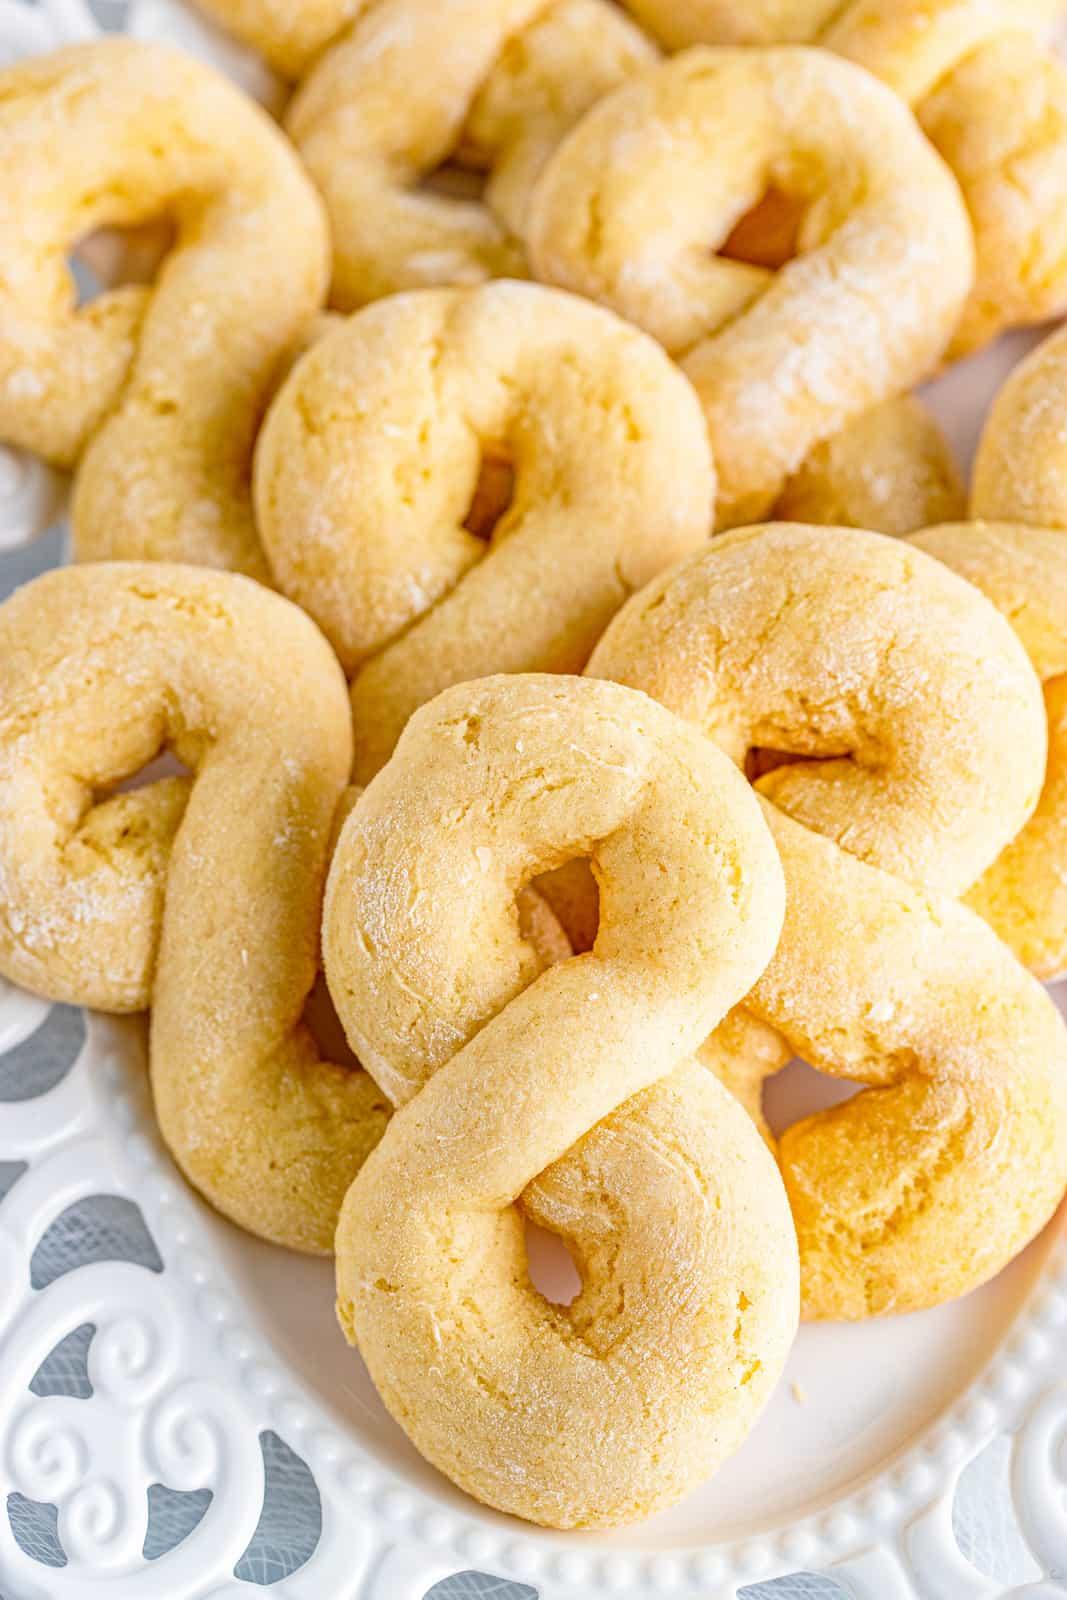
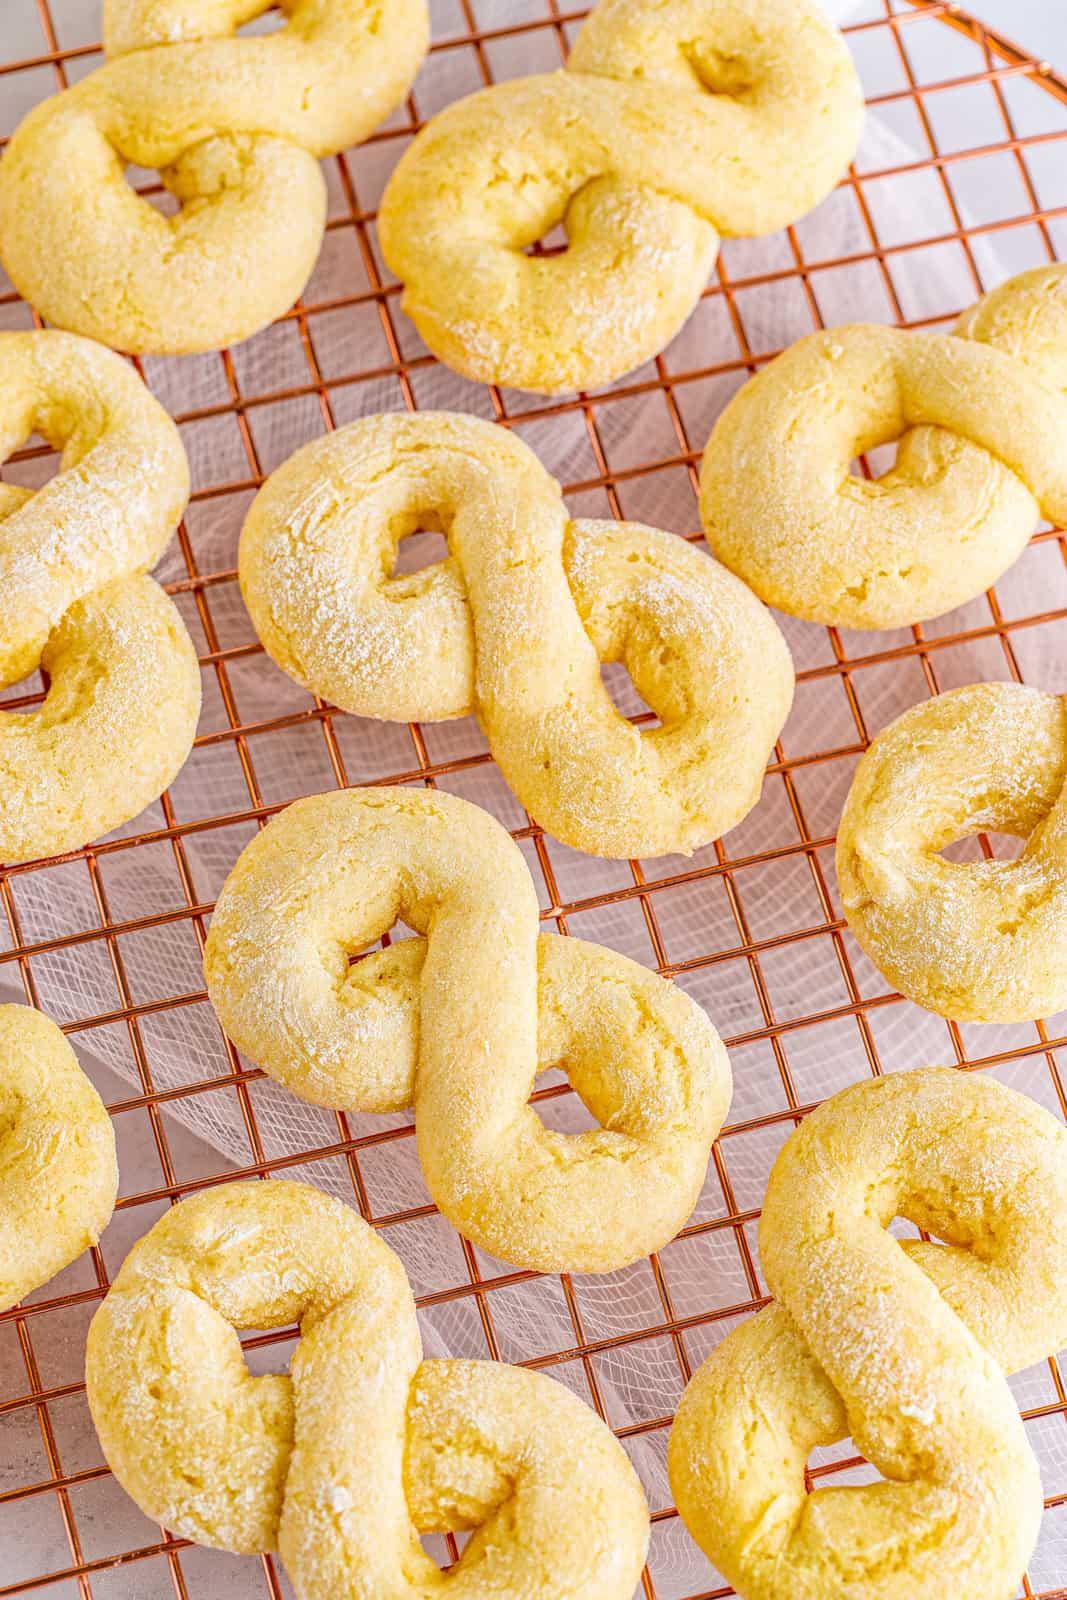
They don’t look like much. They kind of look like figure 8’s and dough, but trust me when you bite it a piece of Kringla you get more than what you see from the outside.
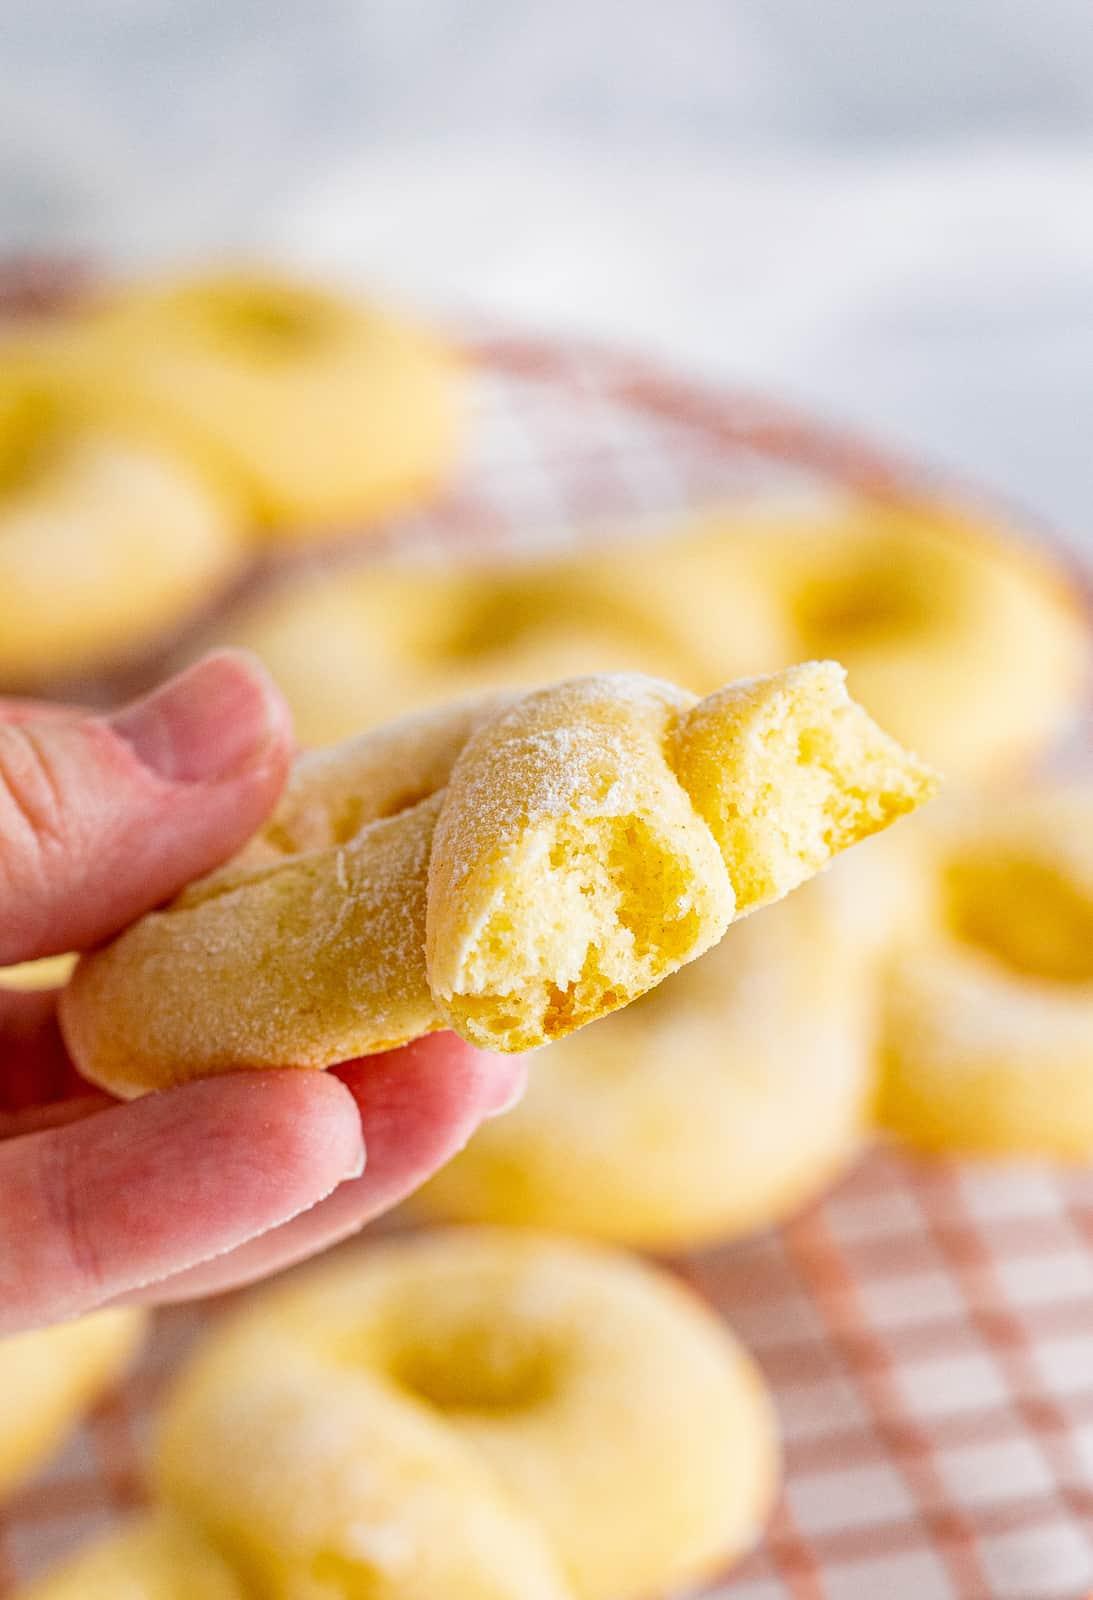
The old phrase “don’t judge a book by its cover” really holds true to these. They aren’t a super heavy sugary dessert but lightly sweet and buttery.
They are a favorite among our family and one that gets made more often than not! We usually leave them plain but you can glaze them, roll them in powdered sugar and more.
But the traditional way of eating Kringla is shaped in figure 8’s and plain. I know it doesn’t scream come eat me, but they aren’t supposed to, you just know.
Some of my other favorite holiday recipes include: Melting Moments, Potato Candy and Rum Balls.
WHY THIS RECIPE WORKS:
- With very basic pantry staples, these come together easily.
- Shaping into figure 8’s make them fun and unique.
- You can spruce them up with toppings like powdered sugar or a glaze.
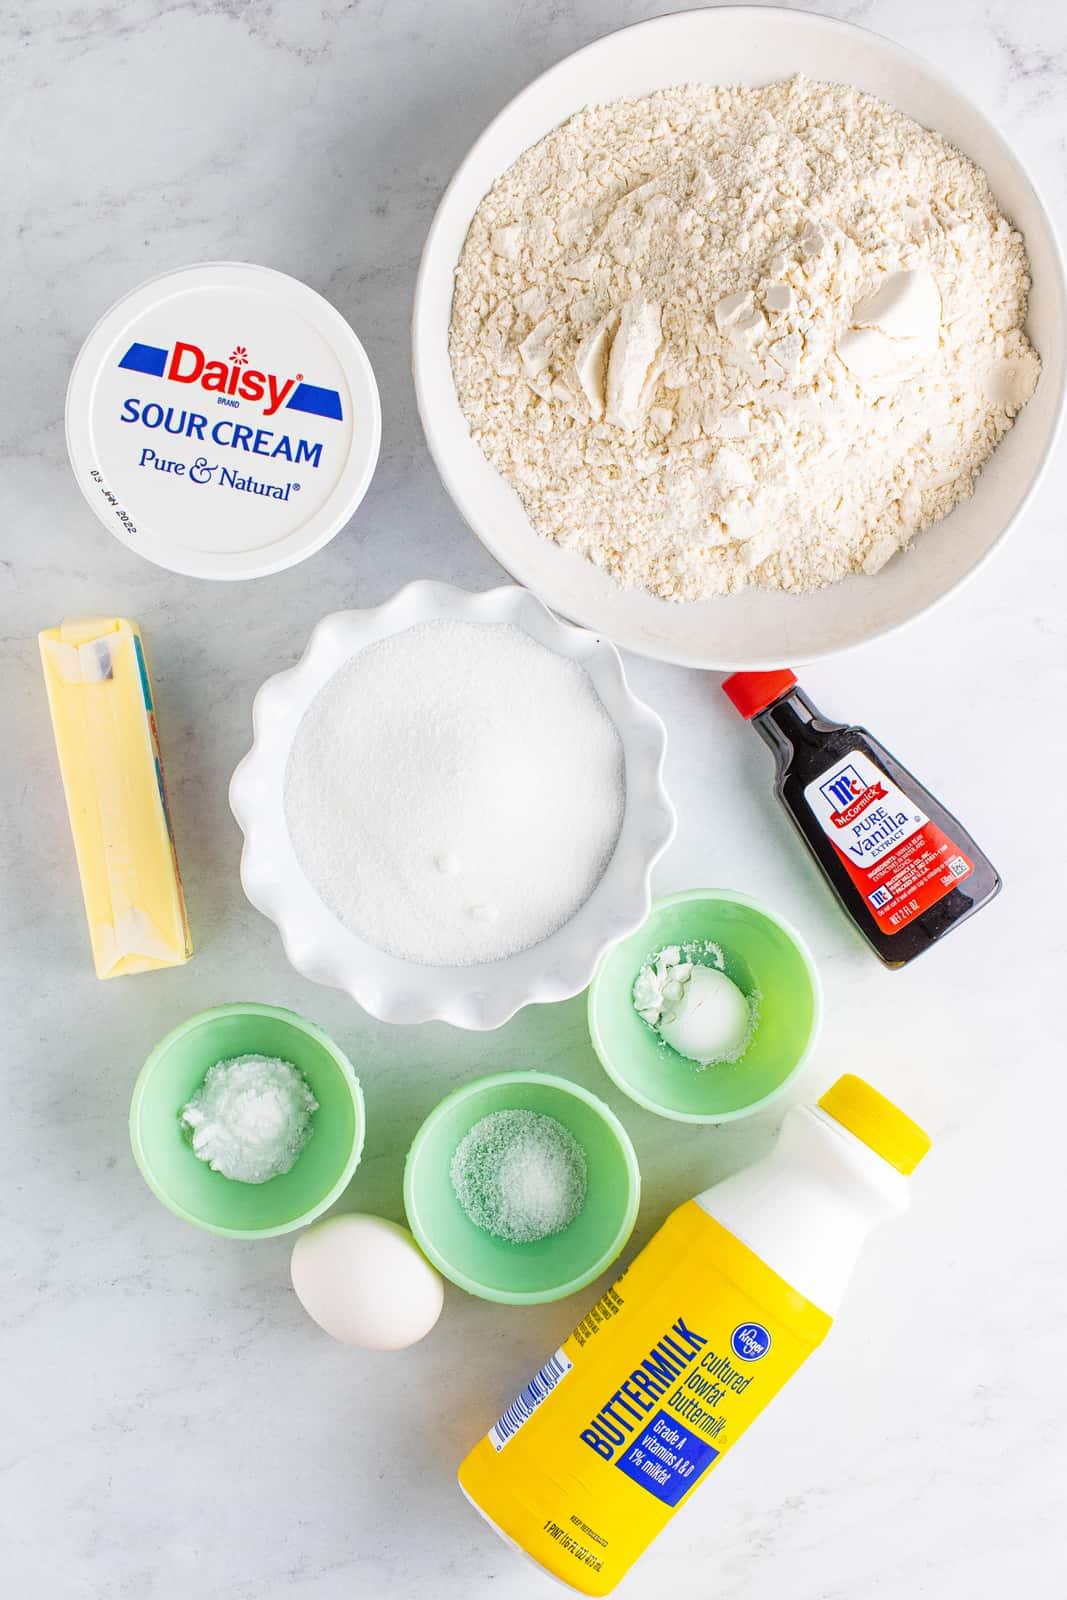
INGREDIENTS NEEDED (FULL RECIPE AT BOTTOM):
Sour cream Granulated sugar Buttermilk Unsalted butter Egg Baking powder Baking soda Salt Vanilla extract All-purpose flour
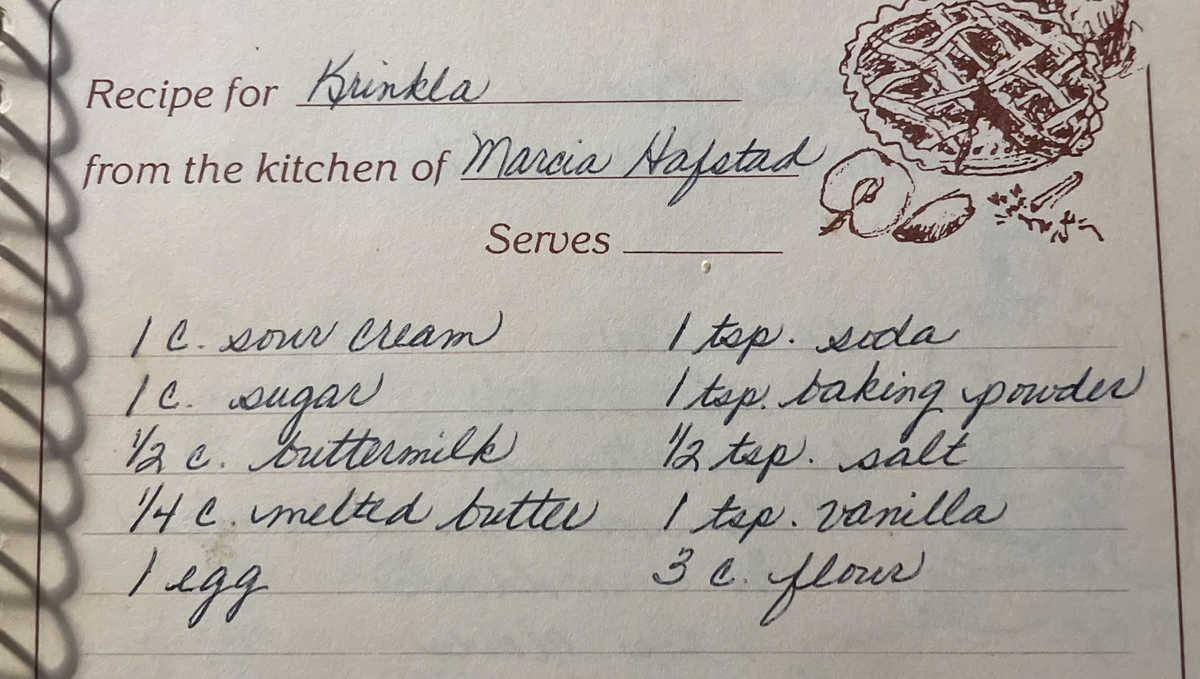
HOW TO MAKE KRINGLA, STEP BY STEP:
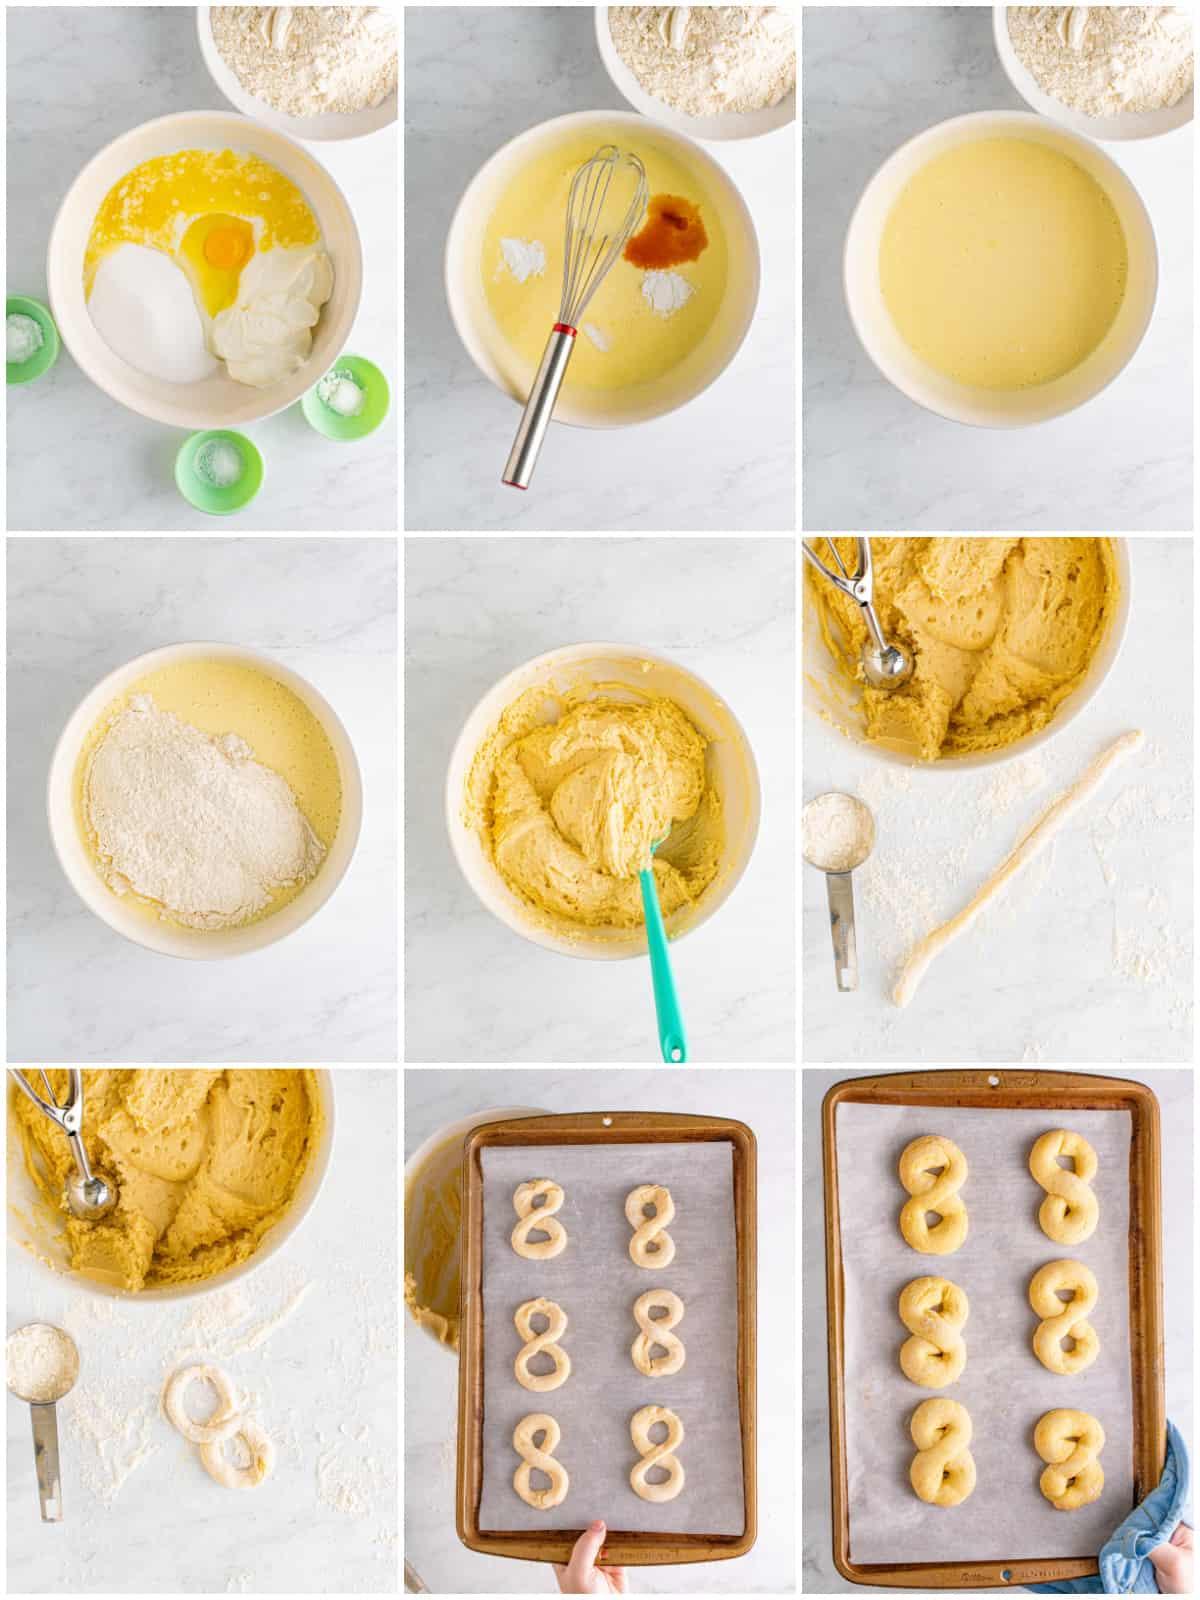
- In a large bowl whisk together the sour cream, sugar, buttermilk, butter, and egg until smooth.
- Add the baking powder, baking soda, salt, and vanilla, whisk to combine.
- Add the flour and stir it in until just combined, with no dry patches. Cover with plastic wrap and place it in the refrigerator for at least 5 hours, up to overnight.
- Preheat the oven to 350°F. Line sheet trays with parchment paper, set aside.
- Generously flour a clean work surface. Take 1 ½ tablespoons worth of dough (I used a cookie scoop), place on the work surface, coat the outside of the dough with flour, move to a lightly floured surface, roll it out into an 8-inch long rope.
- Pinch the ends together to form a circle, flip the dough over to form a figure 8, place it on the sheet tray.
- Repeat with the remaining dough, placing the cookies about 2 inches apart.
- Bake for 7-8 minutes until puffed and the outside of the cookie appears dry. The bottoms will be lightly golden brown. Let cool on the sheet tray for 2 minutes, transfer to a wire rack to cool completely.
DO I HAVE TO USE BUTTERMILK?
Yes! Buttermilk is a staple to the flavor of this recipe so I do not really recommend in using any other milk, but the good thing is you can make your own at home.
To make your own buttermilk for this particular recipe you will take 1/2 cup regular milk and add 1/2 Tablespoon white vinegar or lemon juice.
Stir this together and let it sit for 5-10 minutes until thickened, then stir again to combine and add to your recipe. See how easy that is!
DO I HAVE TO MAKE FIGURE 8’S?
This is traditional to a Kringla recipe, we have never made them i any other shape. I’m sure you could, and you are welcome to as it won’t affect the recipe any.
WHY DO I NEED TO CHILL MY DOUGH?
Kringla is a really sticky recipe so chilling the dough lets it not only become easier to handle but it also lets the flavors marry into one another.
OTHER DELICIOUS NORWEGIAN/SCANDINAVIAN DESSERTS:
We really enjoy baking from our heritage so I want to show you some of our other common and favorite recipes that we make:
- Lefse
- Almond Cake
- Krumkake
- Rommegrot
HOW TO STORE:
To store Kringla, place in an airtight container at room temperature where they will last for up to 1 week.
These can also be frozen, to do this make sure that your Kringla is fully cooled. Place in an freezer bag or container and separate with parchment paper, these will keep frozen for up to 3 months.
To defrost, remove from freezer and place on countertop until they come to room temperature then enjoy.
TIPS AND TRICKS:
- Buttermilk is essential, if you do not have some see my tips above on how to make your own for this recipe.
- Figure 8’s are the traditional way of making this, you can shape into other forms if you’d like.
- If you want to jazz it up you can dip in powdered sugar or make a glaze for the top.
- These can be frozen, see my tips above.
- Do not skip chilling the dough, this will make the recipe easier to handle.
If you want a deliciously light and tasty cookie/pastry on your holiday dessert table this year then I suggest branching out and making some amazing Kringla!
If you like this recipe you might also like:
- Crispix Mix
- Pecan Pralines
- Brigadeiro
If you’ve tried this KRINGLA or any other recipe on my site, let me know in the comment section how it turned out, we love hearing from our readers! You can also follow along with me on PINTEREST, FACEBOOK and INSTAGRAM to see more amazing recipes and what shenanigans I’m getting into!

