Runes in Elden Ring are not only your in-game currency, used to upgrade your equipment and buy useful items, but runes are also your experience points. You use Runes for both buying items and also leveling up your character.
Given how Runes play a significant role in both aspects of the game, it can being confuses about what items or attributes you should spend your Runes on. After all, Runes are fairly hard to earn, right?
What makes it even harder is the scaling of Runes as you level up. For instance, if you’ve used 1,000 runes to level your Vigor up by two levels, you will need 2,000 to level it up by two again, and so on. Note that this is just an example of how the Runes and level scaling works. The figures are not to be taken literally.
So, you can see why we need an optimized way to get as many Runes as possible, not only to get our character stronger but also to buy valuable items. There are many ways you can earn Runes in Elden Ring. The most obvious is eliminating enemies and bosses. You also get consumables such as Golden Rune [1], Golden Rune [2], etc. The number at the end signifies how much you get per consumed Golden Rune. Golden Rune [1] gives you 200 Runes, and Golden Rune [2] gives you 400 Runes. It goes all the way up to Golden Rune [13], and then you get Hero Runes. Hero Runes go up to level 5. Finally, you get the Lord’s Rune which grants you 50,000 Runes per Lord’s Rune consumed.
Consumables are nice to have in Elden Ring, but it is not the fastest way to obtain an abundance of Runes all at once. This is where our guide comes in. In this guide, we show you how to farm 50,000 Runes per minute, or around 3 million Runes per hour. That’s right! This is one of the fastest methods to level up and can be done relatively early in the game. You can use this farm even in the endgame, but there are much better farms to be utilized at the very later stages of the game.
The guide is separated into different steps for better understanding. We also have a video guide for your visual reference.
Video Guide
Pre-requisites
The main pre-requisite for this farm is that you must have beaten the main Stormveil Castle boss, Godrick the Grafted.

You will come across Godrick as you progress through the castle after defeating Margit, The Fell Omen, at the castle entrance.
Step 1: The Setup
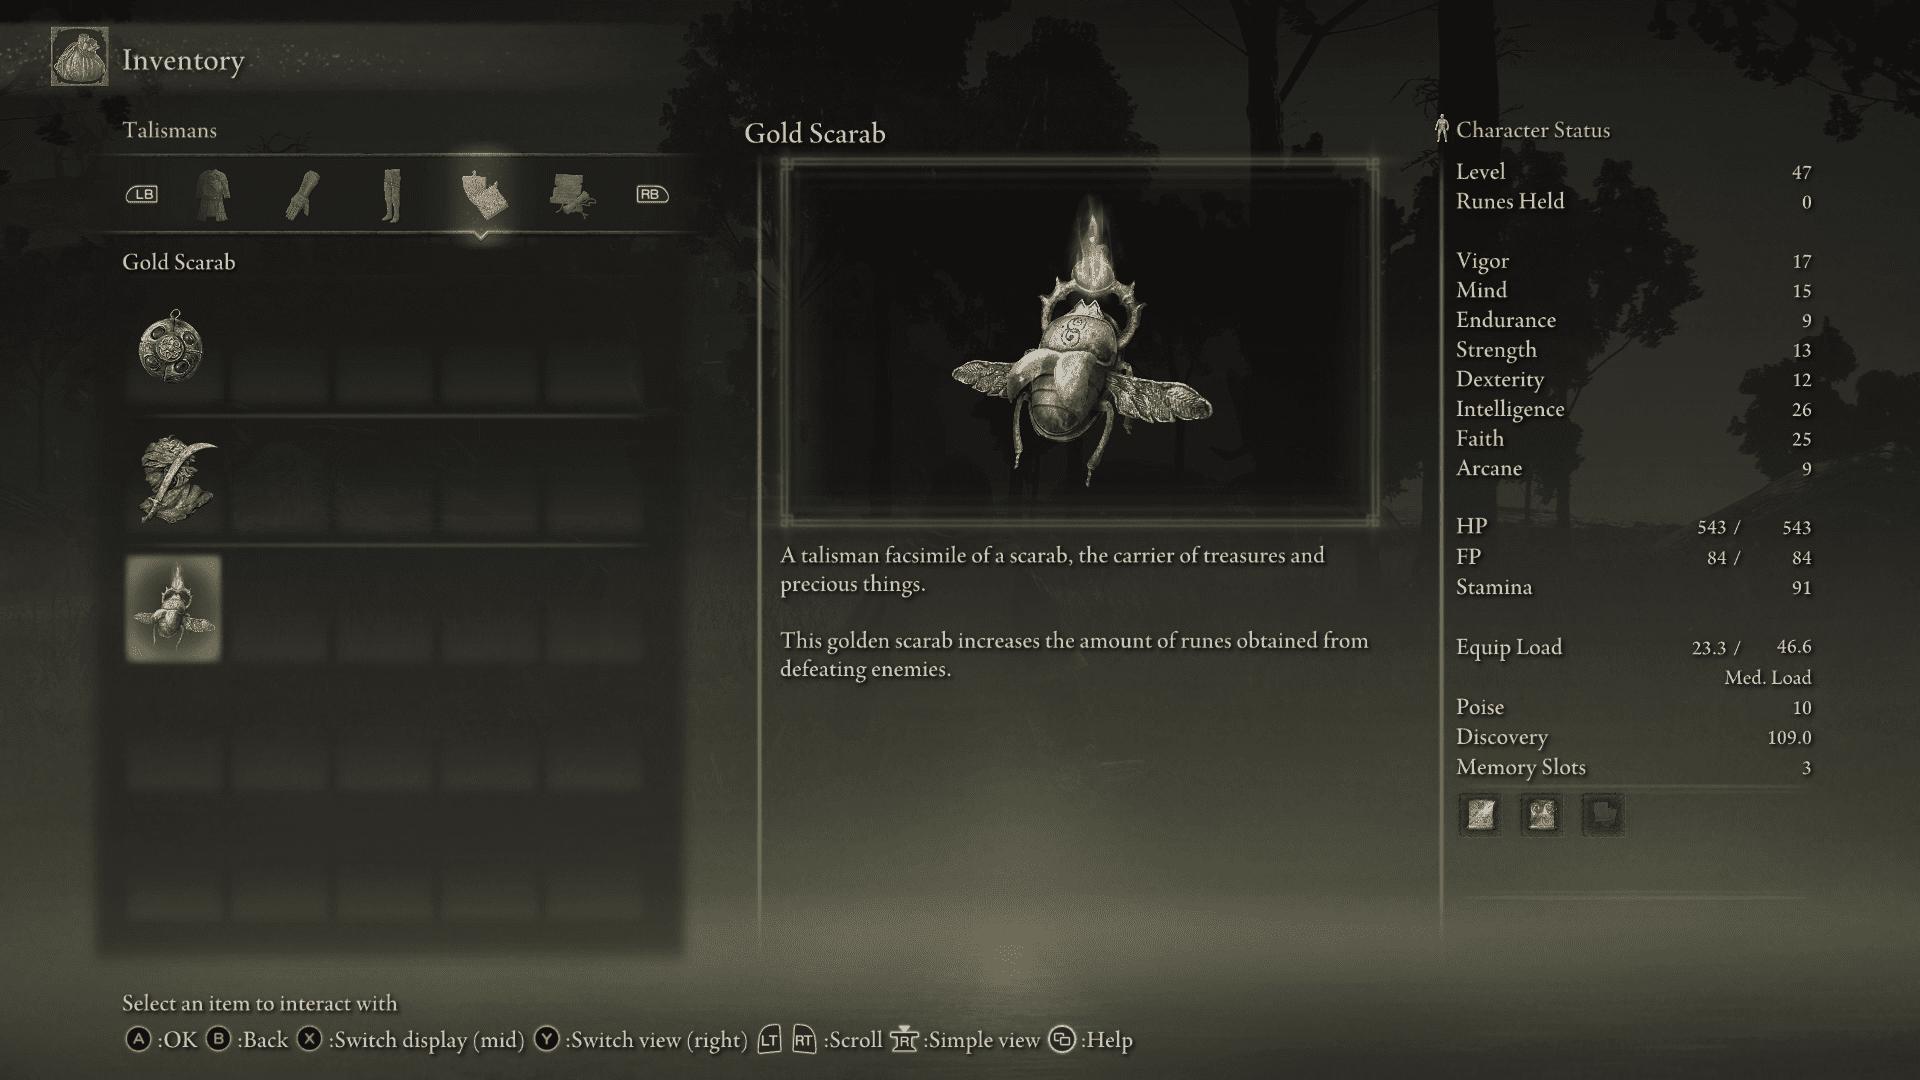
We need a couple of things for this farm to work optimally, including a ranged weapon (preferably a crossbow), a Gold Scarab, and a Gold-Pickled Fowl Foot. These three things are essential to maximizing your Rune returns.
The Gold Scarab increases Rune returns by 20%, and the Gold-Pickled Fowl Foot increases it by 30%. By combining the two, you will get 50% more Runes by eliminating enemies. Here’s how you can get everything:
Ranged Weapon
For a ranged weapon, we highly recommend getting a crossbow. If you do not have money to buy one, we show you how to get one for free. The reason we opt for a crossbow is because of its good range.
Bows usually have a drop, and you need to lead your shots for them to hit the target. Since we need to be fast with our farm, it is best to hit every one of your shots, which is possible with a crossbow as it has a higher velocity and is more accurate than a bow.
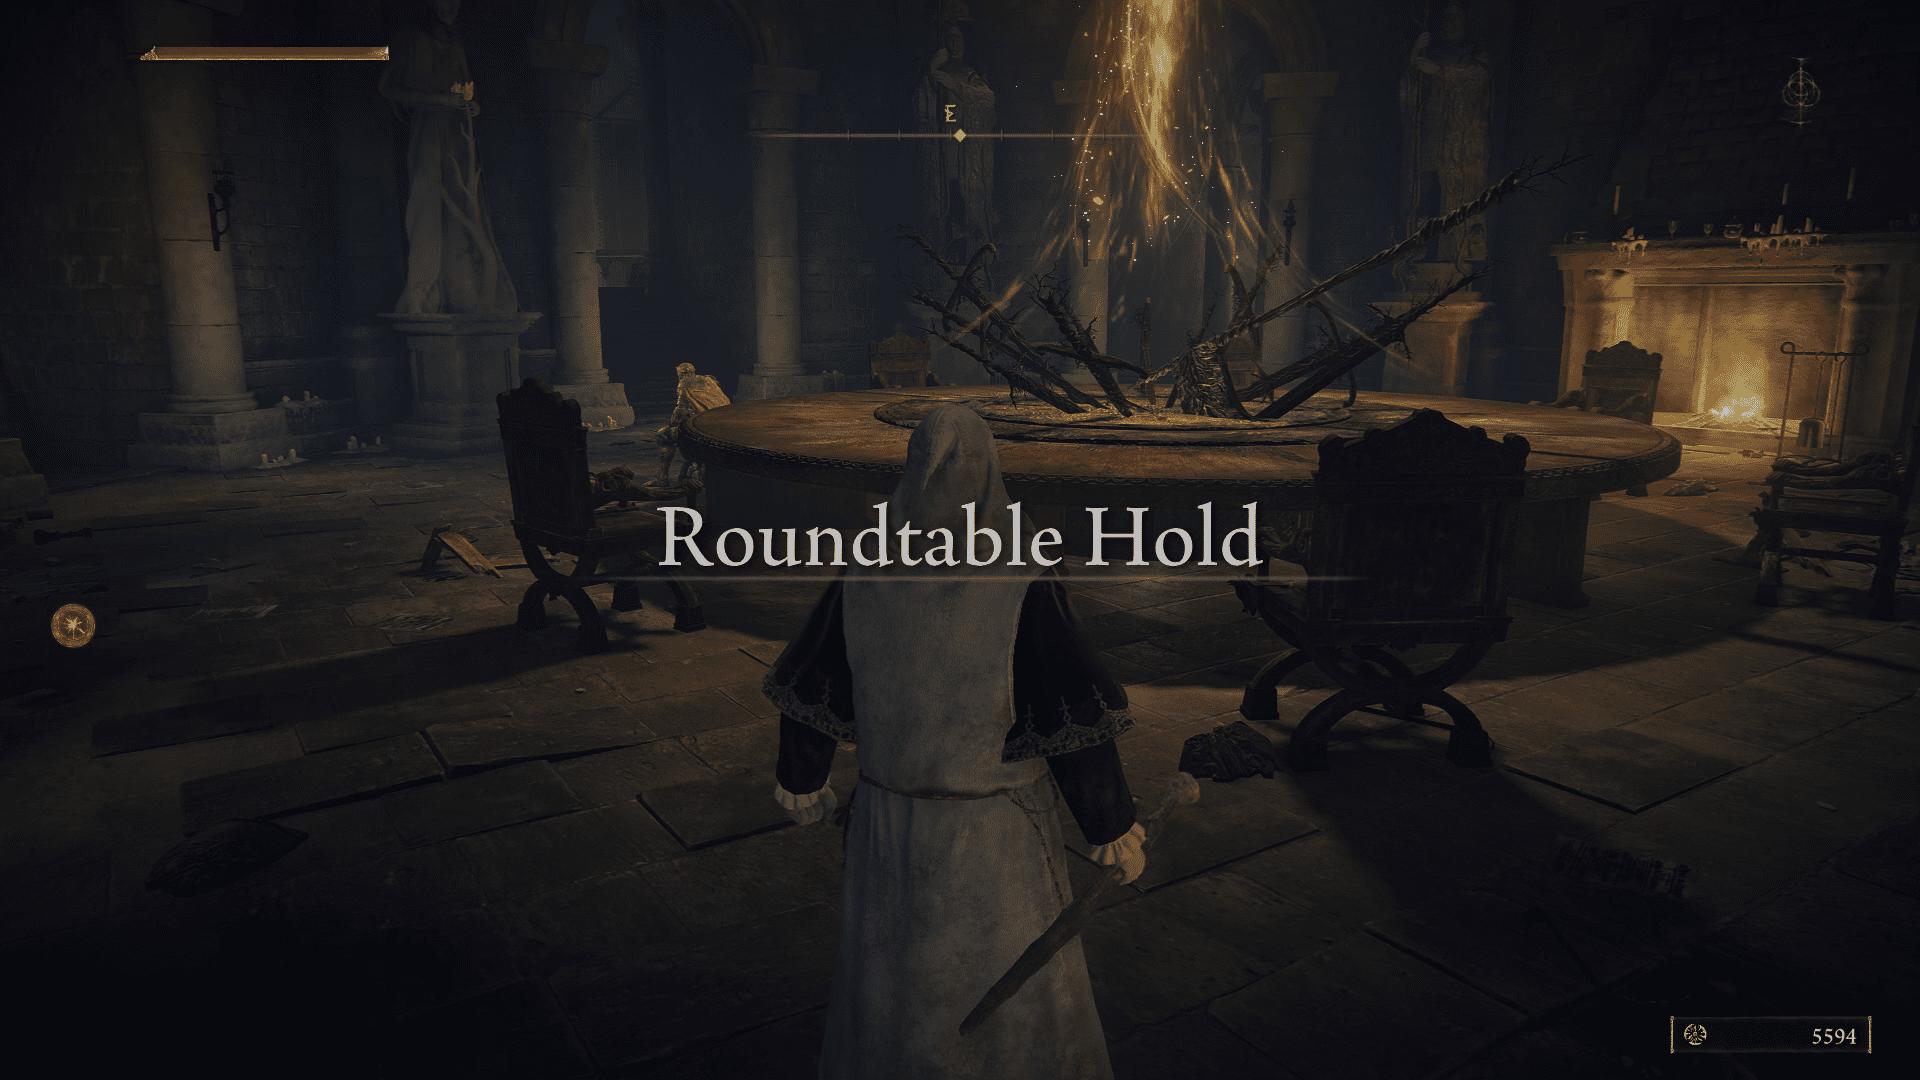
You can get a free crossbow by going to the Roundtable Hold.

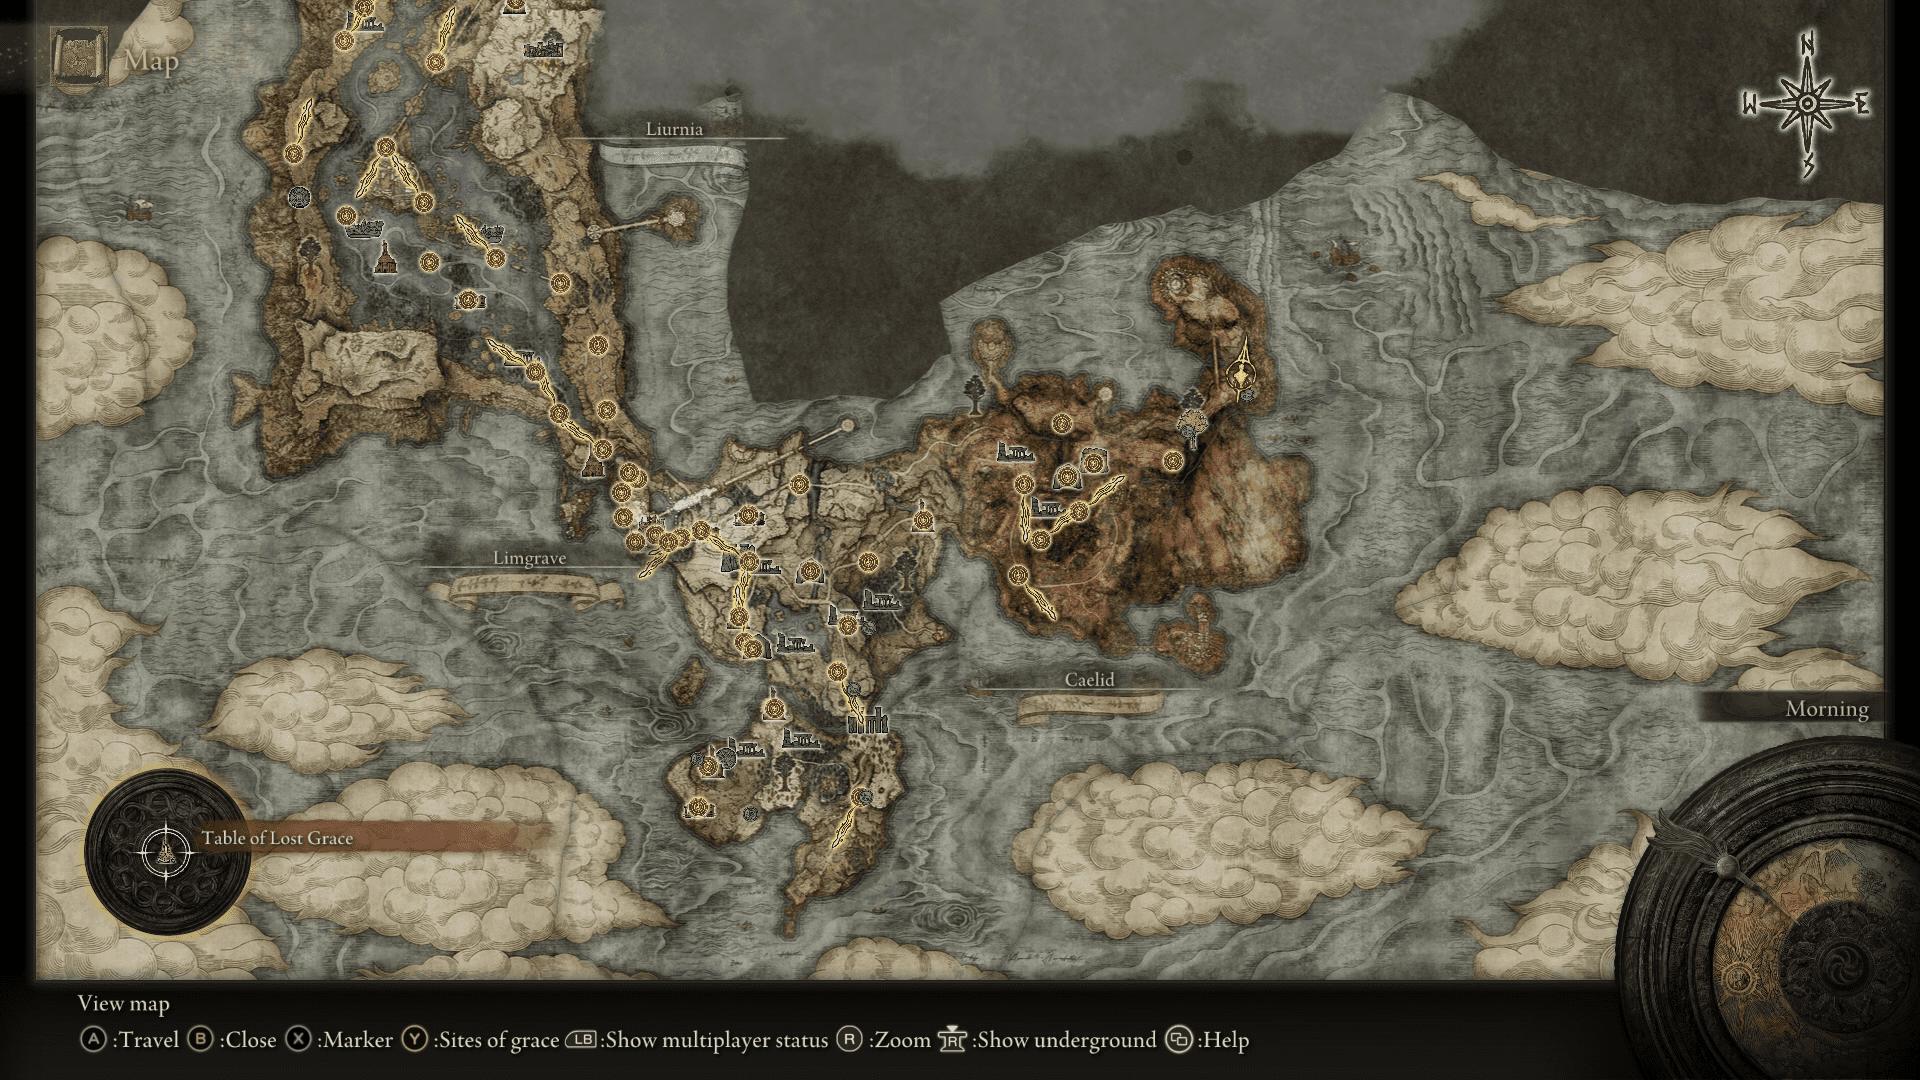
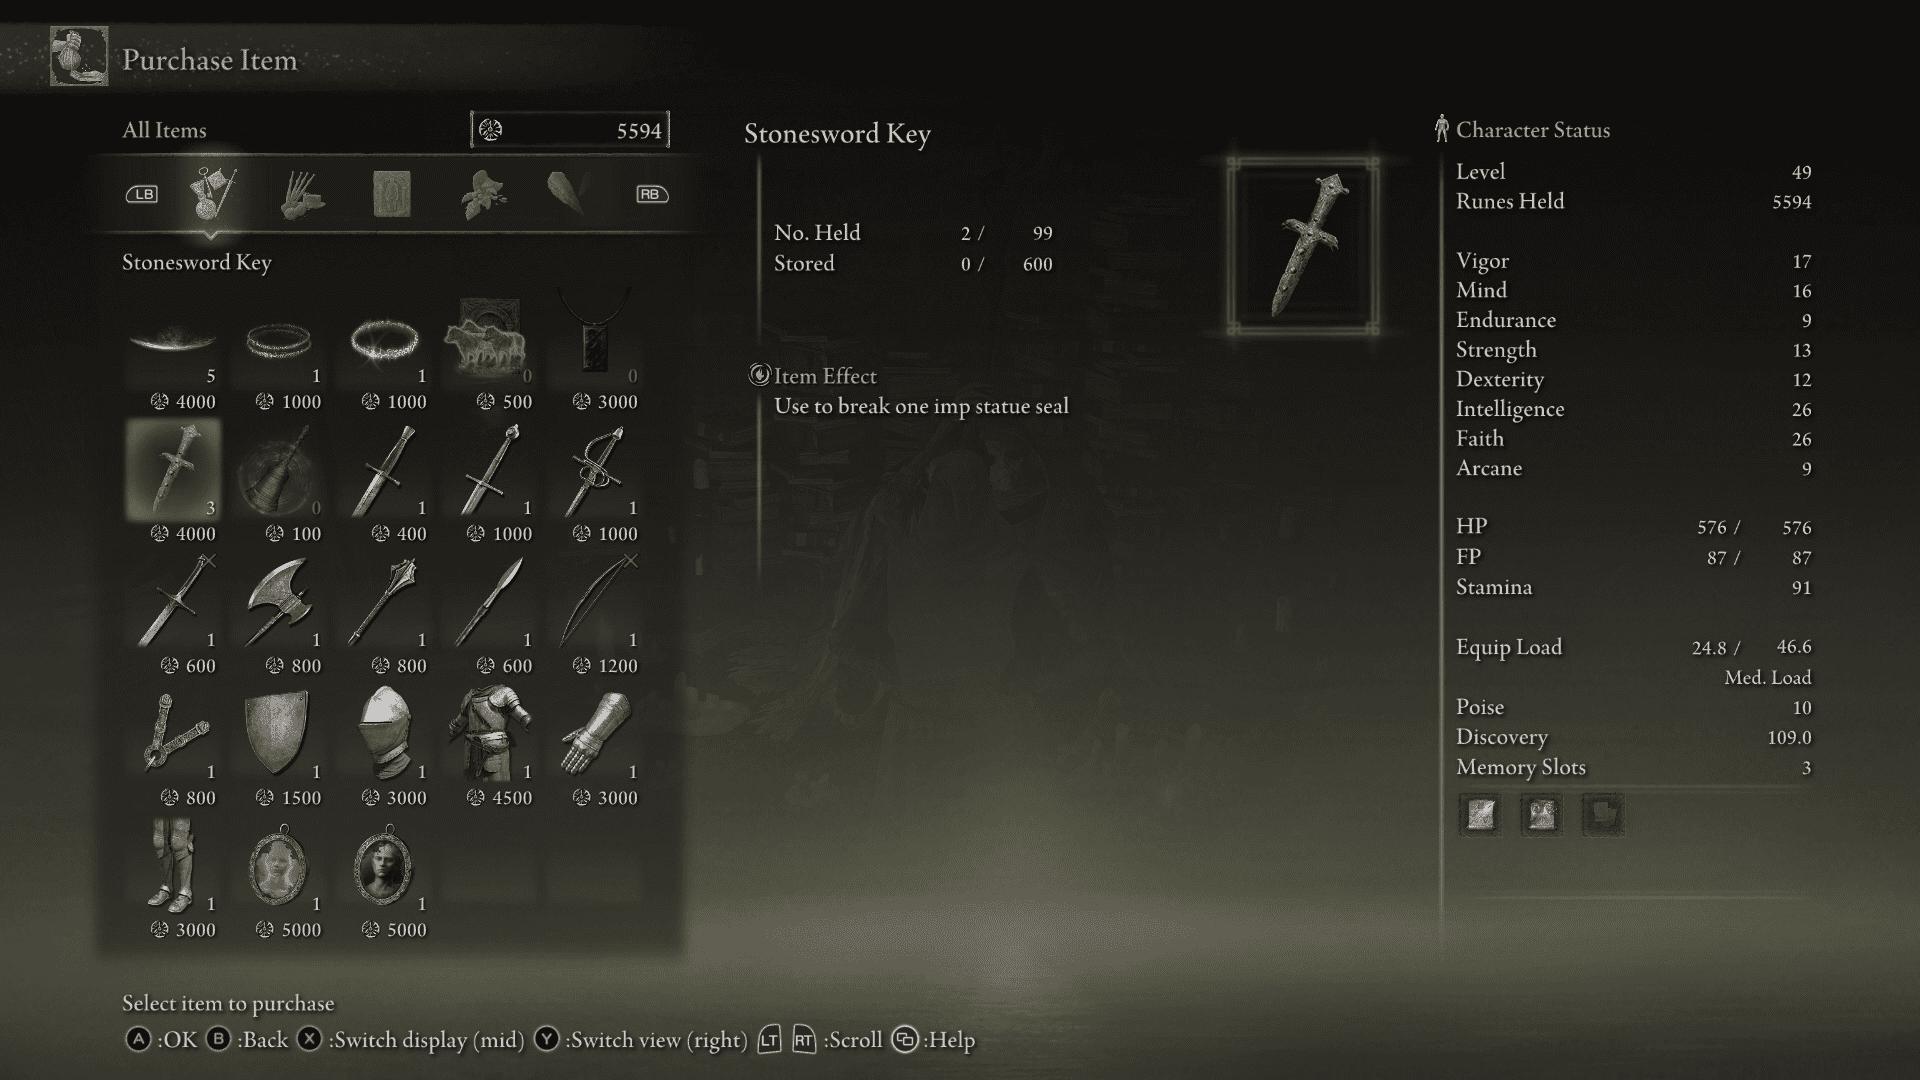
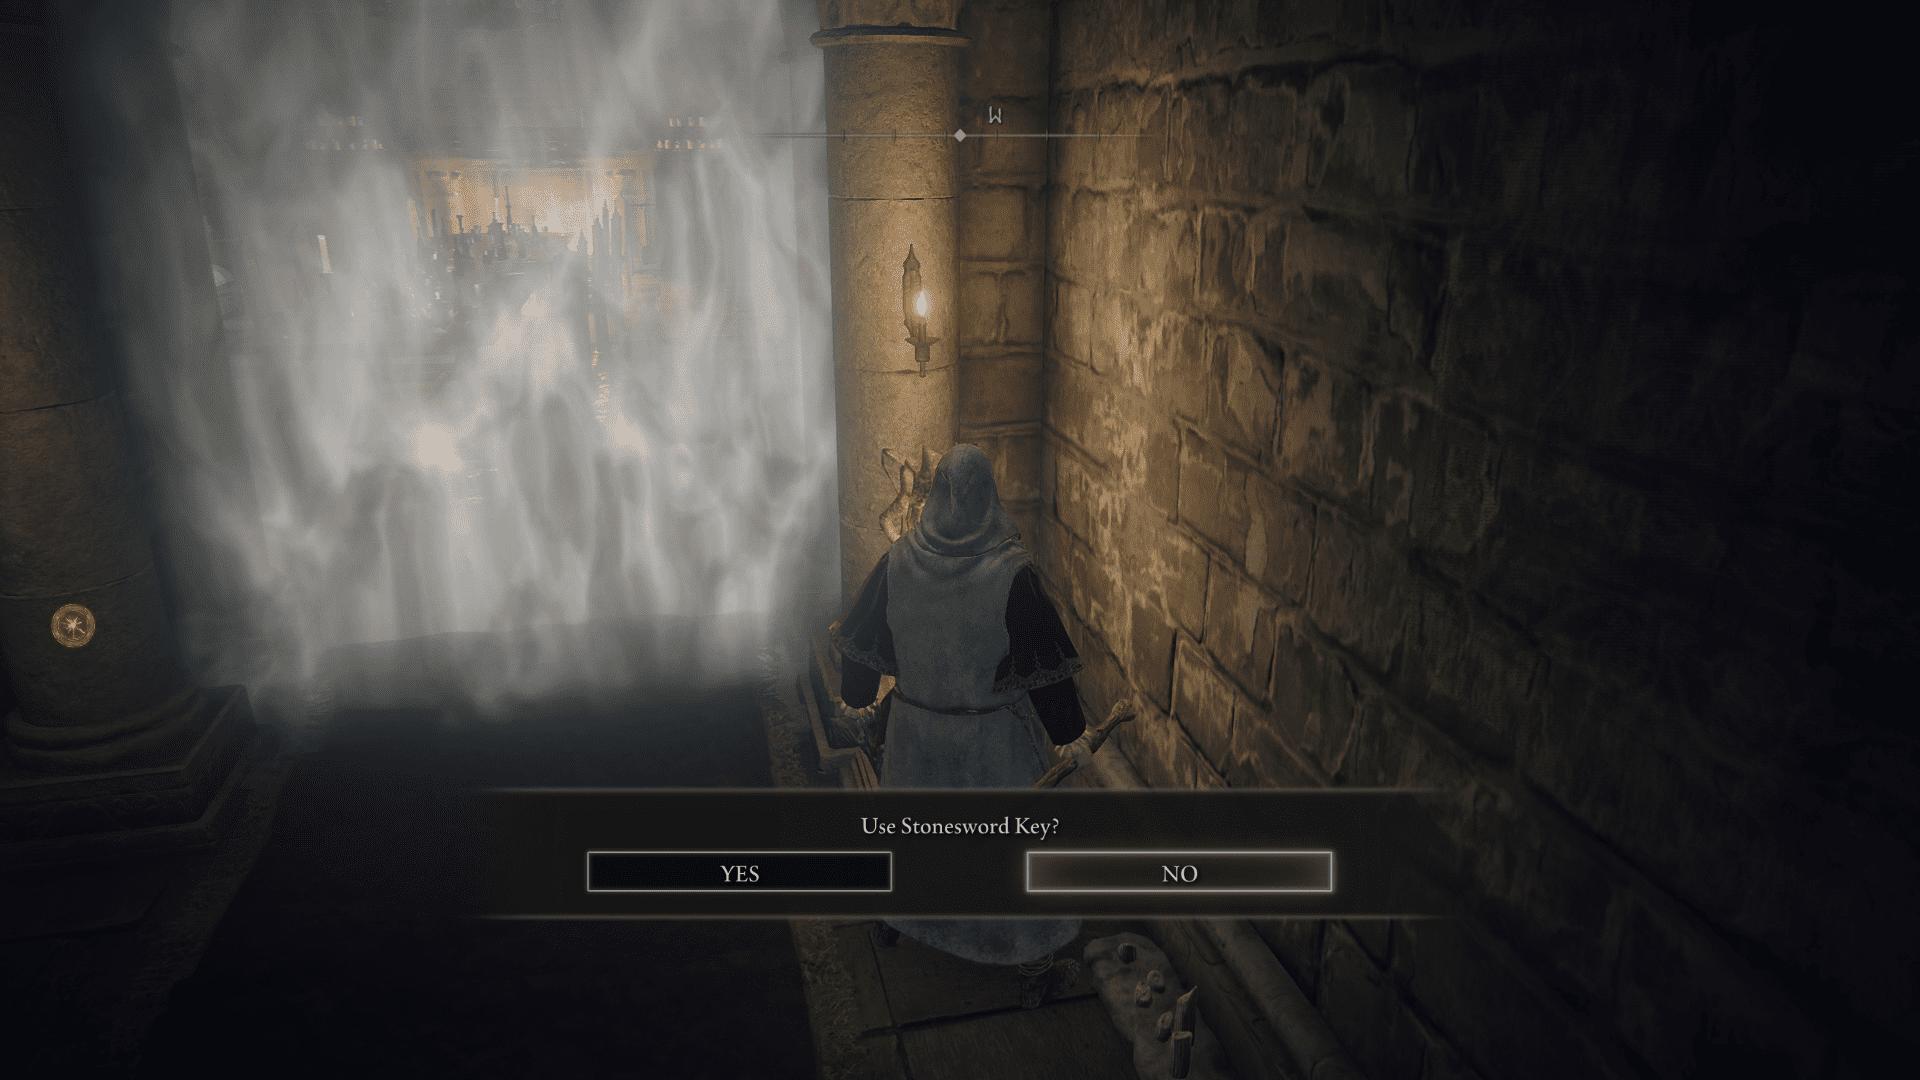
For this, you need a Stonesword Key and have probably already come across one in your playthrough. If not, purchase a Stonesword Key from the Twin Maiden Husks (at the Roundtable Hold) for 4,000 Runes.
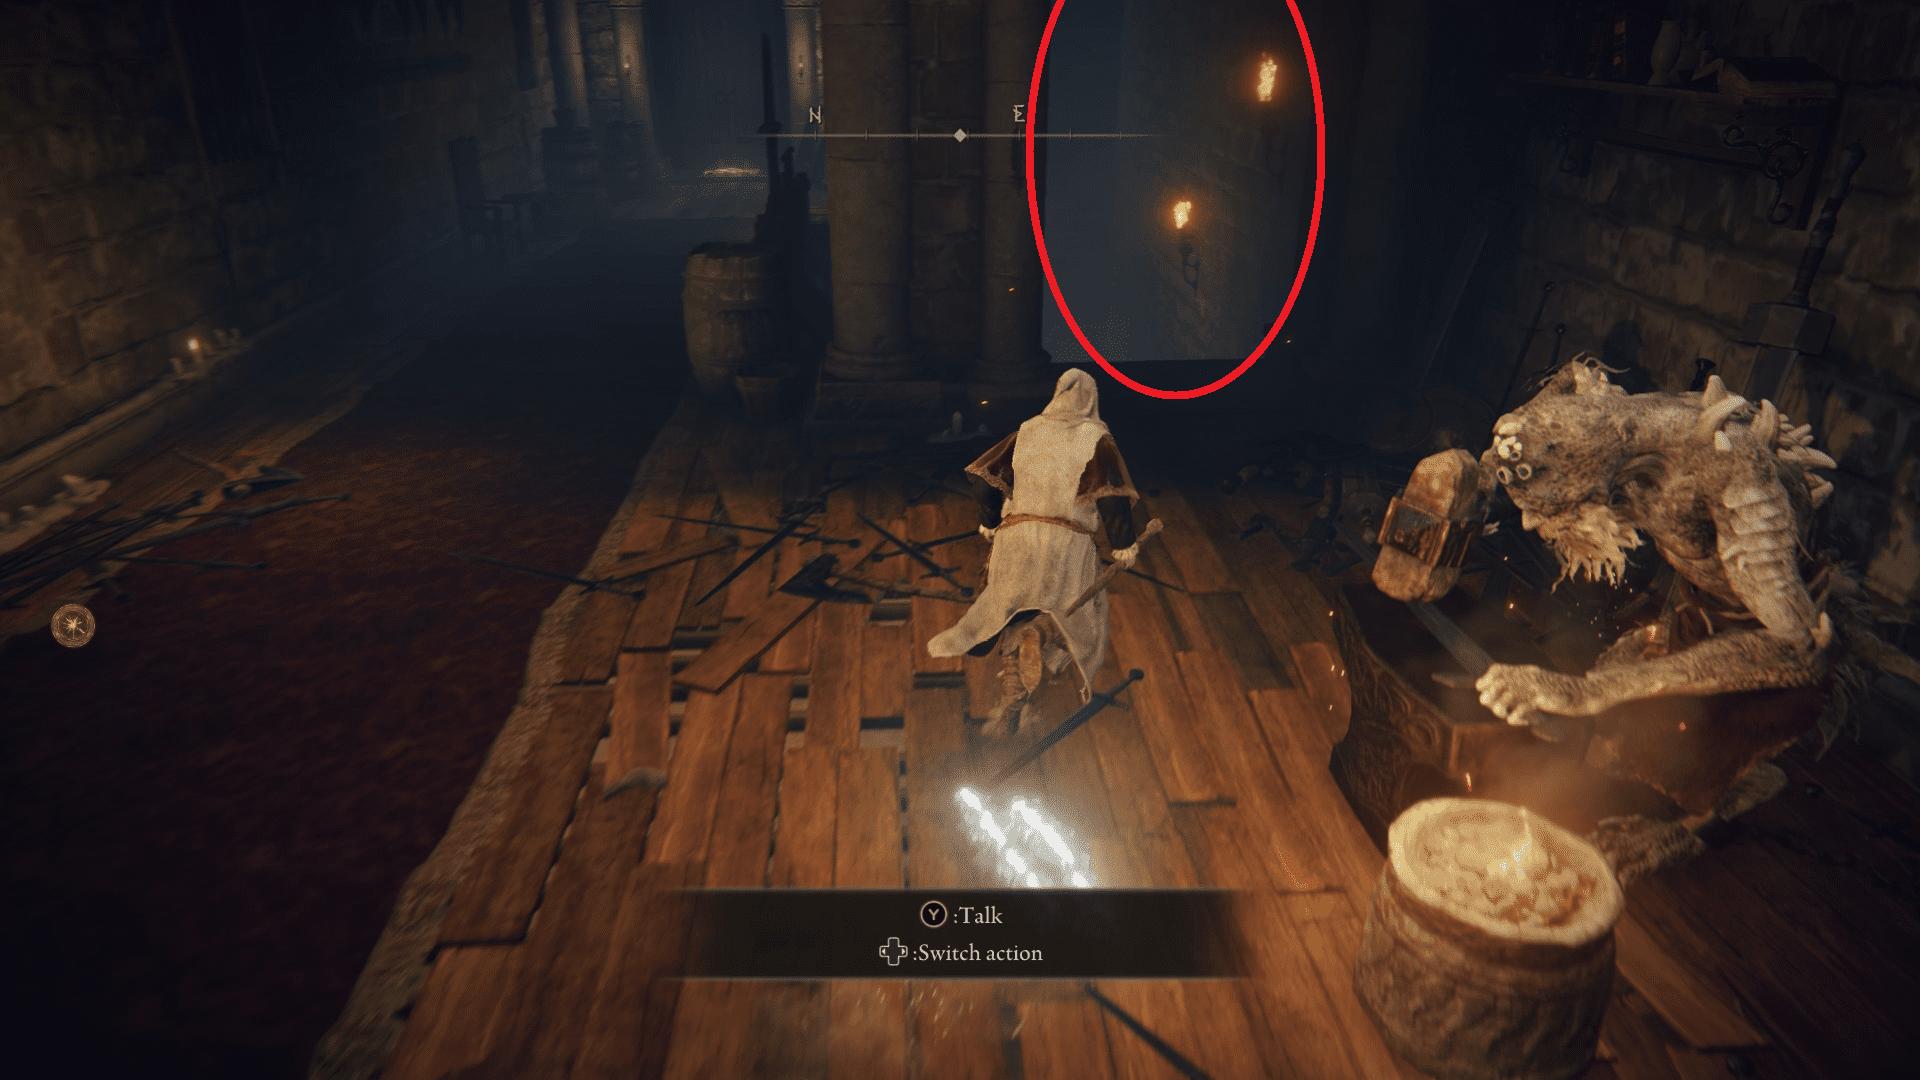
After getting the Stonesword Key, go to the other side of the hall, run past Master Hewg (the blacksmith), and go downstairs.
Interact with the statue to use your Stonesword Key and remove the seal.
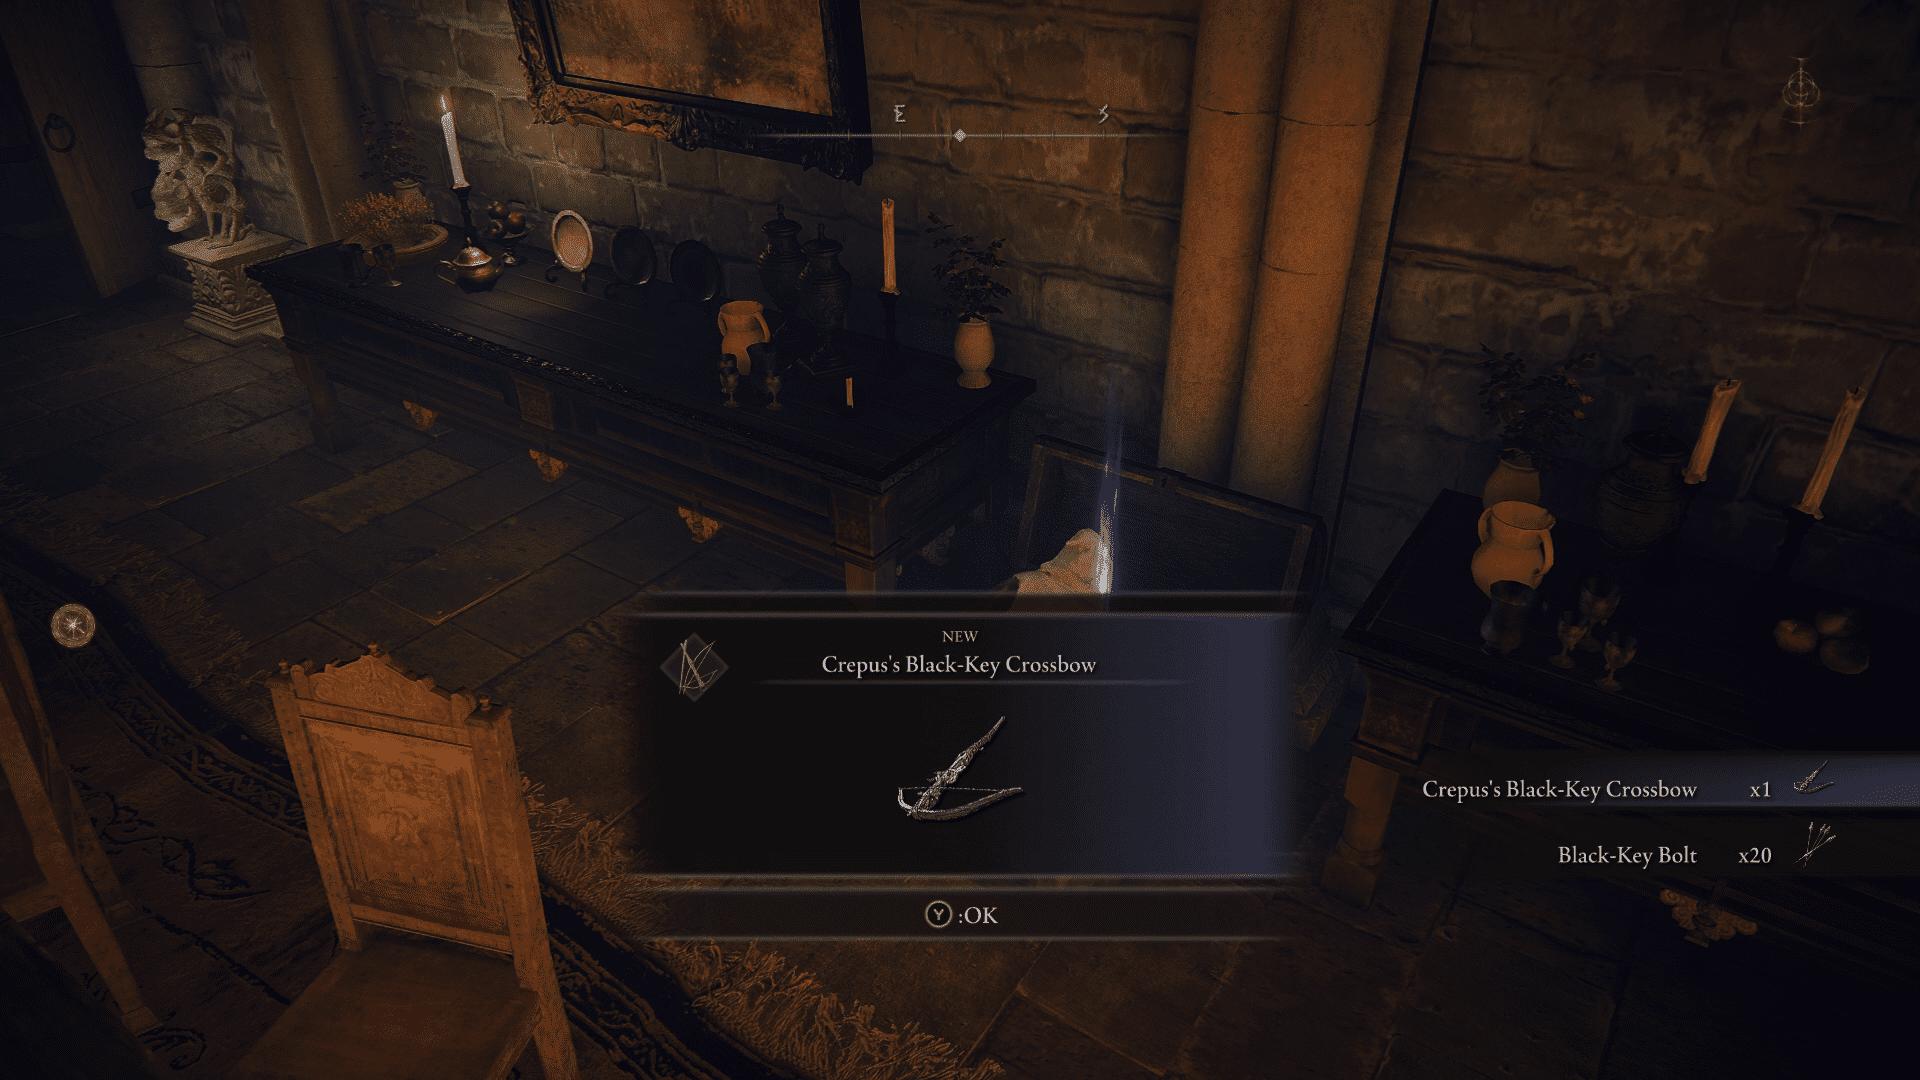
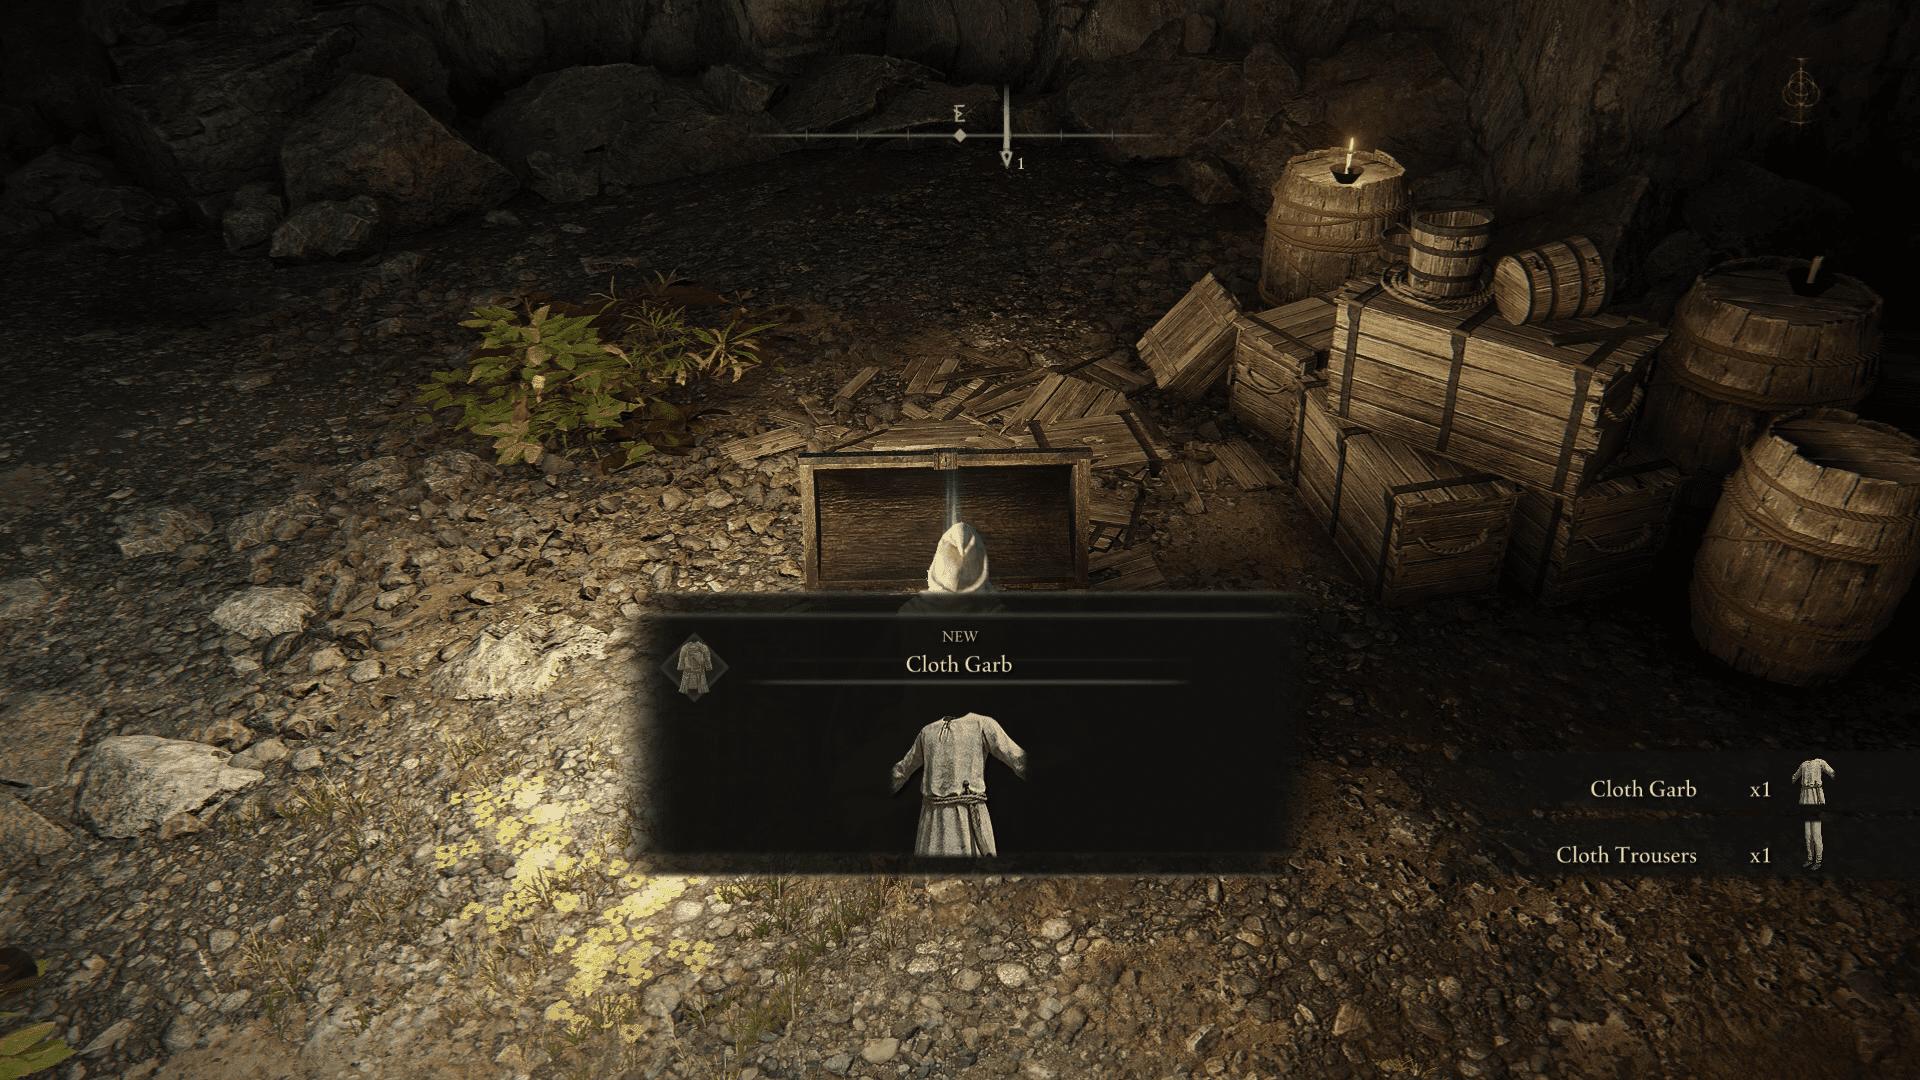
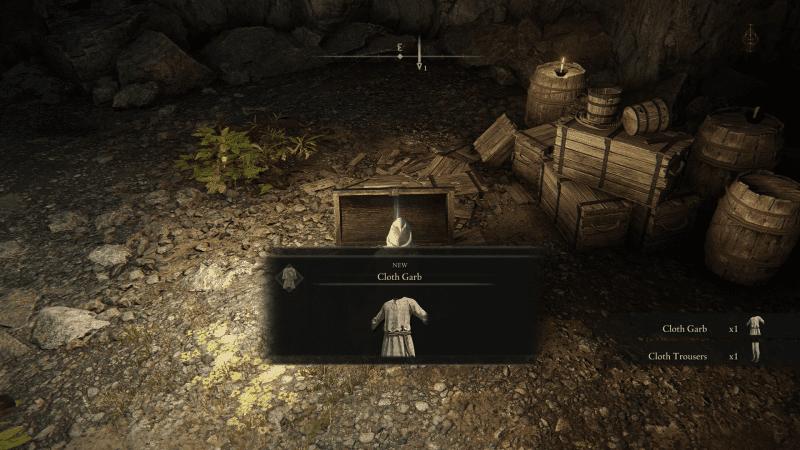
You will find a chest inside this room. Open it to get your free crossbow and some bolts.
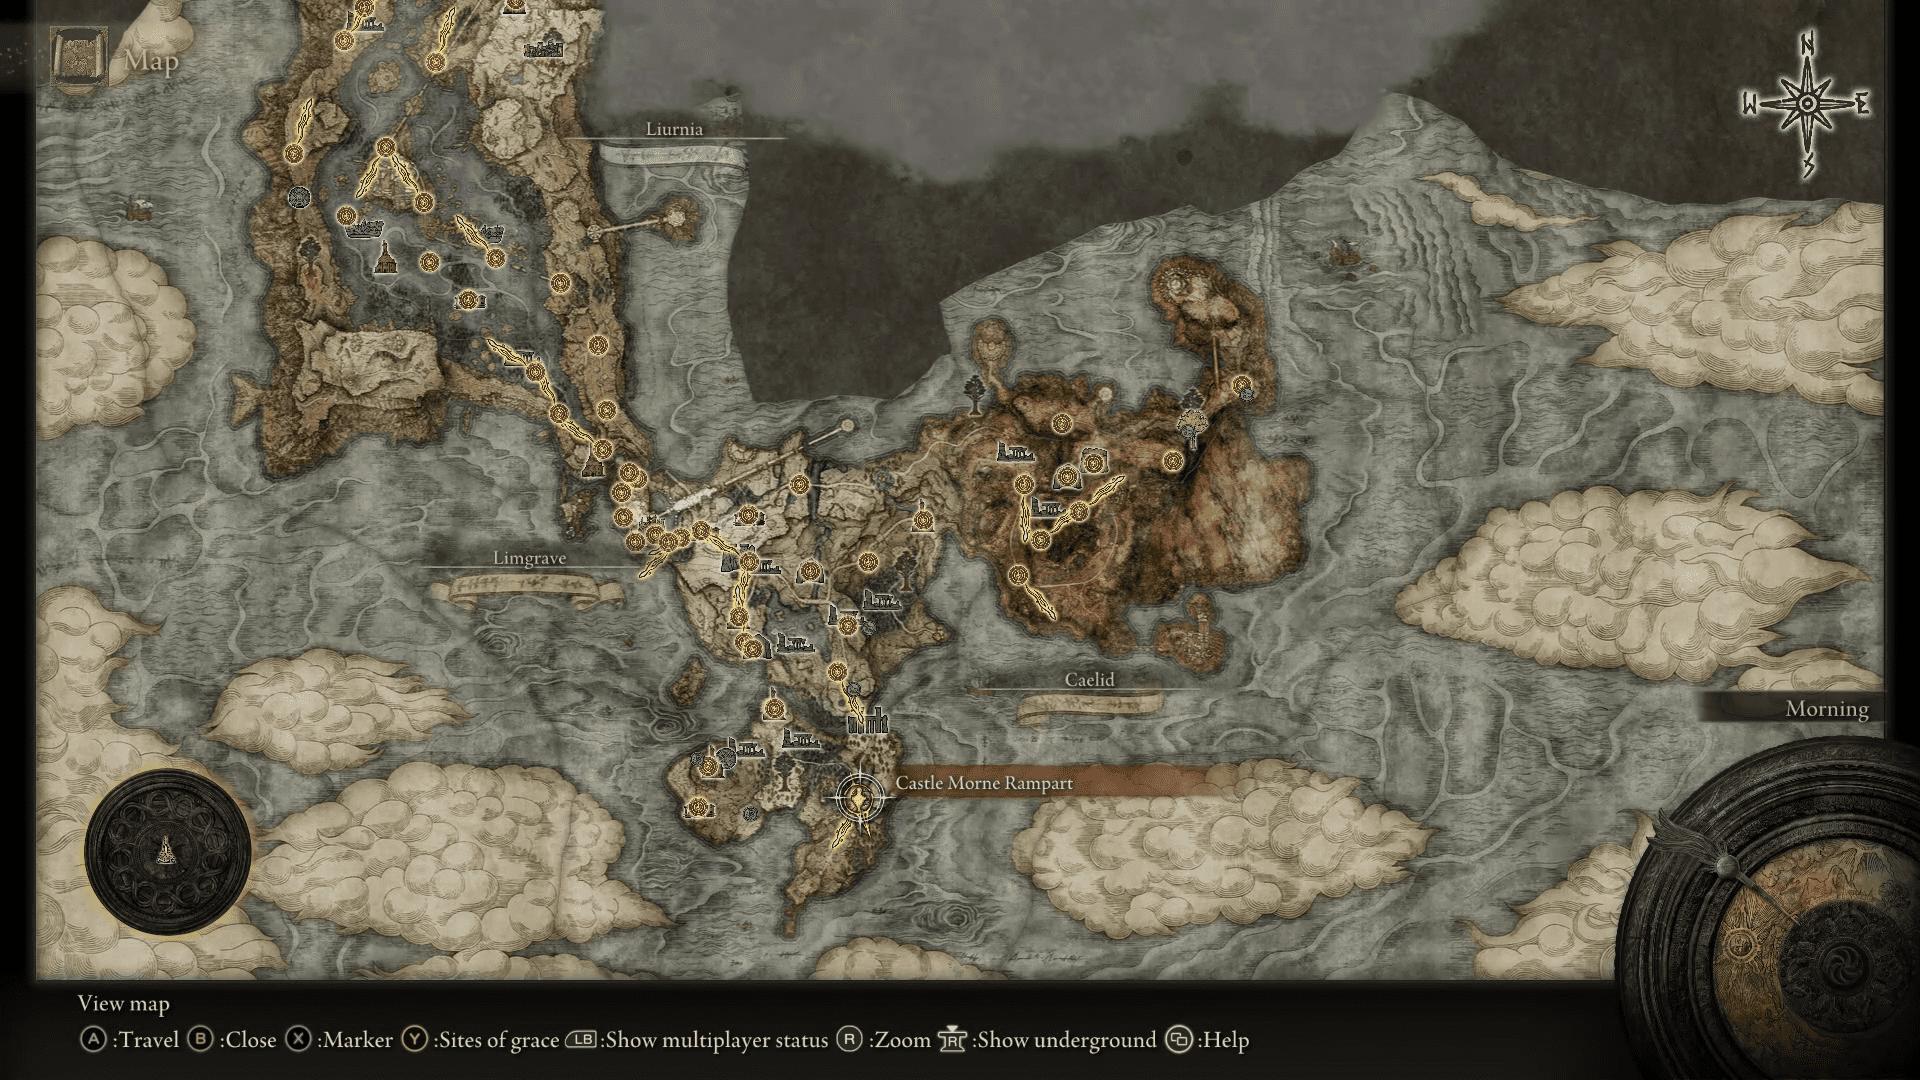
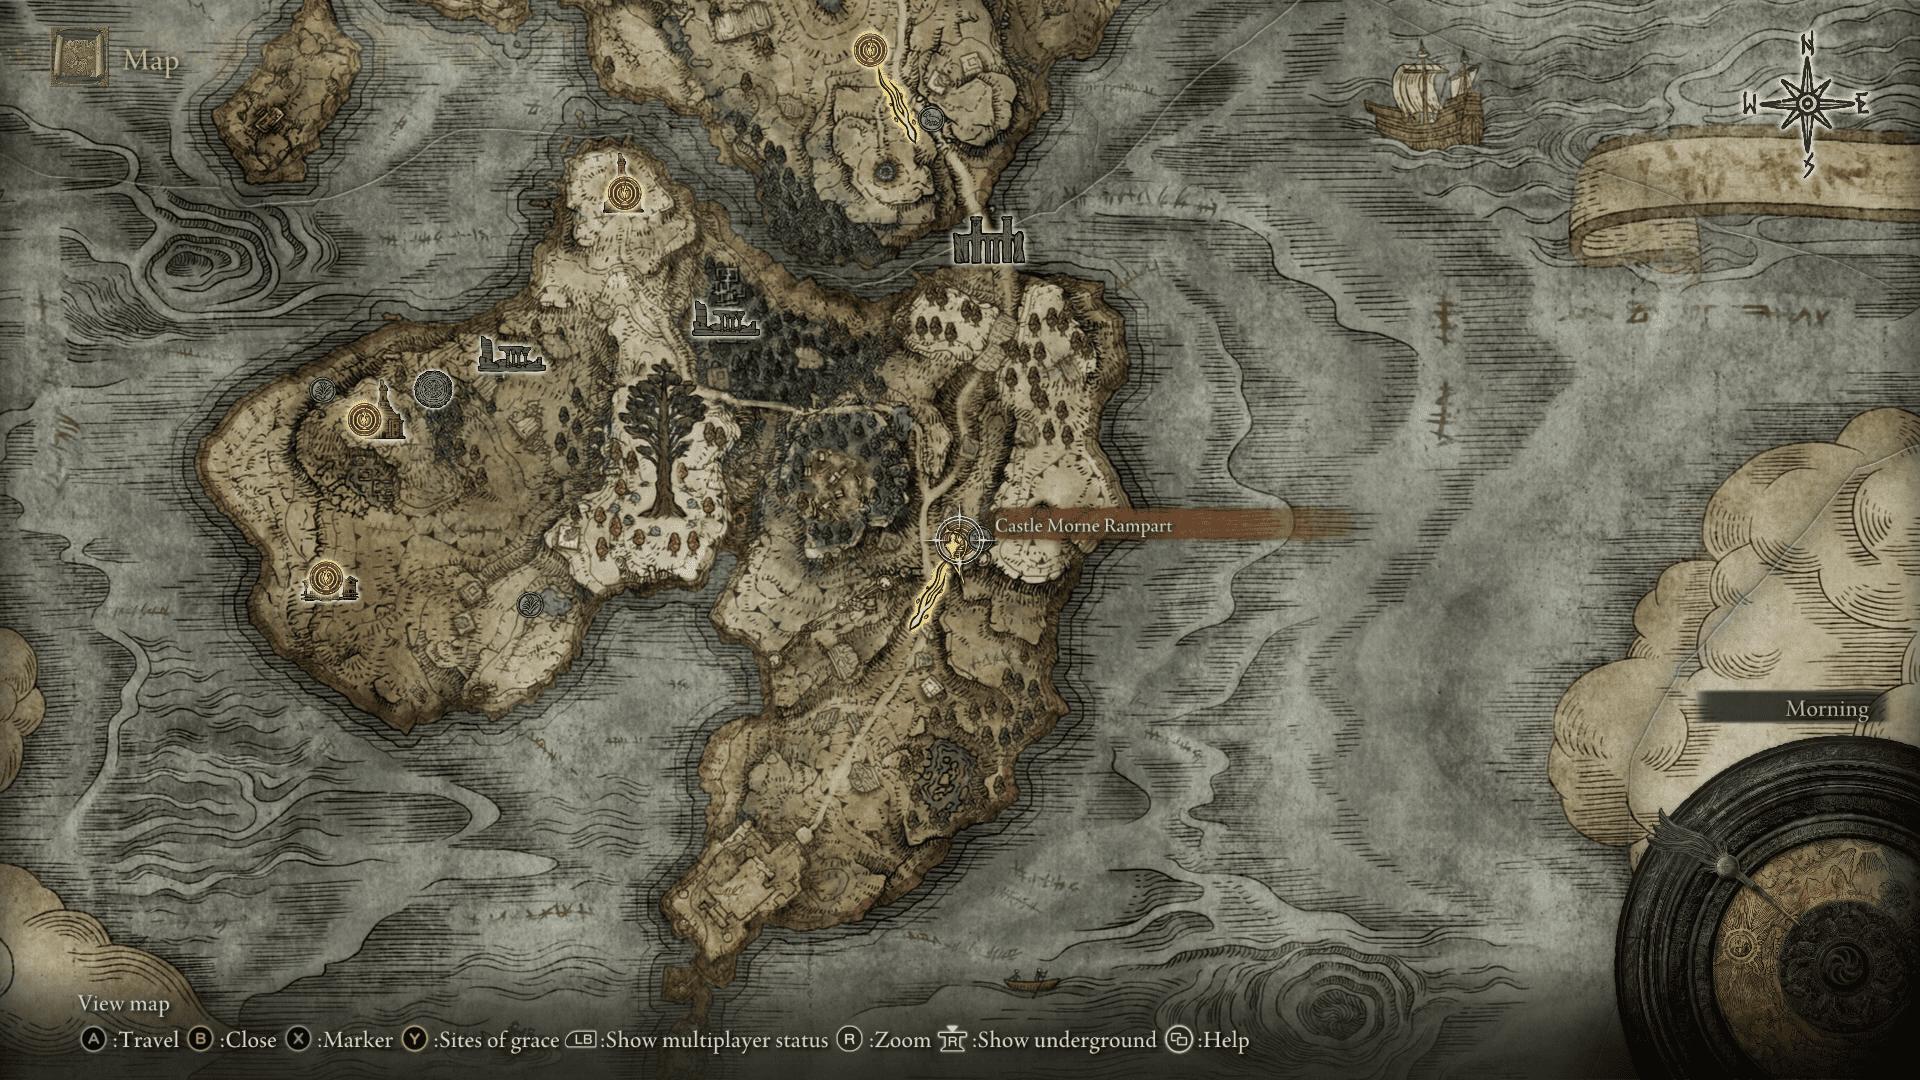
Note that you can always buy more bolts from the merchants. The place where I get my bolts is from the Merchant who is sitting by the Castle Morne Rampart site of grace, in the southern part of Limgrave at the Weeping Peninsula.
Gold Scarab
Obtaining a Gold Scarab can be a bit challenging. The main issue is navigating the cave where you find the Gold Scarab. There is a boss fight at the end of the cave, and the only site of grace you have is at the cave entrance.
The features and traps of the cave make it difficult to get to the boss fight unharmed so that you have enough HP and FP left at the end to take down the boss. But, as long as you avoid the poison enemies and the scarlet rot, you should be good. I have some excellent tips for you to avoid these during your run.
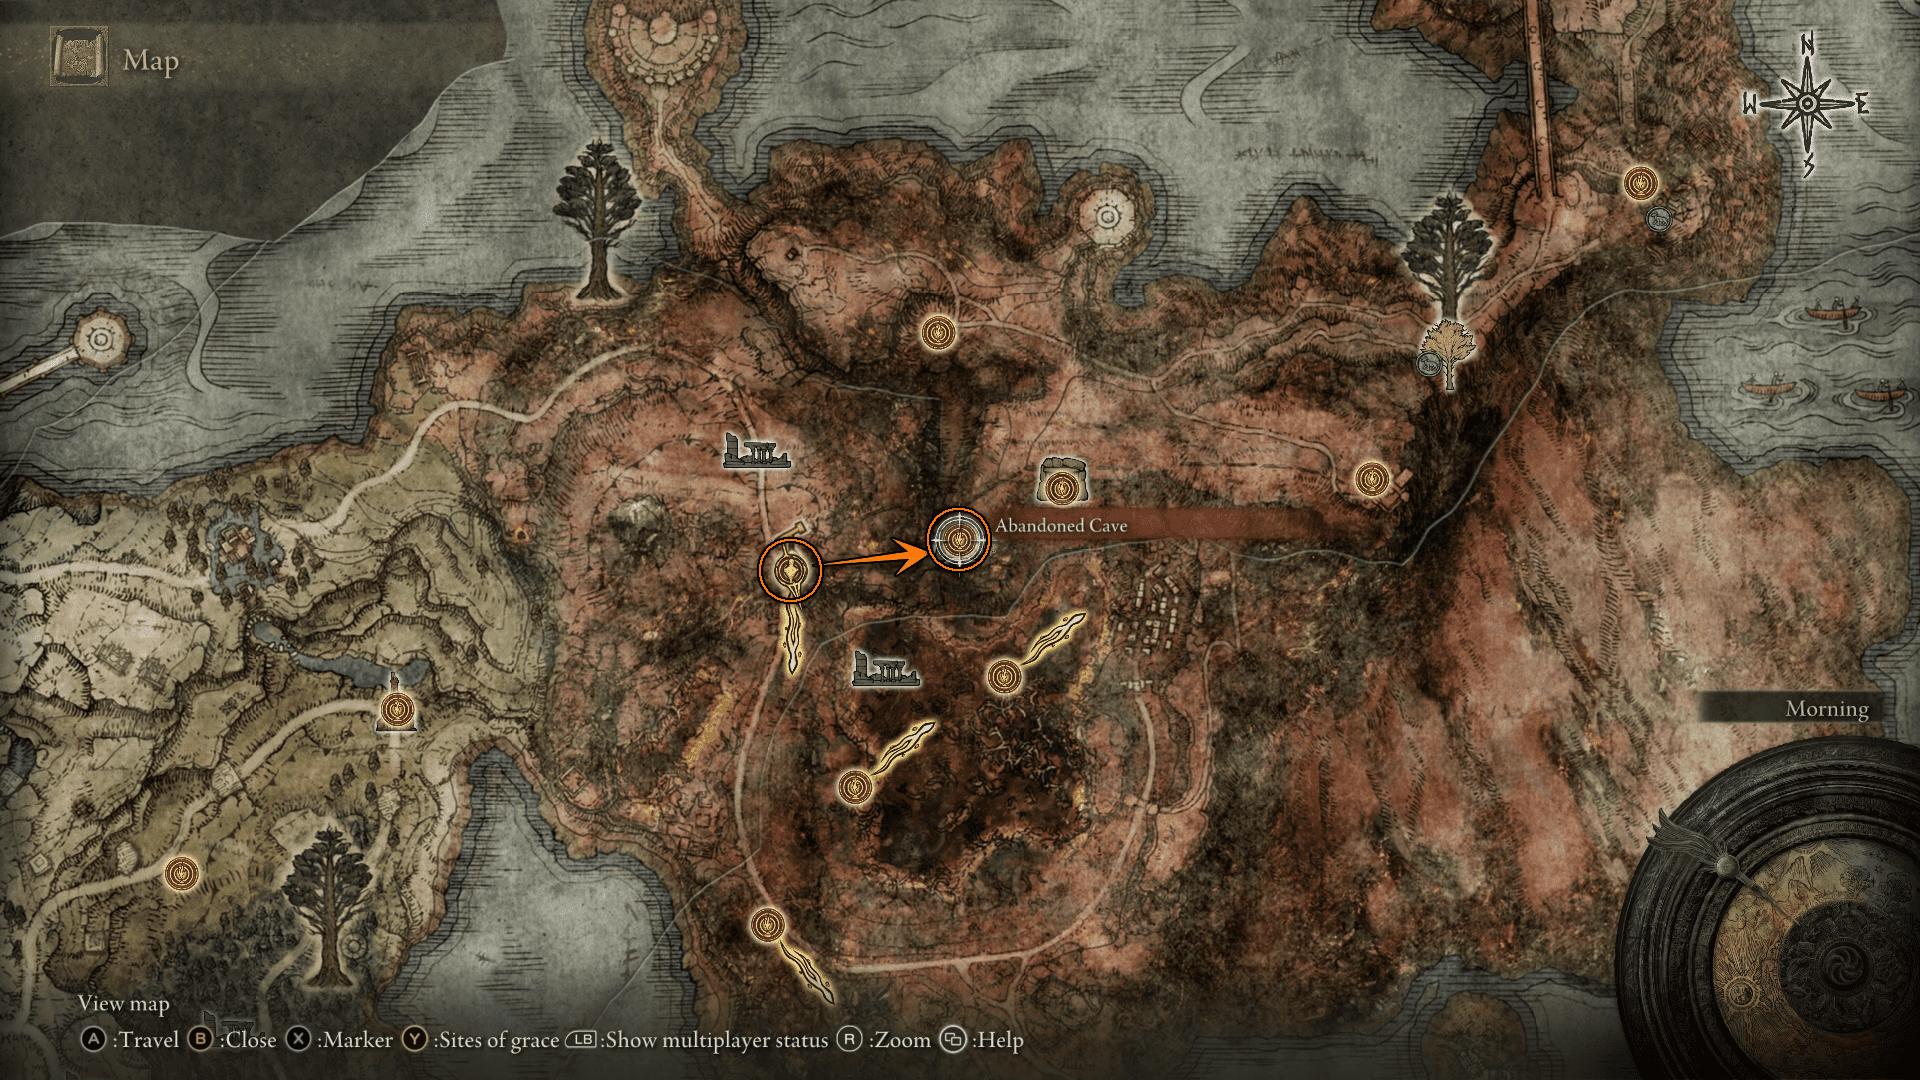
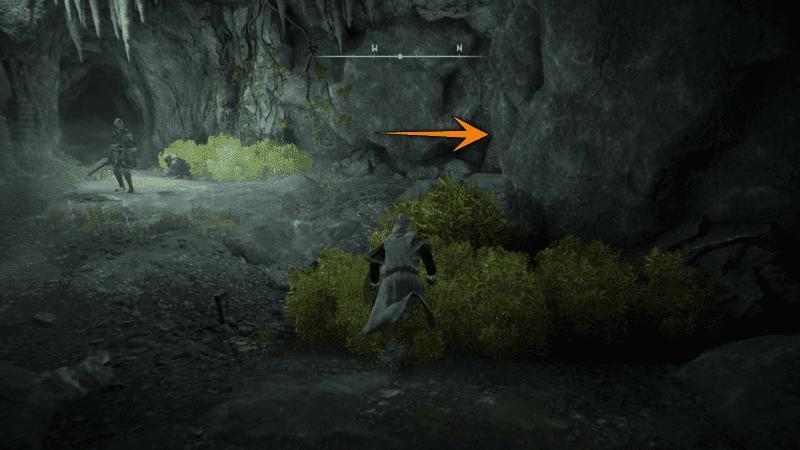
In Caeldia, go east from the Smoldering Wall site of grace to get to an Abandoned Cave. Initially, this Abandoned Cave will not be marked on the map. You must visit it once for it to show up on the map.
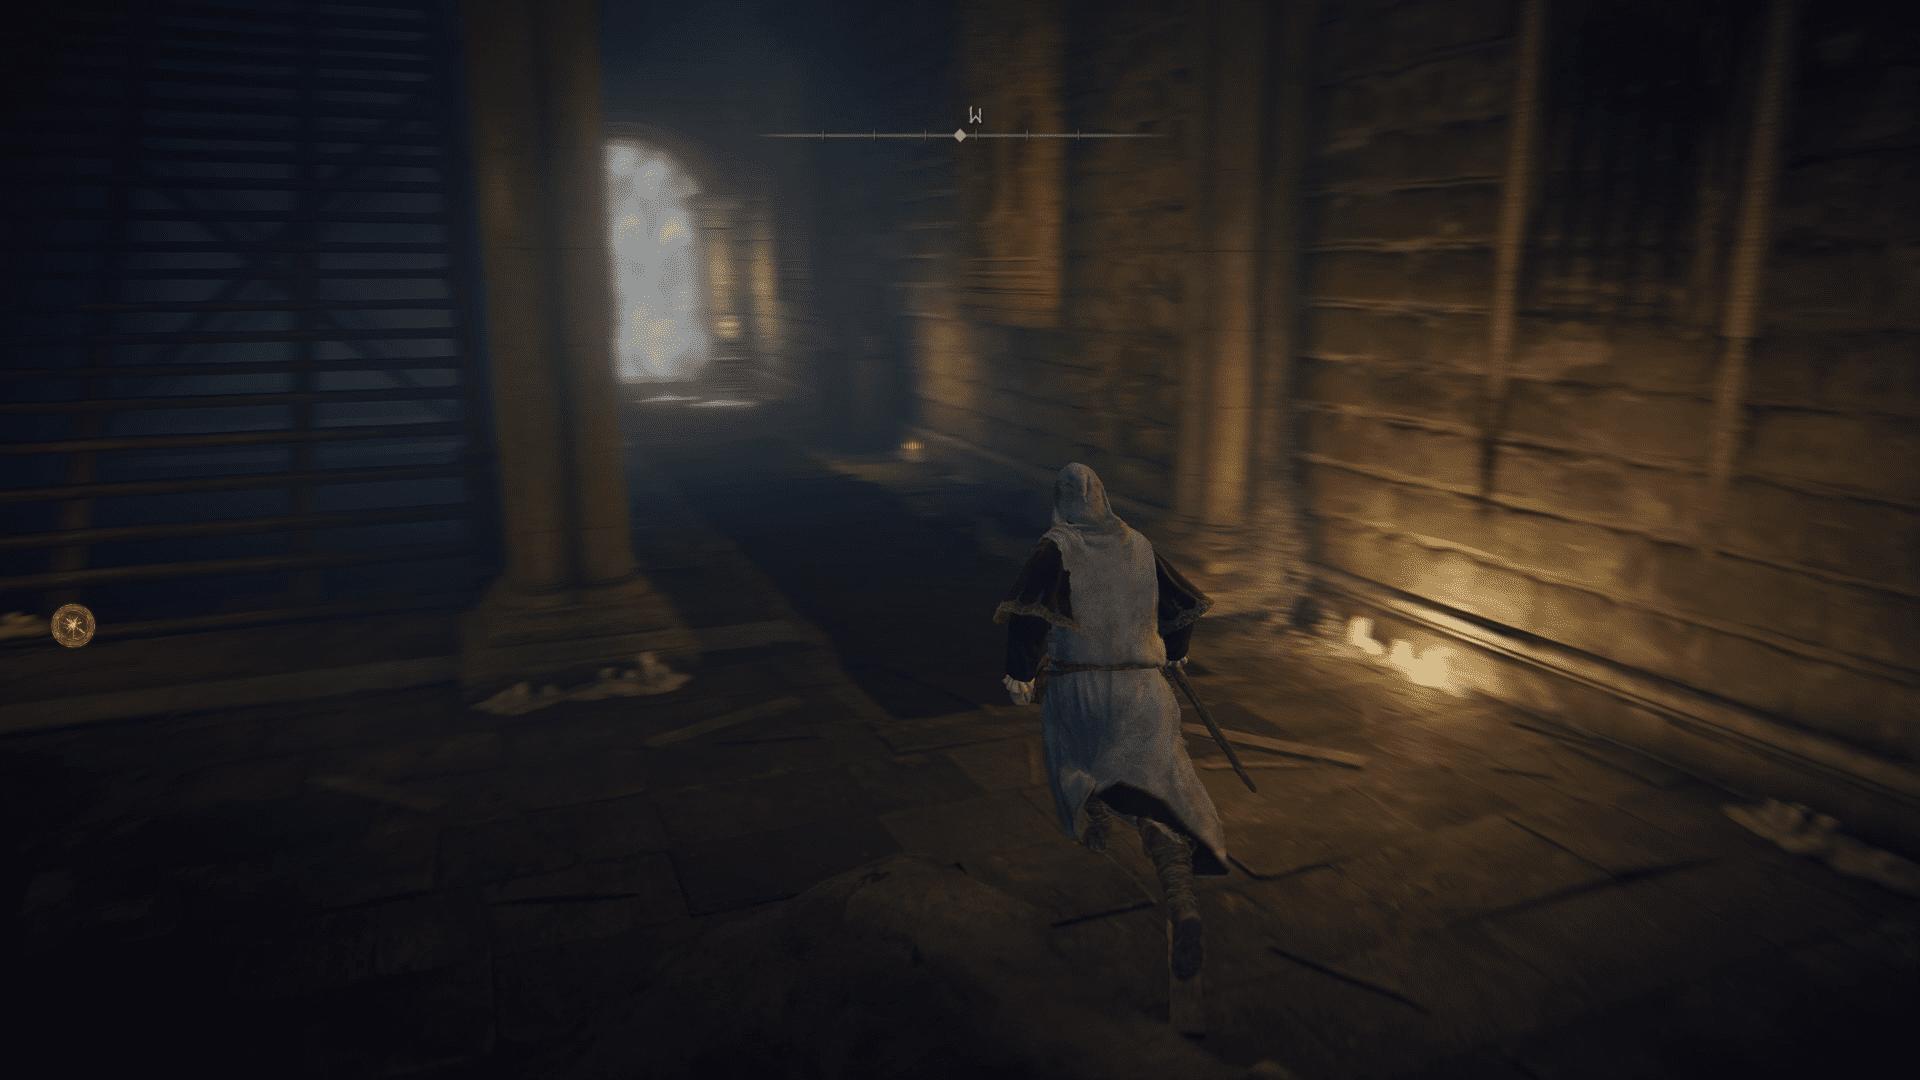
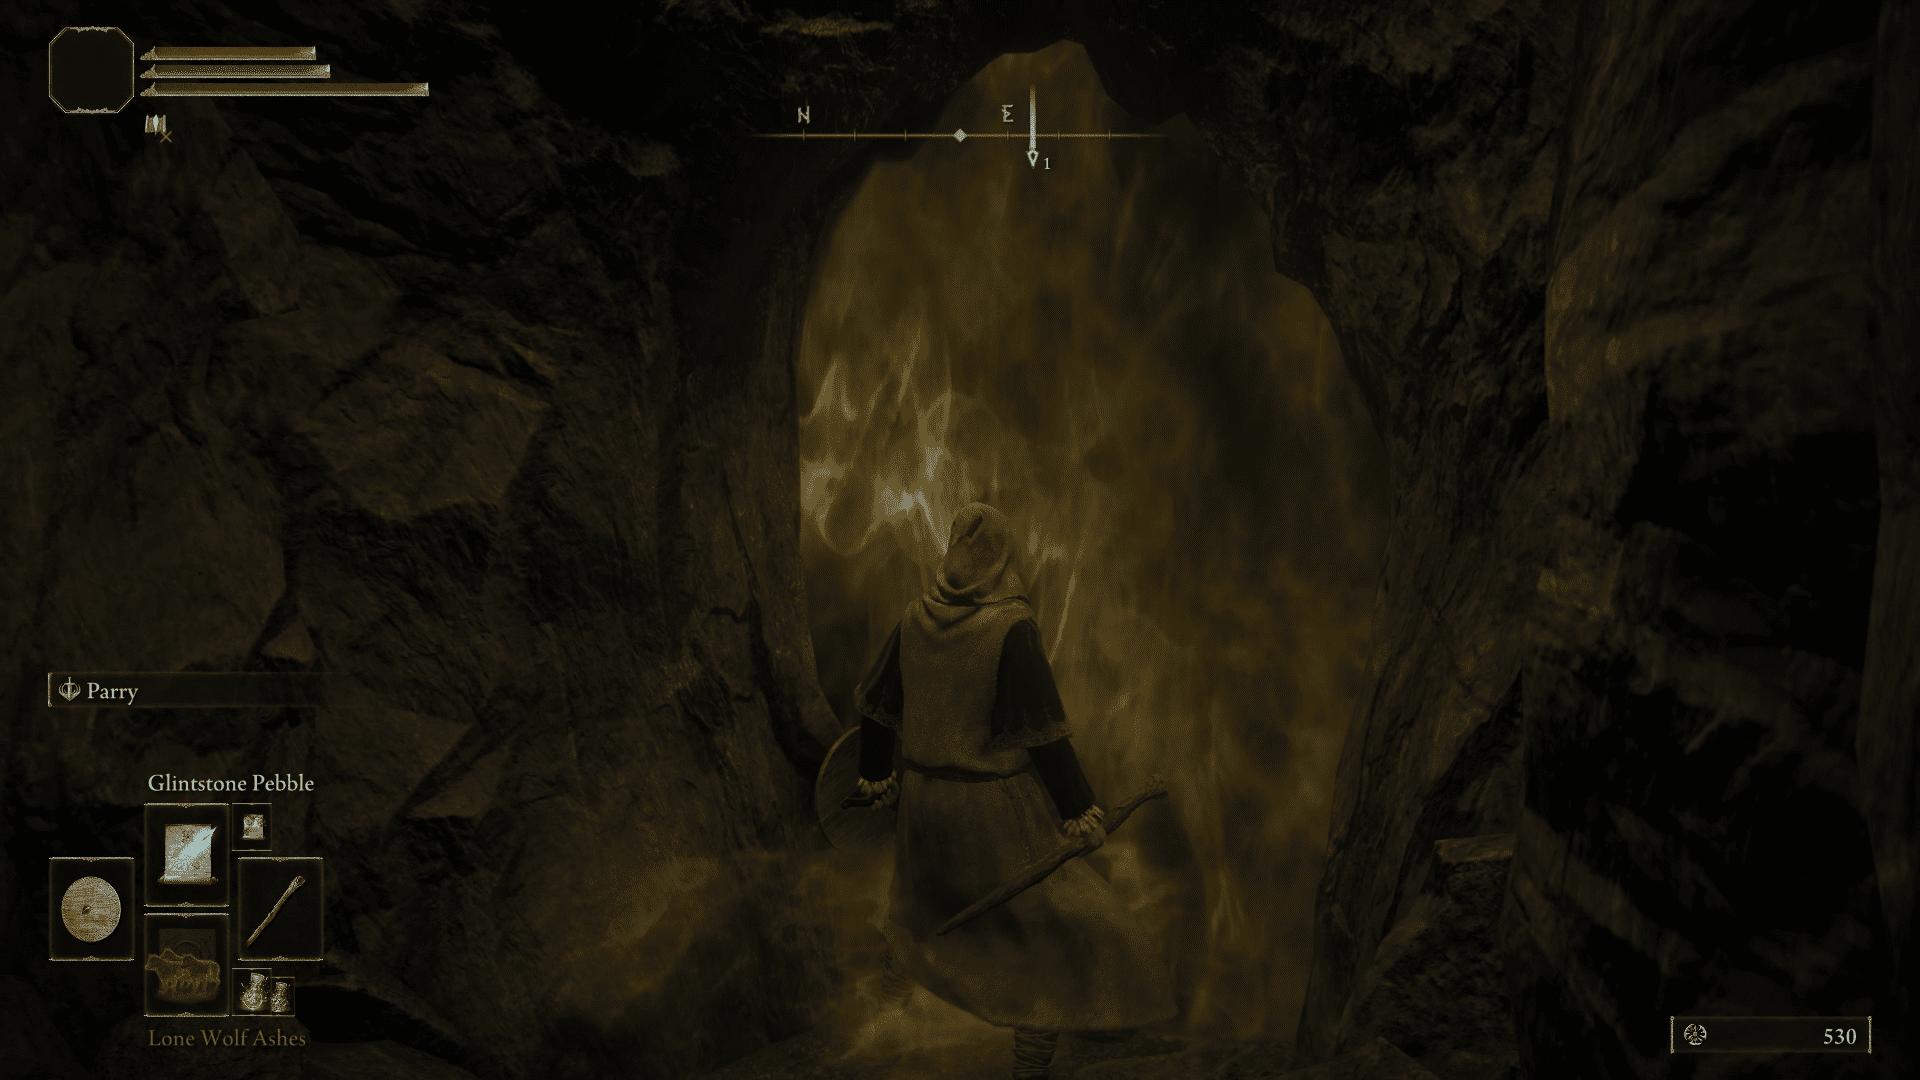
Use Torrent to double-jump across.
It would be best if you also bought either a Torch or a Lantern as it is quite dark in there.
Make sure to rest at the site of grace ahead for easier fast travel.
To continue, wait for the rot explosion and jump down. Now, do not roll in the rot, or it will get all over you. Now, with your back ahead of you, press the dodge button not moving in any direction, and you will step back.
This is the fastest and the most effective method of dealing with the rot in the early game.
Complete right from here and wait for the explosion and jump down once again.
As mentioned before, watch out for the enemies with staff. These are the most dreadful enemies as they poison you. You are sure to die if you get poisoned.
As you continue to move forward, you will reach a large open area. From here, you need to keep going right.
You will get shot at by two poisonous enemies in the area.
Once you’ve dodged those two poison shots, you’re now safe to head into the boss fight.
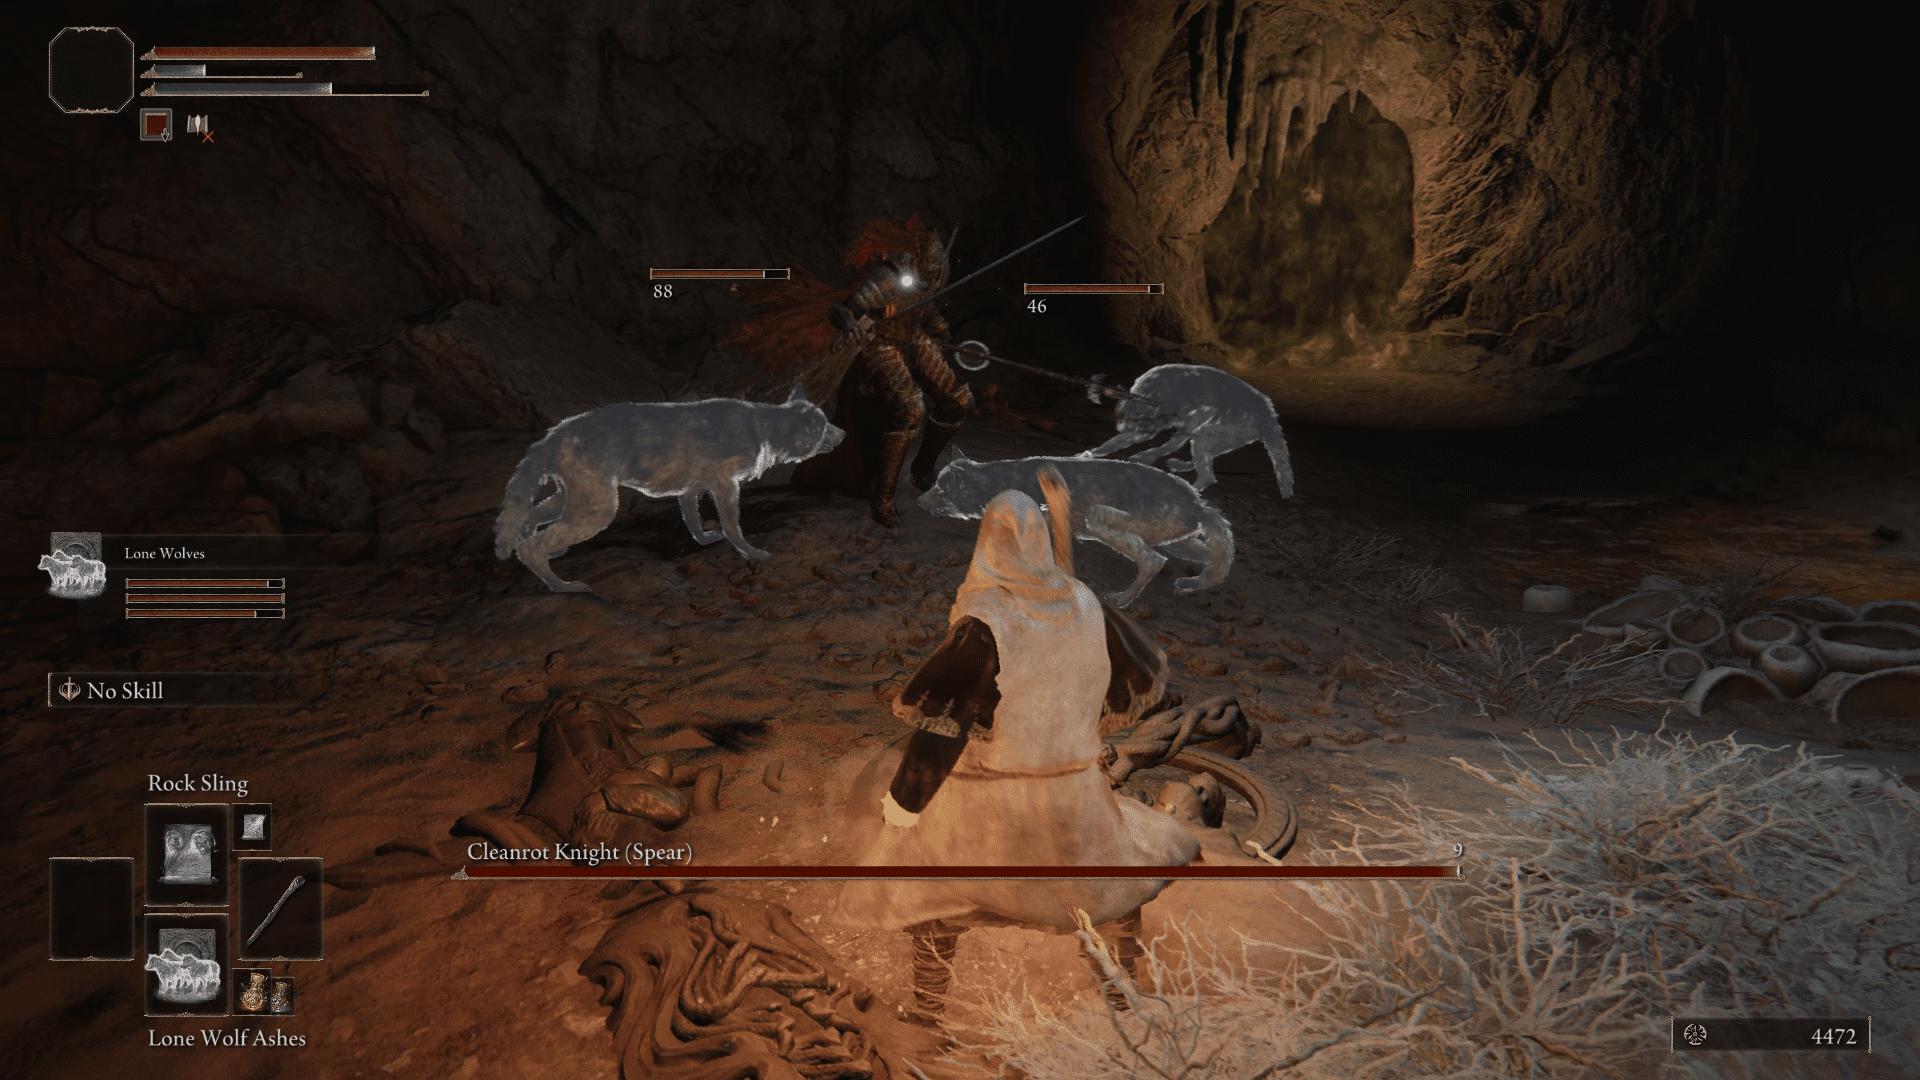
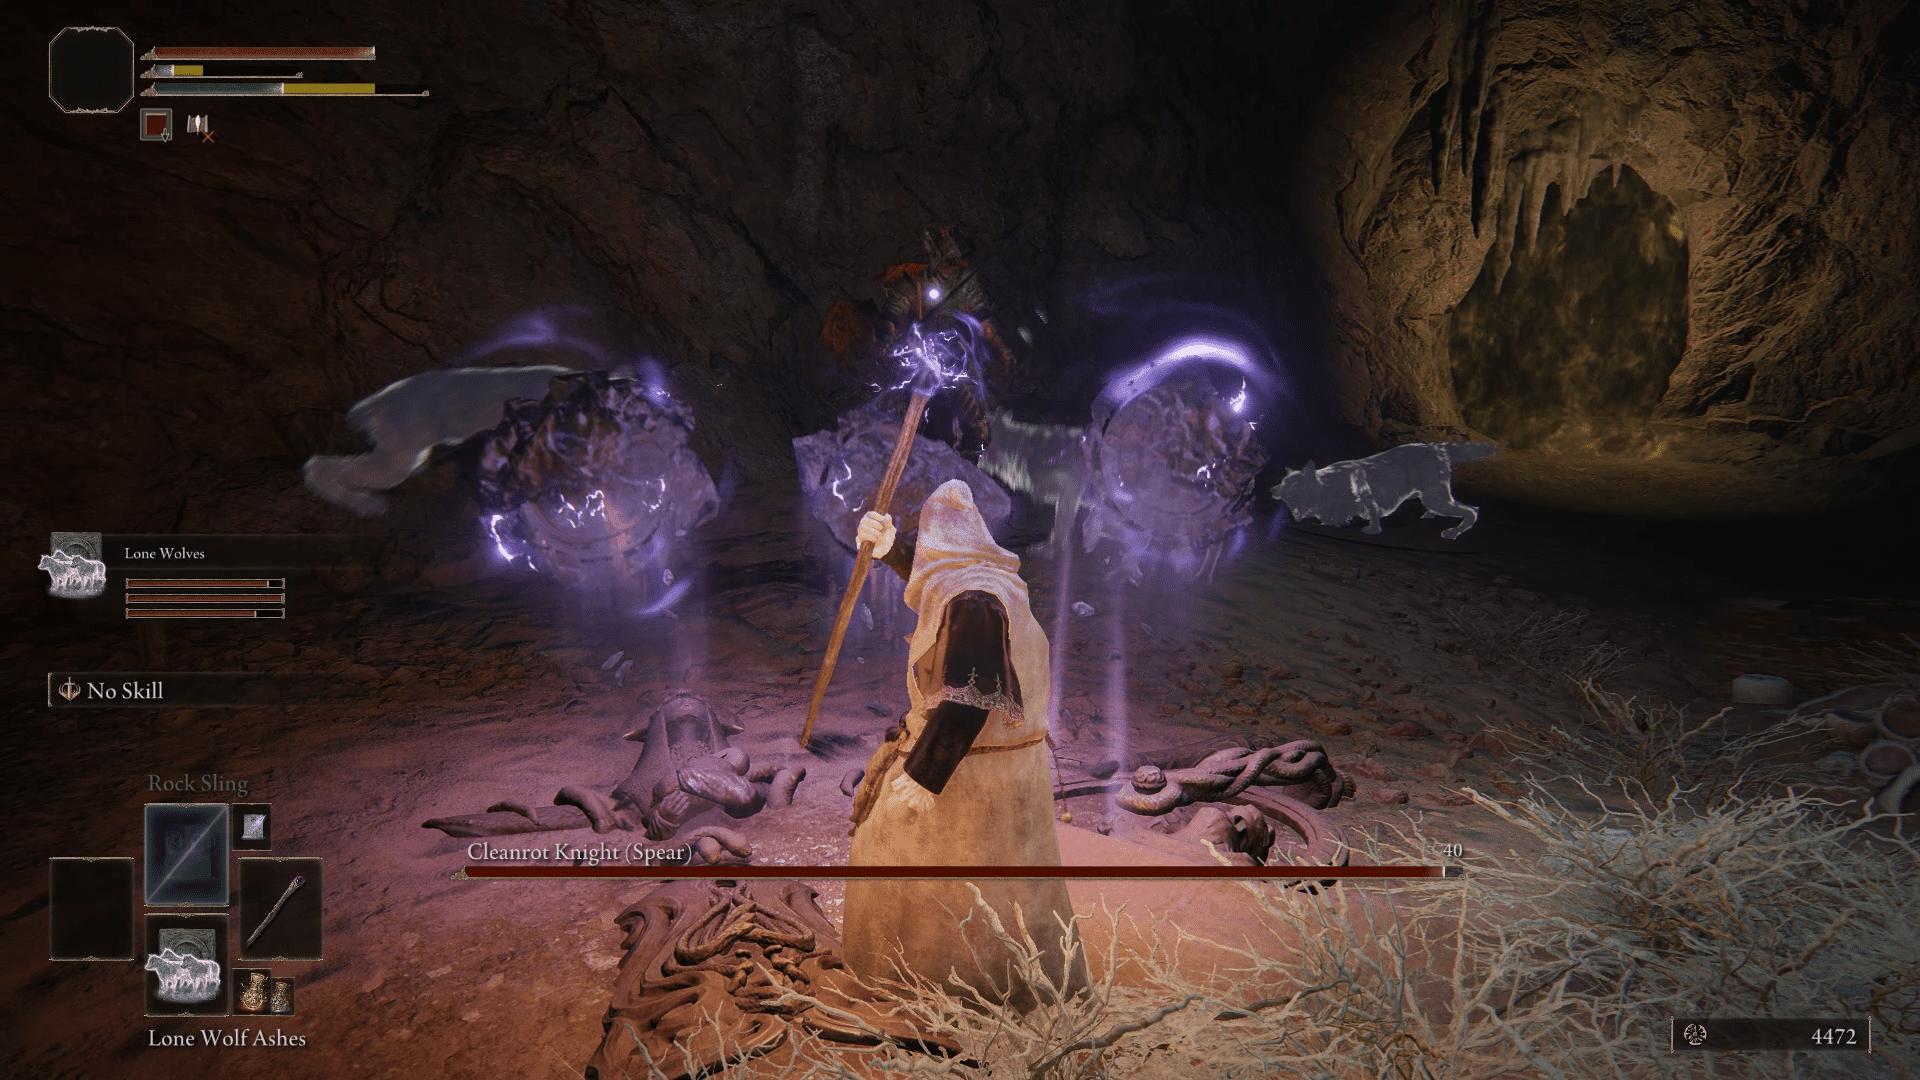
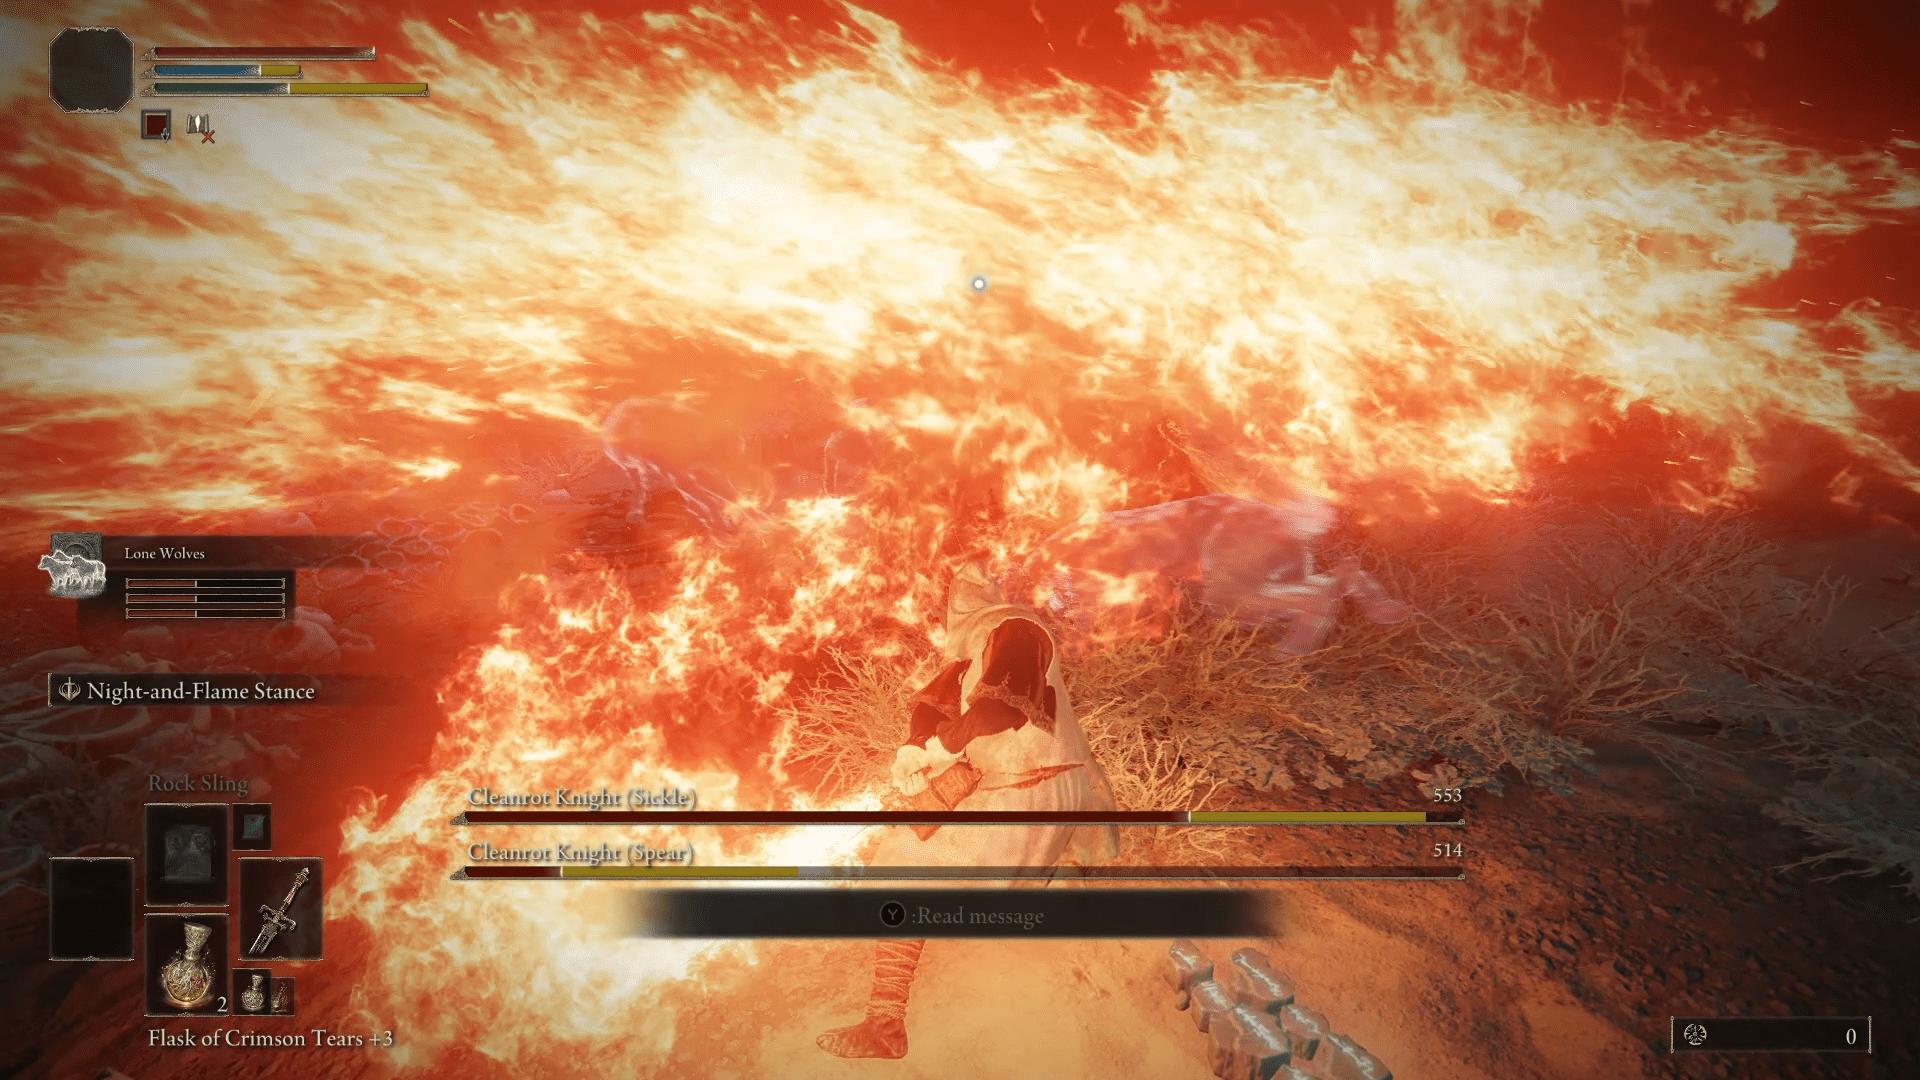
Make sure to summon your wolves for this boss fight as two of these bosses will spawn, and one constantly does range attack.
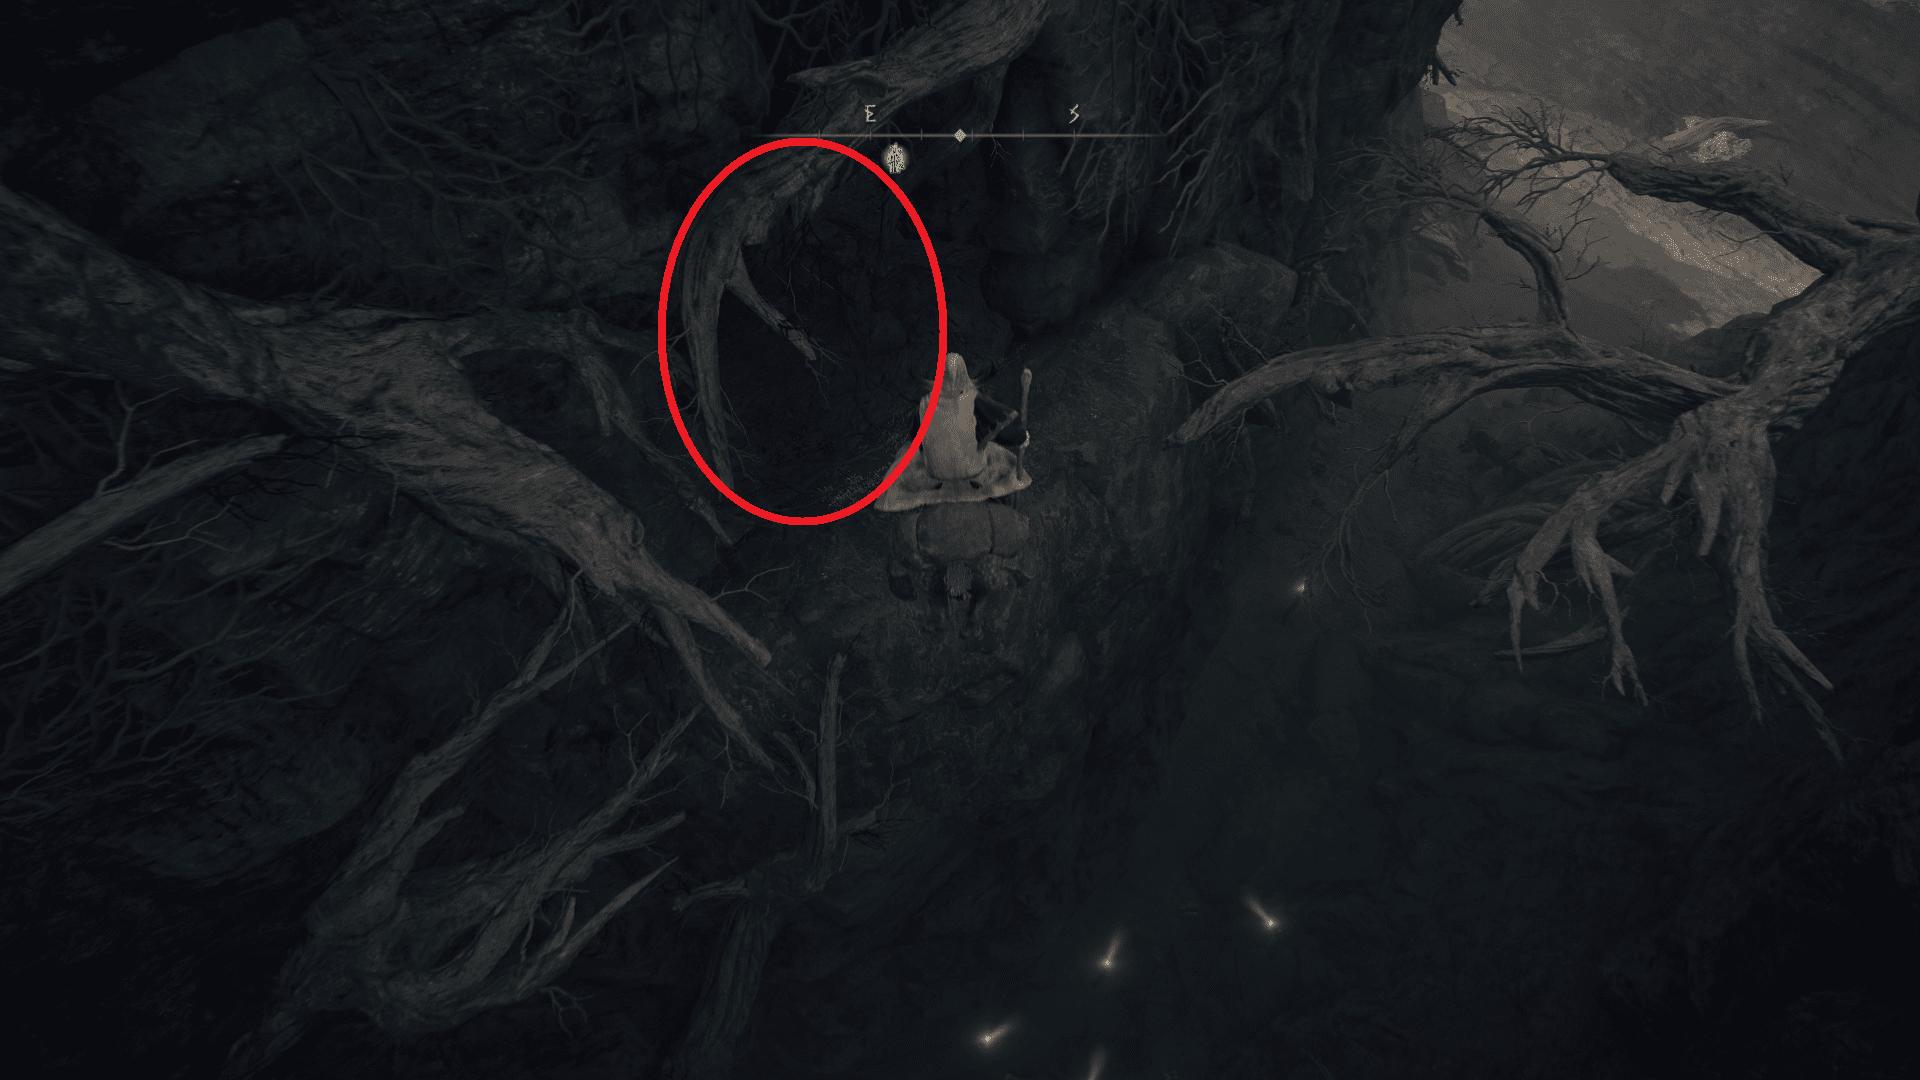
For this boss fight, we’ve noticed that magic works quite well.
If you have the sword of night & flame, then even better.
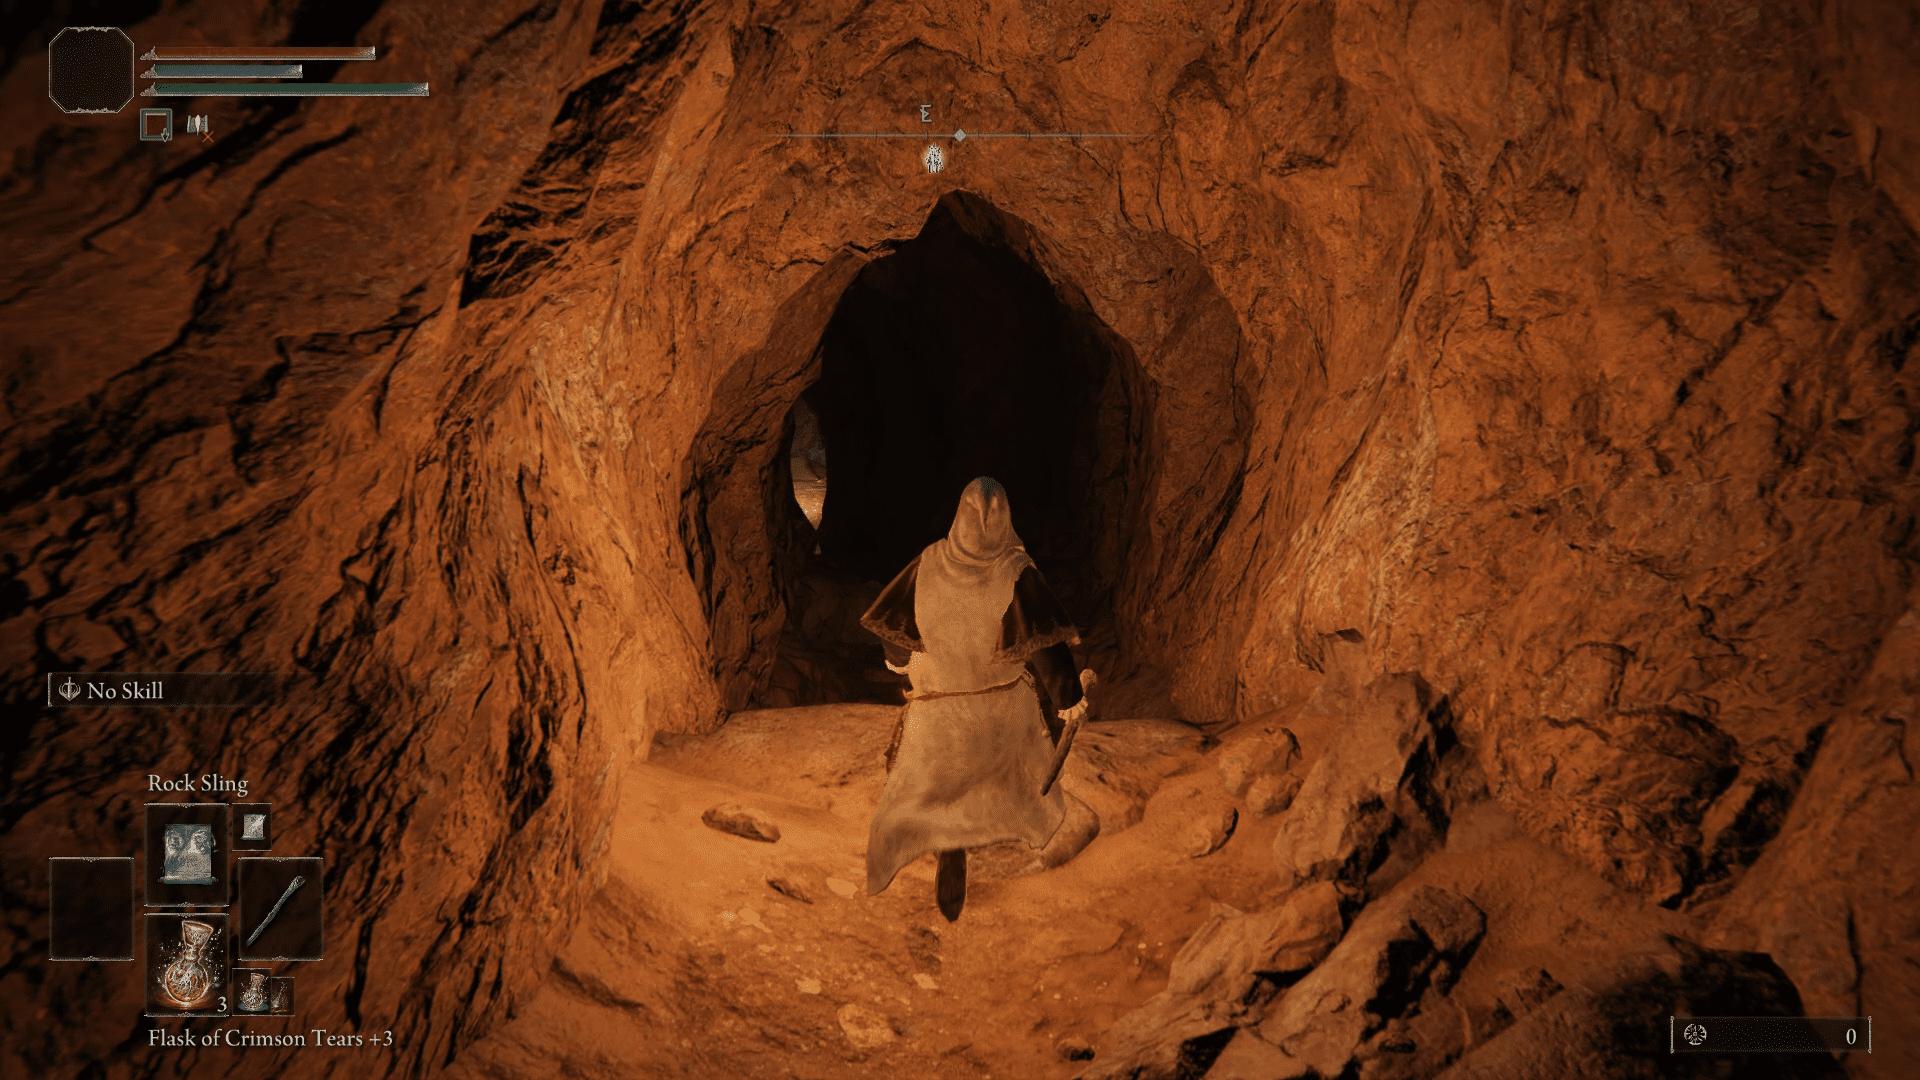
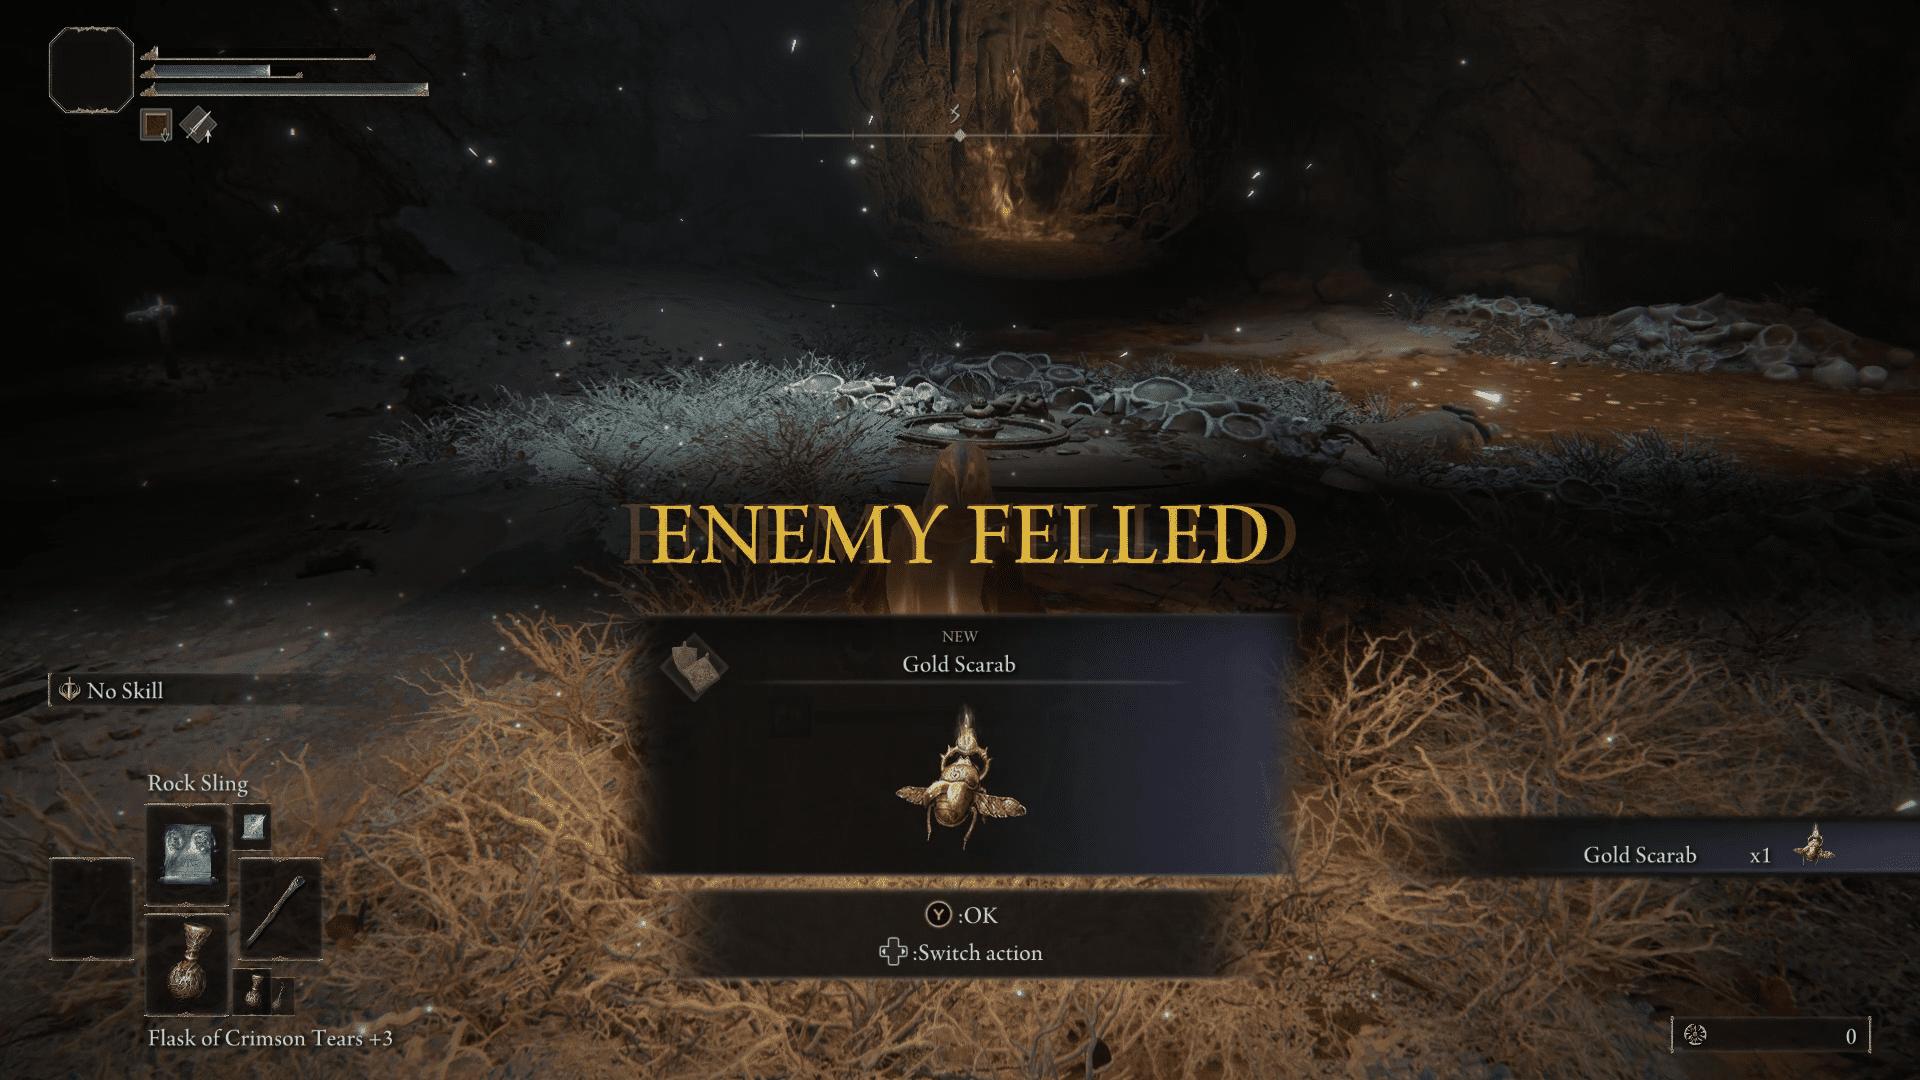
Once you’ve defeated both the Knights, you will be rewarded a Gold Scarab.
Gold-Pickled Fowl Foot
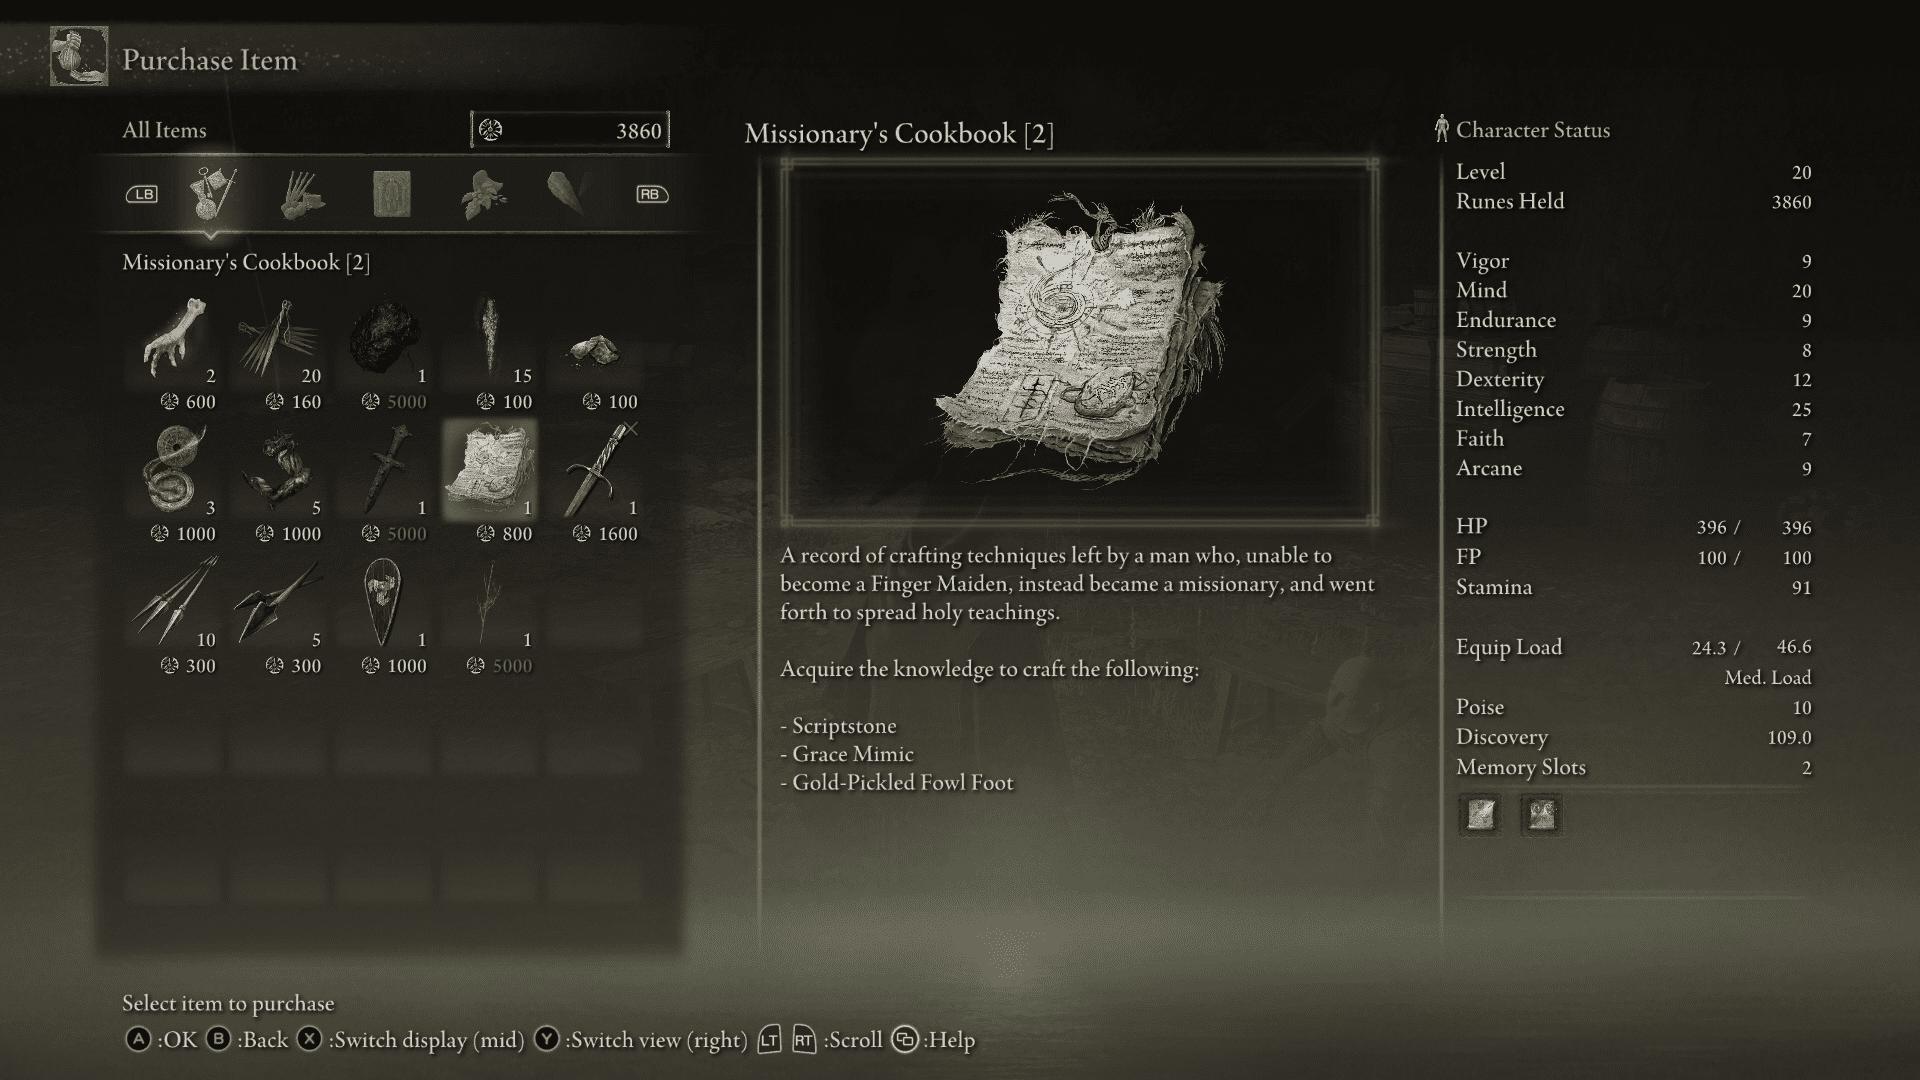
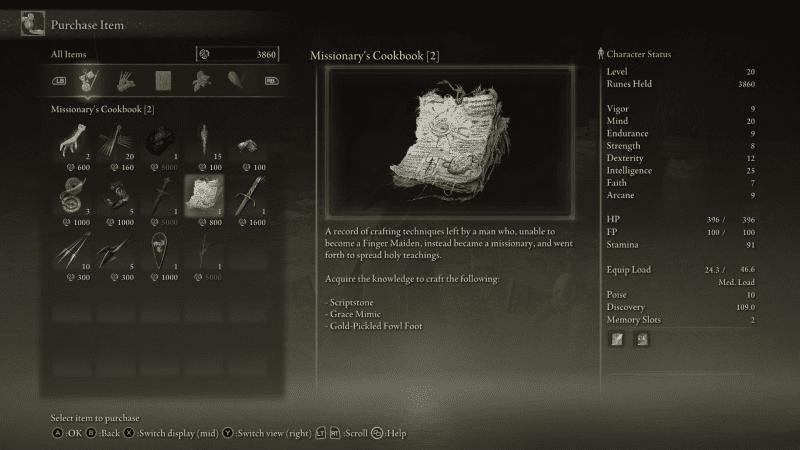
The Gold-Pickled Fowl Foot can be either purchased or crafted. You need to unlock Patches as the merchant. Realistically, your best bet is to learn how to craft it as Patches only sells a limited number of three Gold-Pickled Fowl Foot. You will eventually need to resort to crafting them yourself. So, it is best to spend your money on getting the recipe.
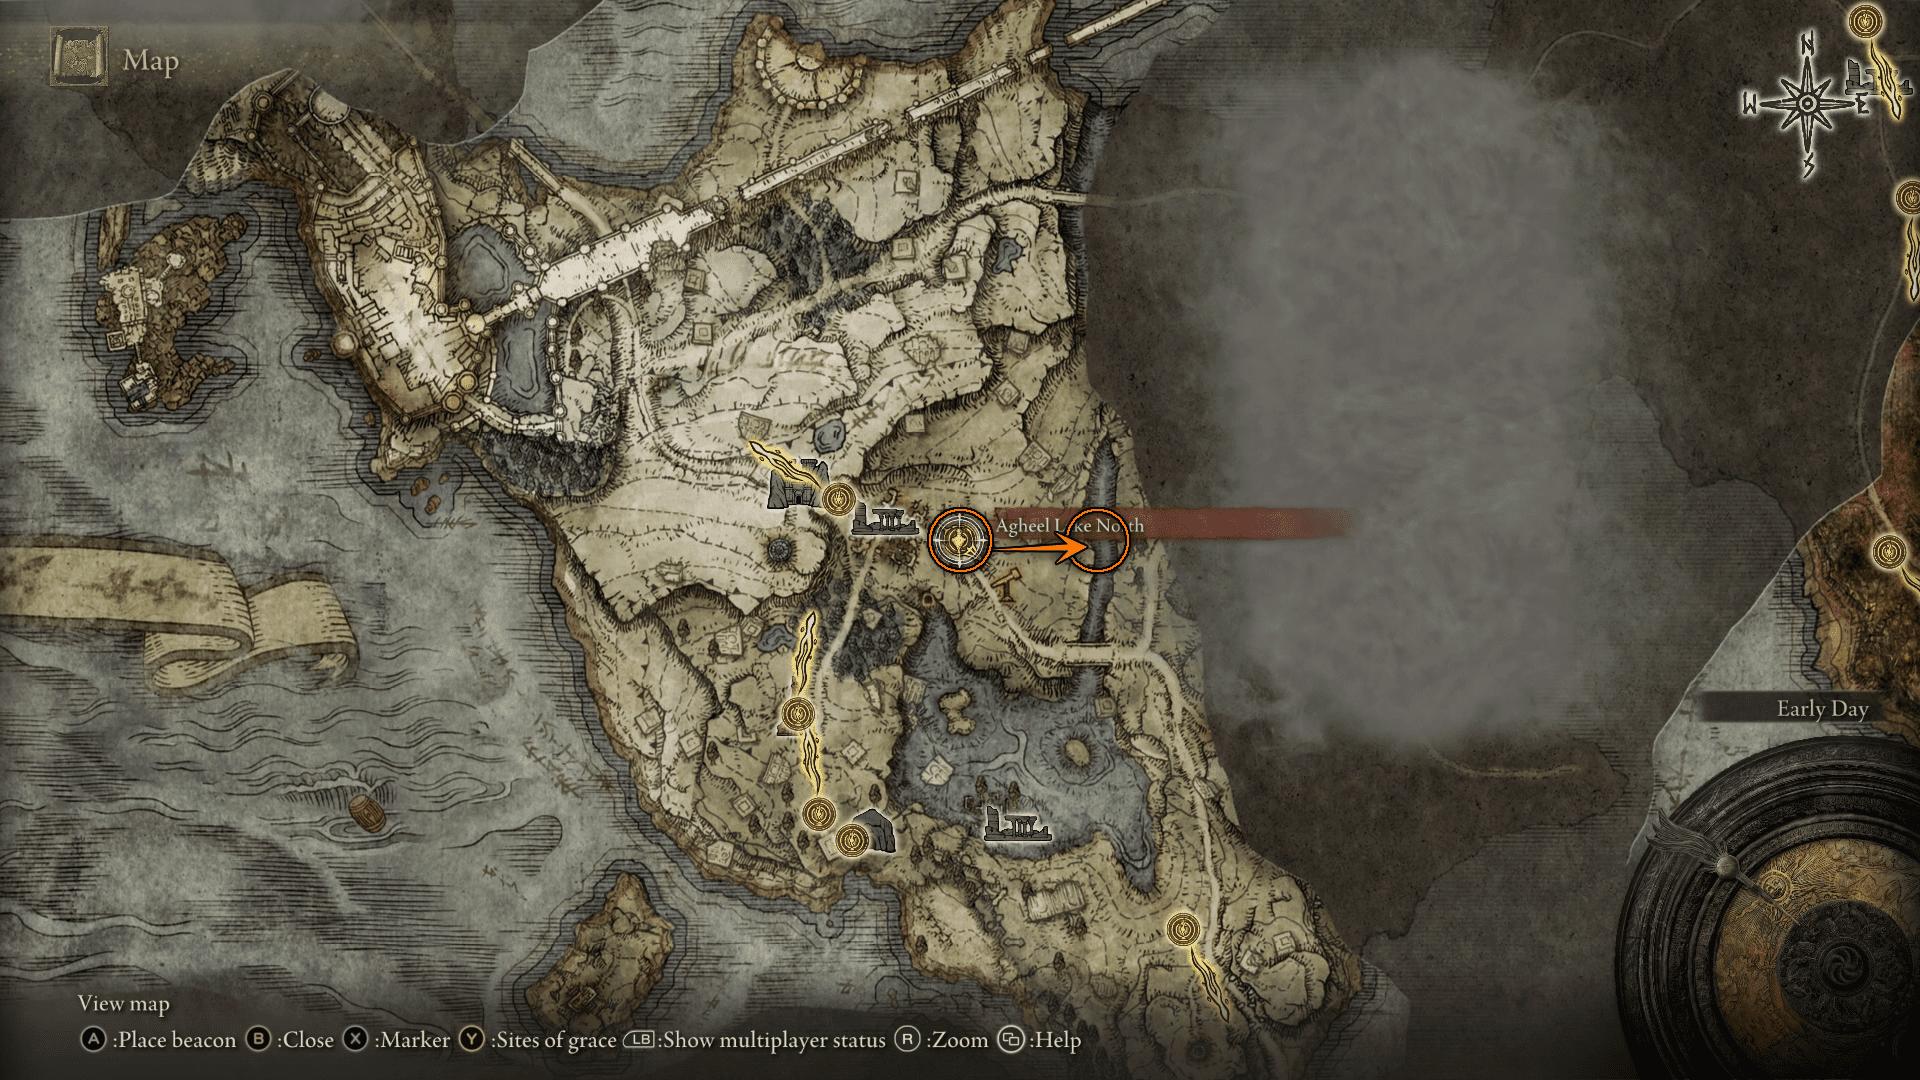
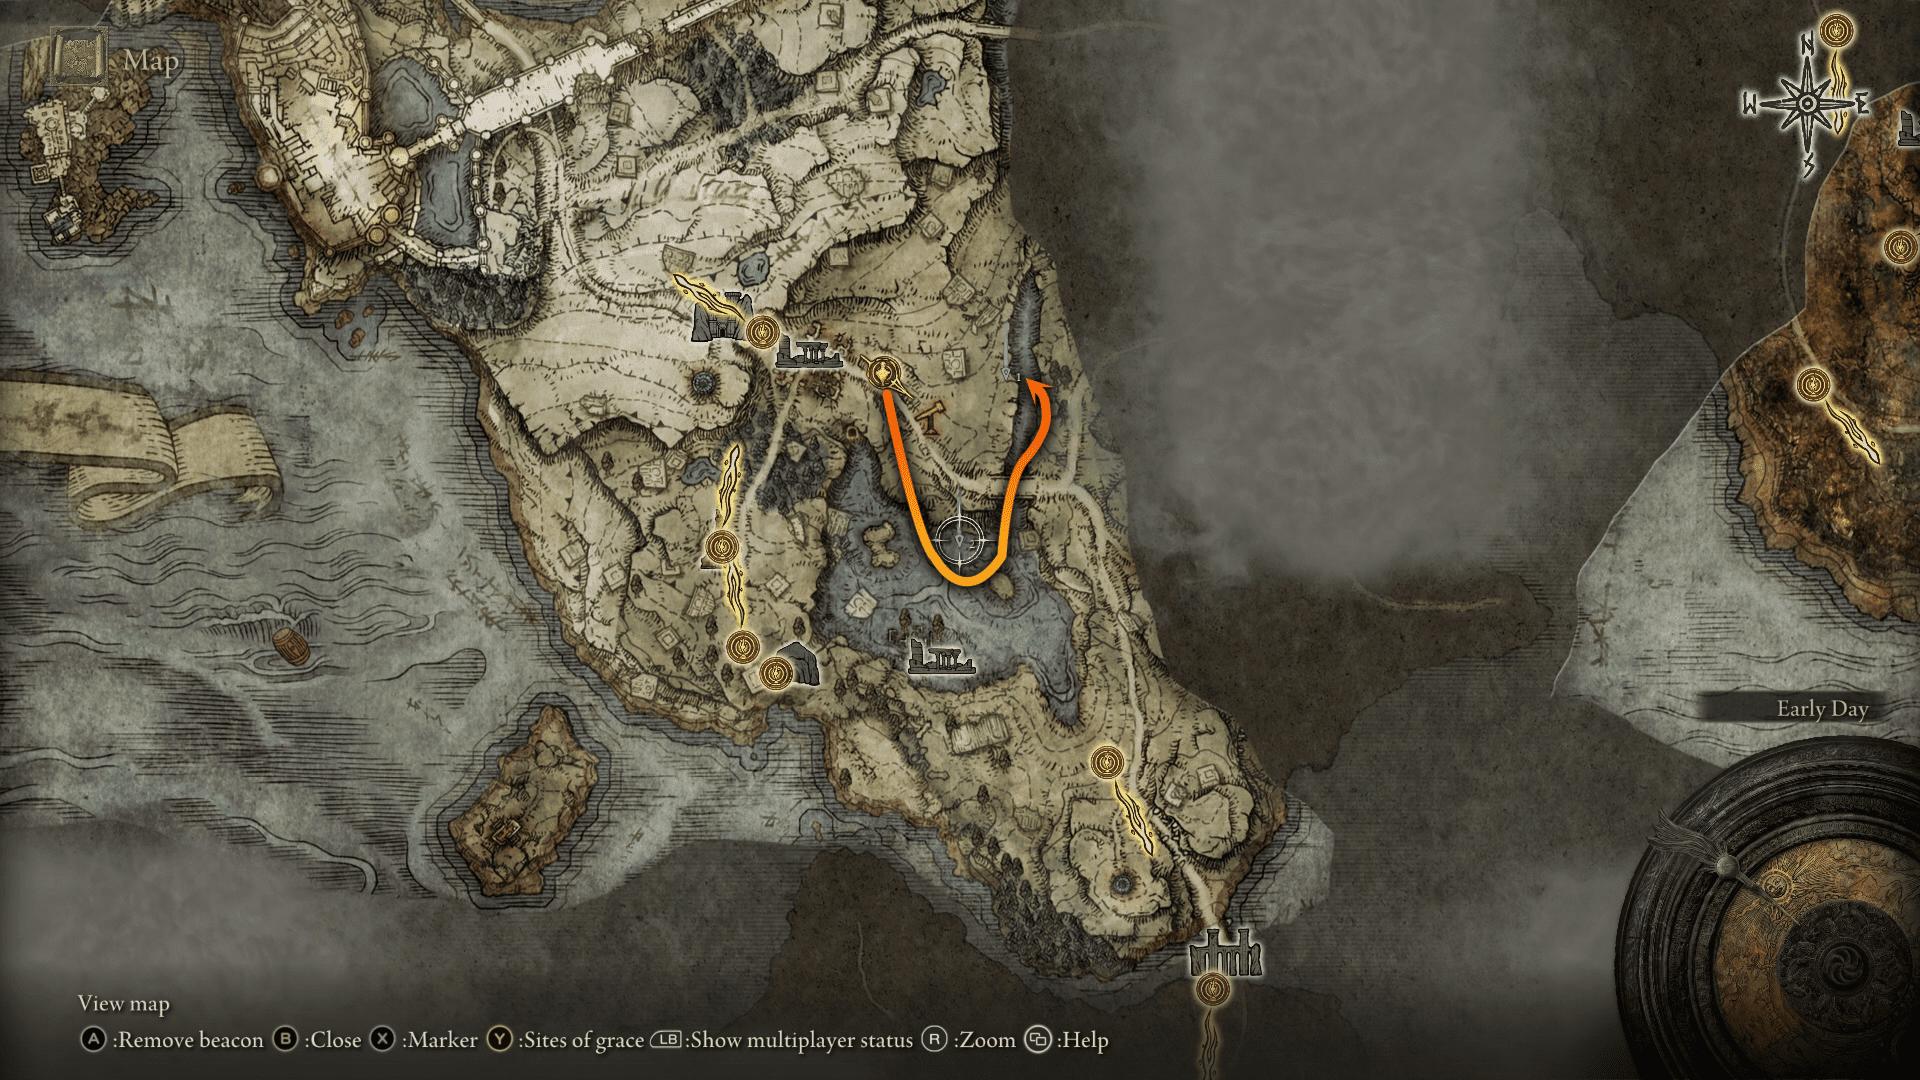
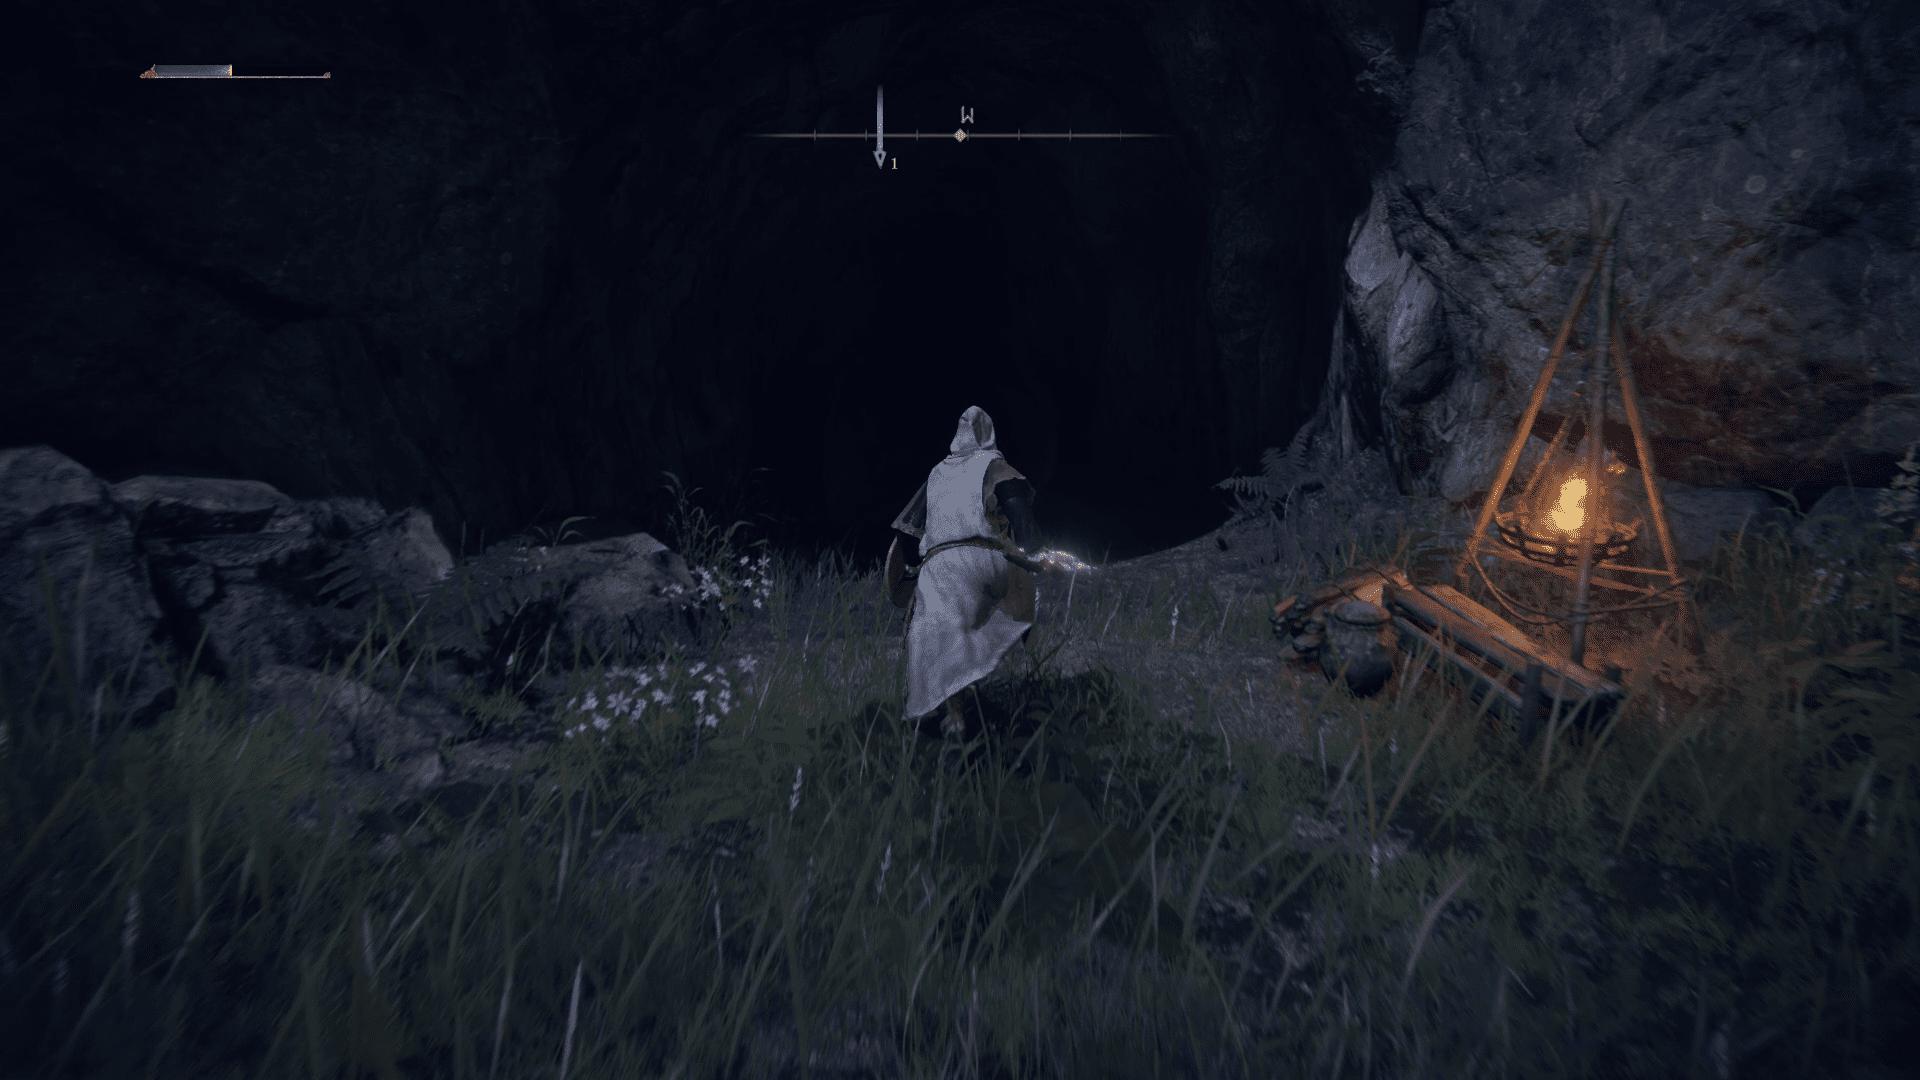
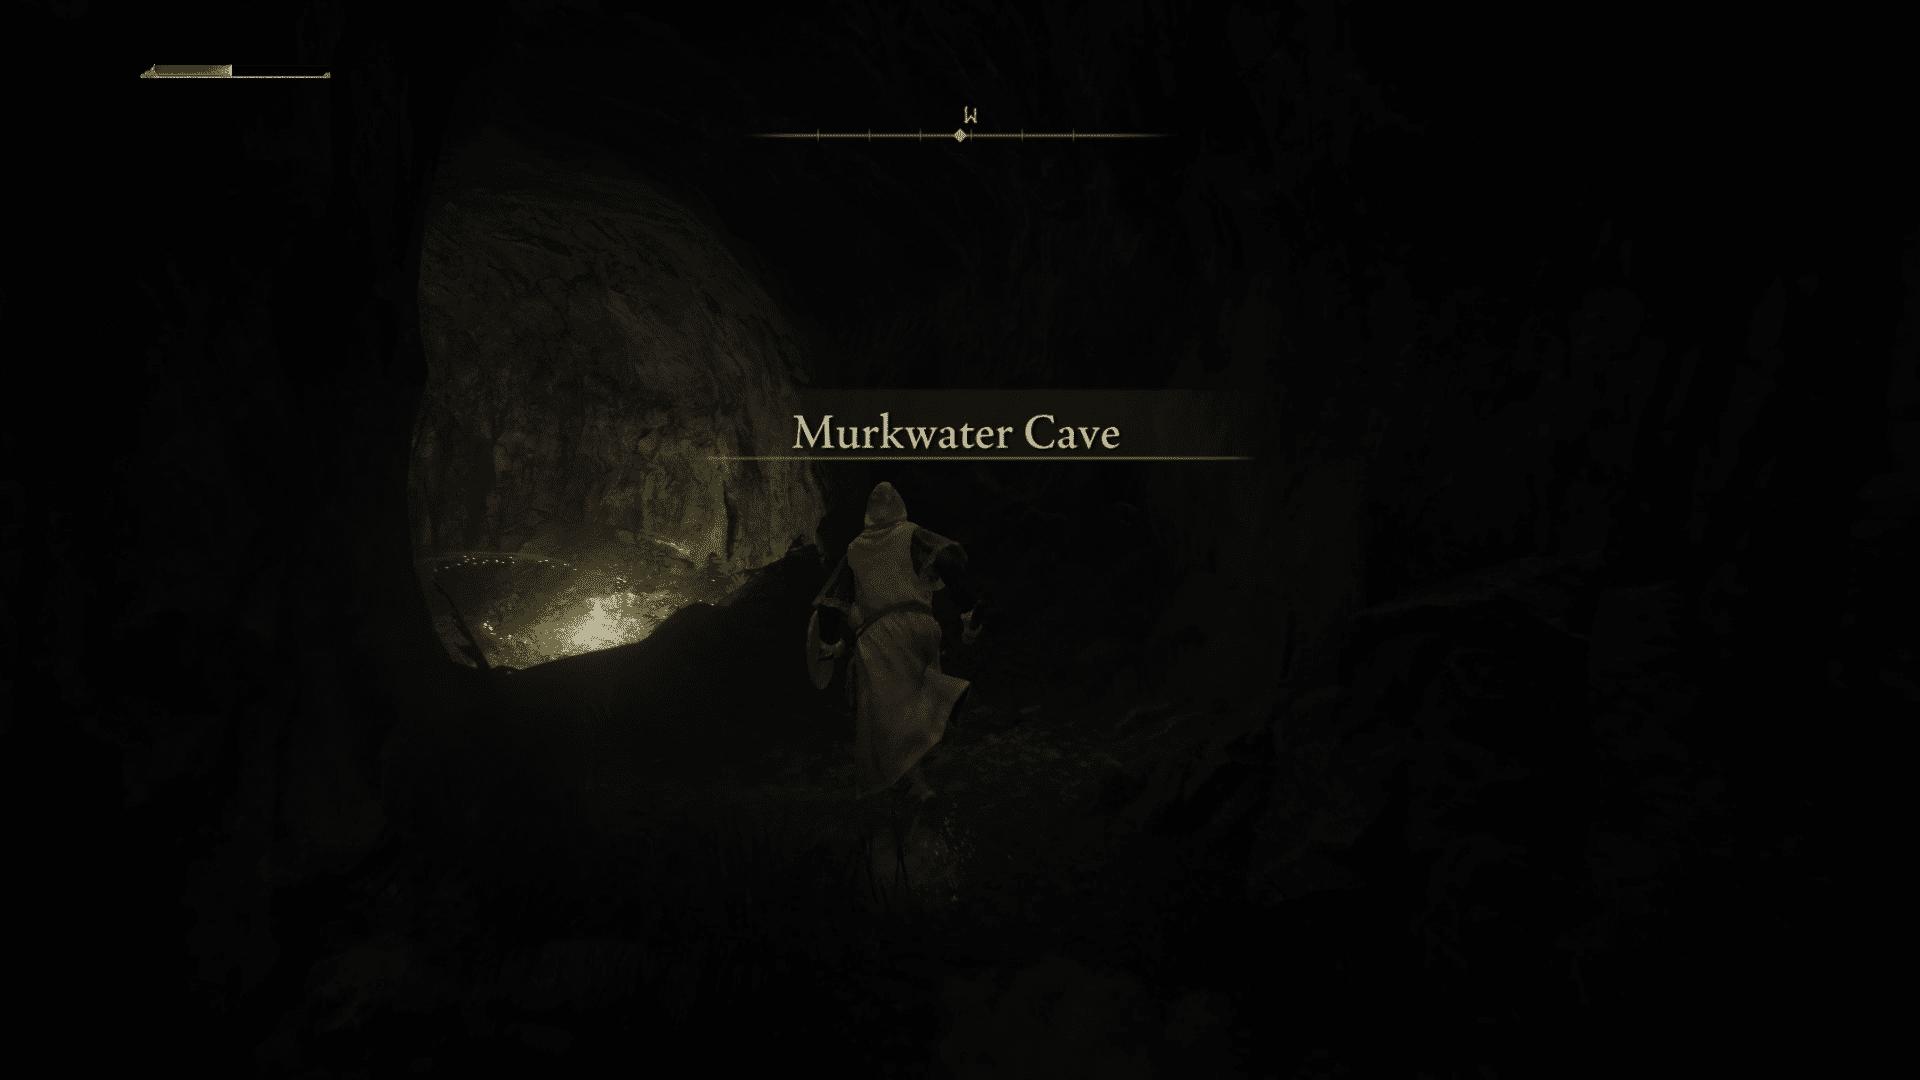
First, go east from Agheel Lake North site of grace, and you will find a cave called Murkwater Cave.
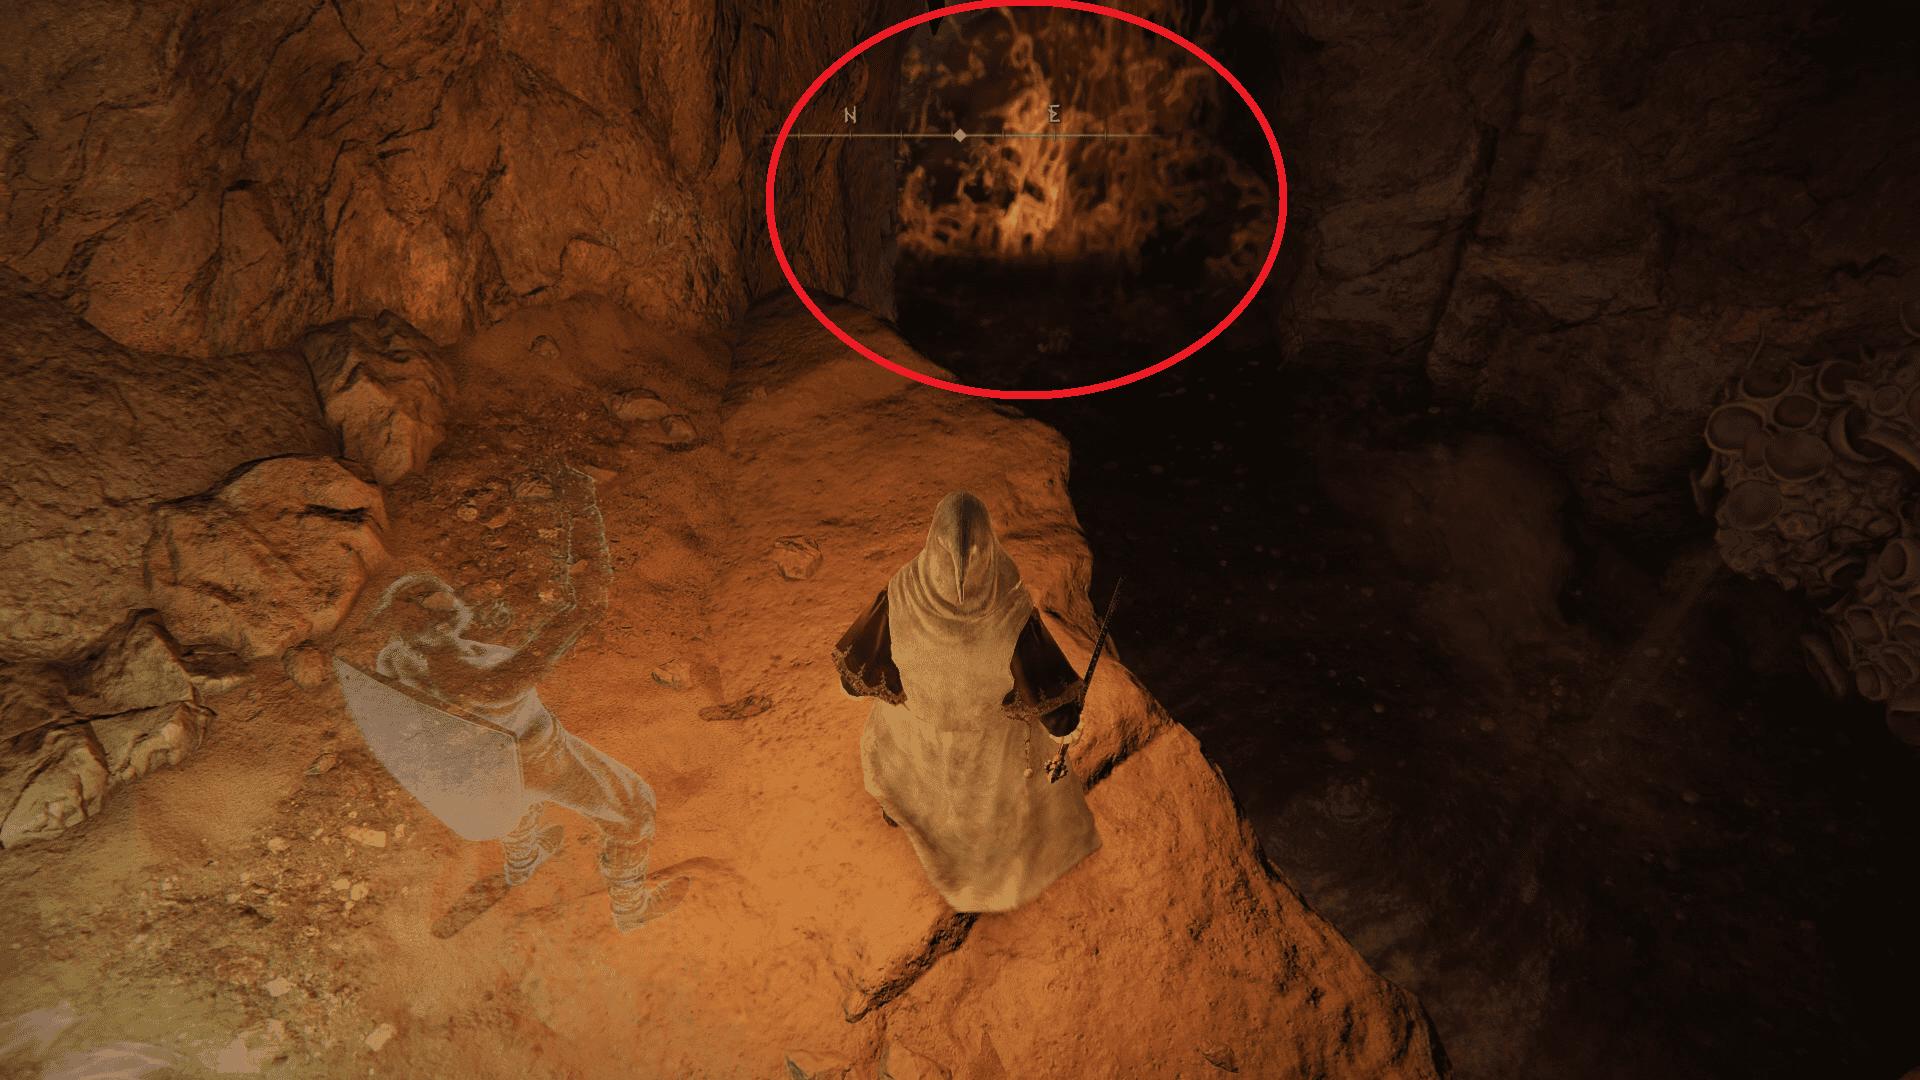
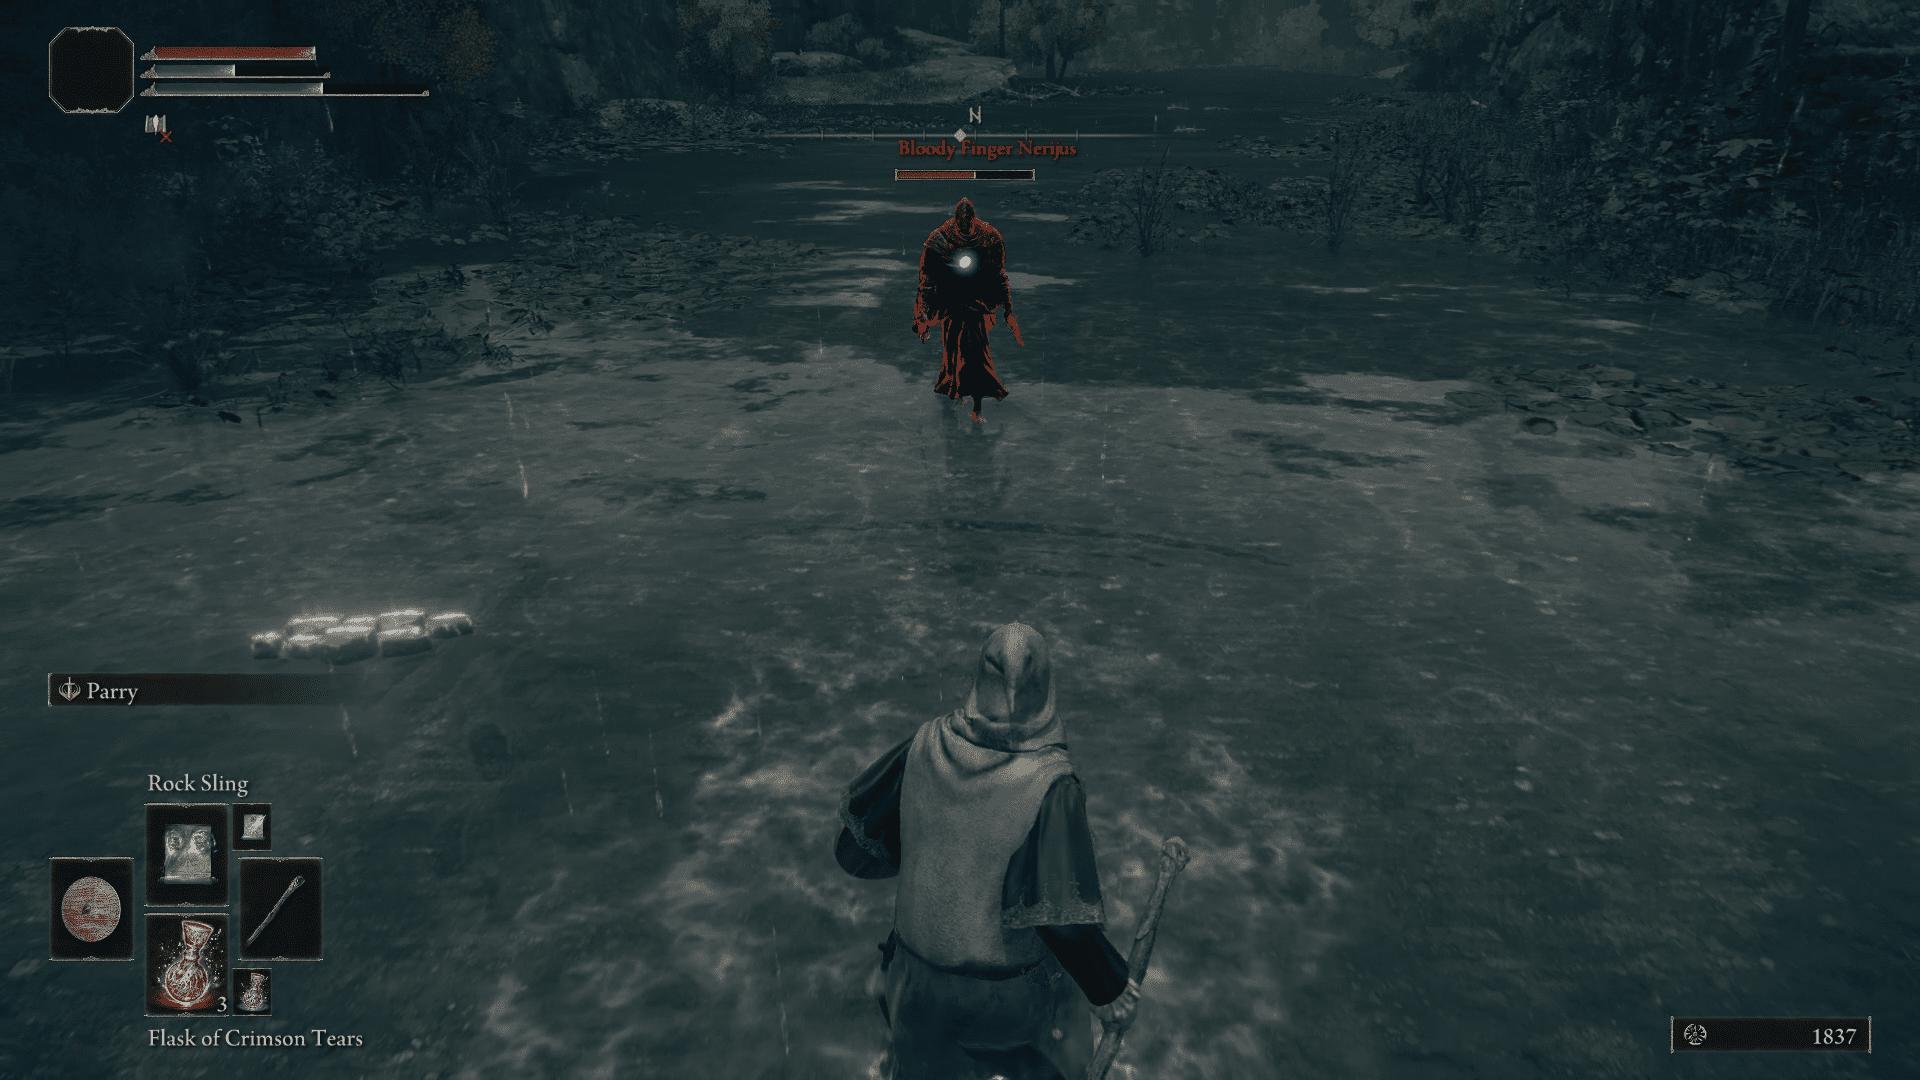
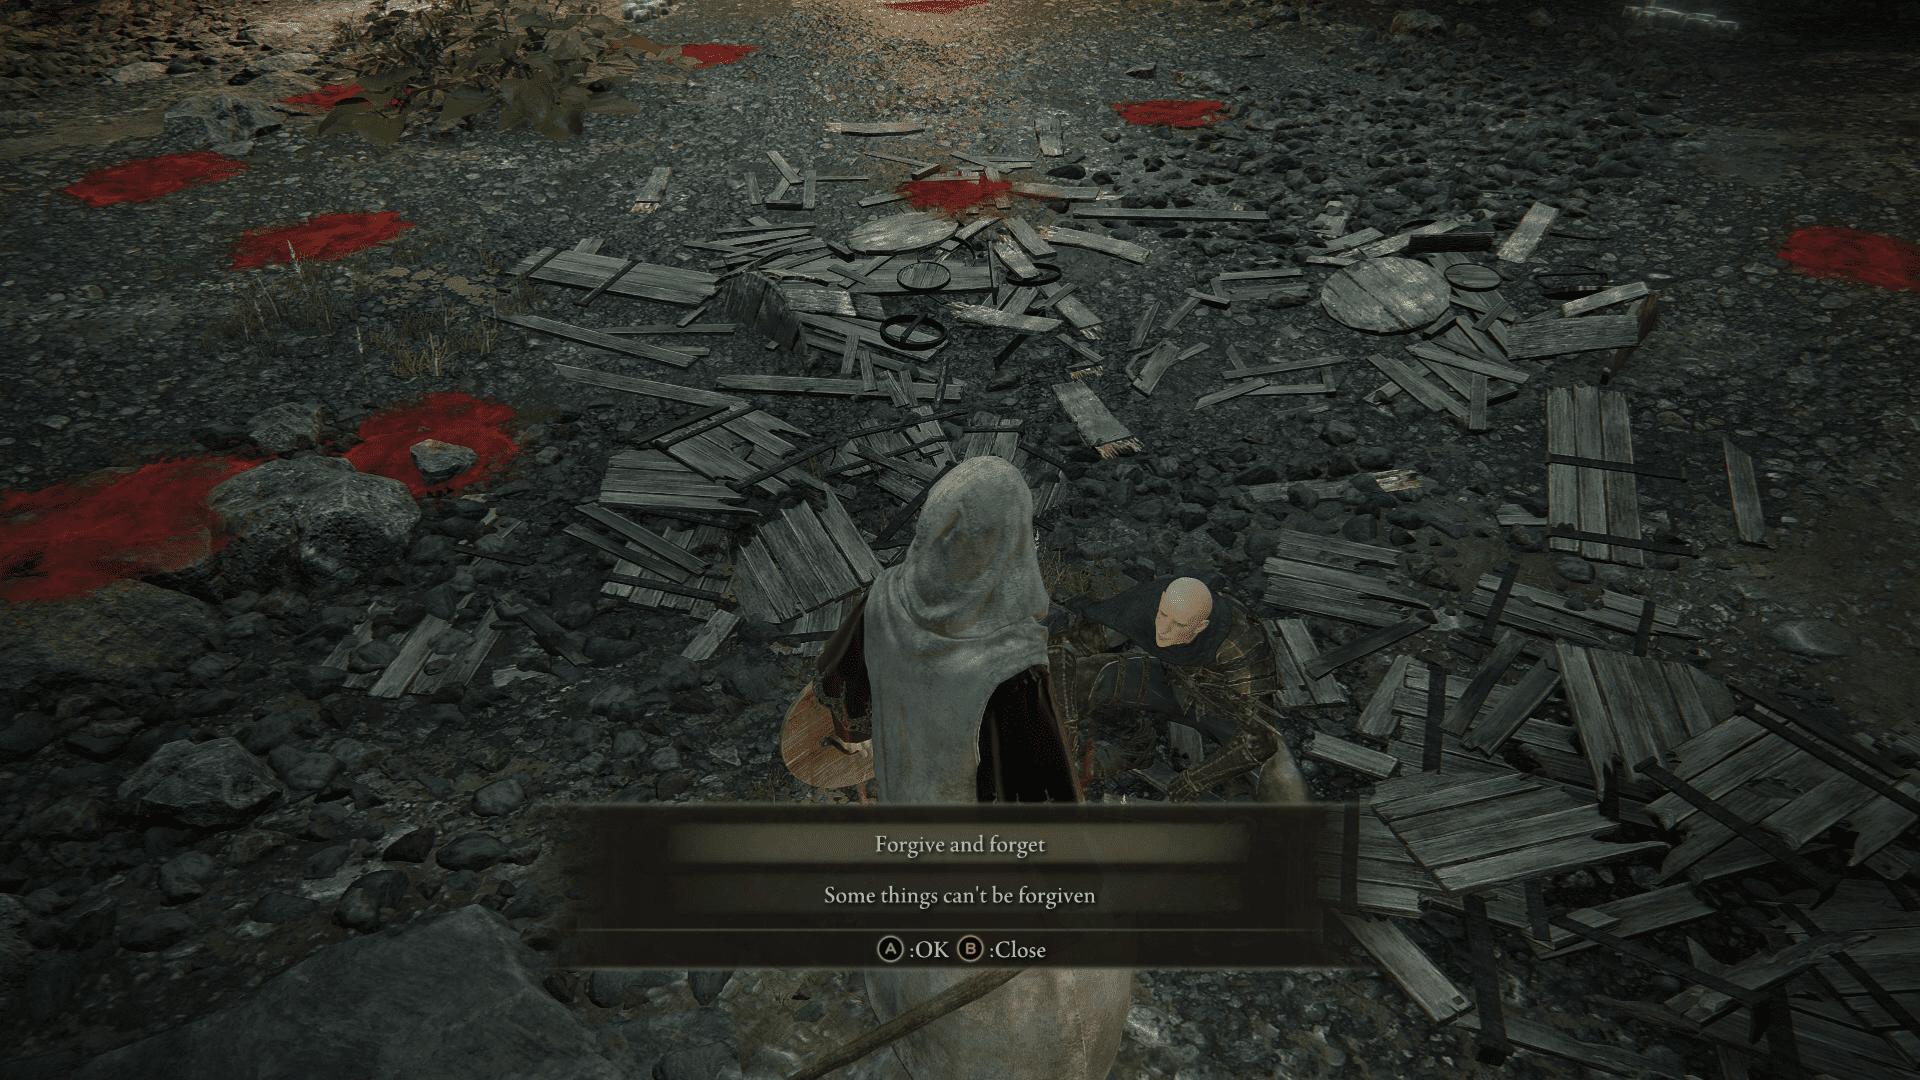
When you come here for the first time, you will not be able to enter the cave. Bloody Finger Nerijus will invade you. Defeat him to enter the cave.
You can now enter the cave as the seal would have been lifted after defeating the invader.
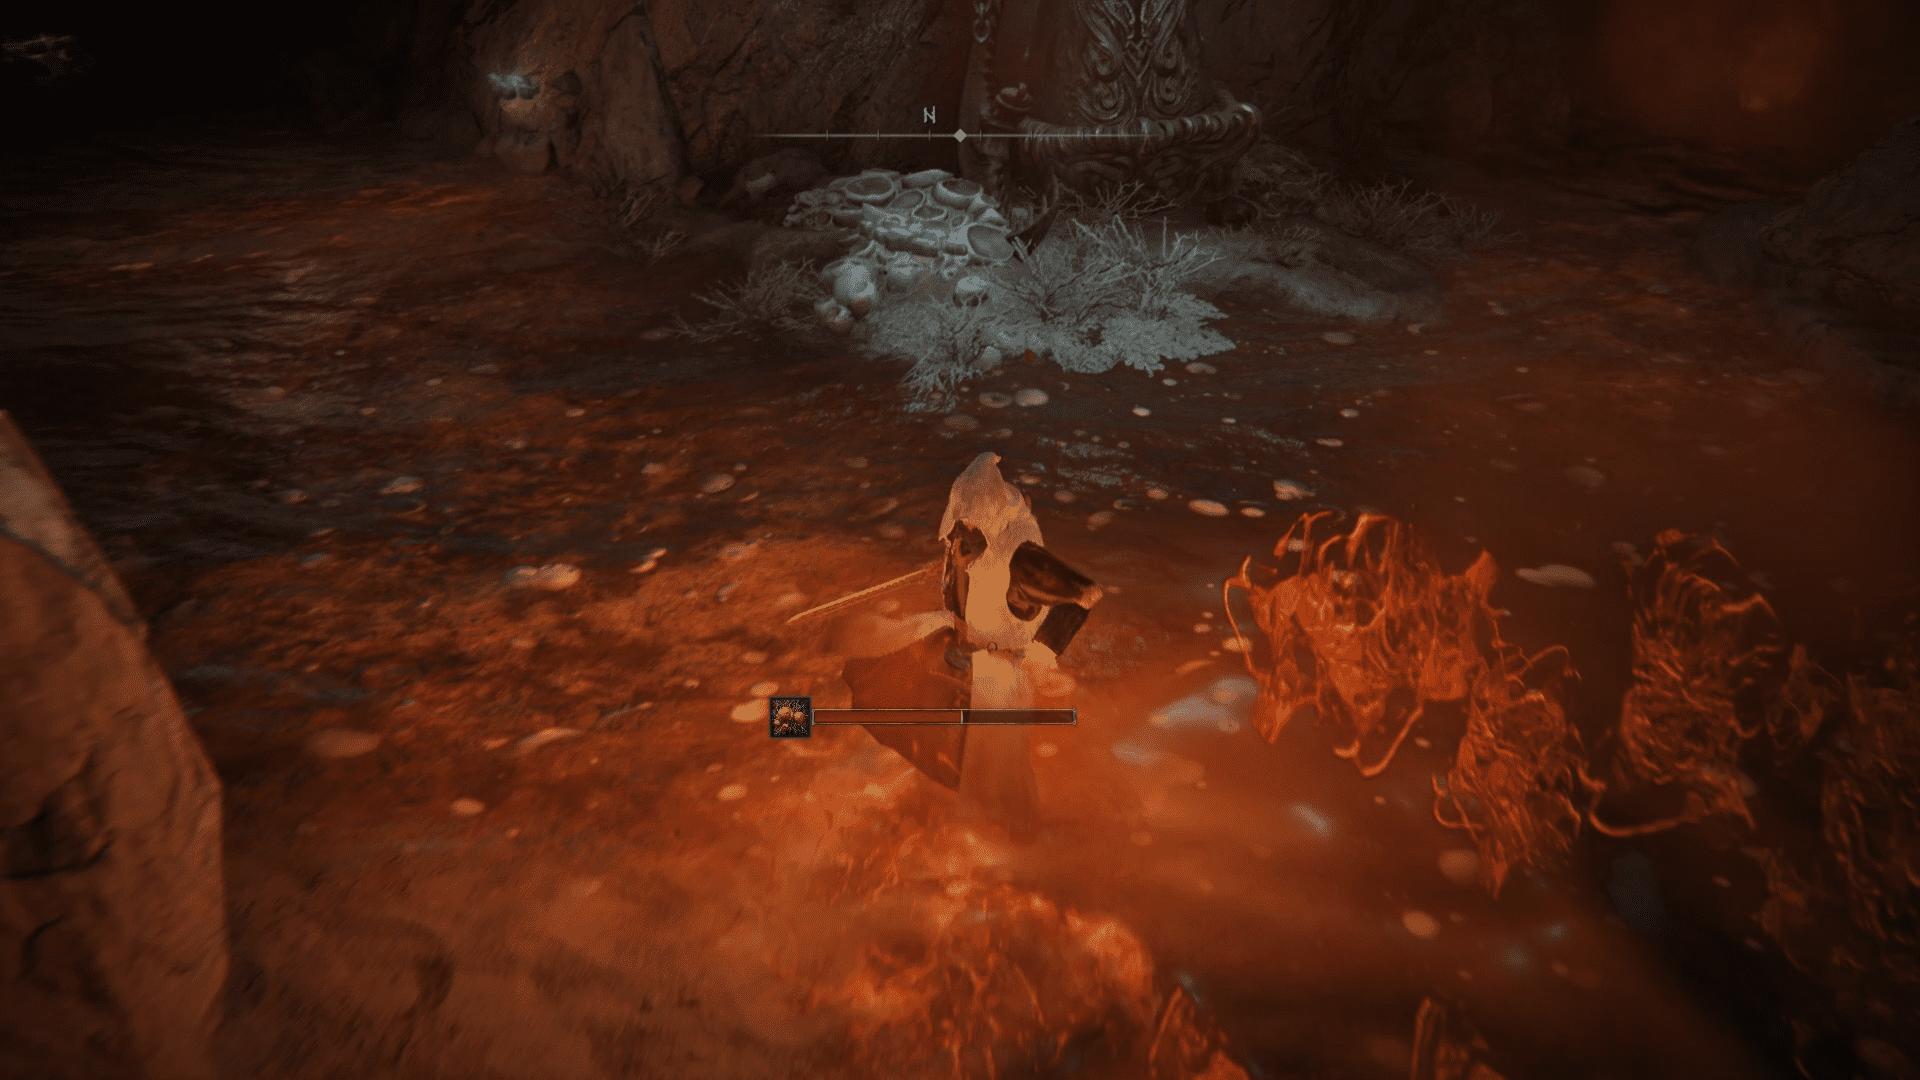
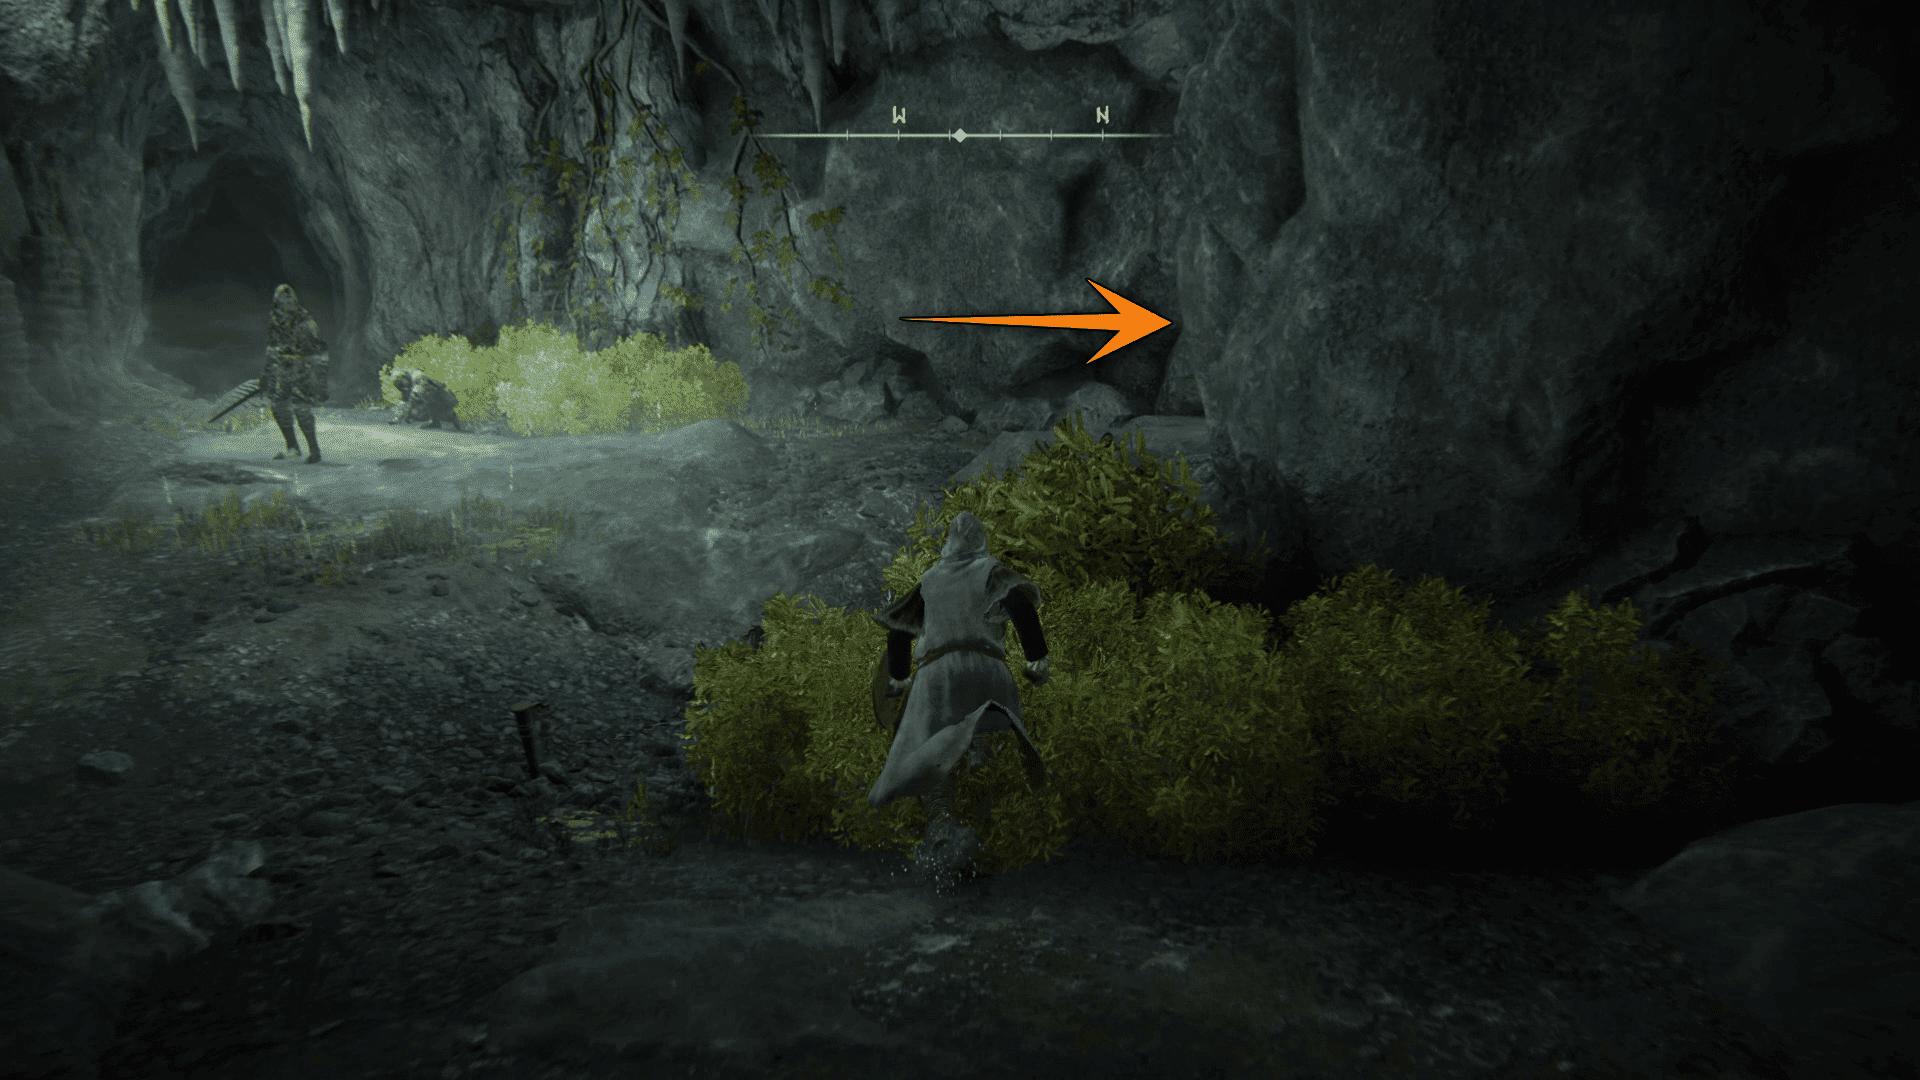
Keep going forward, ignore the enemy bandits coming ahead and take a right into a narrow pathway.
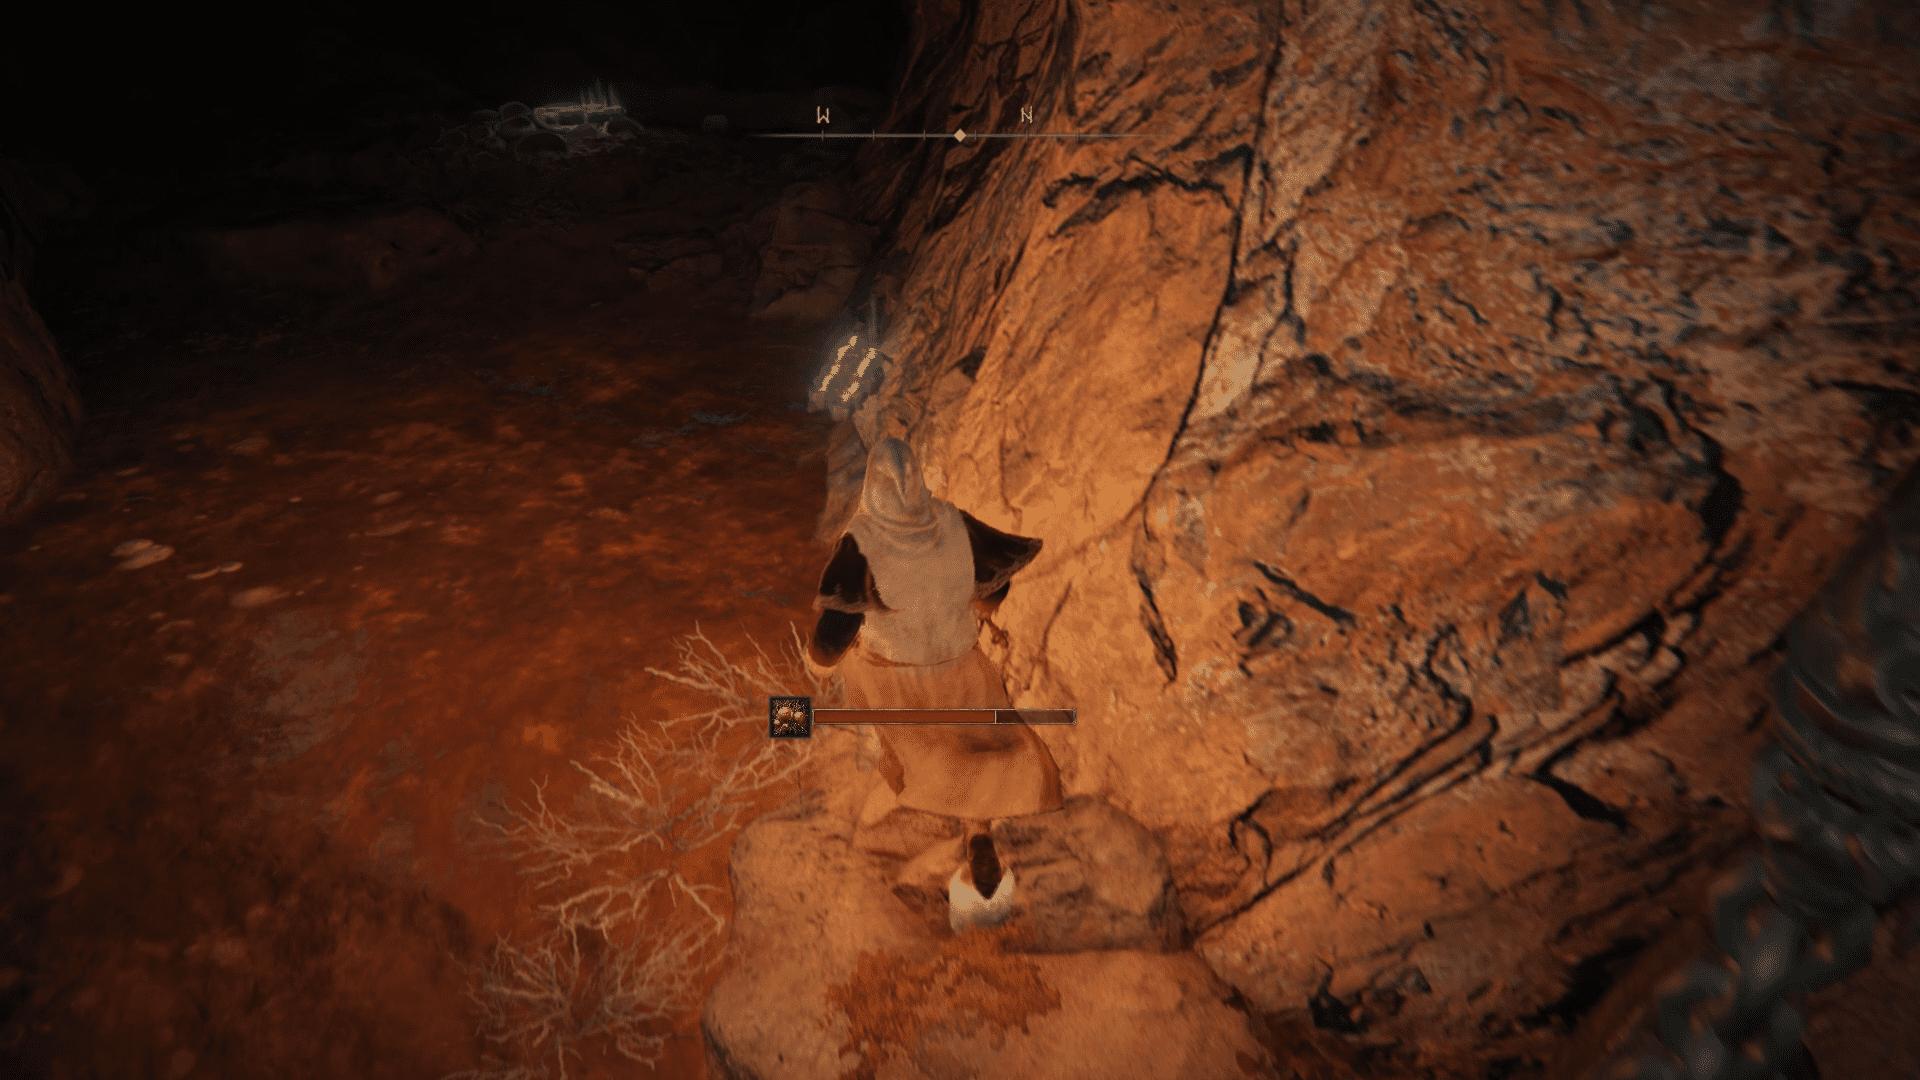
Go through the mist, and interact with the treasure chest ahead of you. This will trigger a boss fight.

Patches is not super difficult to defeat. Also, do not kill him. Once you get his health below 50%, he will surrender.

Travel somewhere else, and fast travel back to Murkwater caves, and you will notice that Patches has set up a shop for you.
He will sell three Gold-Pickled Fowl Foot and Missionary’s Cookbook [2].
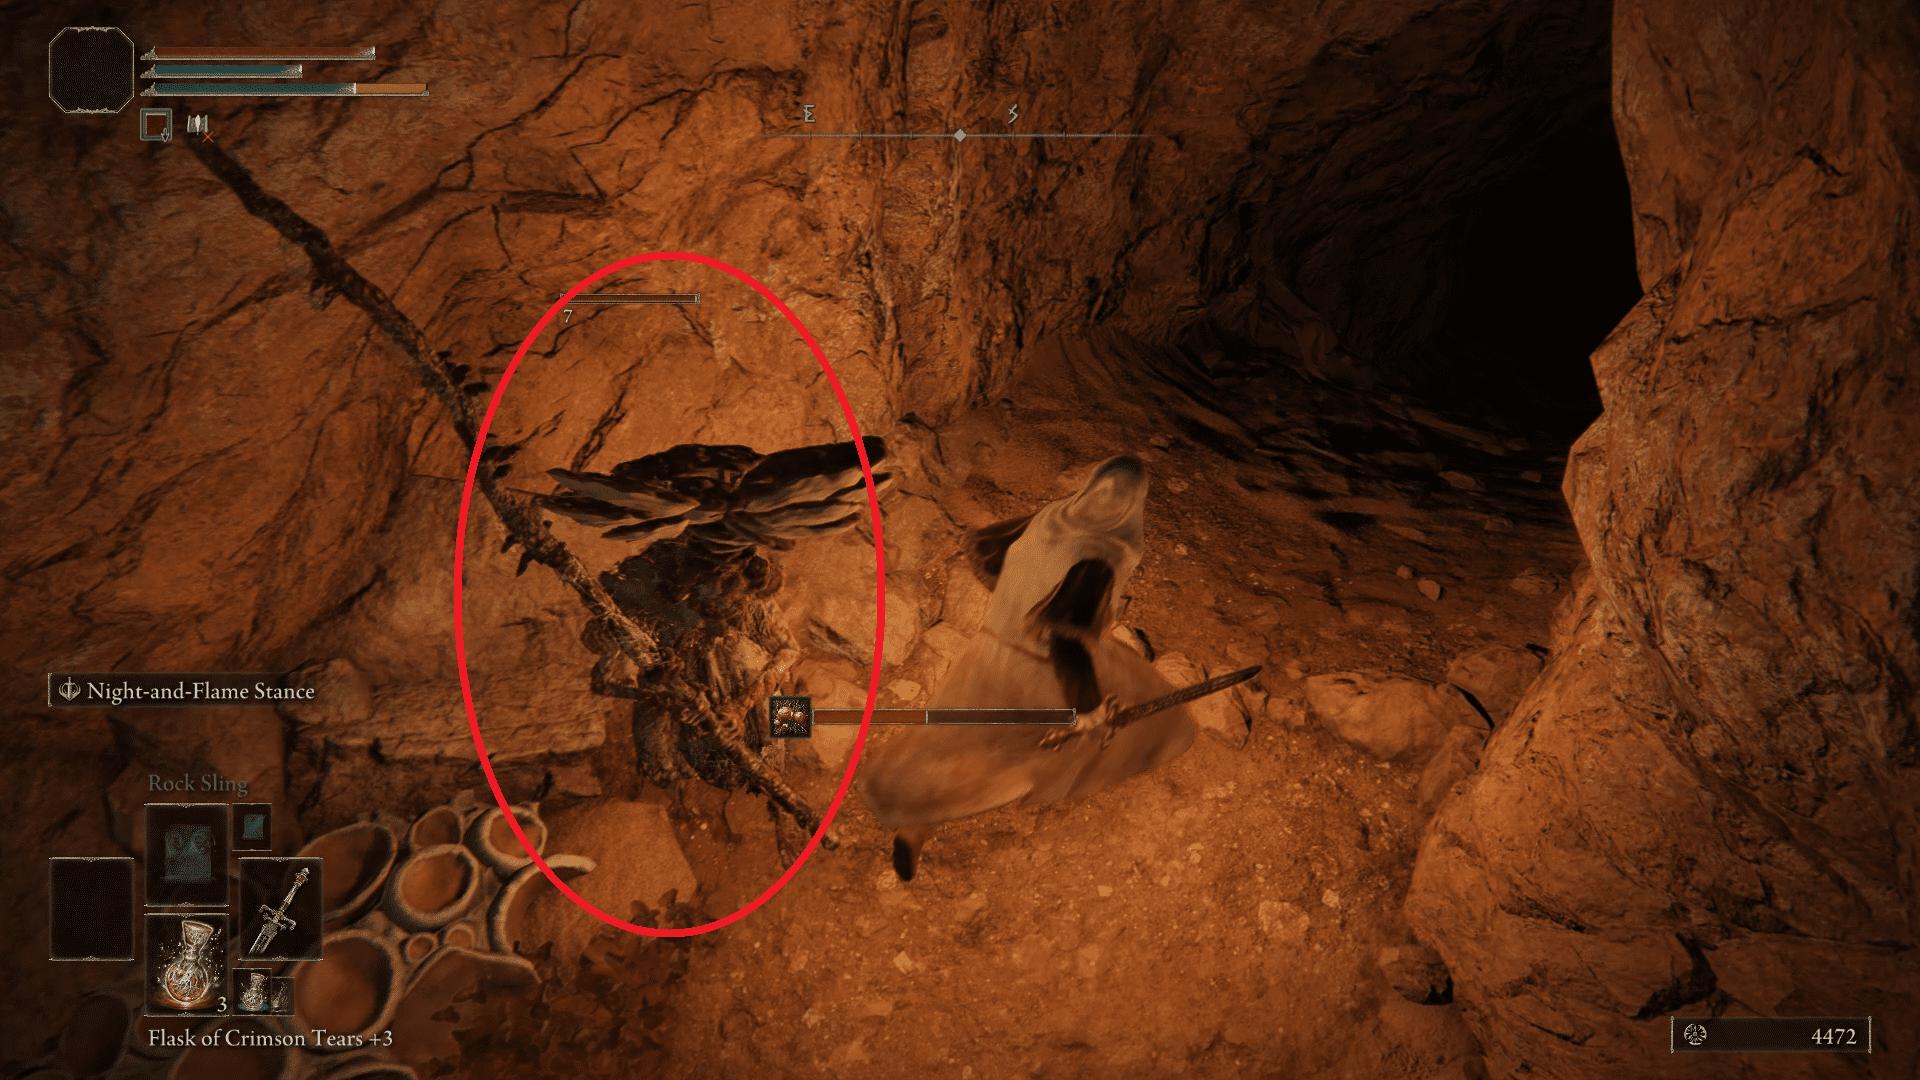
Now, we need the ingredients for the Gold-Pickled Fowl Foot. The three main ingredients used to craft it are Gold Firefly, Four-Toed Fowl Foot, and Rowa Fruit. Here’s how you can get all of them:
Gold Firefly
You can find Gold Firefly in a small pond located south of Limgrave.
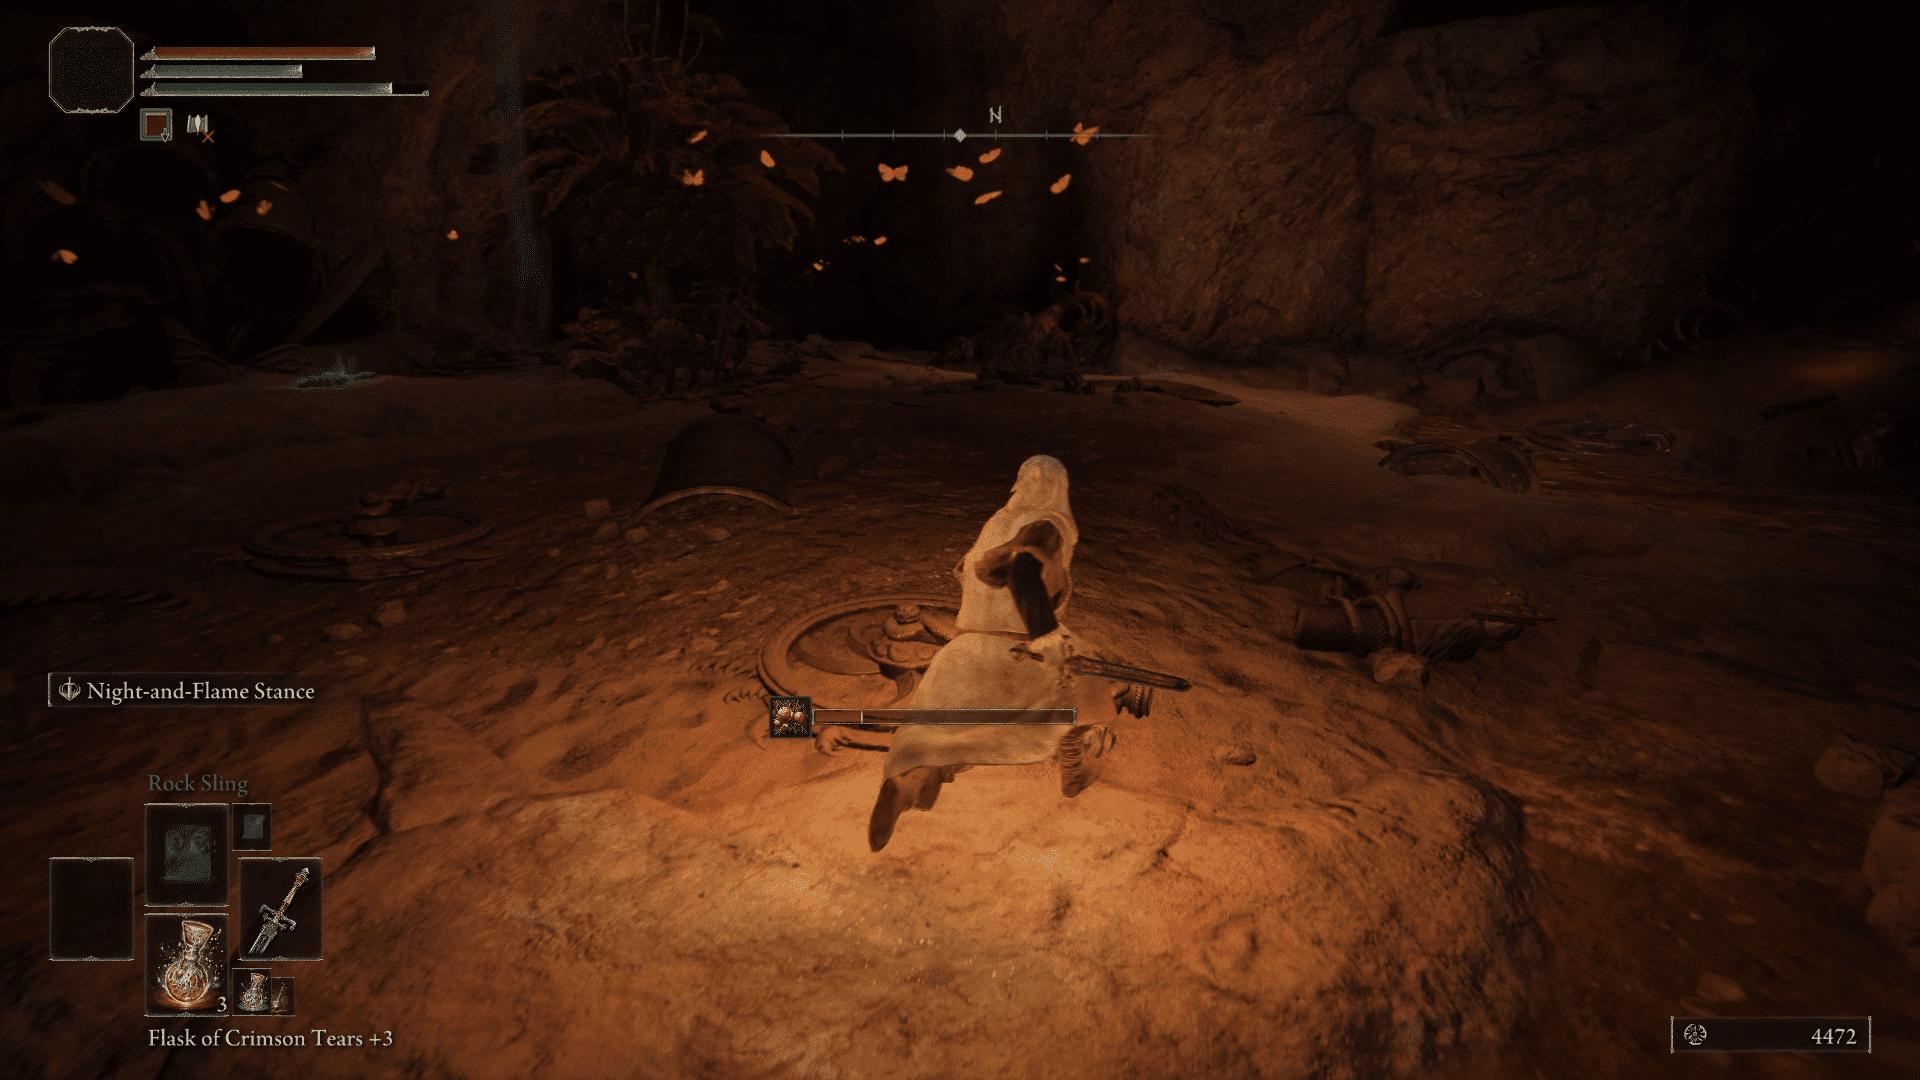
Also, remember there is a site of grace west of the pond called the Isolated Merchant’s Shack.
Four-Toed Fowl Foot
Luckily, this ingredient is near the pond where you find Gold Firefly.
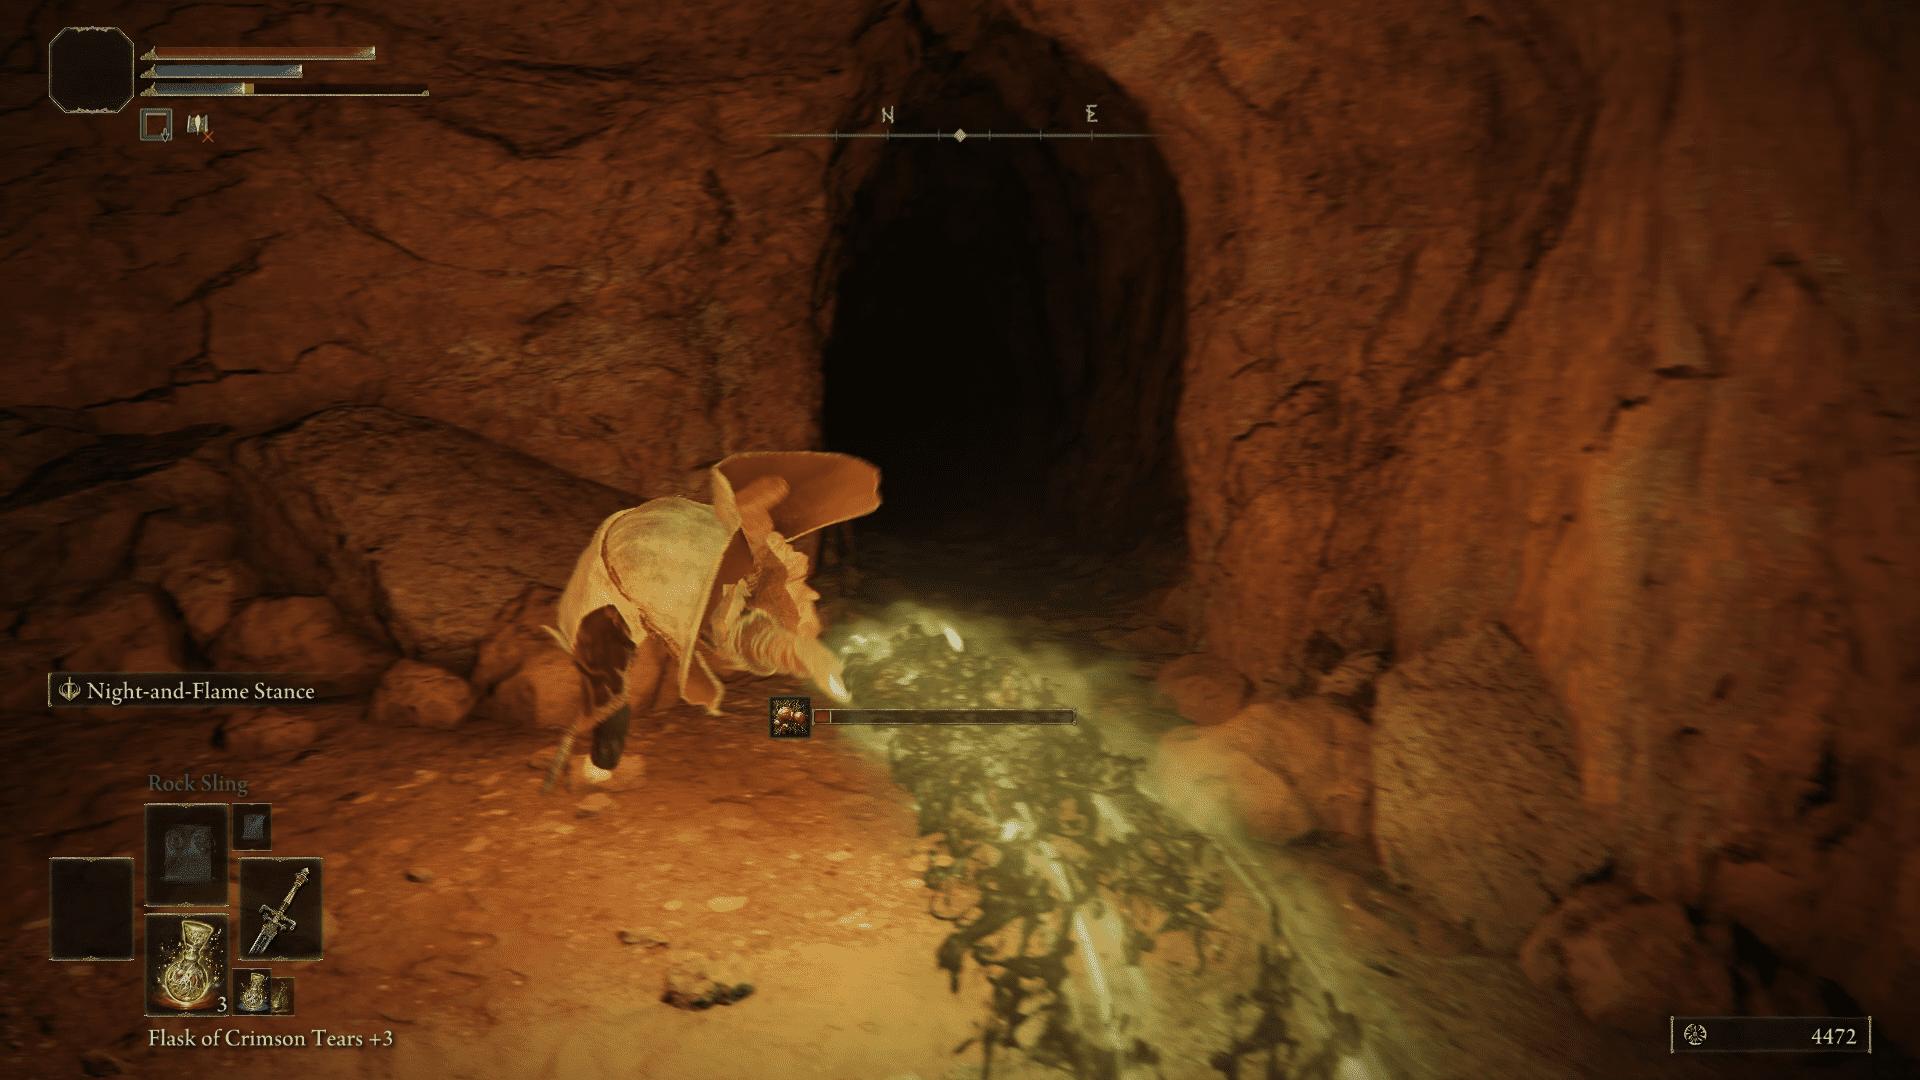
Kill the birds to get the foot. However, do not rush in towards the birds. Aim down sights with your crossbow to take out the birds, and if you get close to the birds, they will fly away.
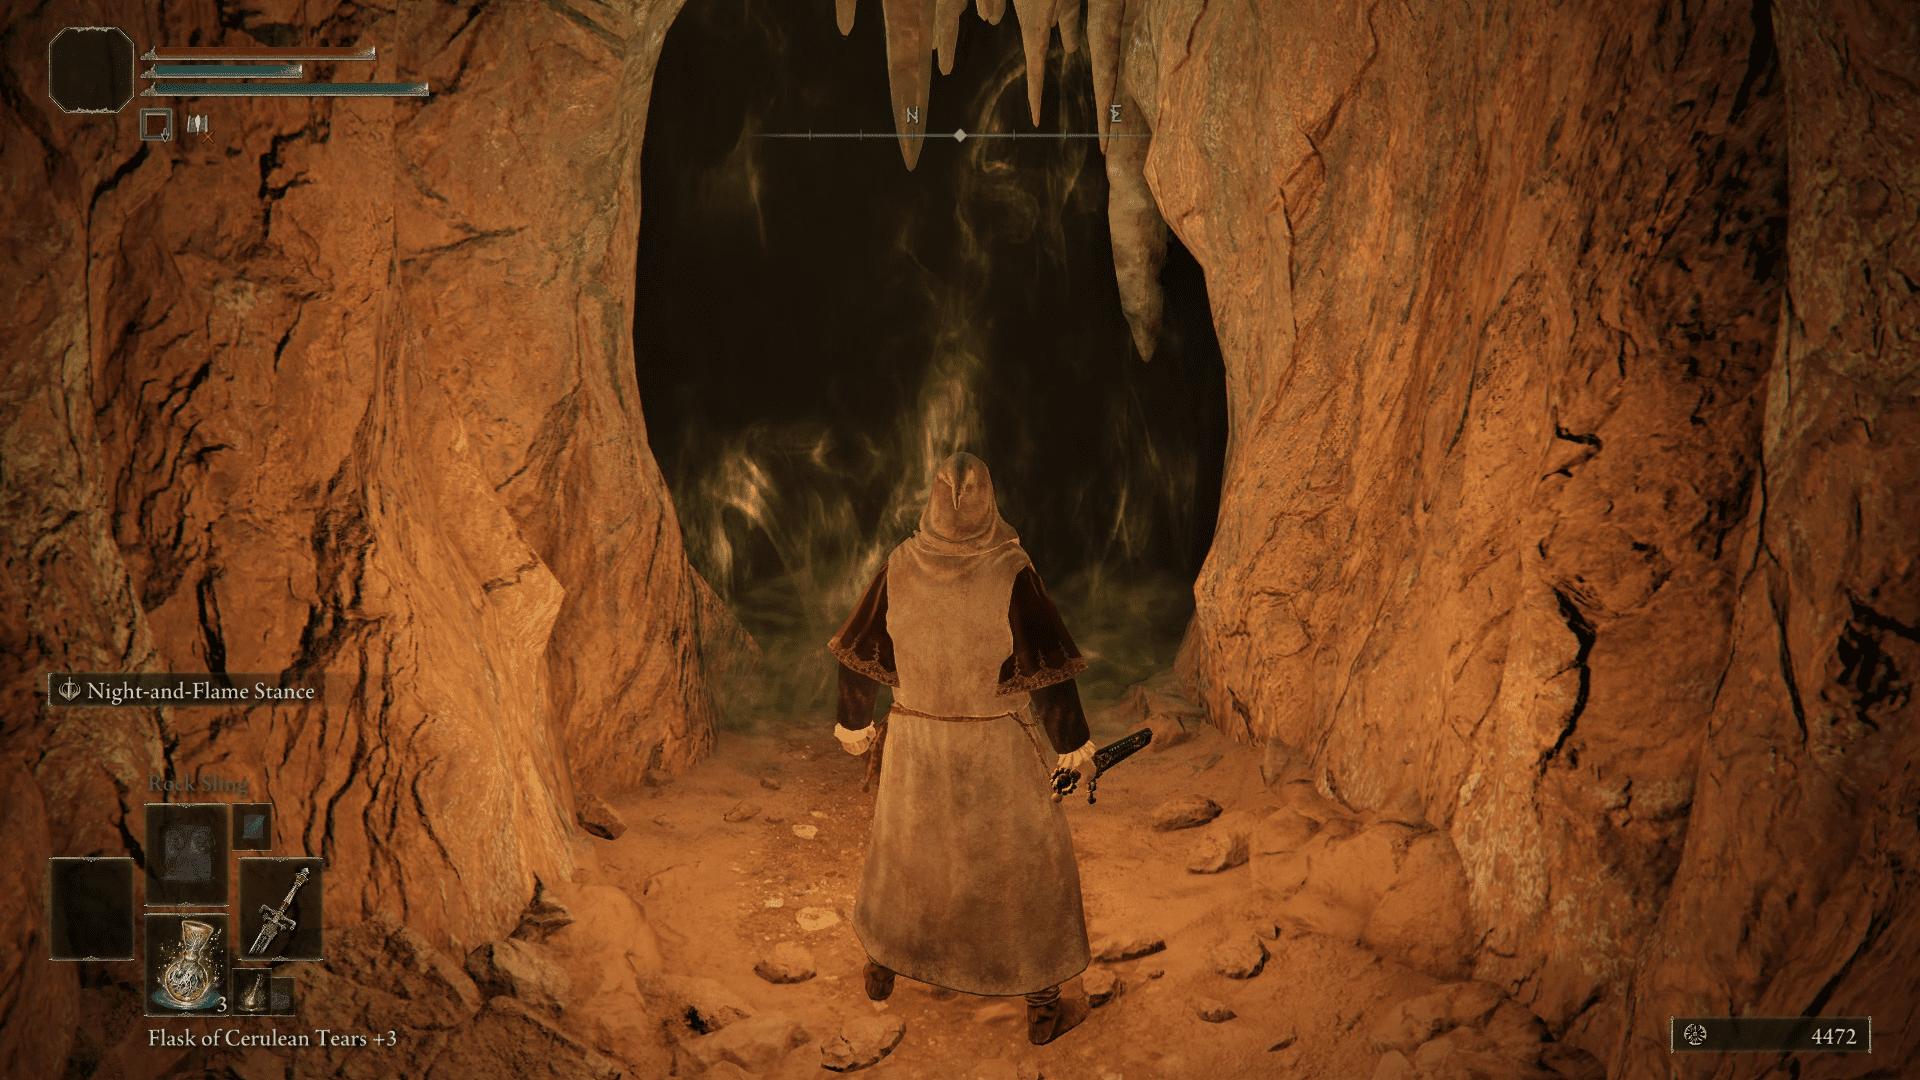
Once you’ve killed the birds, go to the corpses and collect your ingredients.
Rowa Fruit
The last material needed to craft a Gold-Pickled Fowl Foot is the Rowa Fruit. Rowa Fruits are found all over the map commonly. I usually go to Limgrave as there is plenty of them.
I also use the Church of Elleh to reset the spawns. This is where you find Kalé the merchant as well. He sells you a crafting kit.
Crafting Gold-Pickled Fowl Foot
Now to craft the Gold-Pickled Fowl Foot, you need a crafting kit.
You can now go to the ‘Item Crafting’ menu and start crafting your Gold-Pickled Fowl Foot.
You can either use it directly from your inventory or assign it to your pouch or quick action slot.
Step 2: The White-Faced Varré Quest
You must complete Varré’s questline to access the location used for this farm.
To start the quest, you must have defeated Godrick The Grafted main boss in Stormveil Castle. This guide will continue assuming you’ve already defeated Godrick.
Rose Church is located west of Gate Town in Liurnia of the Lakes. It will not be indicated on the map until you’ve visited it once.
Note that if you go inside the church, you will trigger a very strong enemy. It is best to just stay outside and talk to Varré. Keep talking to him until he gives you 5 Festering Bloody Fingers.
You need to use it to invade other players, and either win or lose the fight – that doesn’t matter. But, you must use the finger and it must be consumed.
First, it says ‘Attempting to invade…” and then it will eventually change to ‘’Invading anther world…’ that’s when you will join the fight.
Once you join the invasion session, go to the other player and either eliminate him or die to him. Do the same thing two more times. This means you must use a total of 3 out of 5 Festering Bloody Fingers.
After consuming the bloody fingers, return to Varré and talk to him. Keep talking to him, and you will get a prompt. Select the “Anoint me” option, and he will give you a cloth called Lord of Blood’s Favor.
You can find a body of a Maiden in the Church of Inhibition in Liurnia of the Lakes.

Head inside the church, and you will find the Maiden’s body to the left of the site of grace. Interact with her to dye the cloth with her blood.
It is also worth noting that when you visit the Church of Inhibition for the first time, you will be invaded by the Festering Spirit Vyke. You can run past him and directly go to the Maiden’s body to soak the cloth with her blood. Even if you die to the invader, as long as you’ve soaked the cloth, you should be good to go.
Bring the cloth back to Varré, and keep talking to him until he asks for your finger. When you get a prompt to “offer finger,” do so.
Sit through the disturbing animation, and then Varré will give you a Bloody Finger.
Once you get an option to talk to him again, keep talking to him until he gives you Pureblood Knight’s Medal.
You can find the medal under the ‘Tools’ section and can be used to go to a secret underground palace called Mohgwyn Palace.
When you reach the palace, go up the stairs and collect the map off of the dead body.
Keep going up and interact with the site of grace to make it easier for yourself to return to this location next time.
Go back downstairs and keep going back. Follow the route to reach Palace Approach Ledge-Road (the farm location). Use Torrent as you need to be quick. The enemies in this area are a bit tough and can kill you easily
Go southeast while hugging the left side of the mountain, and you will eventually find a pathway leading up to the ledge.
Do not go far right from here, or else you will die. You will get invaded as mentioned before, and there is also a huge super chicken that will destroy you.
Go up the ledge and reach the very end. You will find a site of grace at the end.
Now, you’re ready to start farming!
Step 3: The Rune Farm Strategy
This farm utilizes the game’s fall mechanics – you can use them against enemies in order eliminate them without fighting! You simply lure the enemy and wait for it to die, netting you 11,000 Runes per time, without our boosts.
If you equip the Gold Scarab, you will get 20% more, giving you 13,000 Runes per kill. And, if you consume a Gold-Pickled Fowl Foot, you will get 30% more, giving a total of 50% return standing at 17,000 Runes per kill. The Gold-Pickled Fowl Foot only lasts for about 3 mins.
Note that you must stand at a specific location, or else the bird won’t jump off the cliff. The bird must jump off for you to receive Runes.
Equip your Gold Scarab Talisman, consume your Gold-Pickled Fowl Foot, and equip your crossbow in two hands (to aim down sights). Just a reminder, you can equip the crossbow in both hands by pressing triangle+R2 (PS5), Y+RT (Xbox), and E+Left Mouse Button (PC).
Aim at the bird and shoot at it. Once hit, the bird will run towards you and fall off the cliff, giving you 17,000 Runes.
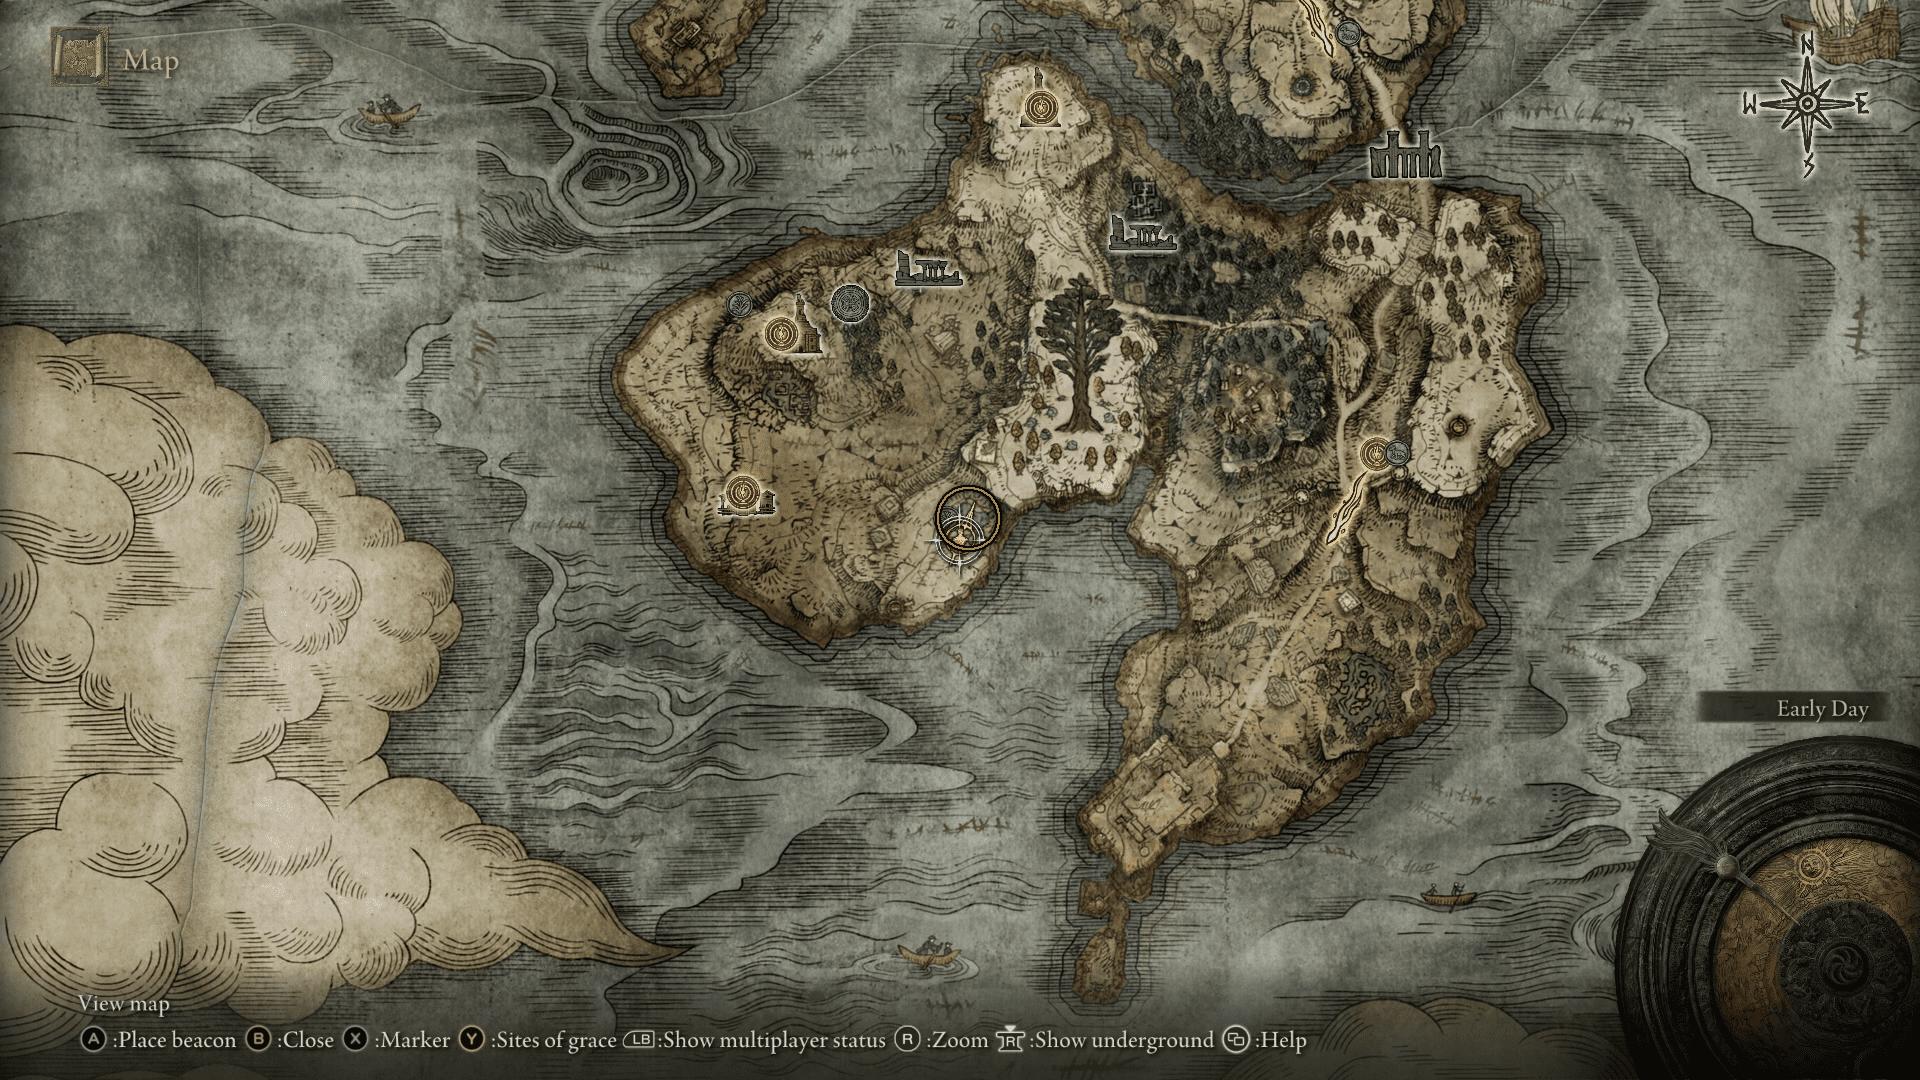
To repeat the process infinitely, simply go back to the site of grace and rest. This will respawn the bird.

Just note that you must not fast travel while your Gold-Pickled Fowl Foot is active. Fast traveling will disable the effect, making your consumed foot useless. Happy farming!

