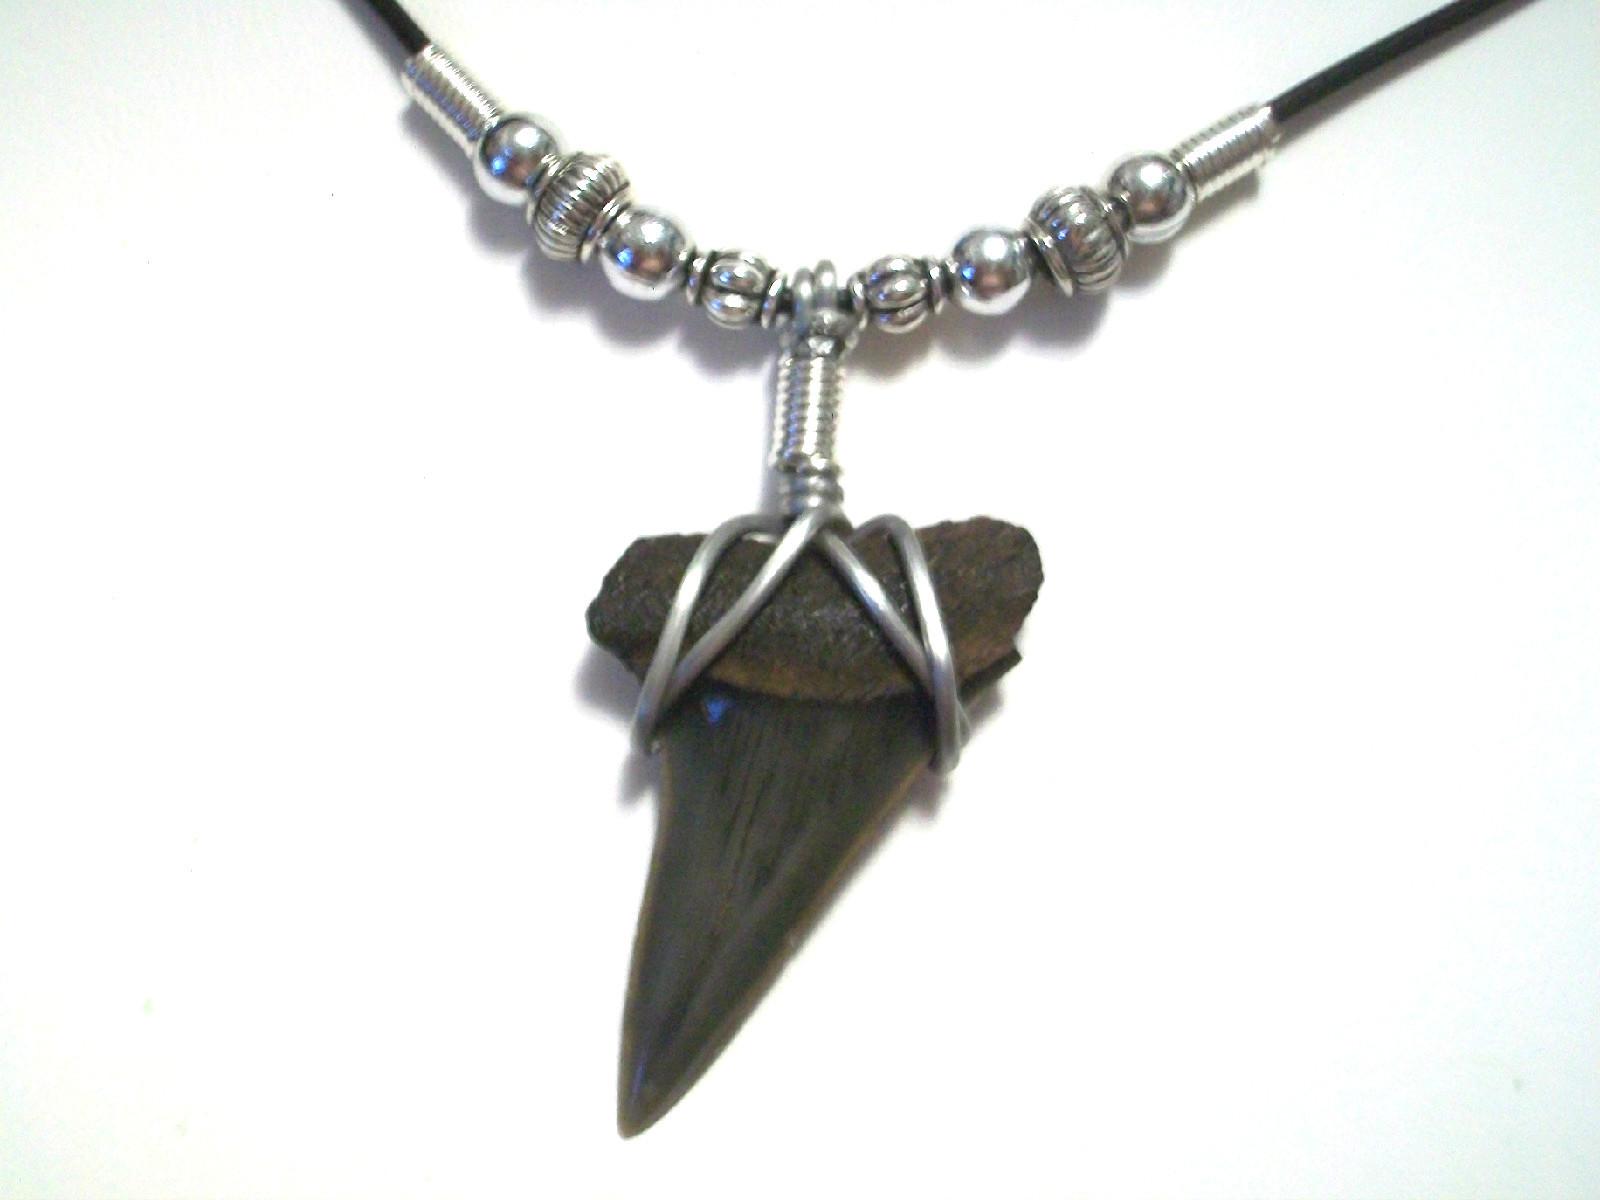
There’s no better way to show off your love for sharks than by wearing a shark tooth necklace. These necklaces are stylish, durable and simply great with just about any type of outfit. Of course, you can always purchase shark tooth necklaces from one of many websites and stores, but you can also make your own. All it takes is a few basic supplies, a little bit of time, and the knowledge of how to make them. If this sounds like something you’re interested in, keep reading and we’ll walk you through the steps to making your own shark tooth necklace.

Choosing a Shark Tooth For Your Necklace
The first step in creating a shark tooth necklace is to choose a tooth. A lot of beginners make the mistake of trying to use small teeth for their necklaces, and while these may work on occasion, you should generally stick with larger ones. There are a couple of reasons why larger teeth should be used for necklaces, one of which is simply because they’re easier to attach. Trying to attach a small tiger shark tooth to a necklace can be a difficult task. If you do in fact get the wire successfully wrapped around a small tooth, it won’t stay on as easily as a larger tooth would.
Another reason why larger teeth are preferred over smaller ones for necklaces is that they’re more noticeable. The whole point of creating and wearing a shark tooth necklace is to show off your love for sharks. In order to accomplish this, you have to wear a necklace with a large, prominent shark tooth on it.
So now that you know why it’s important to choose a large tooth for your necklace, you’re probably wondering which ones to choose. It really all depends on your personal preference, as any large shark tooth will work just fine for a necklace. With that said, I prefer necklaces made with great white sharks and megalodon teeth. Of course, these are usually the most expensive teeth, but there’s no substitution for their stylish appearance when used to construct a necklace.

What You’ll Need For a Shark Tooth Necklace
Before we start, it’s important to note that there’s no one specific method for creating a shark tooth necklace. In fact, once you have some experience with making them, you can start to experiment with various materials and methods. The method we’re going to cover here is one of the most basic ways to make a shark tooth necklace. In order to create one, you’ll need to pick up the following:
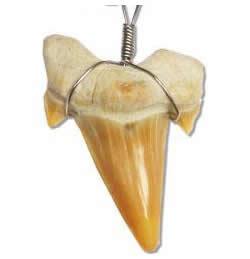
- A large shark tooth of your choice
- 8-10 inches of thin craft wire
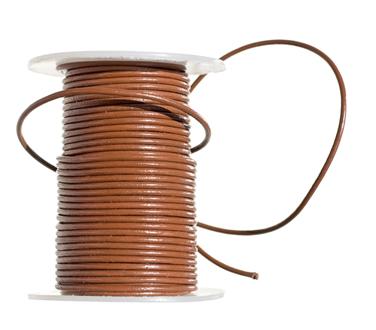
- Necklace cord, preferably leather
- Clasp
- Beads (optional)
With the exception of the shark tooth, you should be able to pick up all of these items from your local craft or hobby store. If this is your first time making a shark tooth necklace, you might want to pick up extra wire and necklace cord; otherwise, you could find yourself making extra trips to the store in the event you mess up the first necklace.

Creating a Shark Tooth Necklace
Once you’ve acquired all of the items listed above, it’s time to start piecing them together and creating your shark tooth necklace. Sit down at a table or countertop where you’re comfortable working from and start by wrapping one of the ends of the craft wire around the left edge of the shark tooth. Continue wrapping it around the side while pulling it tight to hold the tooth in place. When you’ve finished doing this to the left side of the tooth, pull the wire over to the right side and repeat the steps until it’s fully secure.
The trick to creating a shark tooth necklace is to make a loop in the wire at the top of the tooth, as this will be used to run the cord through. If you fail to leave a loop in the wire, you’ll have to come up with a different method, so make sure to leave a loop before cutting off the rest of your craft wire. The exact size of the loop will depend on the thickness of your leather cord. Some people prefer to use thick leather cord to make their shark tooth necklaces, while others prefer thin cord. Both types are perfectly fine, but thicker cord will require a larger wire loop to properly fit.
With the wire wrapped around your shark tooth, you can now run the leather cord through the loop. Continue pulling the cord through until the necklace is large enough for your preference, and then cut off the remaining cord. You can now attach the clasp to both ends of the necklace. Congratulations, you’ve just created your very own shark tooth necklace!
When it’s made right, the shark tooth necklace should remain securely attached to the wire and your necklace. However, throwing it around or being rough with it in general may cause the tooth to loosen or even fall off. To ensure you don’t lose your shark tooth, you should periodically check it for any signs of damage. Trust me, there’s nothing worse than losing one of your favorite megalodon teeth.

