If you’re looking for tips on how to dehydrate green beans, this article is just what you need! Learn how to dry greens beans using a dehydrator or your oven.

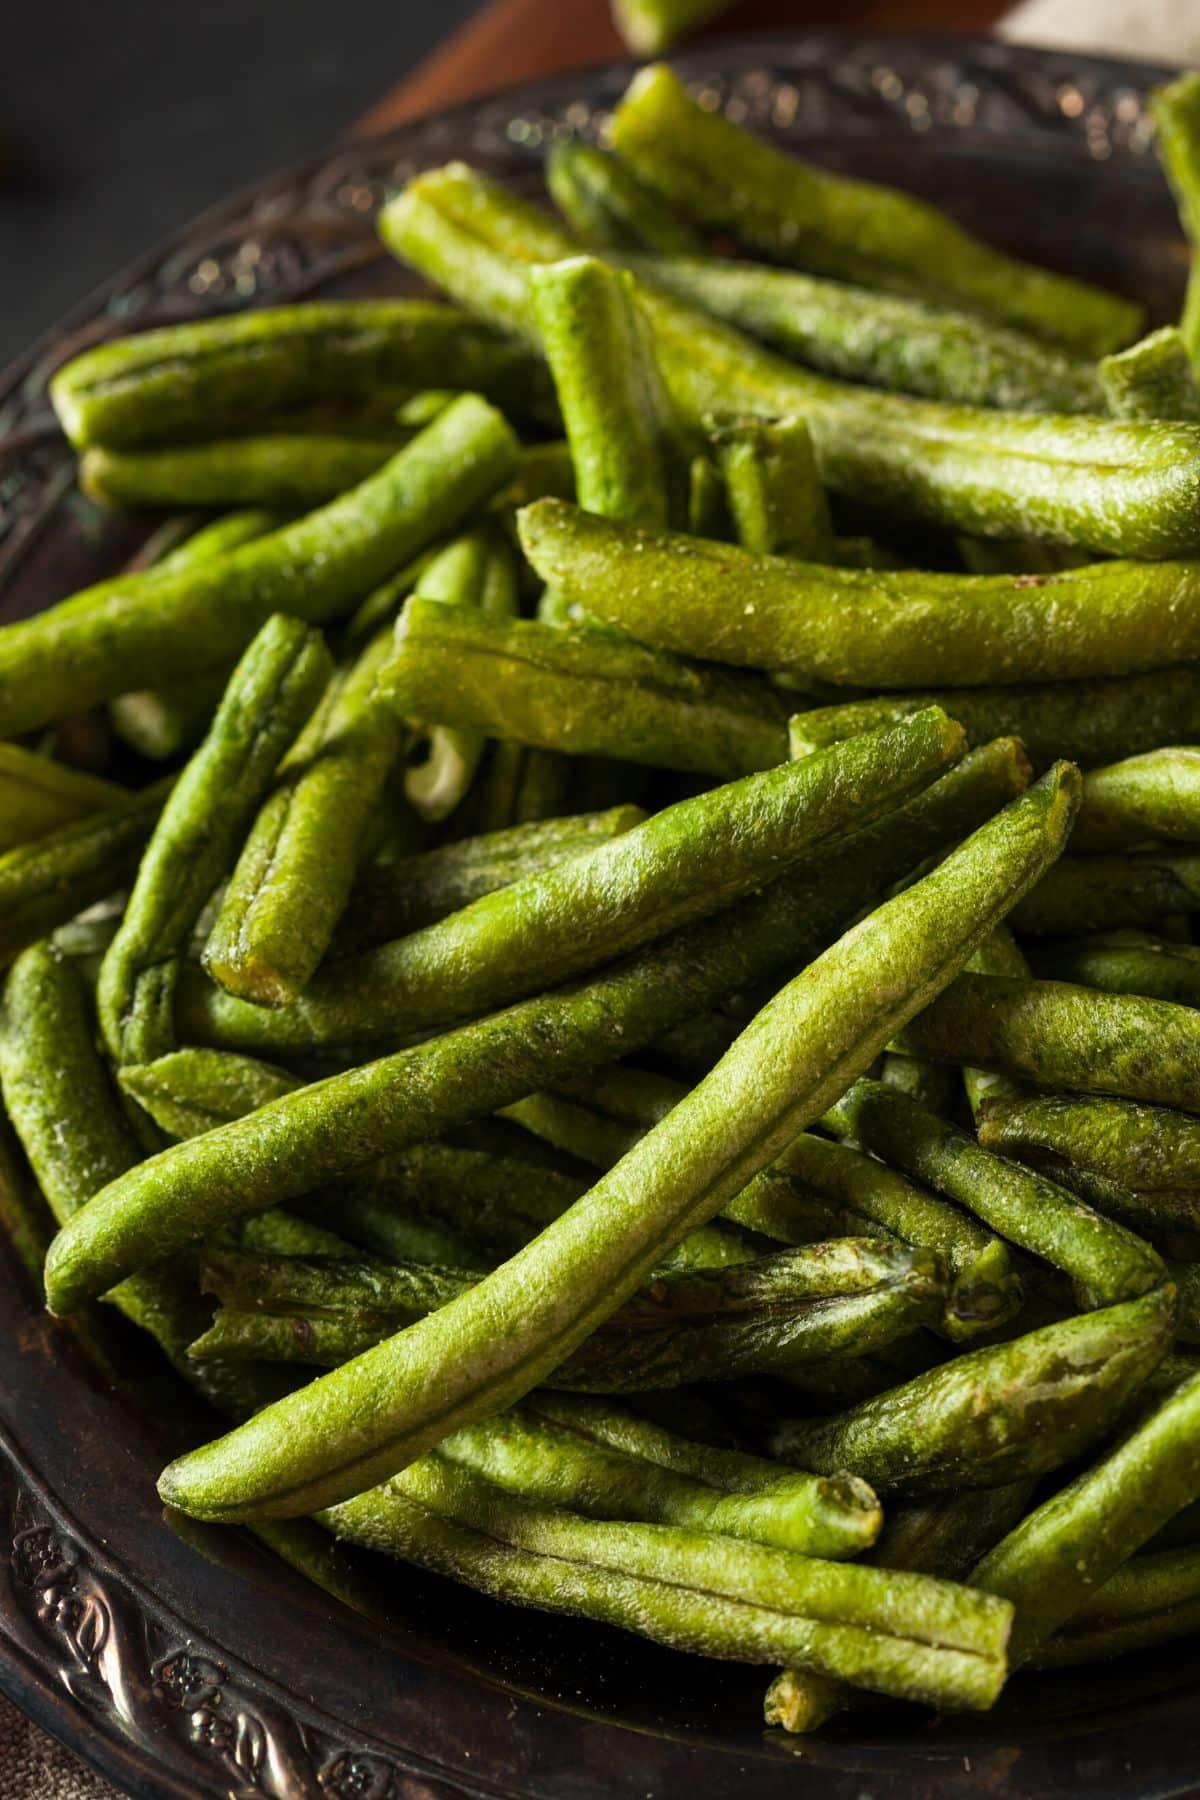
Dehydrated green beans are high-fiber, low calorie, and super crunchy. You can use them in stews, casseroles, and soups. Freshly dried and lightly salted, they make a healthy alternative to potato chips.
If you’ve had a bumper crop of beans in the garden and have run out of ideas for bean recipes, dehydrating is your answer and a great way to avoid food waste. It’s an inexpensive and easy way to preserve beans almost indefinitely.
Dehydrated green beans are also a useful pantry staple. They’re nutritious and filling and have a complex flavor profile once you’ve rehydrated them.
You can use a dehydrator or your oven. An oven works just as well – it just takes a little longer. This article will show you how to dehydrate beans using both an oven or a food dehydrator.
Why You Need This Recipe
- With dehydrated green beans in your pantry, you won’t have to run to the store when you need some for a casserole or a stew. You’ll have these tasty veggies available to you at all times.
- If you love camping or hiking and cooking outdoors, dehydrated green beans are a lightweight, nutrient-dense food that won’t spoil. They’re perfect healthy snacks to take on road trips, especially if you like a savory snack.
- You’ll save on storage space. Dehydrated green beans are ideal if you have a small fridge or limited storage space. They’re much less bulky than fresh, frozen, or canned green beans.
What You’ll Need to Make This Recipe
You’ll need some basic kitchen equipment and ingredients to dehydrate green beans. Almost every kitchen will have everything you need already, so you won’t have to do a special shop for this.
This recipe is very similar to how you would learn to make dried beets.
1. A Dehydrator or Oven
If you dehydrate food regularly, it’s worth investing in a dehydrator (I have this Excalibur dehydrator). But, if you don’t have one, don’t worry! An oven will work just fine.
You’ll need either hydrator trays or baking sheets to hold the beans in a single layer during the drying process.
2. Large Cooking Pot
The pot is for blanching the beans, so it must be large enough to contain all the beans in one go. Otherwise, you’ll need to blanch your beans in batches.
3. Colander
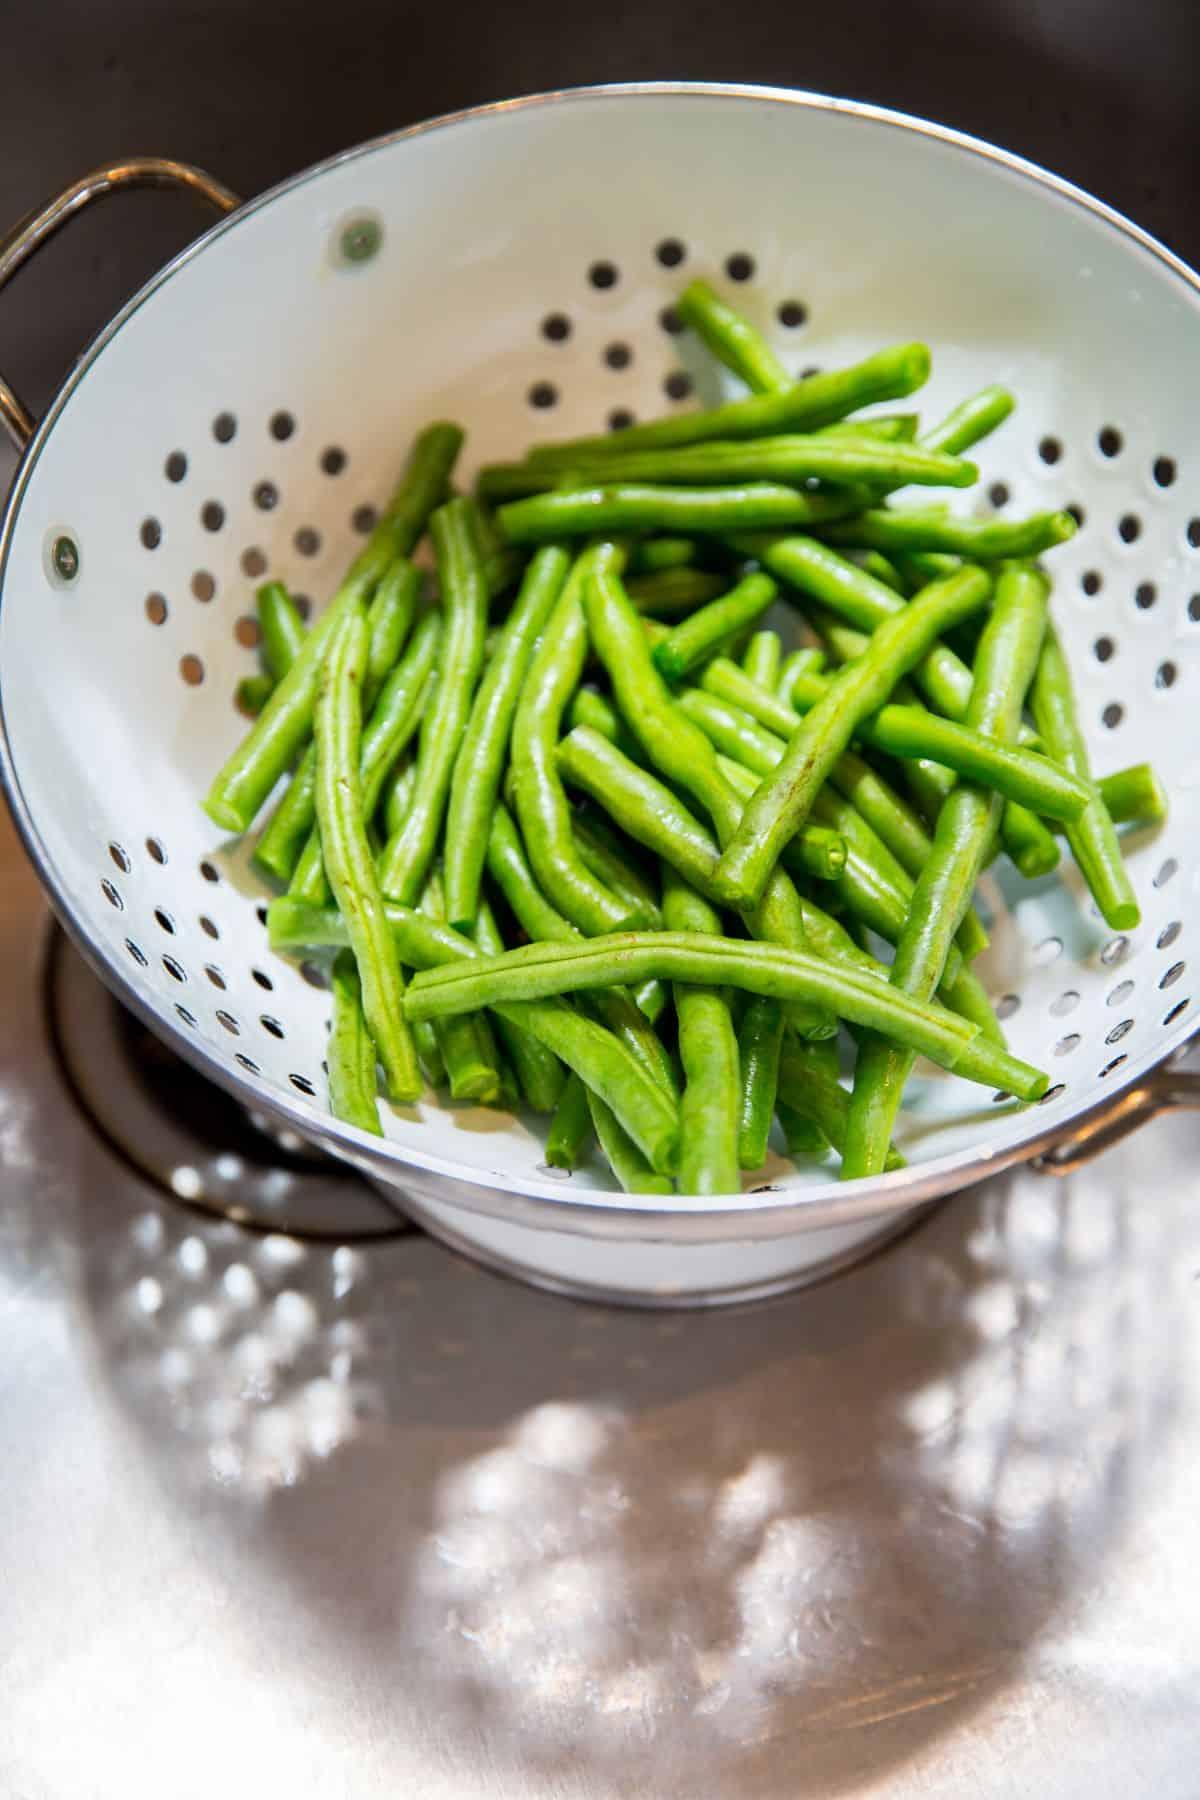
A colander makes the blanching process easier. If you don’t have a colander, scoop the beans out with a slotted spoon or skimmer.
4. Storage Containers
Dehydrated food can keep a long time, but only when it’s not exposed to moisture and other environmental factors.
To store your dehydrated green beans, you’ll need airtight storage containers. It’s best to use glass containers or an airtight jar.

Ingredients and Substitutes
You don’t need any complicated ingredients or additives to dehydrate green beans!
Green Beans
If you’re picking your green beans from your garden, try to do so early in the morning when they’re at their most tender and crisp.
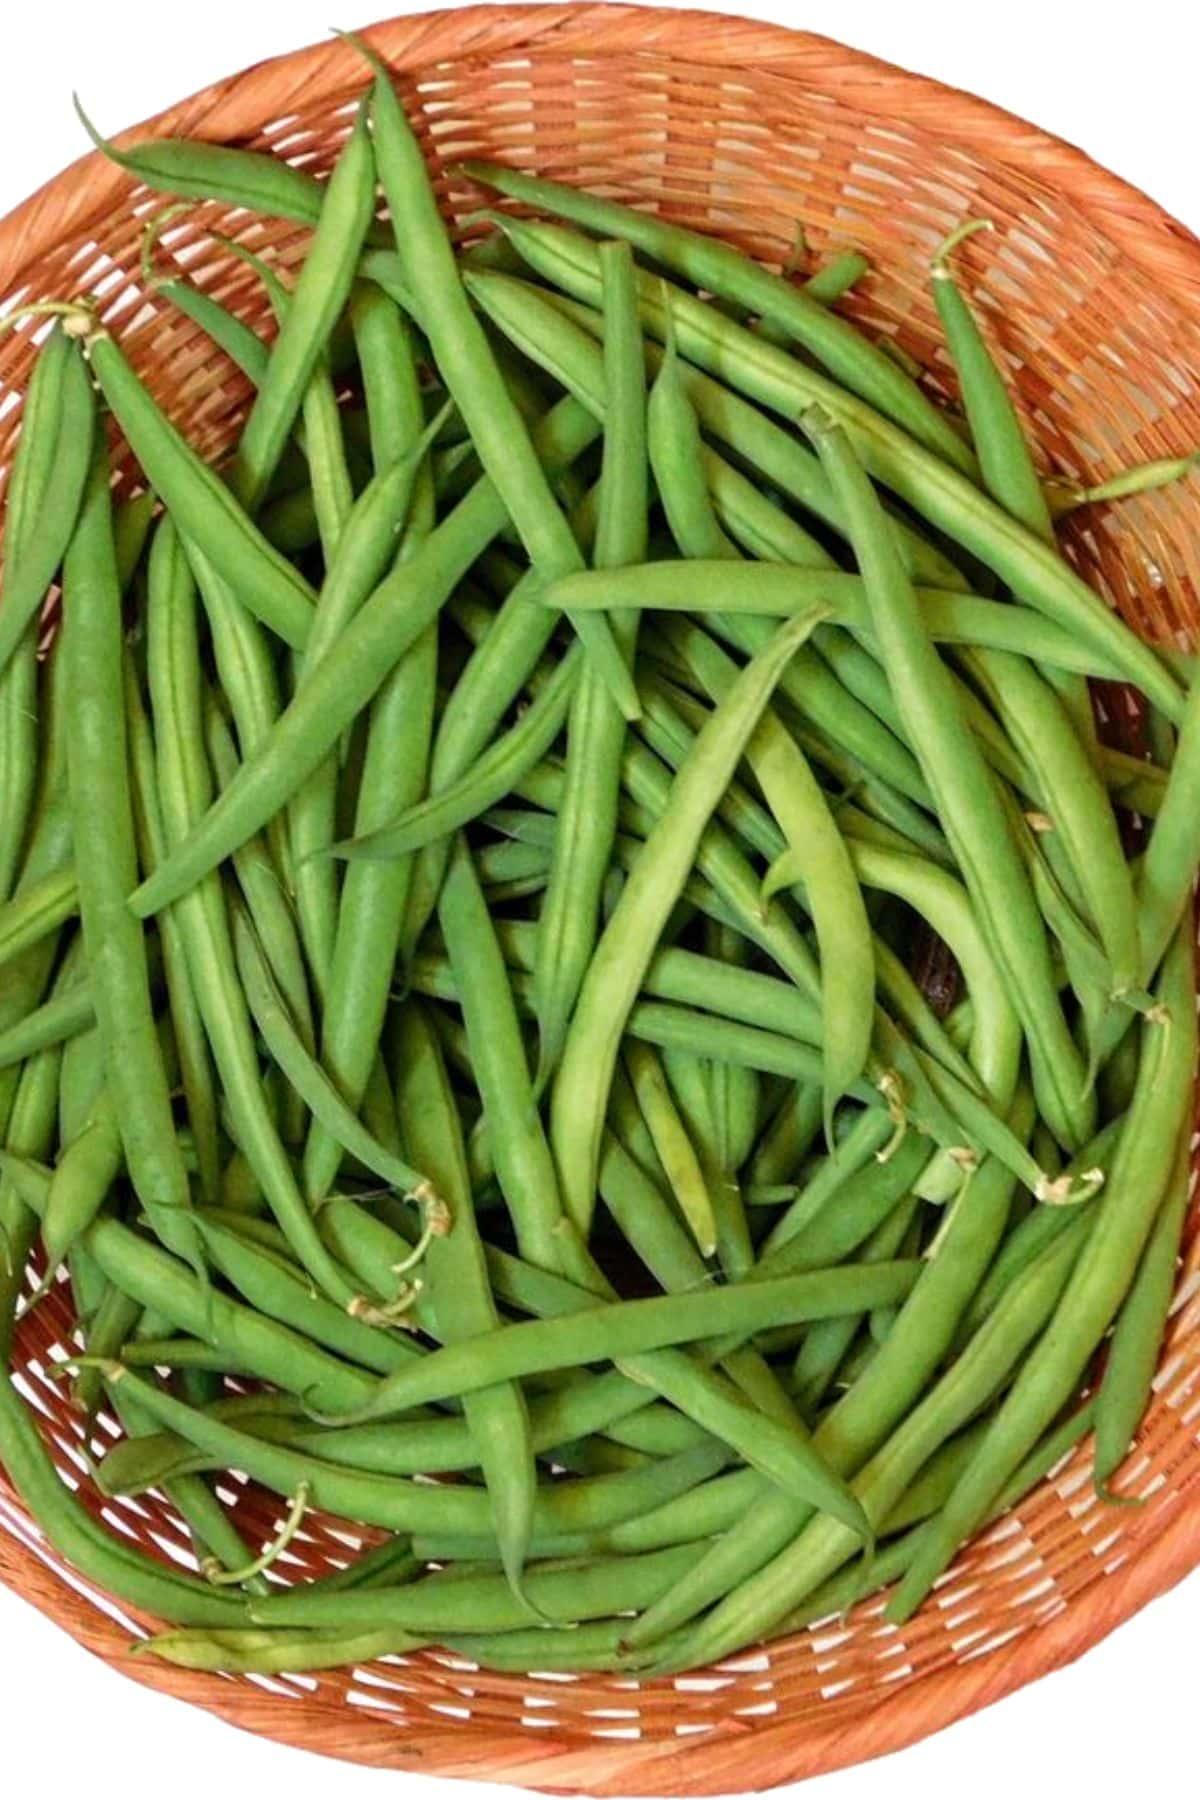
Whether you’re picking or buying your beans, they should have a vivid green color and a firm texture. Avoid limp beans or beans that have rust-colored spots or slimy stems.
The surefire way to test if a green bean is great is to check if it has that unmistakable “snap” when you break it in half.
Salt
The salt is just to salt the water when you blanch the green beans, so you can use any type you prefer or find at the grocery store.
Ice
You’ll only need a handful of ice cubes to cool the water down for the ice bath.
Recipe Steps
Step One
When you get your green beans ready to be dehydrated, it’s important to blanch them first.
Blanching your beans may seem like an unnecessary extra step since you want to remove liquid from the beans and not add more in, but it’s not.
Blanching actually makes the dehydration process go quicker! It helps the beans to dehydrate faster by releasing some of the juices.
Blanch the beans in a pot of boiling water for several minutes.
Step Two
Drain the beans and then pat them dry with a clean towel or paper towels.
Be sure to check the recipe card below for the exact measurements and instructions.

Step Three
Whether you’re using a dehydrator or an oven, you’ll need to dry the beans at 125 degrees F on a cookie sheet or dehydrator trays for about 6-8 hours.
If your oven doesn’t go that low, then use the lowest setting it will go to. For my oven at home, it has a low temperature of 170 degrees F.
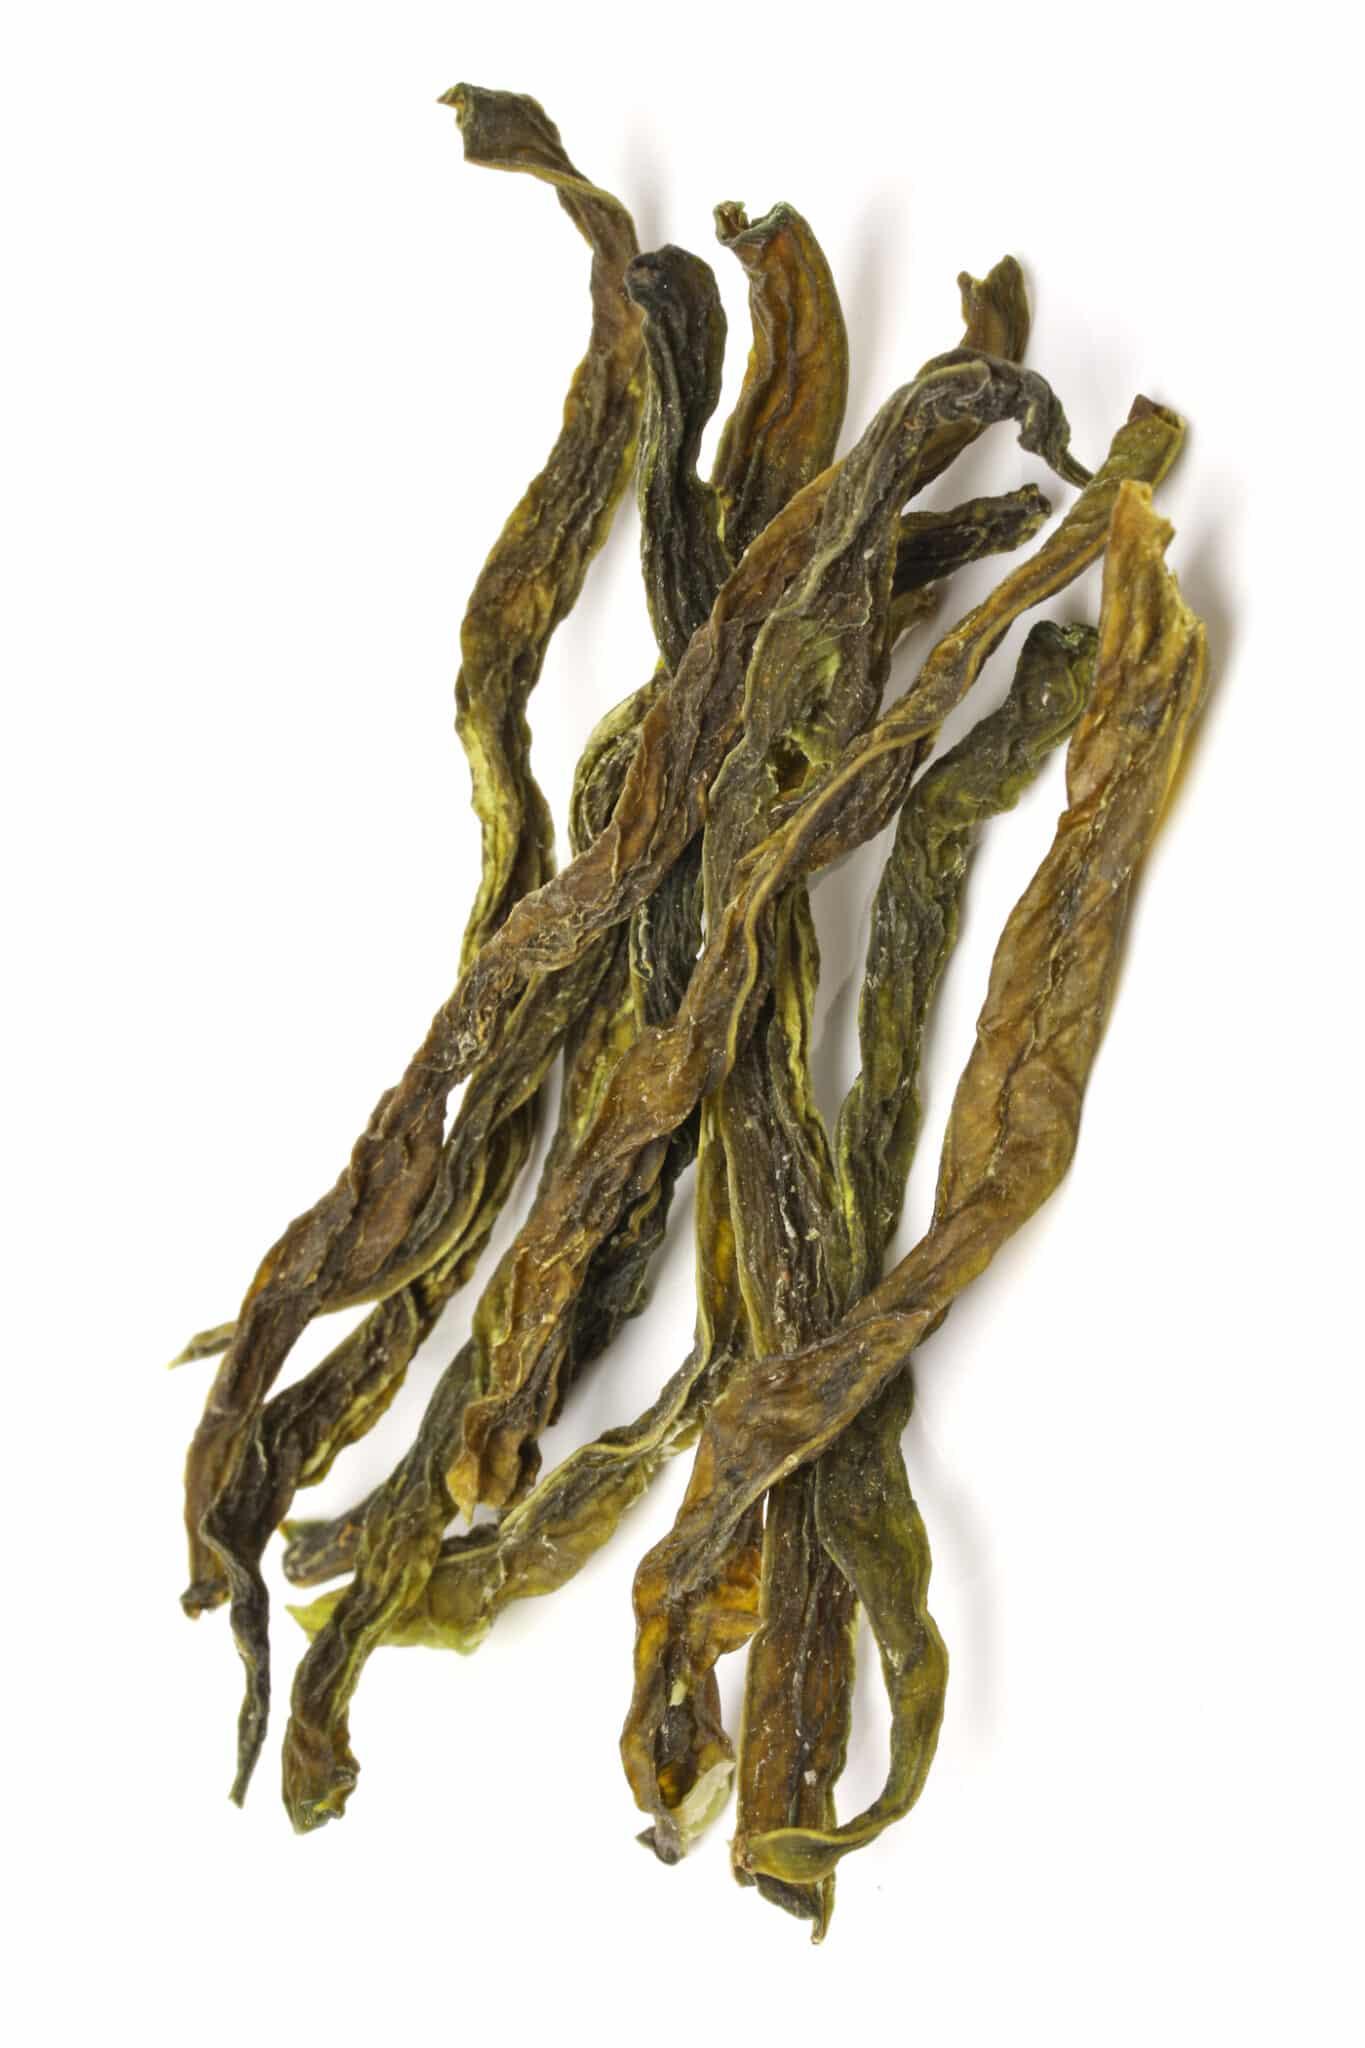
Note: depending on how long you dehydrate your green beans, they may either still have some volume to them, or they may shrivel down into skinny little pieces.
If you intend to store the green beans for a long time, you’ll want to make sure they are 100% dehydrated.
If you plan to eat them as a snack within a few days or a week, you can dry them for just a few hours to remove some of the moisture. It all depends on your personal preference.

Recipe Tips and Substitutions
- Conventional ovens don’t always maintain consistent temperatures at low settings, so cooking times vary from oven to oven. Keep checking on your beans during the dehydrating process from around 8 hours onward.
- To rehydrate your green beans, soak them in hot water for an hour or cold water for two hours.
- If you’re adding the dehydrated string green beans to a casserole, stew, or soup, add a little extra water or stock to the recipe.
Recipe FAQs
More Dehydrator Recipes You Might Like
- Dehydrated Watermelon
- Healthy Seed Crackers
- How to Dehydrate Pineapple
- Carrot Juice Pulp Crackers
- Homemade Beet Powder
- How to Dehydrate Carrots
Don’t forget to join my newsletter list to get exclusive clean eating recipes and tips. The newsletter is 100% free with no spam; unsubscribe anytime.

 Dior CD Disc-shaped Earrings 2023 Vintage Style for Women
  Chanel earrings, CC earrings adorned with pearls v41
  Chanel earrings, CC dangle earrings in water drop shape adorned with stones and pearls v39