When I first started my kitchen makeover adventure I honestly wasn’t completely sure what I was going to do about the vinyl plank floating floor.
Flooring is always the last thing I do in any room makeover because I want the floor I’m getting rid of to take all the project abuse…. like paint spatters etc.
Not that I’m a messy painter or anything. No, not me. 😉
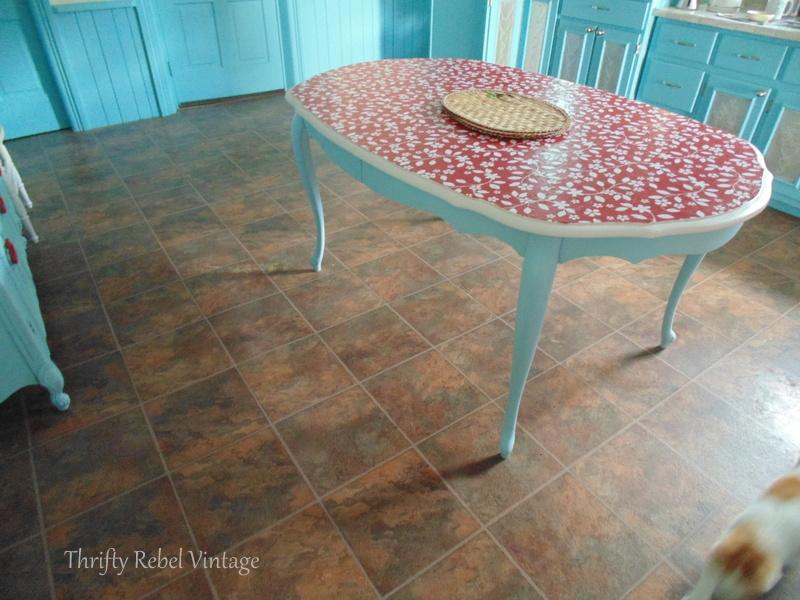
This vinyl plank floating floor just didn’t go with my new red and aqua kitchen colours.
(Leo likes to photo bomb my pics sometimes)
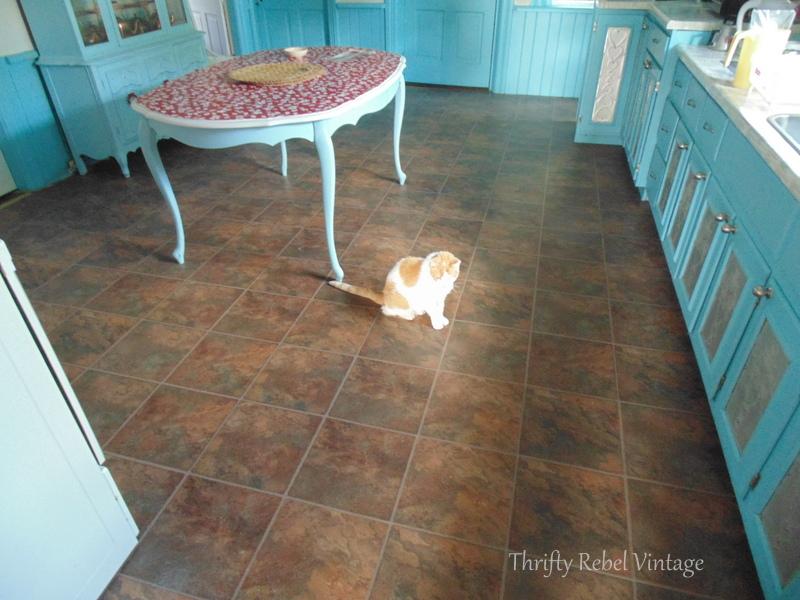
So after a lot of thought I decided to remove it and cross my fingers that the blue and white vinyl floor that we put down over 15 years ago was still in good shape underneath.
I honestly couldn’t remember.
But no guts, no glory… right? So I went for it.
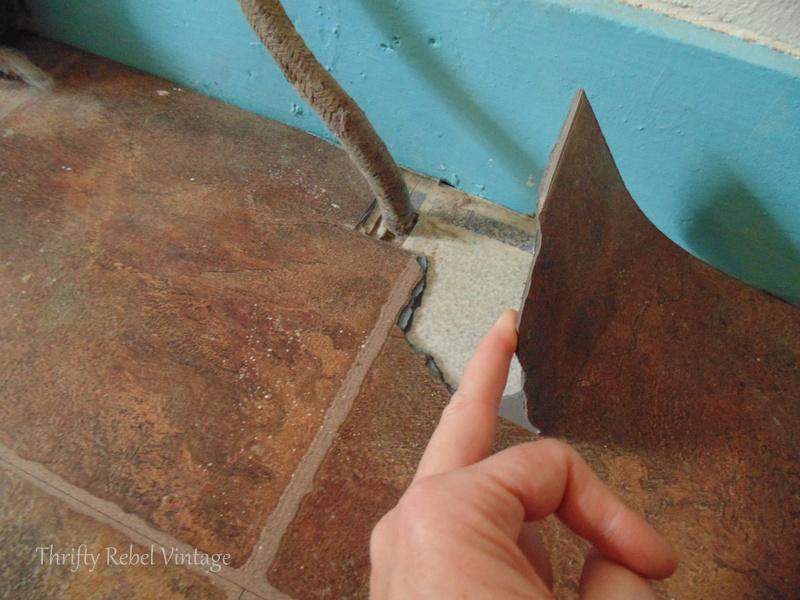
I decided to start behind the fridge and stove.
It was easy to pull up the vinyl behind there to get started.
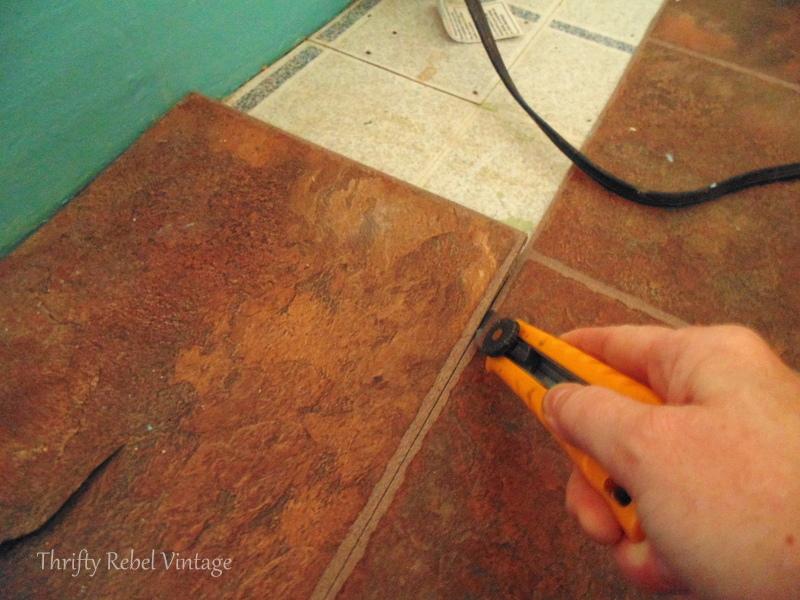
I only had to use a unility knife in a couple of places, and since I was hoping to keep the floor below I was very careful to not cut into it.
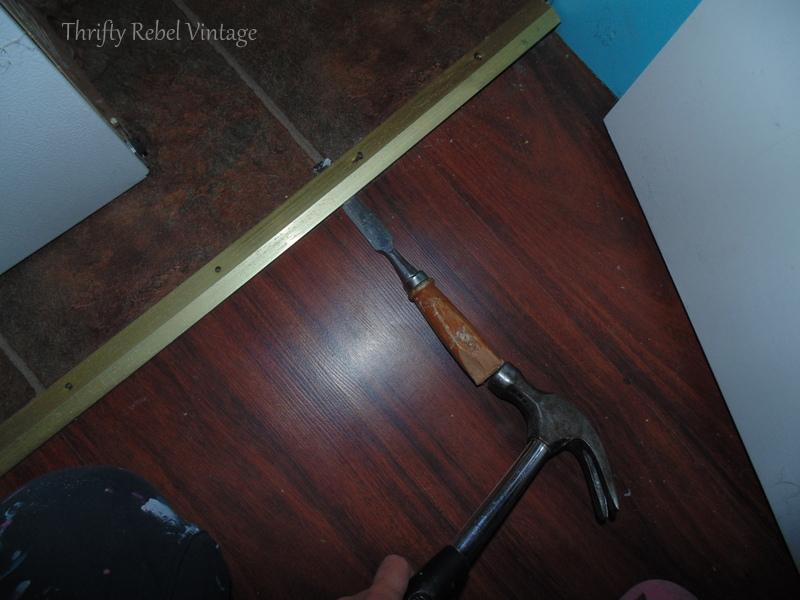
I removed all door threshholds with a chisel and hammer by lifting the chisel once it was under and popping out the nails.
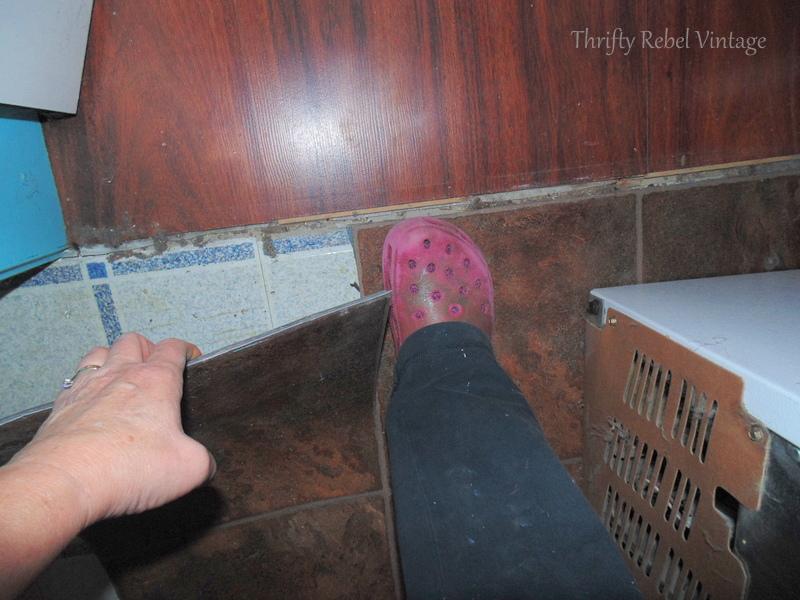
Then it was all systems go.
I placed my foot at the start where two tiles met. Using my weight to help separate the tiles I just pulled as I went along.
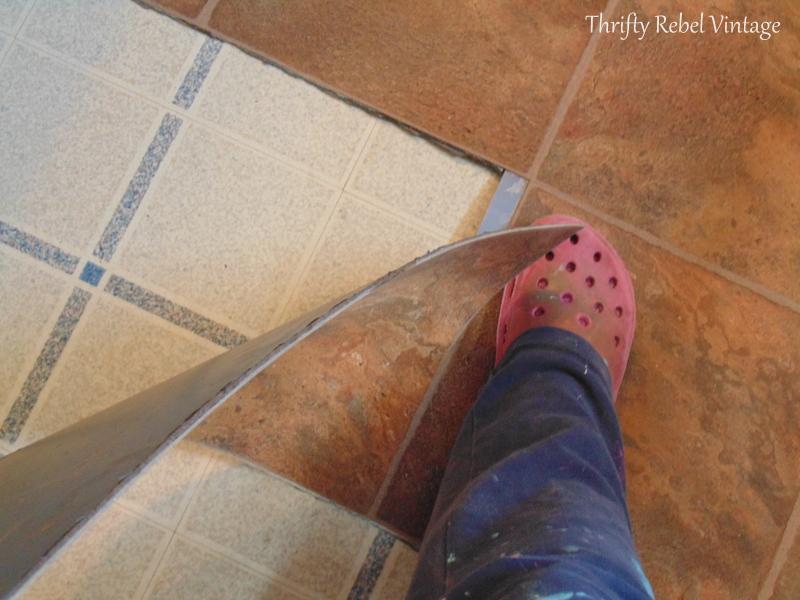
Then I used my foot again at the other end of that same tile.
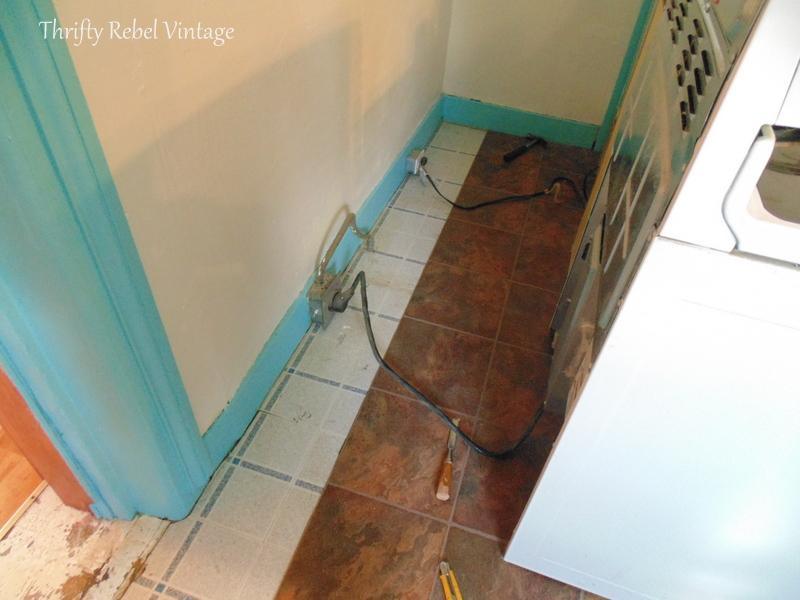
Woo hoo! There’s the beginnings of my nice and bright blue and white floor.
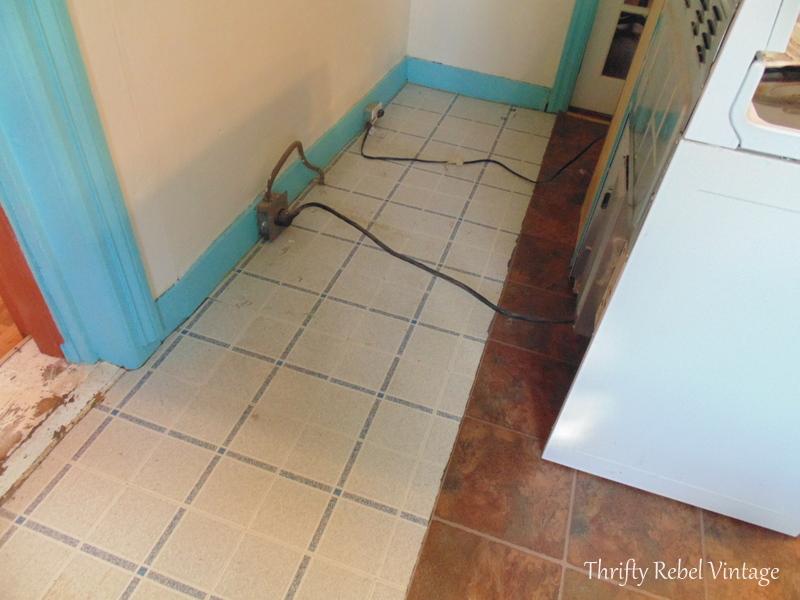
I have to say that besides the fact that the floor needs a good cleaning I was so happy when I saw it.
My memory is crazy! I could have sworn that little blue square in the middle of each tile was pink.
I’m so glad it wasn’t. Wait! Did I actually just say that? lol.
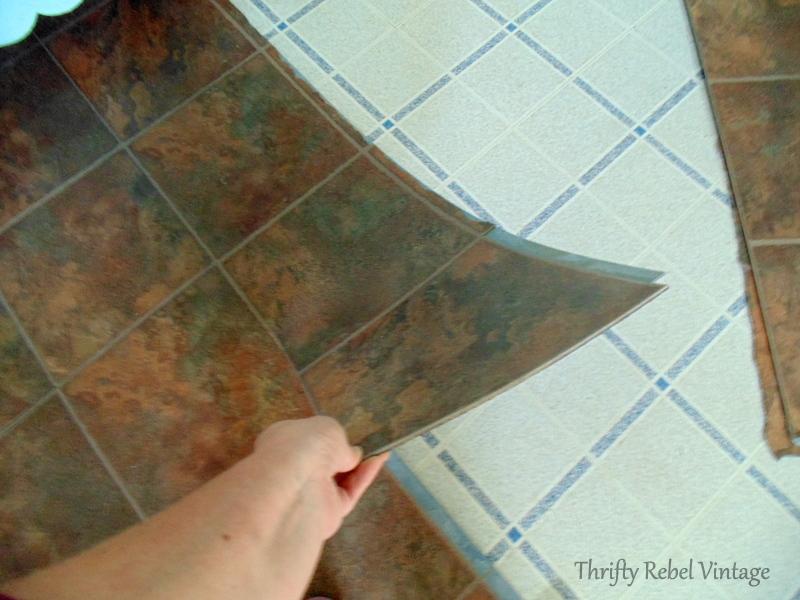
So I just continued to make my way tearing and pulling.
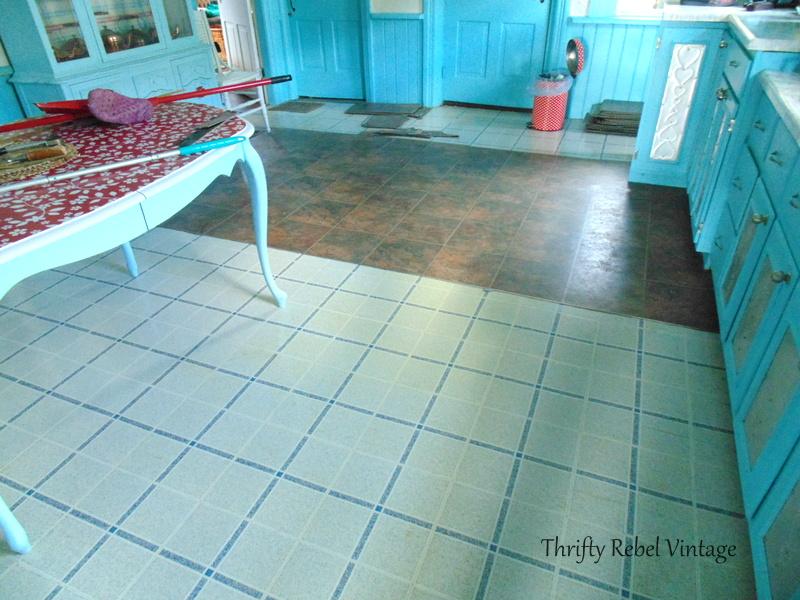
I had to take a few breaks because my back isn’t what it used to be. All that bending over.
But it still went pretty quick.
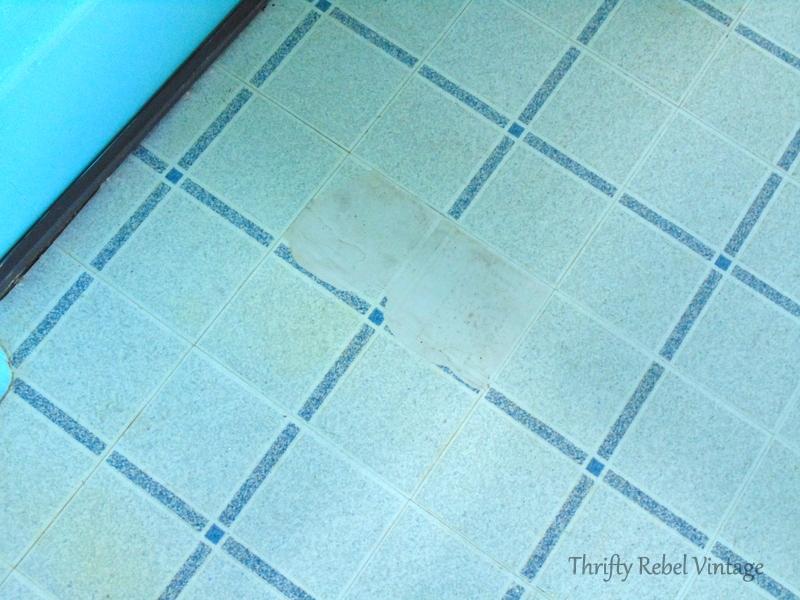
After I tore out a few rows in front of the kitchen door I saw this rather big booboo.
I had totally forgotten about this spot where the top of the vinyl had peeled off, and I don’t remember what caused it.
Needless to say that if I was going to keep this floor I had to do something about that.
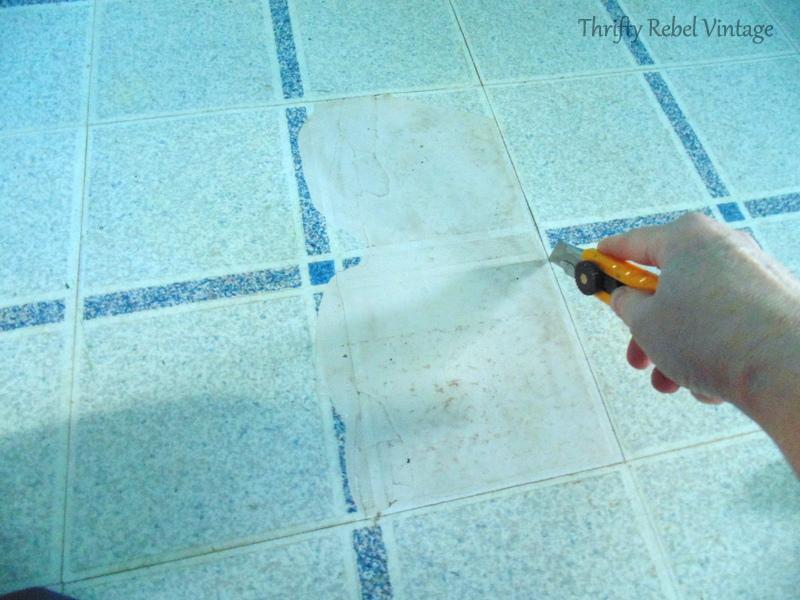
I outlined it with the knife, to loosen it up a bit, and I cut across one of the corners.
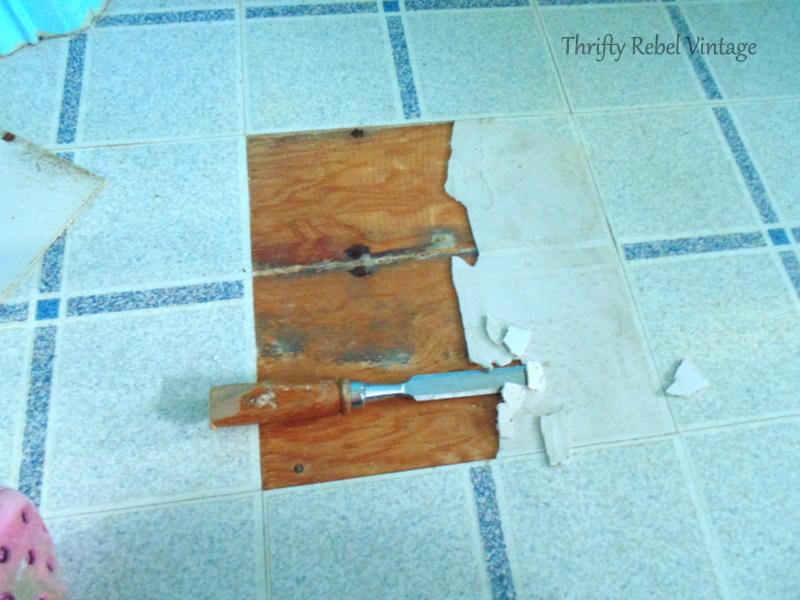
I got the rest of the tile out using the chisel and hammer.
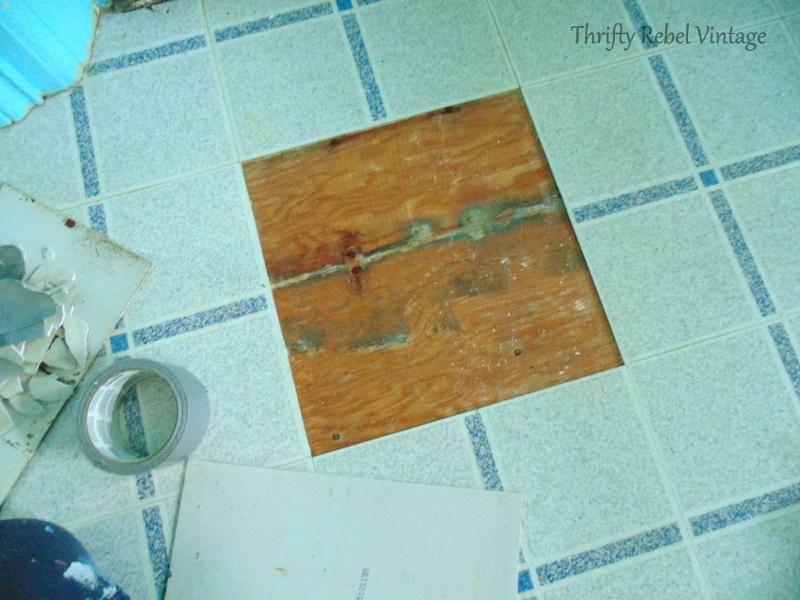
When doing this be careful not to damage any of the sides of the other tiles.
I used the sticky side of duct tape to remove any bits of tile left behind when I chiselled it out.
Now I needed a replacement tile.
I looked at the tiles that would be below the stove and fridge and I saw a tile that had a bit of a gap between it and the tile beside it, which made it easy to remove. I just slid a butter knife in and carefully lifted the tile up until I could grab it with my hands and slowly pull it up until it was completely removed.
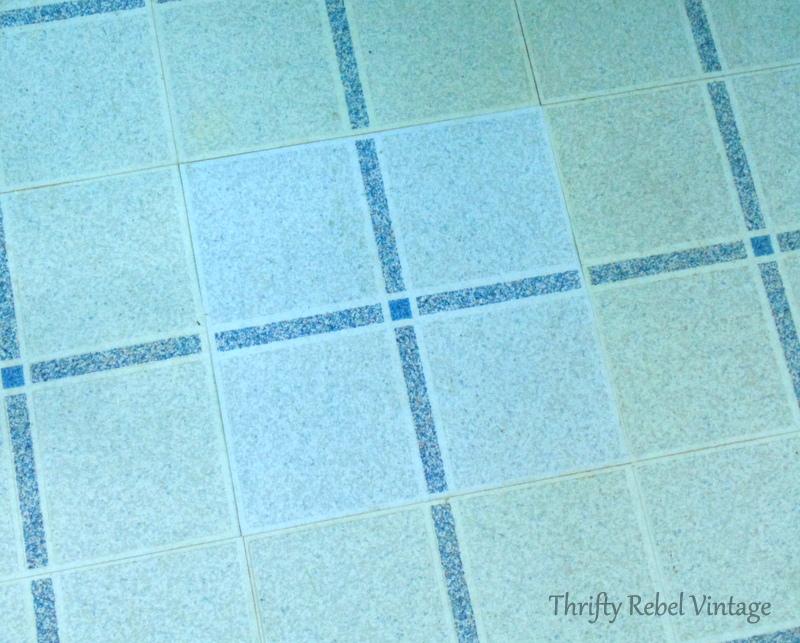
And here it is in front of the kitchen door.
When I put the replacement tile down I was shocked to see the colour difference. The tile protected from the light under the stove was a much brighter white.
It’s not quite as noticeable when you’re standing up.
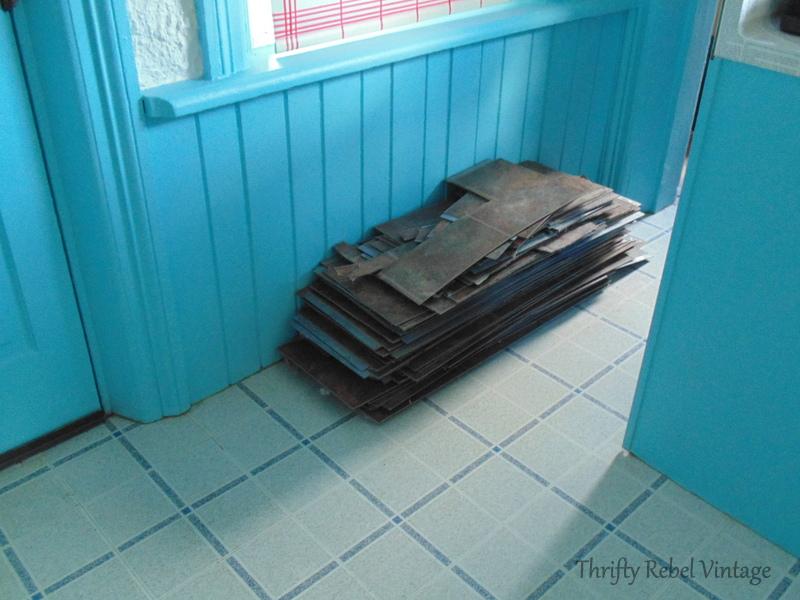
I can hardly believe that this small pile of vinyl covered my whole kitchen floor, but there it is.
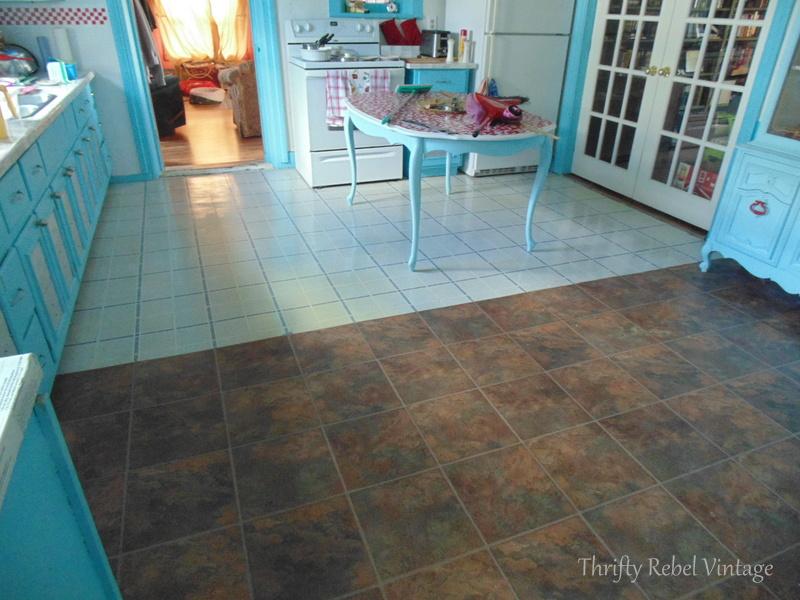
The vinyl plank floating floor was a lot easier to remove than I thought it would be. It took me about 3 hours, with a couple of breaks, to do the whole thing.
I’m so happy that I put my money on my old blue and white floor. It isn’t perfect, but I’m never striving for perfection. I’m just striving for better…. and for me it’s definitely so much better.
Sometimes risks do pay off, and this one did for me.
And it cost me nothing, and that’s really the best part for this practically no-budget room makeover.
I’ll be sharing the complete floor when I post my kitchen makeover reveal next week.
I’m so excited to share that! Finally! So stay tuned!
UPDATE: You can now see my completed Under $100 Aqua and Red Kitchen Makeover.
If you enjoyed this post I think you’ll enjoy these too. How to Paint a Faux Rag Rug How to Paint an Old Wood Floor
Thanks so much for reading, and until next time…
keep on keepin’ on!
XOX
