Update your stone fireplace with a DIY Mantel! Learn how to build the mantel and hang it, easily and for under $100.
This wood mantel is a project that I have had planned since we were building our house but it seemed like it was going to be such a pain and I was worried that I would mess something up and ruin our stone fireplace surround. So, I put it off. I finally couldn’t take it anymore. The blank space over the fireplace seemed to be getting bigger and bigger so I stopped all of my projects and focused on this.
How to Build a Wood Mantel and Hang it on a Stone Fireplace
I wish I had the chops to do it sooner because it was SOOOO EASY! I’ll show you how to build a wood mantel and hang it on a stone fireplace. If you have built our floating shelves, it’s basically the same idea. I feel like I got a complete fireplace renovation by just building a simple shelf!
My mantel is 61 1/2″ long but this can be easily modified to the perfect size to fit your space. This is a tutorial for attaching a mantel to a natural stone fireplace. If you have a stone veneer you will need to attach it differently.
Supplies:
- 1 – 1x10x8
- 2 – 1x8x6
- 1 – 2x4x8
- 1 1/4″ Pocket Hole Screws
- Wood Glue
- Finish
- Vaseline (optional)
- 2 corbels (link to corbels in the tutorial)
- 3 Red Head 1/2″ x 4″ Sleeve Anchors
Tools:
- Miter Saw
- Kreg Jig
- Drill
- Sander
- Hammer Drill
- Hammer
- Wrench
Building the Mantel
Step 1: Make the Cuts
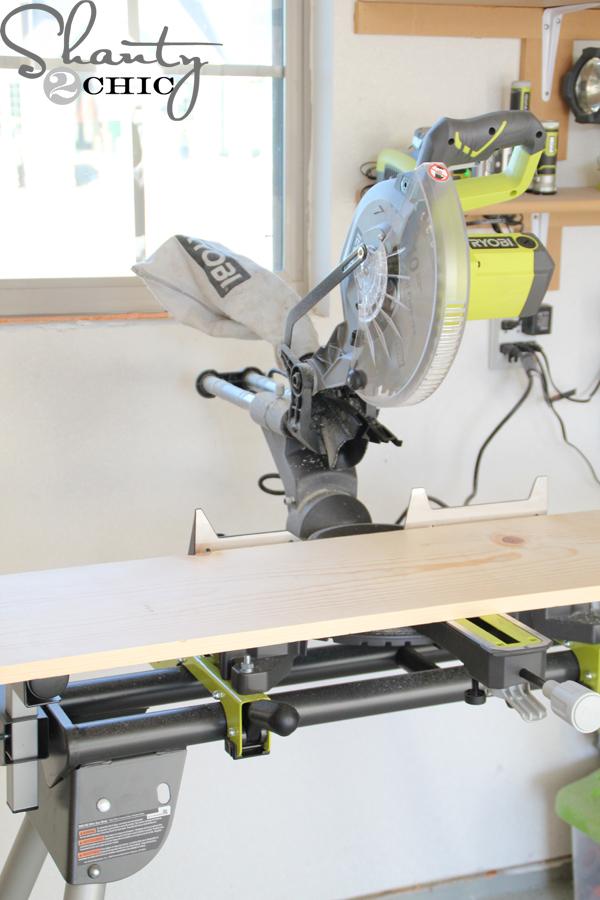
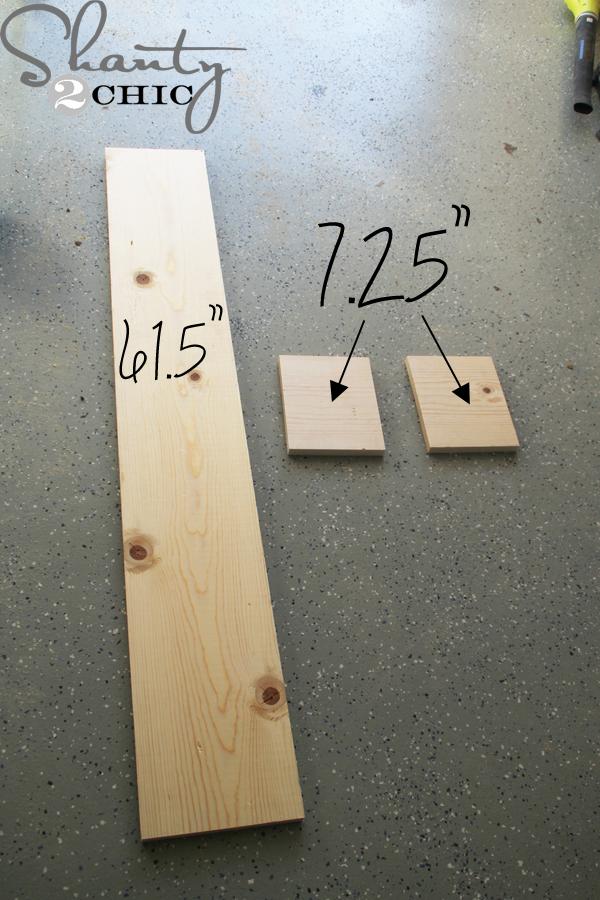
I started by cutting the 1×10. I cut one piece at 61 1/2″ and two pieces at 7 1/4″.
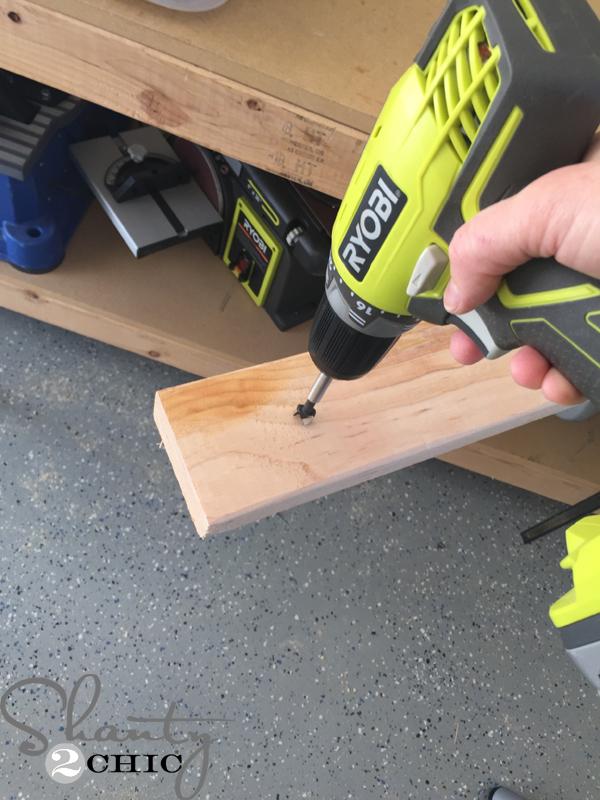
Step 2: Drilling Pocket Holes
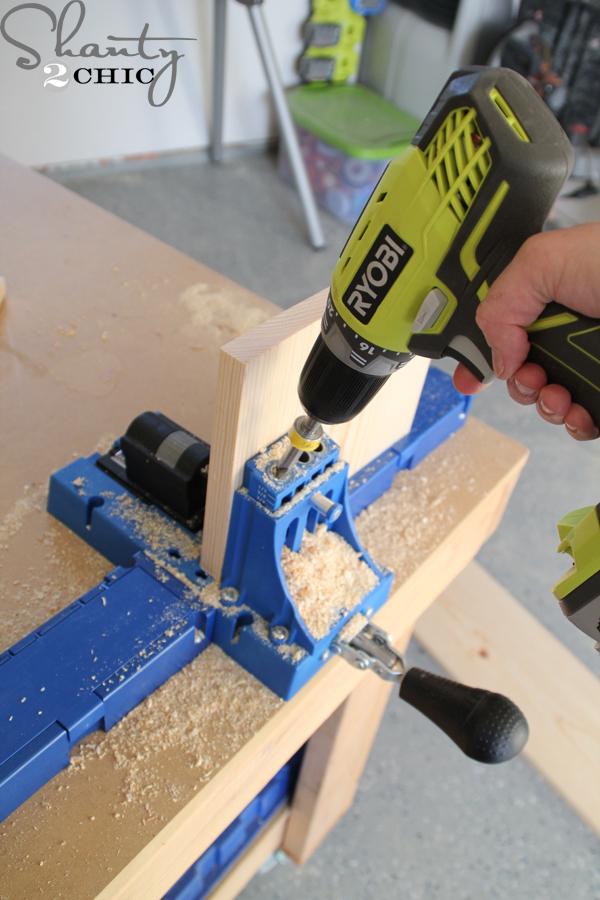
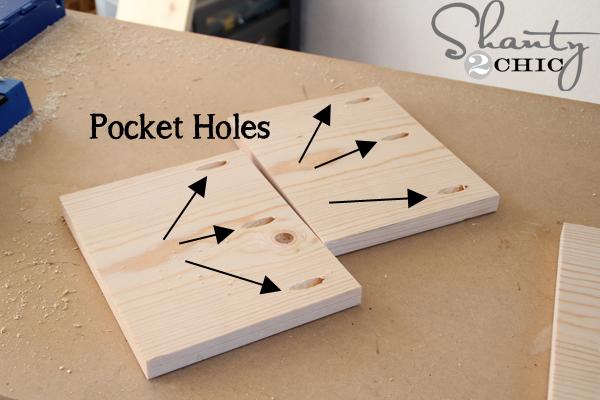
Next, I used my Kreg Jig to drill three 3/4″ pocket holes in one end of each of the short 1×10 pieces.
- You can find our favorite Kreg Jig model here!
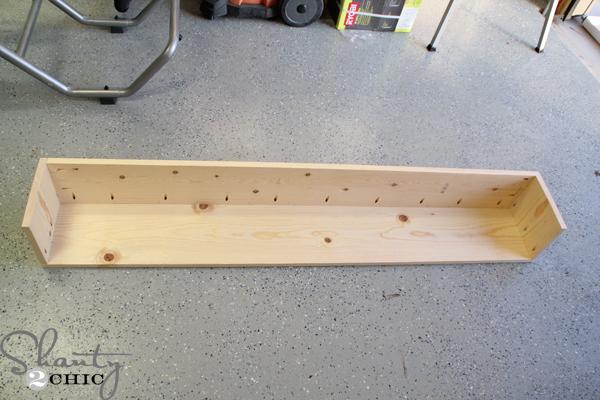
Step 3: Assembling the Shelf
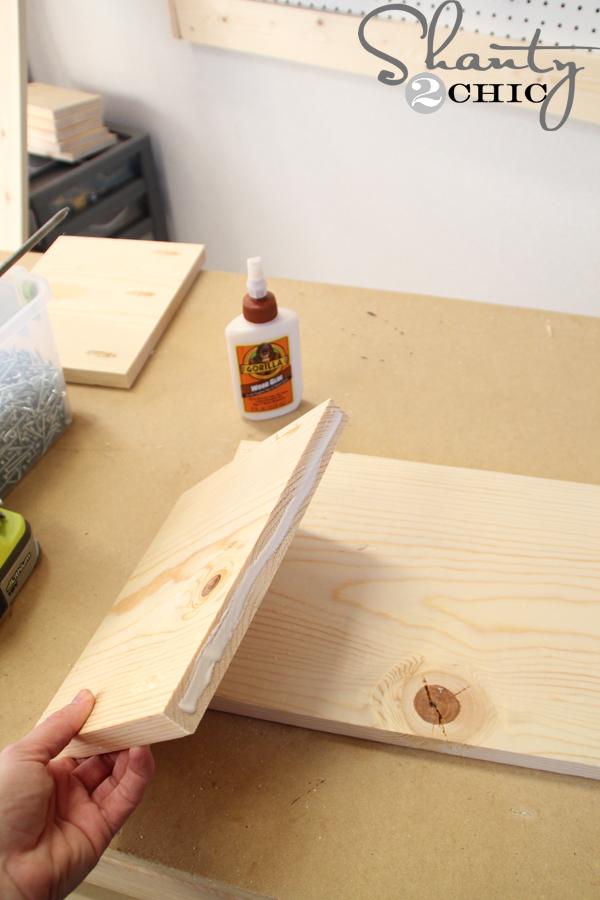
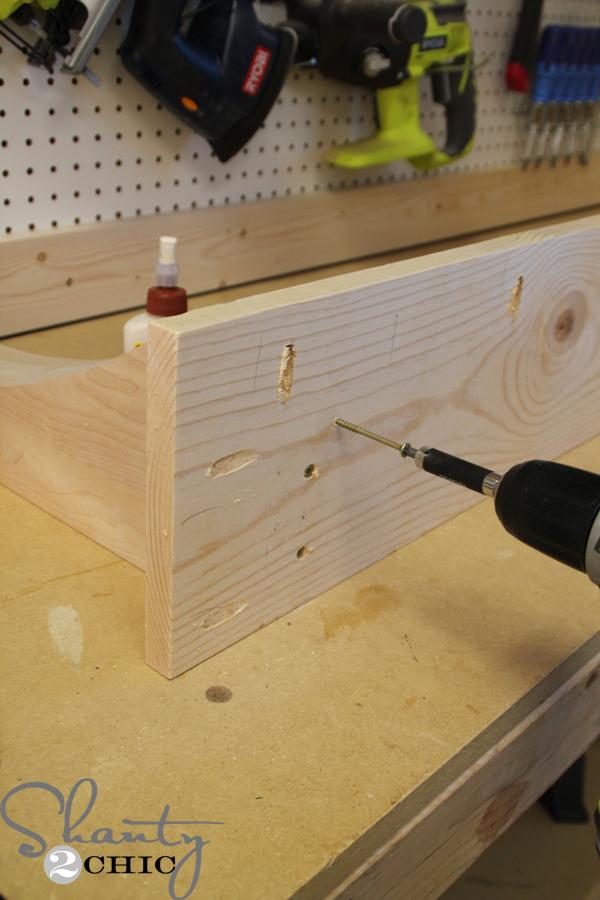
I applied a thin line of Gorilla Wood Glue to the pocket hole end of the short pieces.
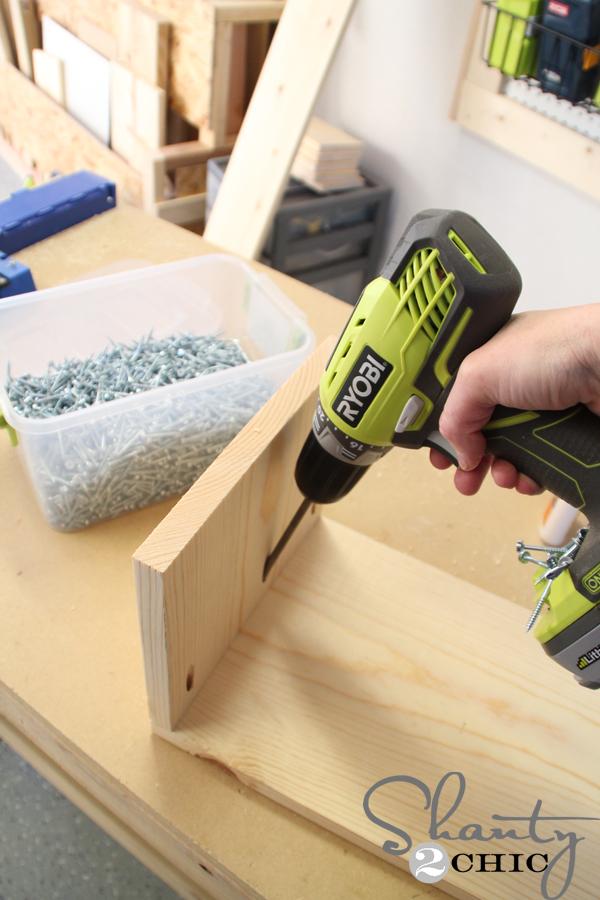
Then, I attached them to the ends of the long 1×10 piece with 1 1/4″ pocket hole screws.
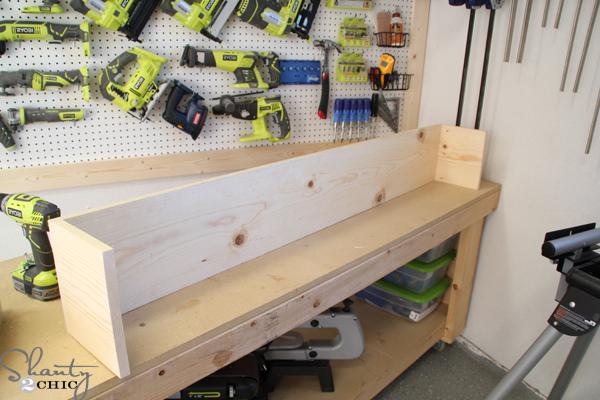
This will be the front and sides of the mantel.
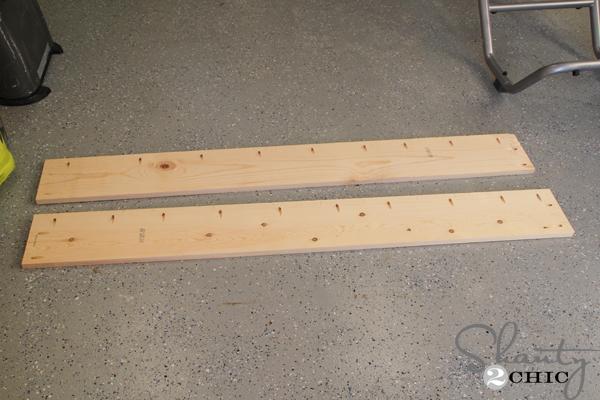
Then, I cut two 1×8 boards at 60″ and drilled 3/4″ pocket holes on one side of each board and both ends.
Next, I attached one of the 1×8 boards to the top of the mantel with wood glue and 1 1/4″ pocket hole screws.
Step 4: Building the Bottom of the Mantel
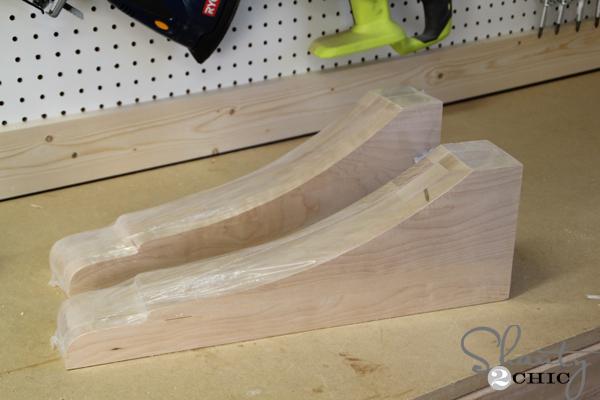
I found a great deal on these 18″ corbels from Amazon for only $60 for the set! You can see the corbels I purchased in the box below! The corbels are totally optional. You can use a different style or leave them off completely for a more contemporary look.
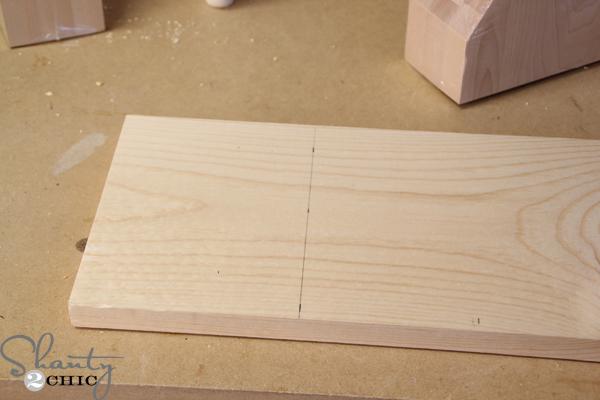
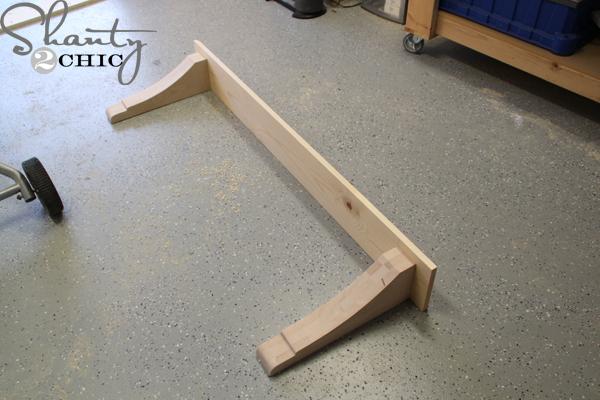
I marked where I wanted the corbels to be on the last 1×8 piece. Mark on the side that does NOT have pocket holes. I marked my line about 5 1/4″ from the end of the board. My corbel will sit to the left of this line (leaving 2 1/4″ between the corbel and the end of this board).
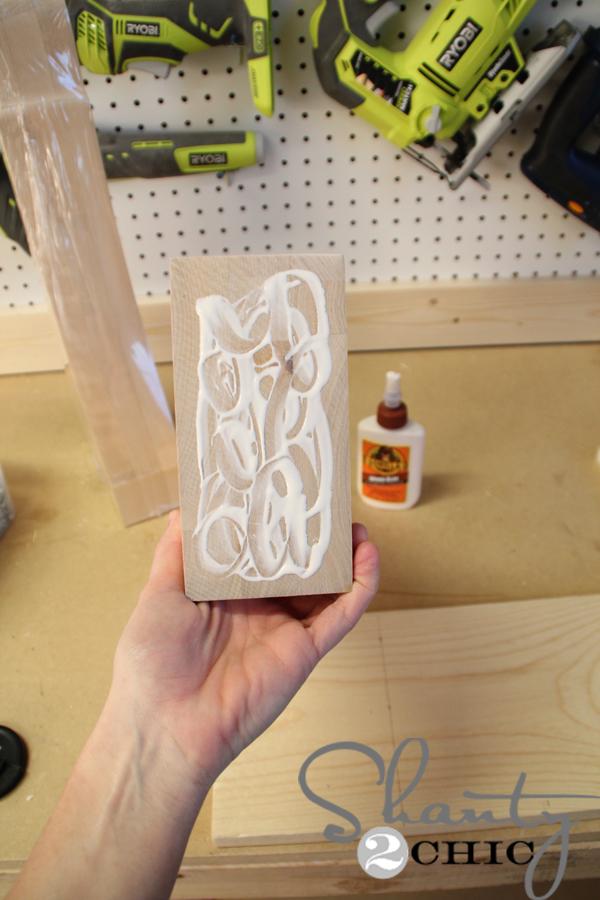
To attach the corbel, I applied a wood glue to the top of the corbel.
Next, I drove several 3″ wood screws from the pocket hole side of the 1×8 into the corbels.
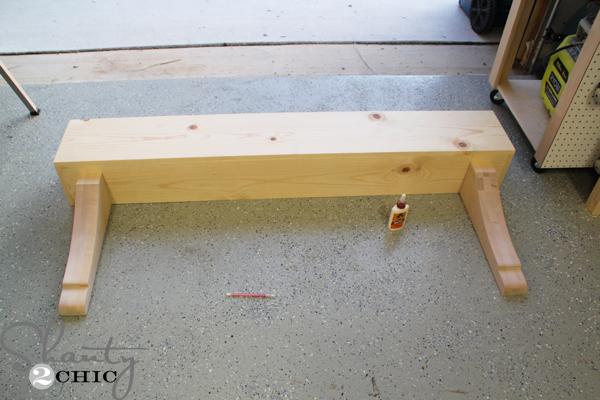
Step 5: Attaching the Bottom of the Mantel to the Shelf
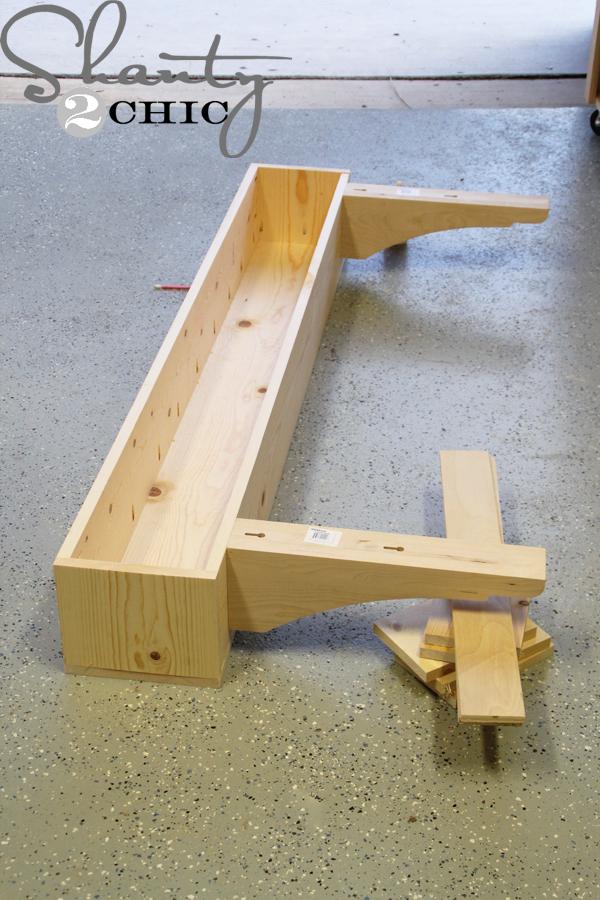
I used some scrap pieces to keep the bottom level with the mantel and attached it with wood glue and 1 1/4″ pocket hole screws.
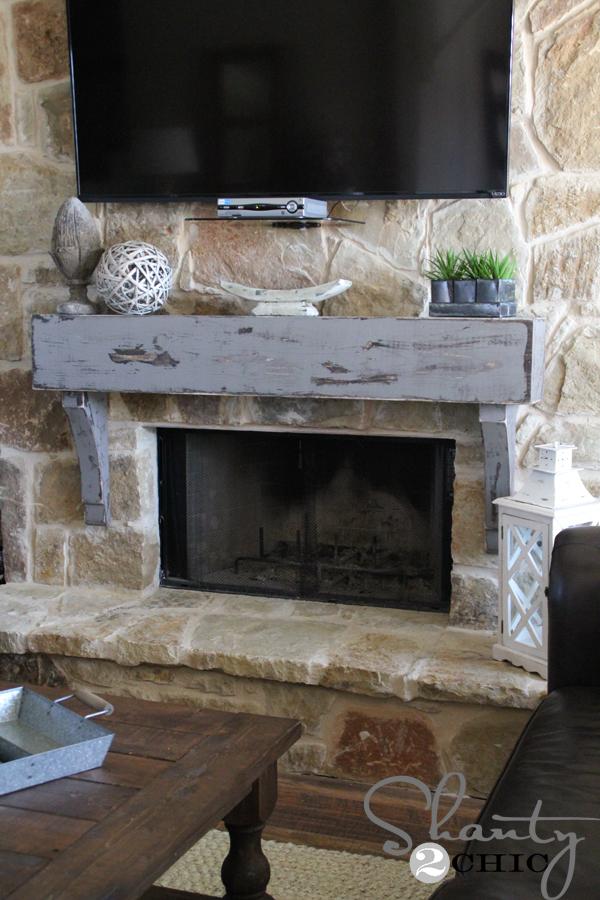
Step 6: The Finish
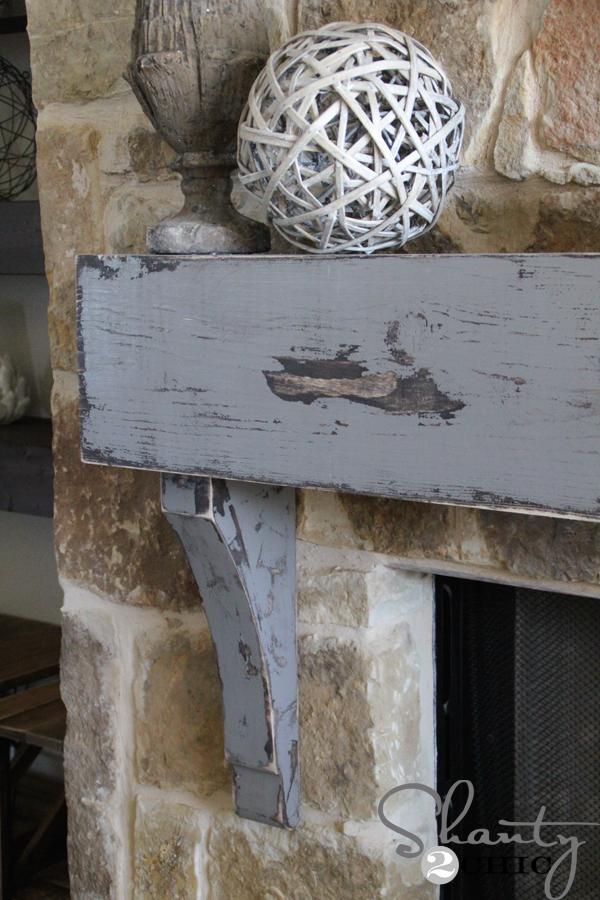
Now she’s ready for the finish! I decided on one of our favorite finishing techniques. We like to use Vaseline, stain and paint to get a great chippy, distressed look.
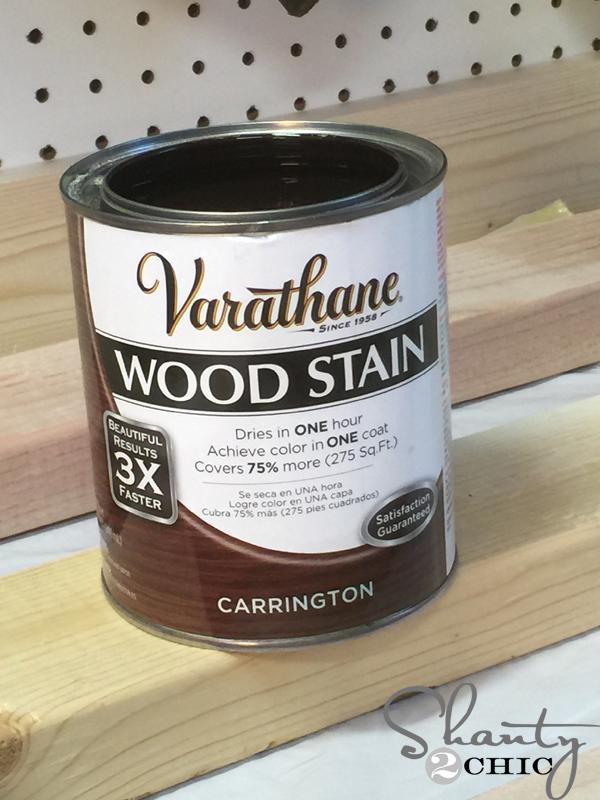
I applied one coat of Varathane Carrington stain all over and waited for about an hour for it to dry.
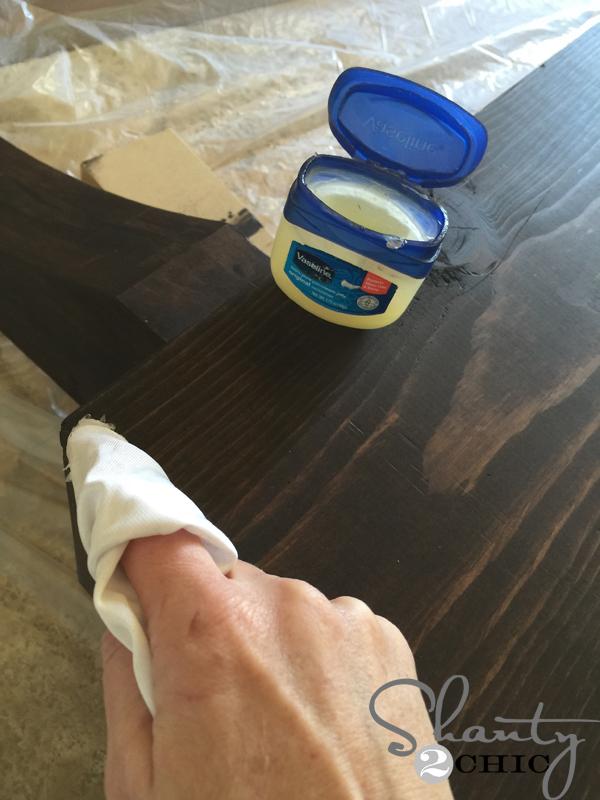
Once it dried, I applied a thin line of Vaseline around the edges and smeared it around the main part of the mantel too. Do this wherever you want the stain to show through your paint.
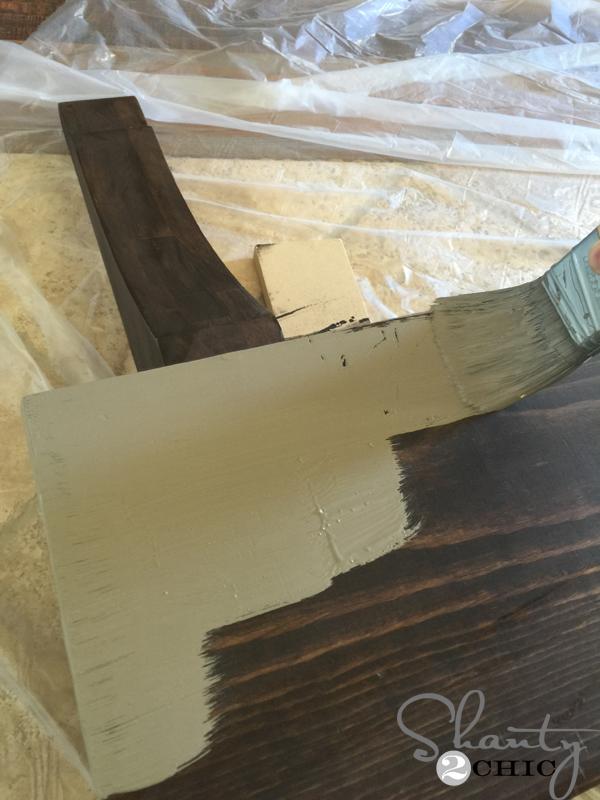
Then, I immediately painted one coat of latex paint all over. (Paint color is Seine by Valspar)
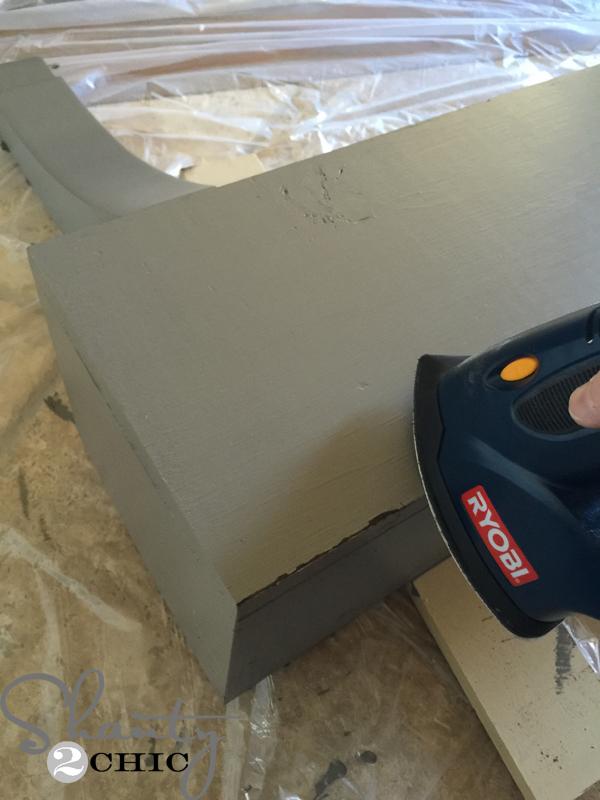
When the paint dried, I used my Ryobi Corner Cat Sander with an 80-grit pad to sand the entire piece. You will see the paint peel off pretty easy where the Vaseline was applied.
Step 7: Mantel Installation on Stone Fireplace
Now to hang it on the stone! (I did this while the stain and paint were drying to speed things up).

I bought these Sleeve Anchors at Home Depot. They are 1/2″ diameter and 4″ in length.
I cut the 2×4 down to 59″ and drilled a hole at each end (about 3″ from the ends) and one in the middle (just off center). I used a 1/2″ forstner bit and my 18-Volt drill (1/2″ bit was chosen because that is the diameter of the anchors). Also cut 4 2×4 pieces at 5.75 and drill 1 1/2″ pocket holes on the end of each piece. Save those for later.
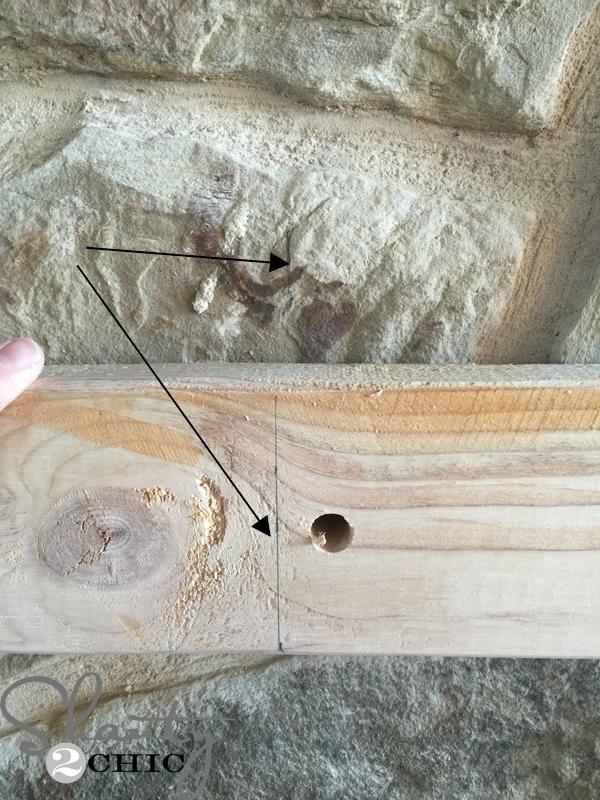
Then, I marked the center point on the 2×4 and the center point on the fireplace to make sure my mantel would be centered on the fireplace ;). Next, I used a black marker to mark inside each of the three holes onto the stone, so that I would know where to drill the holes into the stone. *Make sure to keep a level on the 2×4 as you are marking the holes on the stone!
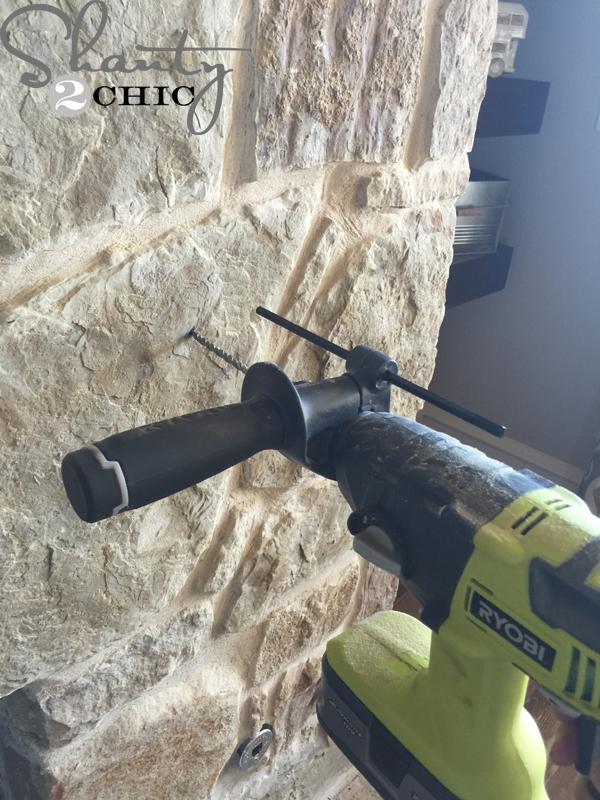
To drill the holes into the stone, I used my Ryobi 18-Volt Rotary Hammer Drill. It looks intimidating but it is so easy to use and makes drilling into masonry a piece of cake! You will need a special SDS Masonry drill bit for this. I bought one in 1/4″ and another in 1/2″. You can see the kind I purchased HERE. I started by drilling with the 1/4″ bit first and worked my way up to the 1/2″ because I didn’t want the stone to crack. Not sure if it would but better safe than sorry 😉 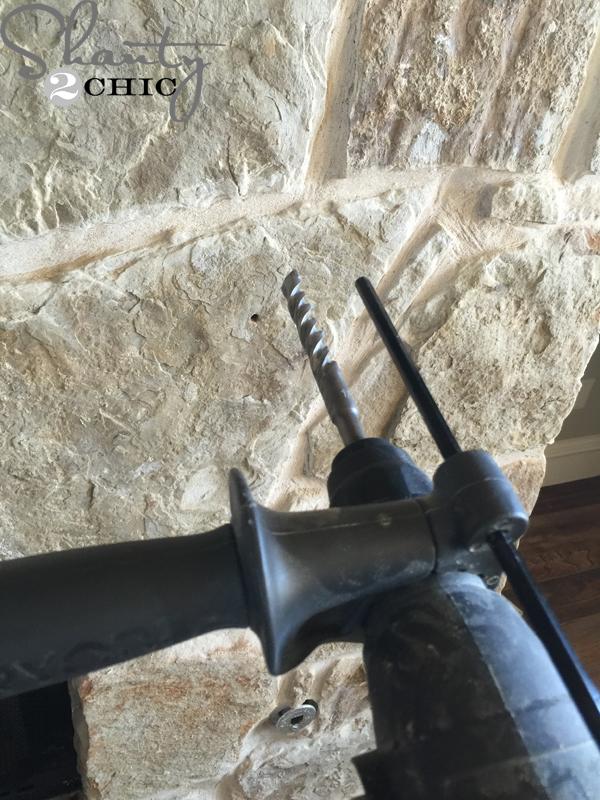
That black rod to the right of the bit is the depth rod. You can slide it back and forth according to the depth you need to drill. I set mine to hit the stone when I was 3″ deep. My anchors were 4″ and I had to allow for 1 1/2″ from the 2×4 and the instructions on the anchors suggest allowing and extra 1/4″ so I settled on 3″.
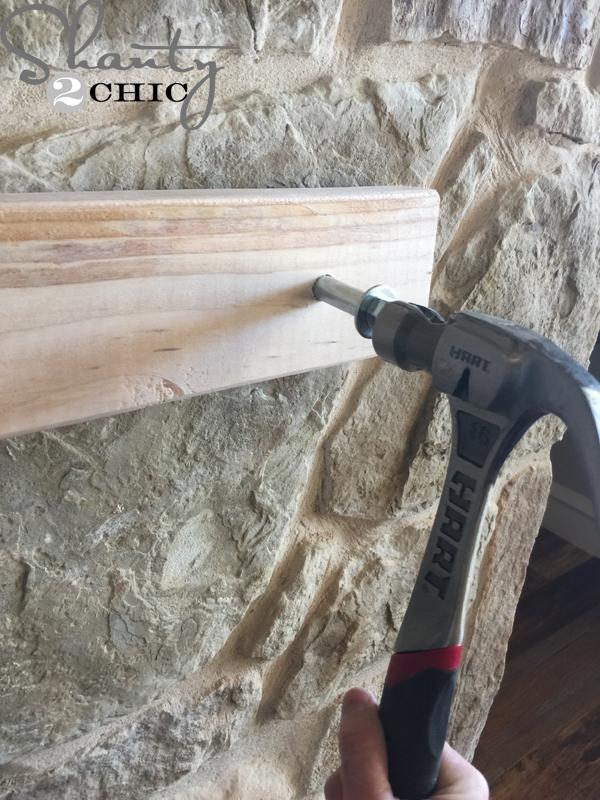
Once all three holes were drilled I held the 2×4 up and hammered an anchor into the 2×4 and stone. This is better as a 2 person job but the hubs had to coach our sons baseball practice and of course I was too impatient to wait 😉
You can hammer all three anchors before you go back and tighten them.
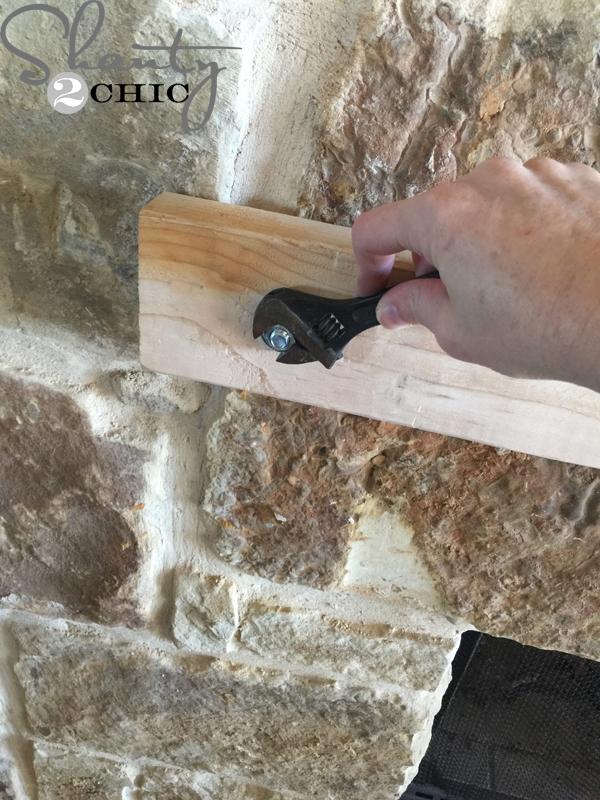
To tighten them, just twist the bolt with a wrench.

That’s it!
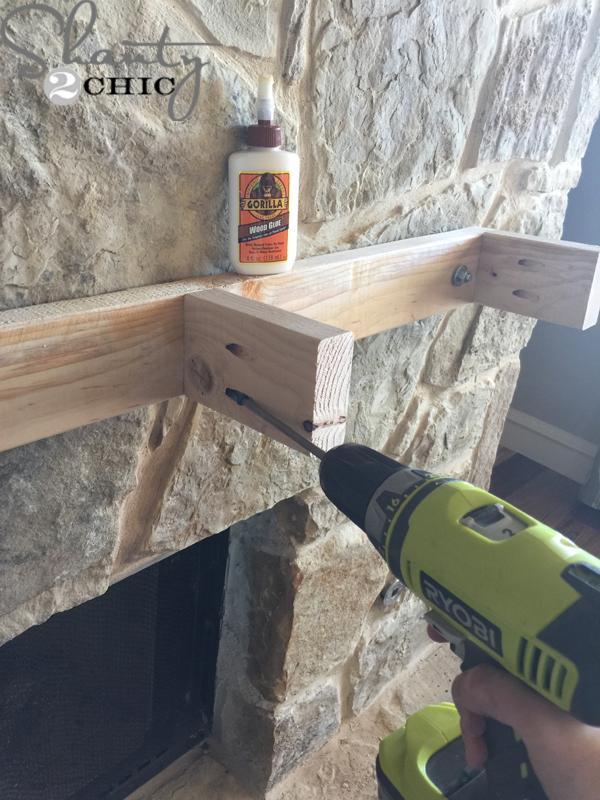
Now, attach the short 2×4 pieces to the 2×4 on the stone with 2 1/2″ pocket hole screws and wood glue.
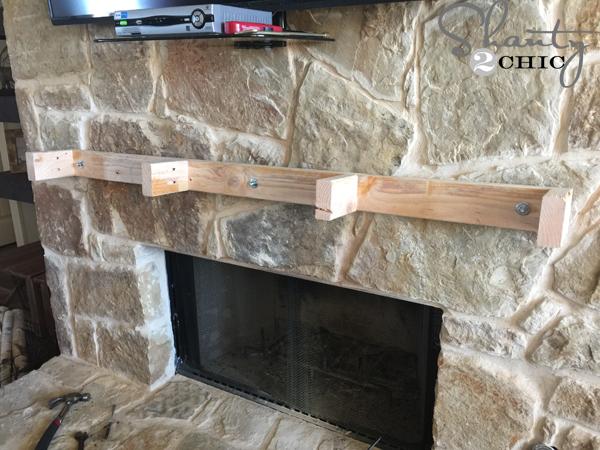
Put one on each end and the other two splitting center.
It’s time to hang the mantel now!
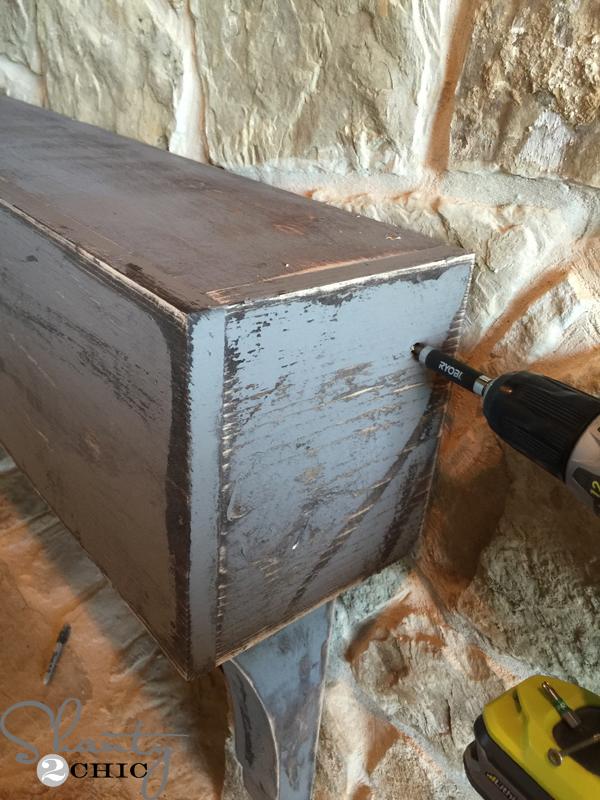
I slid the mantel over the cleat that I built on the stone and drove 2″ wood screws from the sides and top of the mantel into the 2×4’s underneath.
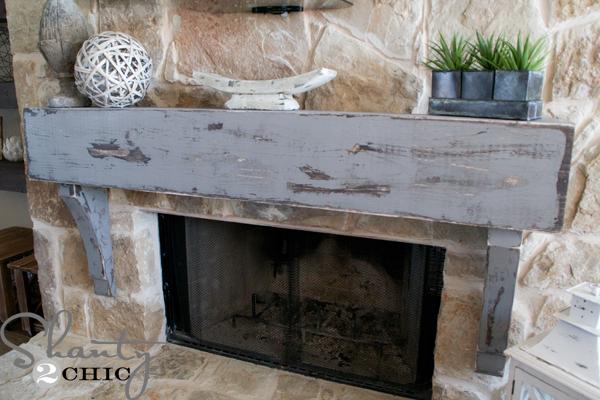
That was it! I’m in LOVE with the end result! I feel like I got a complete den makeover but it was so easy and quick.
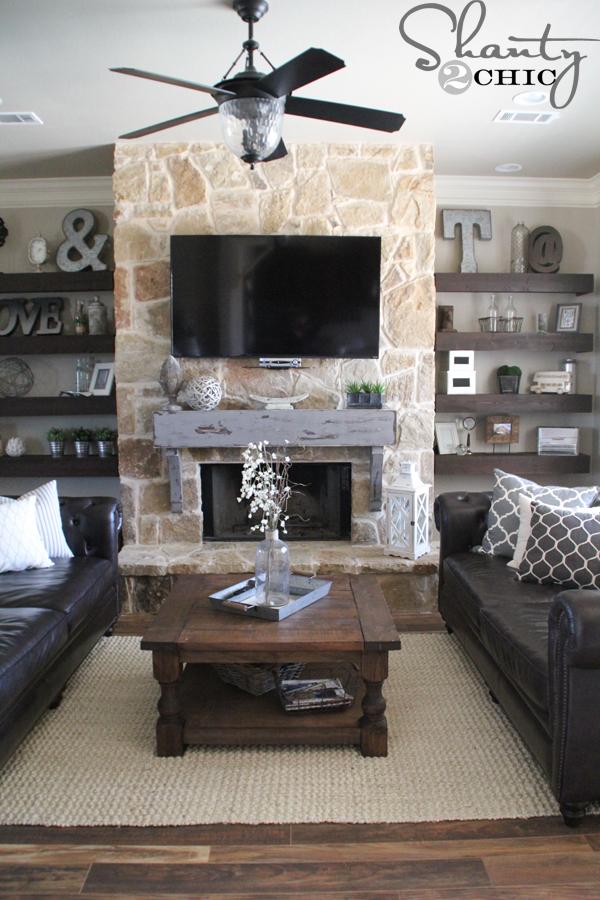
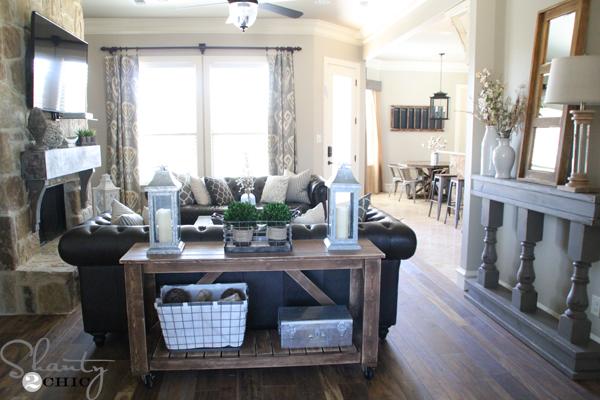
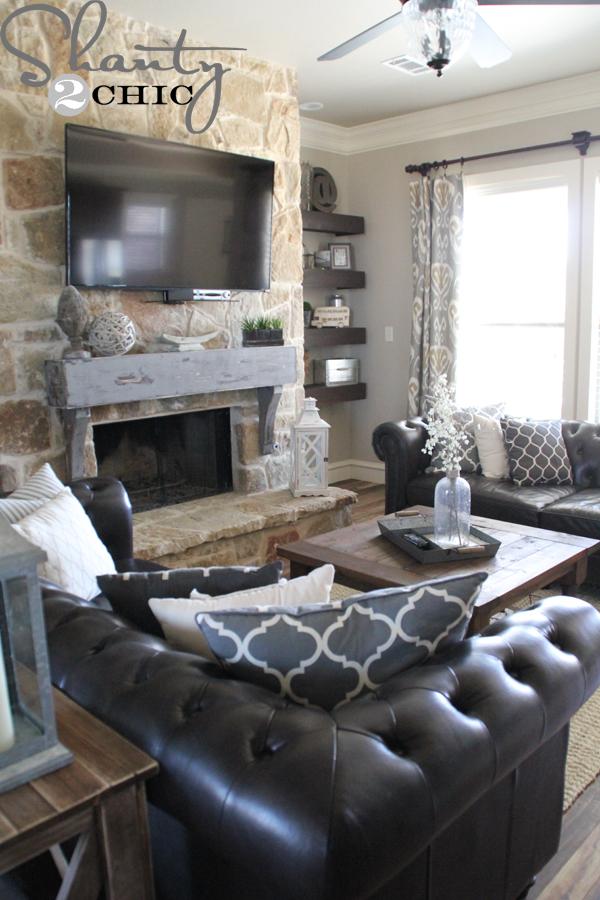
For about $100 and an afternoon of work, I’ve got my dream fireplace that makes a huge impact in my living room! It really is the focal point of this space. And, with the way it is attached, I can swap it out for another one if my style changes and I want a new overall look.
Links to the cute finds that are hanging out on my mantel:
Artichoke Finial – from Save on Crafts
Driftwood Ball – from Save on Crafts
Herb Planter – from Save on Crafts
Votive Holder – from Hobby Lobby
Coffee Table
Floating Shelves
Rolling Console Table
Triple Leg Console Table
Thanks so much for stopping by!
~Ashley