Dior 2024 Women's Pearl Earrings
 No matter how well you take care of your riding lawn mower, you will eventually run into a problem with the seat.
The most common problem is the vinyl covering coming detached from the foam cushion. This lets water soak into the foam, which causes the foam to harden and crumble away. What you end up with is a seat that holds water like a sponge and is horribly uncomfortable to sit on.
Aside from giving you a wet bottom, it hurts your eyes just to look at it.
So I’m going to explain to you, step by step, how to glue your mower seat back together.
I’m also going teach you something few people know is even possible… how to repair the foam itself!
Read the following instructions carefully. Once you successfully glue your first riding mower seat back together, you’ll be able to do it again with your eyes closed.
Keep in mind that riding mower seats come in many shapes and sizes. Some have seat pans made of fiberglass. Some pans are metal. Some seats have a separate bottom and back, but some are one piece. Take your time with this project, and keep in mind that you may have to tweak these instructions here and there in order to suit your particular seat. One-piece mower seats may be too difficult or even impossible to fix. If that’s the case, look for a replacement seat assembly on the mower manufacturer’s website.
Here’s what you’ll need:
- Wrench for removing the seat – size will vary depending on the mower
- Vinyl glue – I use Loctite Vinyl glue
- Small flathead screwdriver – the size you would use to pry staples
- Hobby knife or a sharp box cutter
- Strong duct tape
These are some things that you may need, depending on how your mower seat is made and what kind of foam damage, if any, you need to fix:
- Replacement foam
- Foam Lok or a similar adhesive
- Foam cutter or a.large bread knife
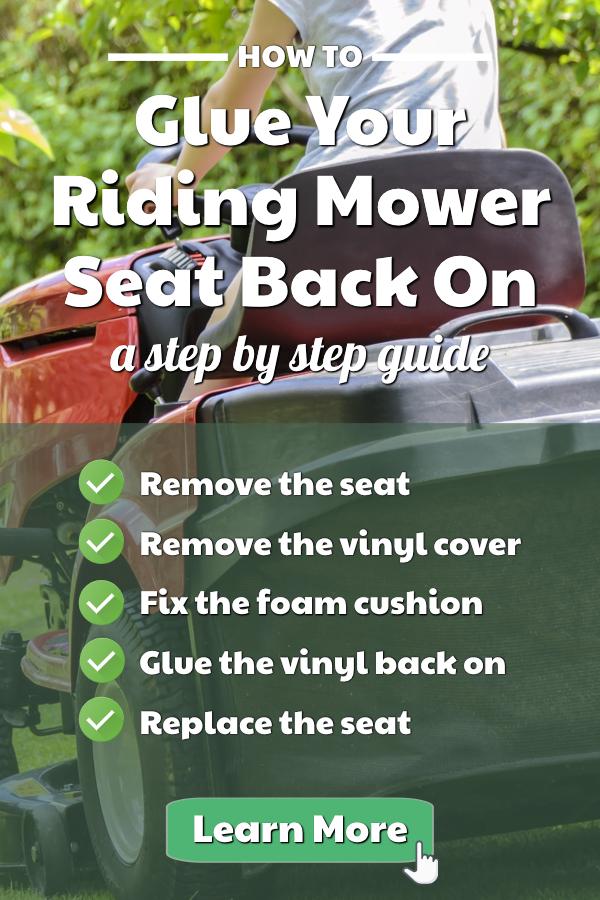
Step #1 – Remove The Seat
How you do this depends on your mower.
Generally, you push the seat up and forward toward the steering wheel. You should see two or four nuts that hold the seat to the seat mount. Once you remove these nuts, the seat should lift right off.
Screw the nuts back onto the threads from which they came so they don’t get lost.
Step #2 – Remove The Vinyl Cover
Even if the vinyl is coming unglued in only one small spot, you should still remove the entire covering. It will continue to come unglued.
Place the seat assembly upside down on a table or work bench. Now take a look at how the vinyl is secured to the seat assembly. There may be staples or rivets, depending on whether the seat pan is made of fiberglass or metal. Either way, there is likely glue there as well.
Use your screwdriver to pry the staples or pop the rivets. Do this all the way around the seat until all of the staples or rivets are free. If the vinyl begins to tear around the rivets, just use your hobby knife to carefully cut the vinyl free of each rivet, and pop the rivets out with the screwdriver.
Now it’s time to deal with the glue put there at the factory. Go back to where you started and carefully pry the vinyl up from the seat pan, an inch at a time, until you have worked your way all the way around again. Try not to tear the vinyl up too much. If there is no glue holding the vinyl down, you can simply lift the cover off the seat.
Step #3 – Fix The Foam Cushion
Are there chunks missing from your cushion? Are there spots that have been squished? These are two common problems that are pretty easily fixed.
Turn the seat back over. Now cut or tear your replacement foam up into little chunks. You are going to use these to fill the low or damaged spots. You want a good sized pile of repair chunks before you begin. Salvage some foam from old patio or sofa cushions, or you can buy a roll of foam.
Start by spraying some Foam Lok into the damaged area.
Now begin pressing your repair chunks into it. When you have a layer of foam chunks in the hole, use your palm to press down on them and hold the pressure for about 15 seconds. Repeat this process until the damaged area is slightly overfilled. Don’t worry: When you replace the seat and finish the project, there won’t be a bulge.
Step #4 – Glue The Vinyl Back On
Lay the vinyl seat cover down on your work table with the inside part facing up. Now set the seat on the cover upside down with the foam facing down and resting on the vinyl. Take your time and get it lined up as good as you can. Fold the sides of the vinyl up and over onto the bottom of the seat, and check to make sure everything is even. Once it looks good to you, make sure you don’t bump it. Now, get your vinyl glue.
Squeeze a bead of glue, about an eighth of an inch wide, on the bottom of the seat pan from back to front. You want the vinyl to completely cover the bead of glue when you fold it back.
Now squeeze another bead on the other side of the seat, from back to front. Fold one side of the vinyl up and press it down firmly onto the glue. Work your way up and down that side, being sure to press every inch of vinyl onto the glue bead. It will hold right away, but you can still move and reposition the vinyl if you need to. Once you get that side pressed down well, do the other side the same way.
Check your positioning. Everything should still be even. If not, carefully pull the vinyl this way or that to even the seat cover up with the seat pan. Once it looks right, press the end of a piece of duct tape down firmly on one edge of the vinyl.
While still pressing down with one hand use your other hand to stretch the other side of the vinyl toward the center of the seat pan. Press the other end of the duct tape down on it.
Do you see what we did there? We stretched your seat cover back on.
The sides of your vinyl are now placed. Use the same technique for the front and back. Let your newly repaired seat set undisturbed overnight, or at least as long as the instructions on the glue says.
Step #5 – Replace The Seat
The seat goes back on your mower the same way it came off.
Be sure to tighten the nuts down snugly!
Troubleshooting And FAQs
So that’s how to glue your riding mower seat back on. Now that we’ve gone over all of the core steps, we’d like to answer a couple questions that many people have when trying to fix their lawn mower seat.
What’s the best glue to use?
I usually use Loctite Vinyl glue. That’s why I mentioned it in the instructions. Loctite Vinyl glue has always worked well for me, but that doesn’t mean you have to use it. The most important thing about the glue you use for this project is that it has some “give” to it after drying. Flex Glue, from the makers of Flex Seal, is also excellent. Hard-drying glues will either let go of the vinyl after it dries or cause it to tear.
Loctite Vinyl glue has the advantage of having the perfect drying time for this type of repair. You see, if the glue you use dries too quickly, you may not have enough time to position the vinyl and tape. You can reposition Loctite Vinyl glue, and similar adhesives, over and over again until you get it right.
For repairing foam, Foam Lok is the best.
What if the seat cushion is flat?
It happens. Foam looses its ability to bounce back after a while. On the upside, this would be a great time to replace your cushion. Measure the length, width and thickness of the foam you are going to replace and see what is available online. Check the big home improvement stores first. You may find a piece the exact size you need, but you are more than likely going to have to cut it to fit.
Before you start cutting, call your local hardware store. The Ace Hardware in my town will cut foam to any specified size for a couple dollars. Of you have to cut it yourself, you can get a foam cutter for about $10. But bread knives work just as well.
Don’t get polyurethane foam. It’s prone to mold. Get an outdoor foam with a high indentation deflection value. IDF ratings range from 30 to 70, with lower numbers being soft and higher numbers being firmer. Get foam with a rating of at least 55.
What if the seat cover is cracked?
Over time, exposure to UV rays from the sun can make vinyl turn brittle and crack. Luckily, it’s usually fixable. I have seen cracked and torn mower seats fixed with colored duct tape, and you wouldn’t even notice unless you really looked. If you go this route, clean the seat very well with brake or carburetor cleaner and dry it thoroughly before pressing the tape down firmly over the crack. But this should only be a temporary repair.
To actually fix a crack in the vinyl, use a vinyl and leather patch kit. They cost from $10 to $30, depending mainly on the amount of patch material and adhesive in the kit, and are available from department and auto part stores. To do it right, you’ll need to go through all the steps above before you make the patch. Then the technique is the same as for repairing a ripped leather car seat. Follow the instructions that come with the kit.
Share this on Pinterest!