 Chanel earrings, CC dangle earrings in water drop shape adorned with stones and pearls v39
  Chanel earrings, CC earrings adorned with pearls v41
 We divide the question of how to organise Copic Markers into two parts. First, the physical approach to organising and storing your pens. Second, the categorisation of your pens into utilisable sets.
Creating Groups of Copic Markers
The smartest thing you can do with your Copic Markers is creating logical groupings. Remember, there are 358 different Copic Sketch colours available – that can result in a lot of time hunting for the right colour. Organising by logical groupings will make it easier and quicker for you to find the colour you are after and maintain your flow. You don’t want to be spending your time scrabbling around for that elusive E04.
Once you have established your groups, you need to get hold of a big stack of rubber bands. The obvious next step is to band up your groups. Then your colour groupings are ready to go.
The issue then, is how to store your groupings. When stored in the cases the Copic Markers stand neatly on end. Clearly the groupings, when banded will also stand up, but they won’t be as good to look at as when in the cases. So between sessions, crates are a great solution to store the groupings. Similarly, it’s a great way to store Copic Markers in bigger pencil cases: it can be irritating to spend time hunting around in the dark recesses of a pencil case for a particular colour.
So that’s the physical part of how to organise copic markers. But what system should you adopt for categorisation?
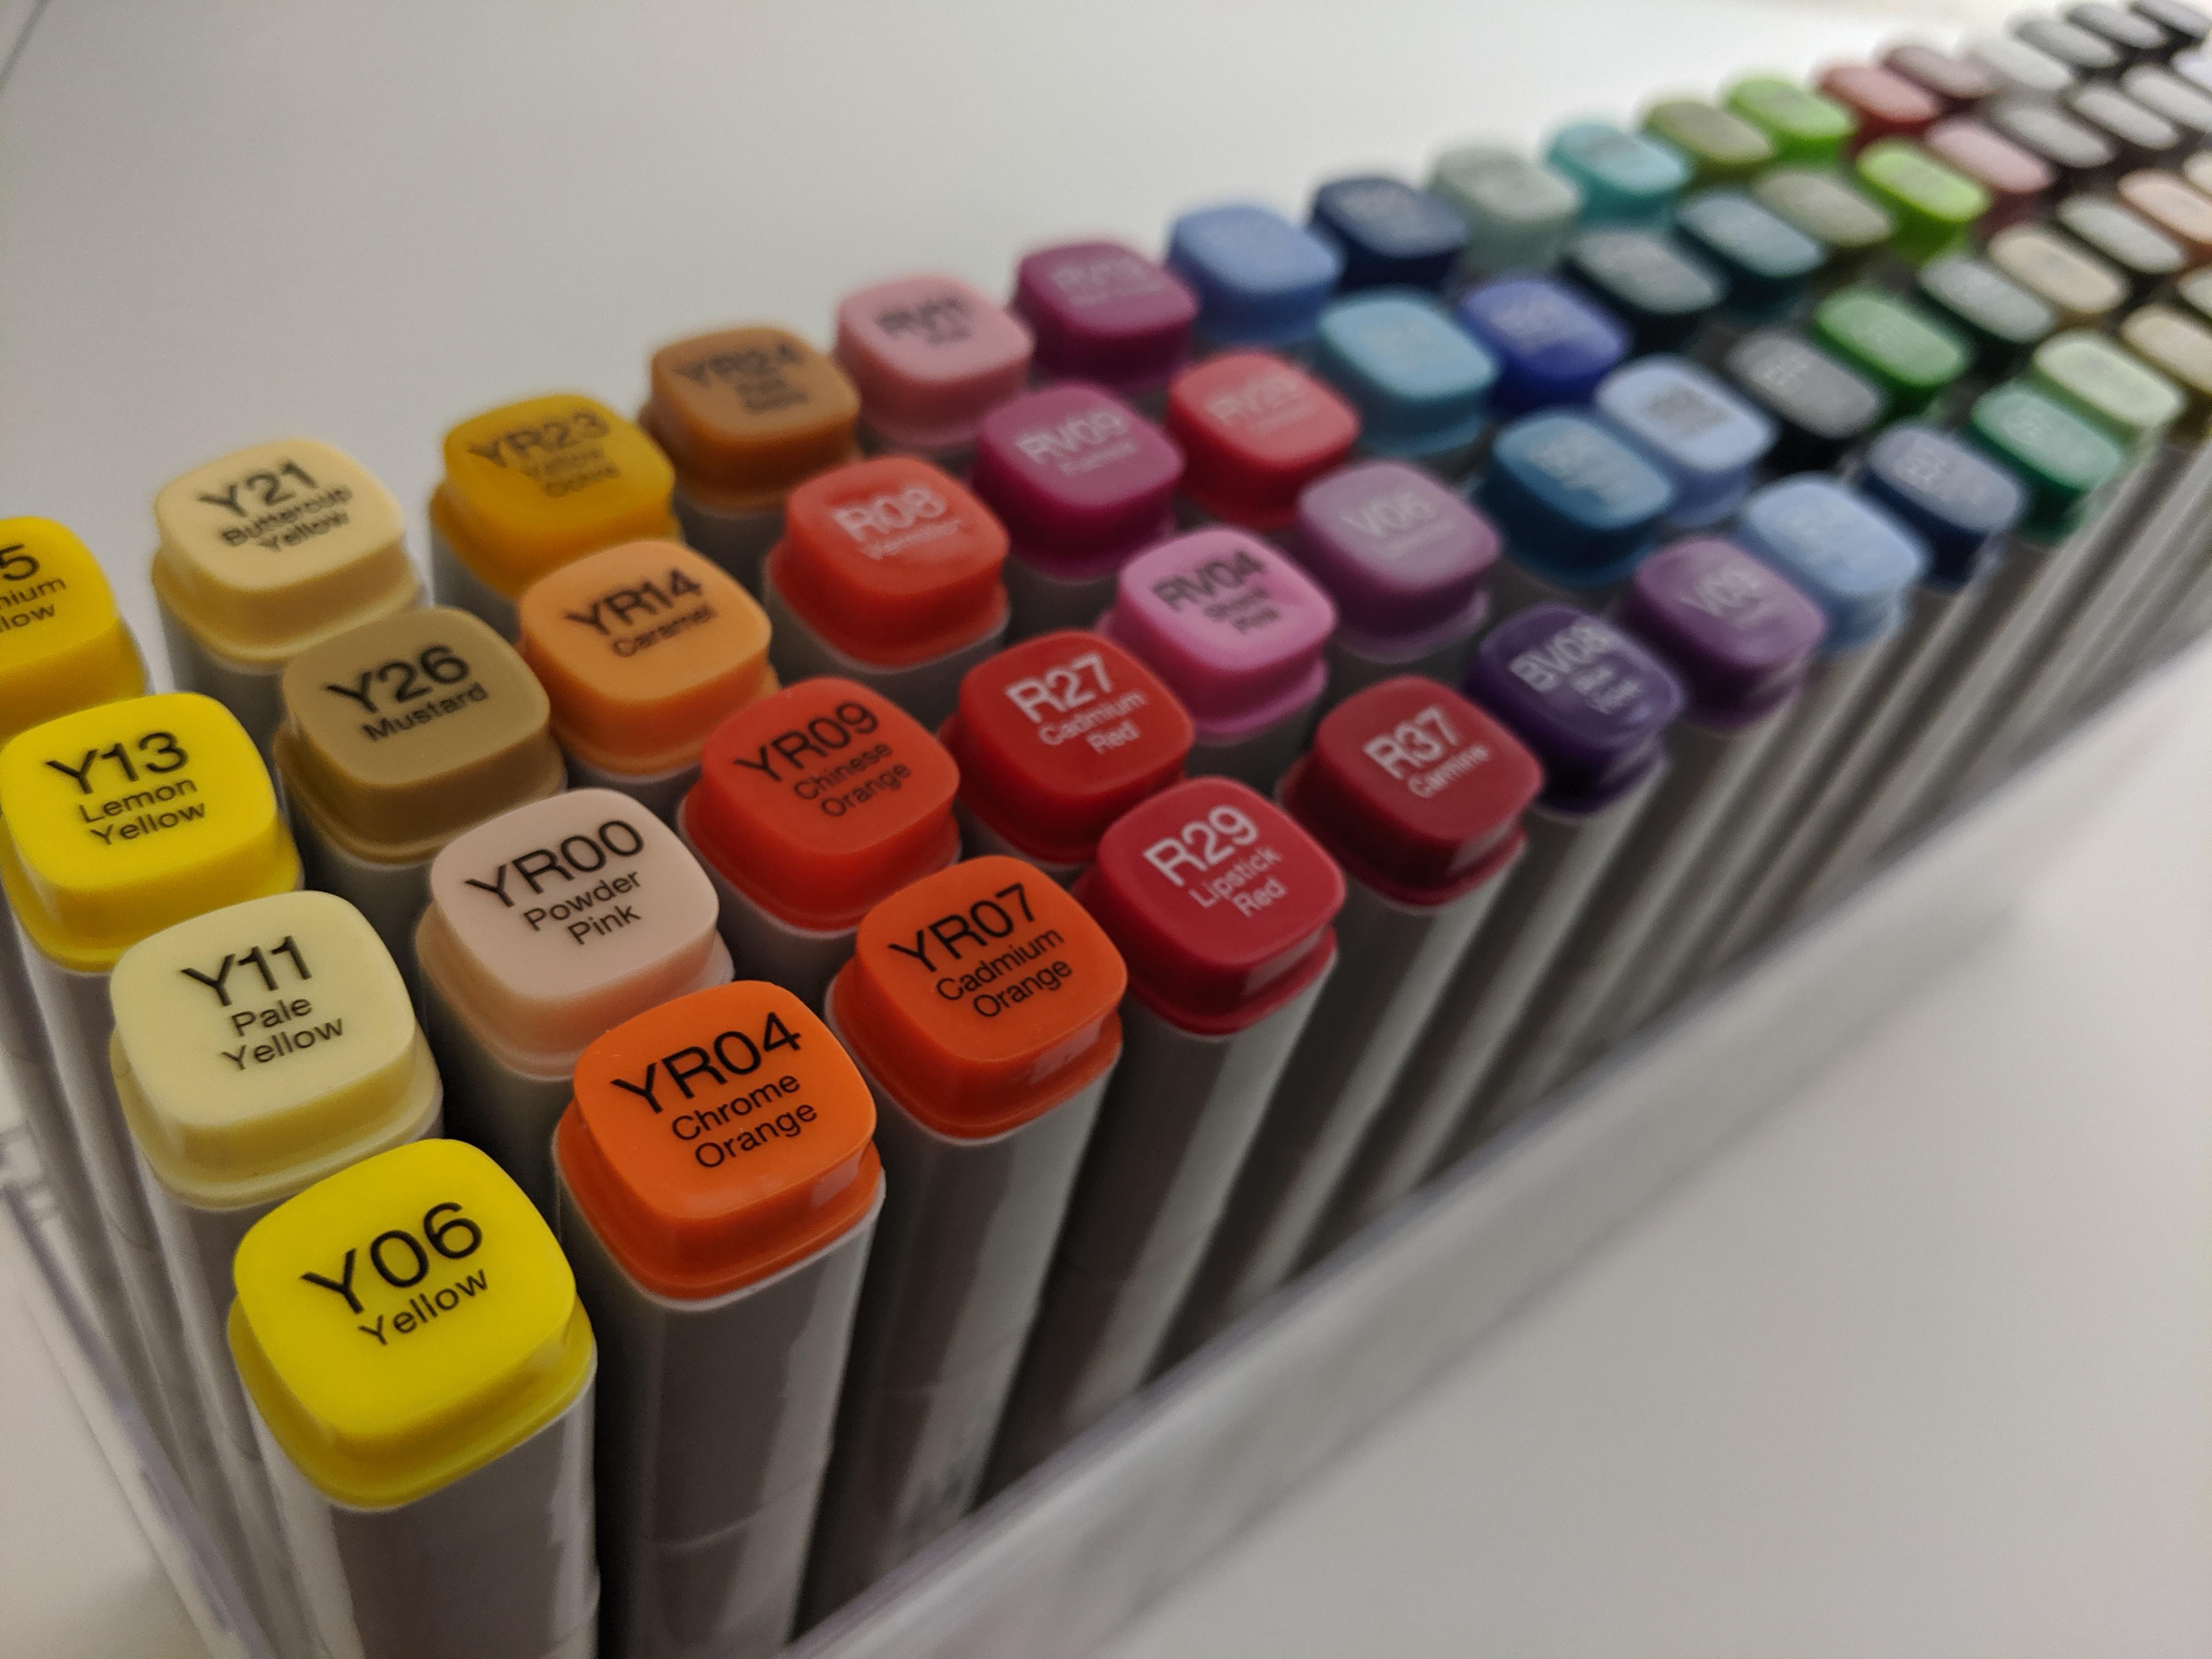
How to Organise Copic Markers By Letter
Copics of course come with their own classification system. The letter on your Copic Marker refers to its colour family: R is red, YR is yellow red, E is earth tones and so on. Often, the sets you purchase will come with a mix from these families. The first sensible step is to let go of these groupings and arrange in colour group.
Once these groupings are created, you can lay out your markers as they relate to the colour wheel, making it easier to employ the basics of colour theory.
How to Organise Copic Markers By theme
Depending on the type of work you do, there may be more nuanced groupings to create. For instance, if you spend a lot of time drawing people (portraits, action etc.) you will get to know your Copic Markers skin tones numbers very well. It would make sense to have these grouped together, and they will most likely be made up of markers from different letter sets.
Other potential groupings could include colours used for different types of hair, architectural colours or natural landscape tones. Basically, theme it to whatever your personal utilisation needs.
How to Organise Copic Markers By usage
If you don’t have a particular theme, there are probably colours you always gravitate towards. For me, it’s the first set I had (and the set of copic markers I suggest new users start with) the Cool Grays along with YR07 (Cadmium Orange). These will lay down the base work, and then colours get picked as the art work progresses.
Rather than hunting these out at the start of each session – having them grouped together will be useful. This is especially useful with distinct families, like the Copic Gray sets, which make a lot of sense to be kept together.
There’s a method for thinning out your wardrobe that involves only ever rehanging clothes on the left. Over time, this means the unused clothes you have slowly migrate across to the right. At the end of a couple of months, it is clear what you aren’t wearing and what you can survive getting rid of. A similar approach could be taken to your Copic Markers (without getting rid of the underused of course). Rather than stacking all pens back together at the end of a session, find a container for the pens you used. After a few months, you may well find a core group of pens and a set which are used less frequently. The price of refills for Copic Markers are cheaper than buy new pens. So if you are constantly having to buy refill inks for particular pens (again with me, usually C1 and C2), this is a good sign that they are your most used.
Categorising in the Organising Trays
If you don’t like the utilitarian approach of rubber bands and crates, you can always keep hold of the original Copic packaging and reorder you pens within. If you have a 72 set A or B, the cases they came in are ideal. By grouping pens within the packages, they keep neat and the codes are easily visible. This has the added bonus of allowing you to order not just by letter but also by ascending or descending numbers.
There’s also an option to get hold of trays perfectly suited to this exact task, which are stackable to make access to an even wider set of pens possible. We like the affordable ArtBin Marker Storage Tray for this – simple, cheap and can grow as your collection of pens do.
The appeal of this approach will depend on your personality. Rubber bands make packing up incredibly quick. Organising in by letter and number in original packages makes for better organisation and can be very fulfilling.
Organising Your Non-Copic Tools
You may work exclusively with Copic Markers, but if not you will also need a way to store and organise everything else. Multiliners, wax pencils, gel pens will all need a home. Similarly, if you use pencils with Copic Markers, it makes sense to keep these nearby. Similarly, your tools for maintaining your Copic Markers should be kept close at hand.
Presumably, they won’t be as numerous as your Copic Markers so these can sit in their own pencil case or rubber band as you choose.
It goes without saying, only when your Copic collection reaches a certain size will this become a concern. When you are just starting out, the pens can stay in their original packaging in their original grouping. I recommend getting a monotone set to start your Copic collection, and those will obviously be arranged by colour anyway!