I’ve had a few emails asking about the best way to hang old windows for display. Since I have one on my front porch and used to have one in my laundry room, I’ve had some practice figuring out the best way to hang these old pieces!
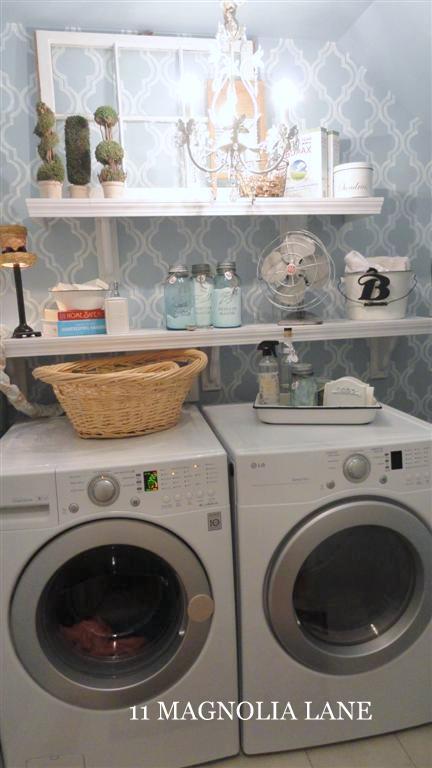
My windows are from the Nashville flea market, and I paid a whopping $5 apiece for them. You can expect to pay more for ones that are larger, square (versus rectangular), or made of leaded or stained glass. Some antique/vintage vendors make a habit out of collecting old windows, and those are wonderful places to frequent!
Our posts contain affiliate links. If you make a purchase after clicking on these links, we will earn a small commission, which helps to keep our content free. You don’t pay a cent more than you would otherwise, since that would be tacky! Read our full disclosure policy here.
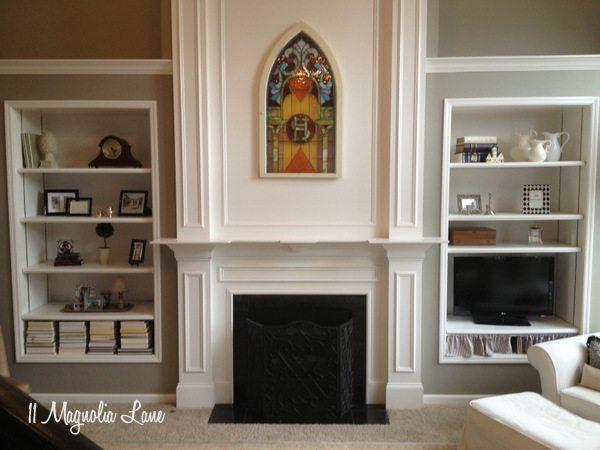
If your window is of average weight, a simple hook and eye screw will hold its weight without any problems. That’s what I used for mine. If your window is heavier, or it will be exposed to a lot of wind, you might try a d-ring or a cup hook. If you’re hanging an old stained glass window, like mine (below), then you need to do something completely different to be sure you protect it-I recommend these French cleats for stained glass.
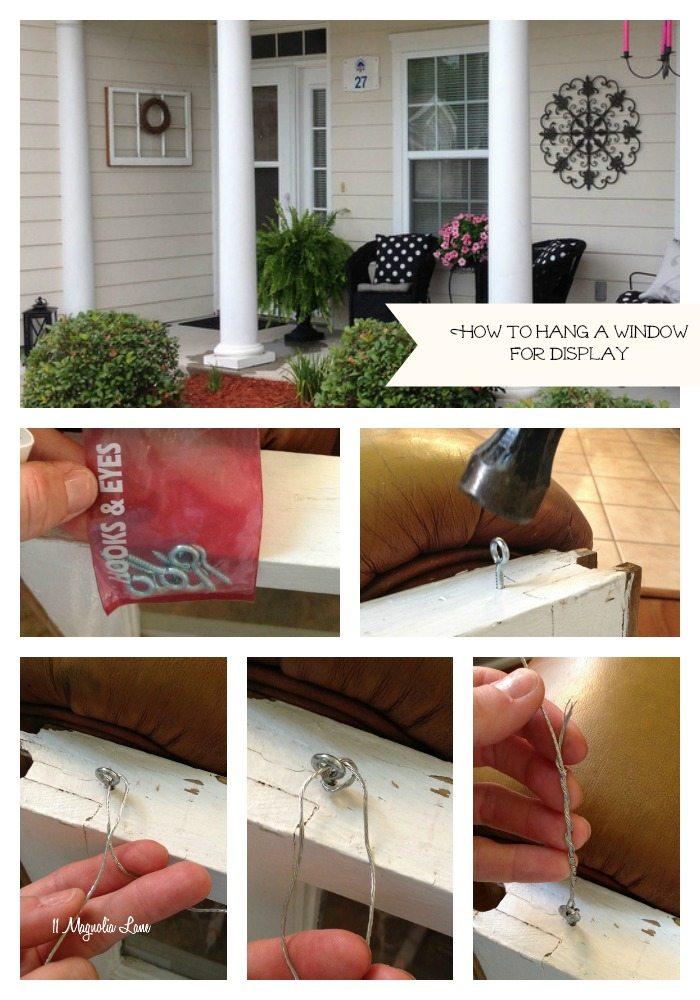
{Here} are the hook and eyes that I used:
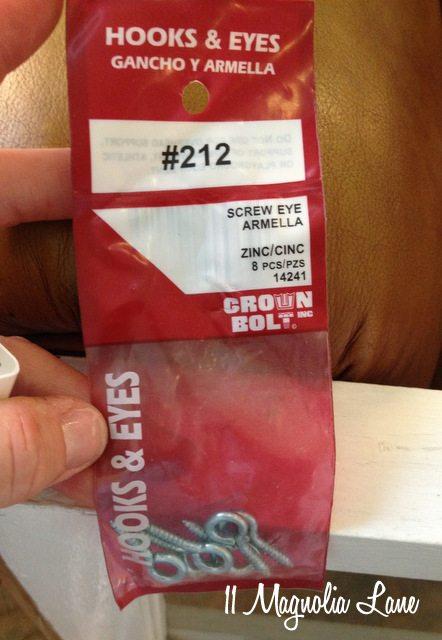
I placed them about an inch and a half in from the edges. Sorry about the dirty fingernails-I was pulling weeds out back just before I took these snaps!
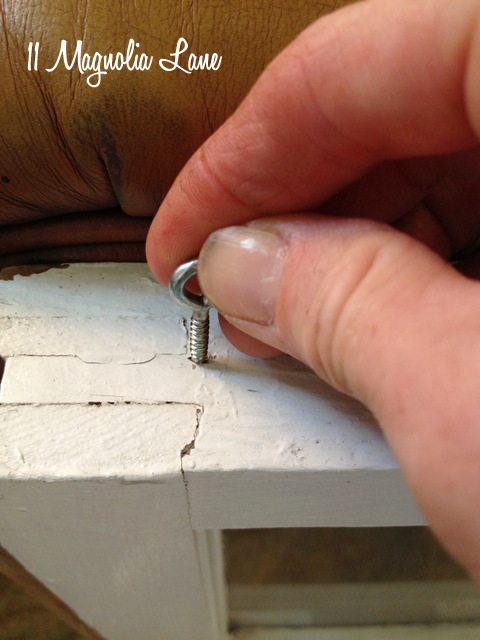
If you give a hook a small tap with a hammer, then it bites into the wood enough that you can usually screw it in by hand, without drilling a guide hole first:
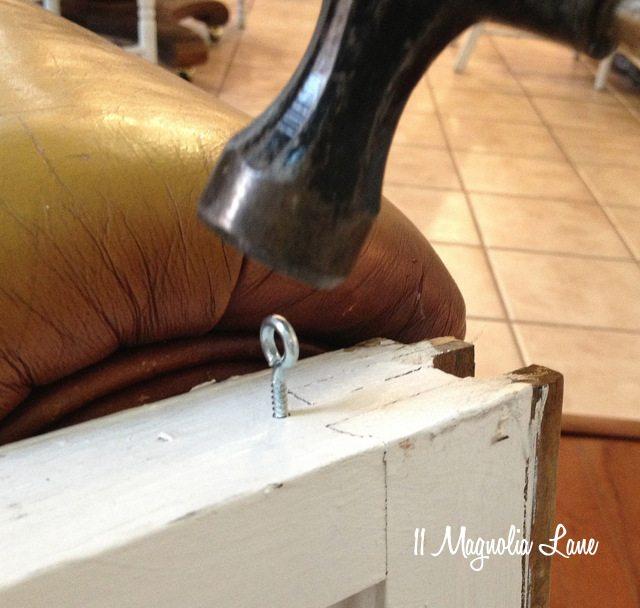
Like I mentioned before, these windows are relatively lightweight, and I usually hang them flush against a wall, so I use the hooks and eyes with picture hanging wire to hang them. For a heavier window, or one that hangs in a way that leaves it open to wind (at the side or on the front of a porch, for example), I’d use D-rings and chain instead.
Here’s what D-rings look like:
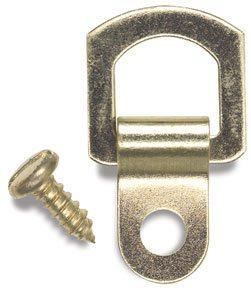
You’d have to mount the D-rings on the back of your window, instead of the top. I would probably use a chain from a lighting kit (the kind you hang a chandelier with); those are available in the lighting department of big-box or hardware stores. By the way, you can spray-paint those suckers if you want a custom color-they usually only come in gold, silver, brass, white, and black.

Back to my inexpensive, light-weight window…here’s the picture hanging wire I used. It just happens to be silver to match the hook and eyes, but it also comes in gold.
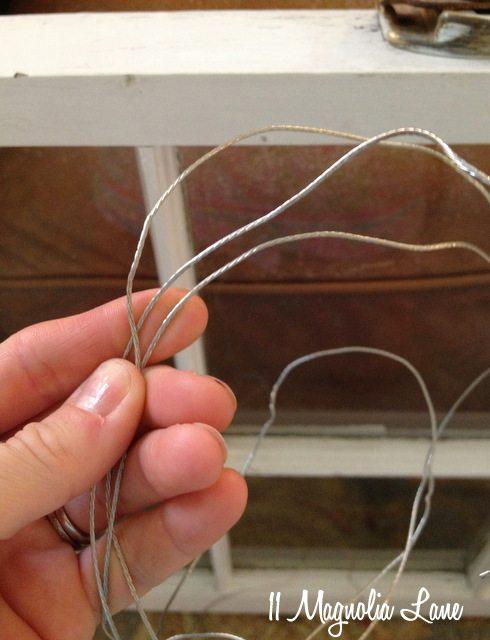
Send the wire through the eye screw and bring the short end underneath the long end. If you leave about 6″ as your short end, you’ll be fine.
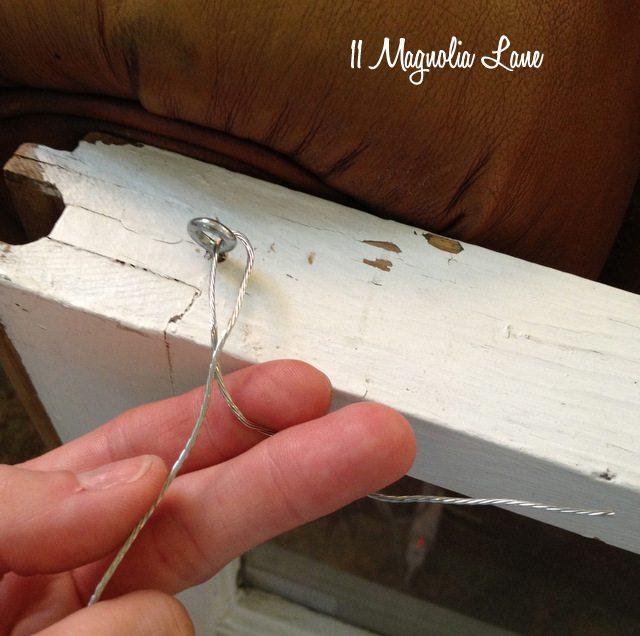
Now, bring your short end through the back of the hook and eye and through:
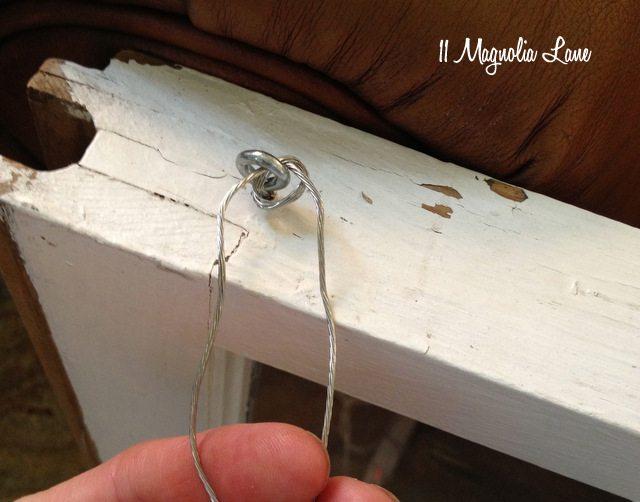
Pull the knot so that it’s snug. Now, take what’s left of the short end and wrap it around the long end:
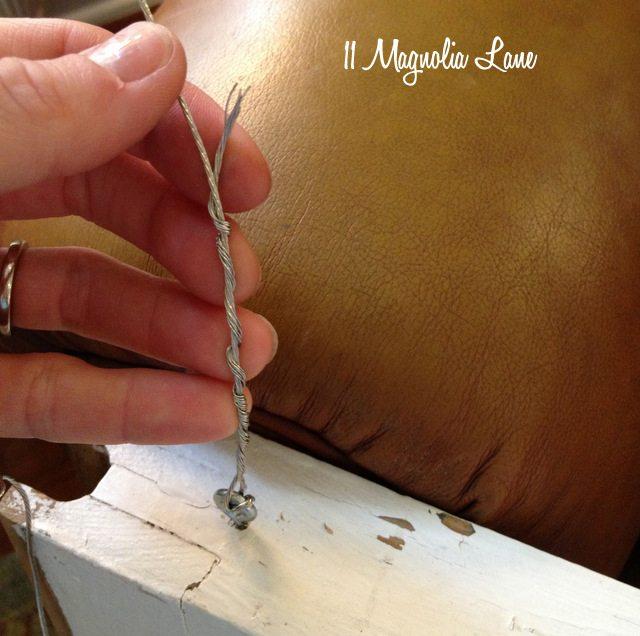
Here’s a nice graphic I found online-I used option #1:
When you repeat the process on the other side, you need to determine where you’ll be hanging the window and how much wire you’ll need. In our old house, I needed the wire to be long so that I could hang the window in the crown molding instead of the brick. In this house, that’s not as important. When in doubt, leave more wire rather than less-you can always trim more off later. And don’t forget to add an extra 6″ or so for the other knot!
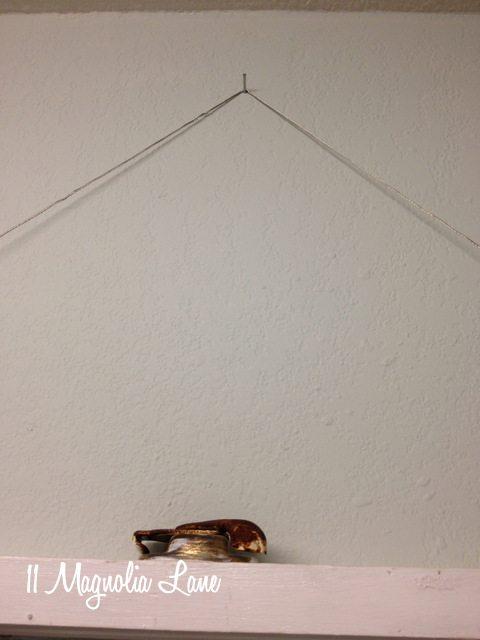
I decided to hang this window on the wall in my laundry room. Because it’s hung on drywall, it didn’t need a long wire.
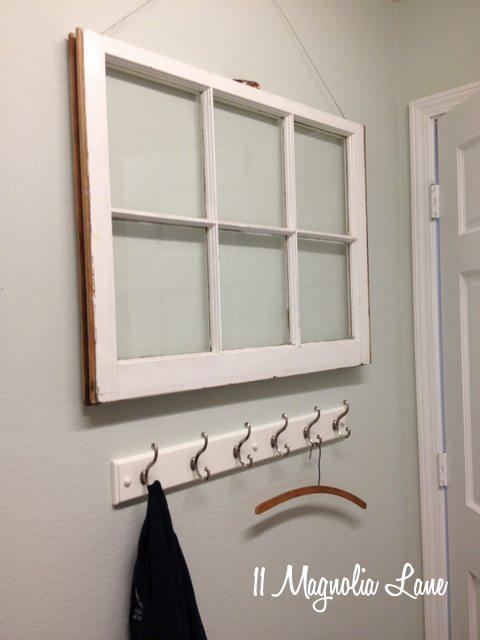
It also only required a picture nail to hang it:
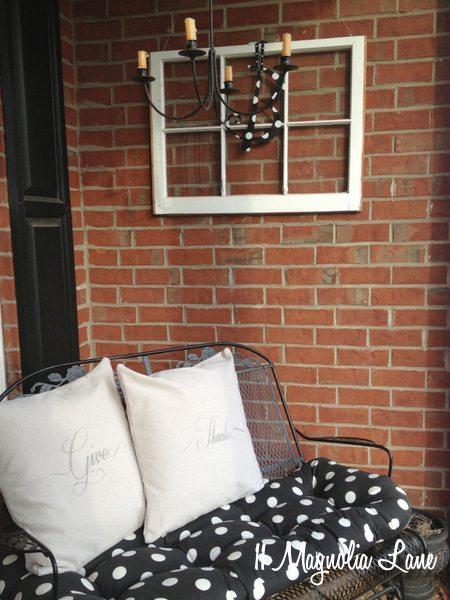
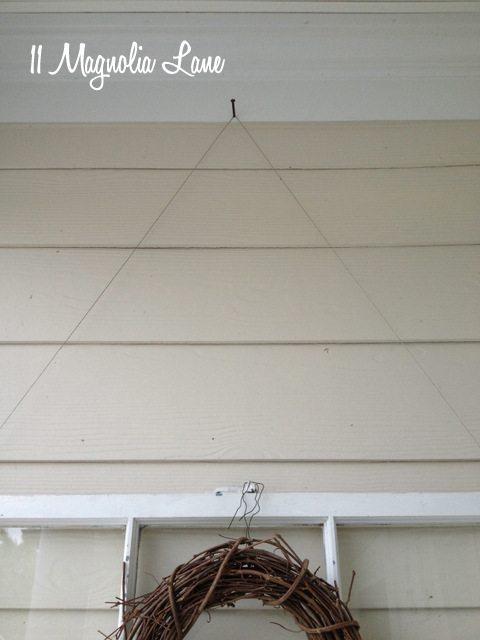
The window on our front porch has a longer wire, and I used a much larger nail to hang it. Even though it’s against the wall, it still has to stand up to wind (hurricanes!) and lots of thunderstorms.
And because I love you, I made you a nice, pinnable graphic:
My tutorial on how to hang silver plates, bowls, and platters on the wall is {here}, if you’re in a hanging frenzy. Don’t go too crazy and hang everything at once, though! 🙂
Thanks for stopping by!


