How do you organize your embroidery threads for your needlework projects? If you’re like me, you’re always looking for a way to organize your embroidery threads better. Here, I’ll show you a method I like to use when I’m working on a project that requires many colors of thread. It isn’t anything new – you see versions of this all over the place – but here’s my “home made” version, and I’m even letting you have a printable copy of my template, so you can make your own thread organizers, too!
Here on Needle ‘n Thread, I’ve mentioned different ways to go about organizing your threads, from using key tabs to braiding your skeins of coton a broder. Way back, in the deep, dark beginning of the website, I wrote an article on thread organization & storage, exploring some of the more popular forms including bags and rings and such, and then followed it up with another article that included the file-a-floss system and EZ Bobs. So this isn’t really a new topic here, but it is another angle…
Thread keeps, thread rings, thread cards – they all have the same thing in common: holes that you put your embroidery threads into, looping them so that it is easy to remove one strand of floss at a time.
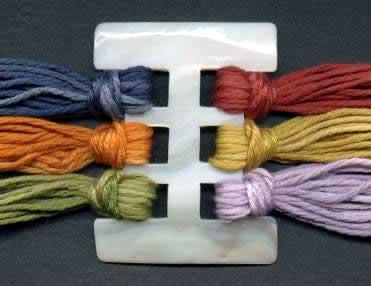
Thread keeps can be nice little accessories. They come in all kinds of shapes and materials, from simple wood strips, to bright pink plastic horse-heads (via DMC), to beautiful wood palettes, to mother-of-pearl acorns and hearts. This particular one above is from Kelmscott Designs. It costs around $9.00, and holds six colors of thread.
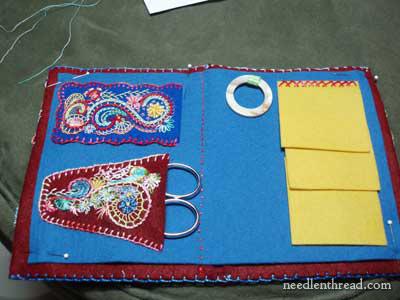
Thread rings are simply rings that you loop your thread onto. The rings can be attached to needlebooks, as I did when I finished this felt needlebook project. You can buy mother-of-pearl rings (also made by Kelmscott Designs), or you can even buy plastic rings made for curtain tie-backs for cheap, and get the same (thought not as attractive!) results.
Thread cards are a little less permanent than the above options. They are generally made out of heavy cardstock with punch-out-able holes and a place to record color numbers. You’ll find them in the needlework section of many craft and sewing stores.
I like thread cards for projects that require using a lot of colors. While I have some thread rings and a few thread keeps and thread winders of different types, none of them are quite sufficient when working on a project involving a lot of thread.
So, I made up a version of a thread card to use with my upcoming Long and Short Stitch Shading Lessons, and then I turned it into a generic pattern for thread cards that can be used with any project. Here’s how they work:
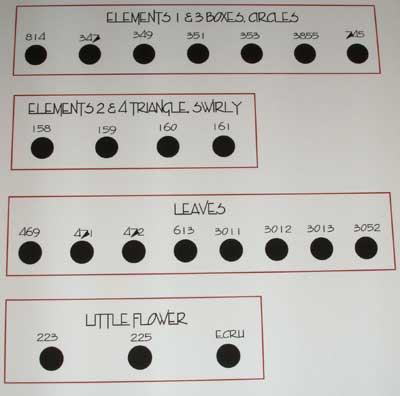
These are the cards for the Long and Short stitch lessons. I printed them on my computer on card stock.
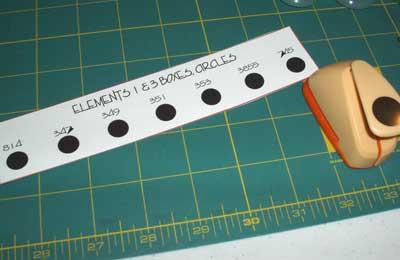
I printed and cut two of each sized strip, stacking them on top of each other while cutting. Then I glued (using strip adhesive) the strips together, to reinforce them. If you can find slightly heavier cardstock that will go through your printer, you can skip this step! I only had light card stock on hand.
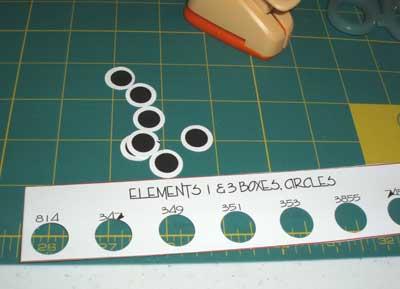
You can see that I already had the color numbers printed on my sheet before I printed them out. I also happened to have a 1/2″ circle punch, so I used that to punch the holes. You can use a regular hole-punch and just not make the holes as big.
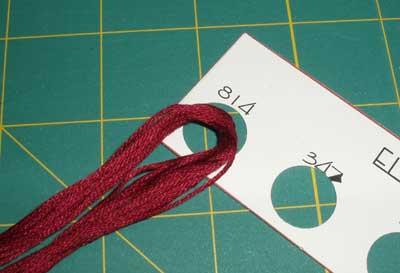
Cut your threads into working lengths (I always work with 18″ – 20″ lengths of threads) and fold the bundle in half.
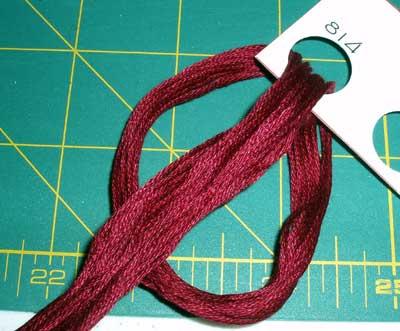
Feed the fold of the thread through the front of the hole in the card, and make a loop behind the tails that remain on the front of the card, then pull the tails through the loop….
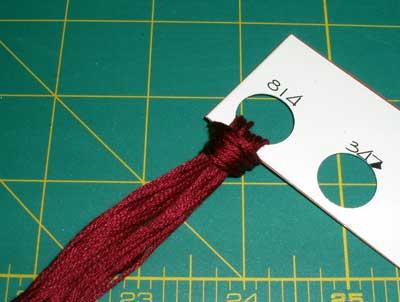
… and tighten it by pulling on the tails.
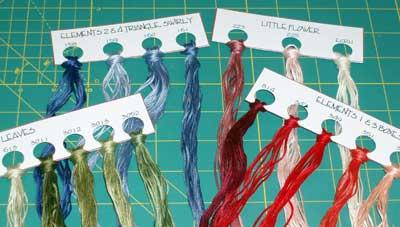
Repeat the process with all the threads for your project, writing the color number of the threads above each hole.
Now, your threads are ready to use! You can pull one strand at a time from the front of the little loop, without having to separate each bunch. Just slip the eye of your needle under one strand at the front of that little loop, and pull the strand out. Very easy!
If you want to print and use generic thread cards, here’s a PDF that you can print out:
Thread Cards for Organization (PDF)
The thread cards include a place to write the project name and a space above each hole for writing the color number of the thread. There are three cards per sheet, with seven holes in each card.
How do you organize your threads for a project? Do you use thread cards or keeps, or some other system? Do tell!

